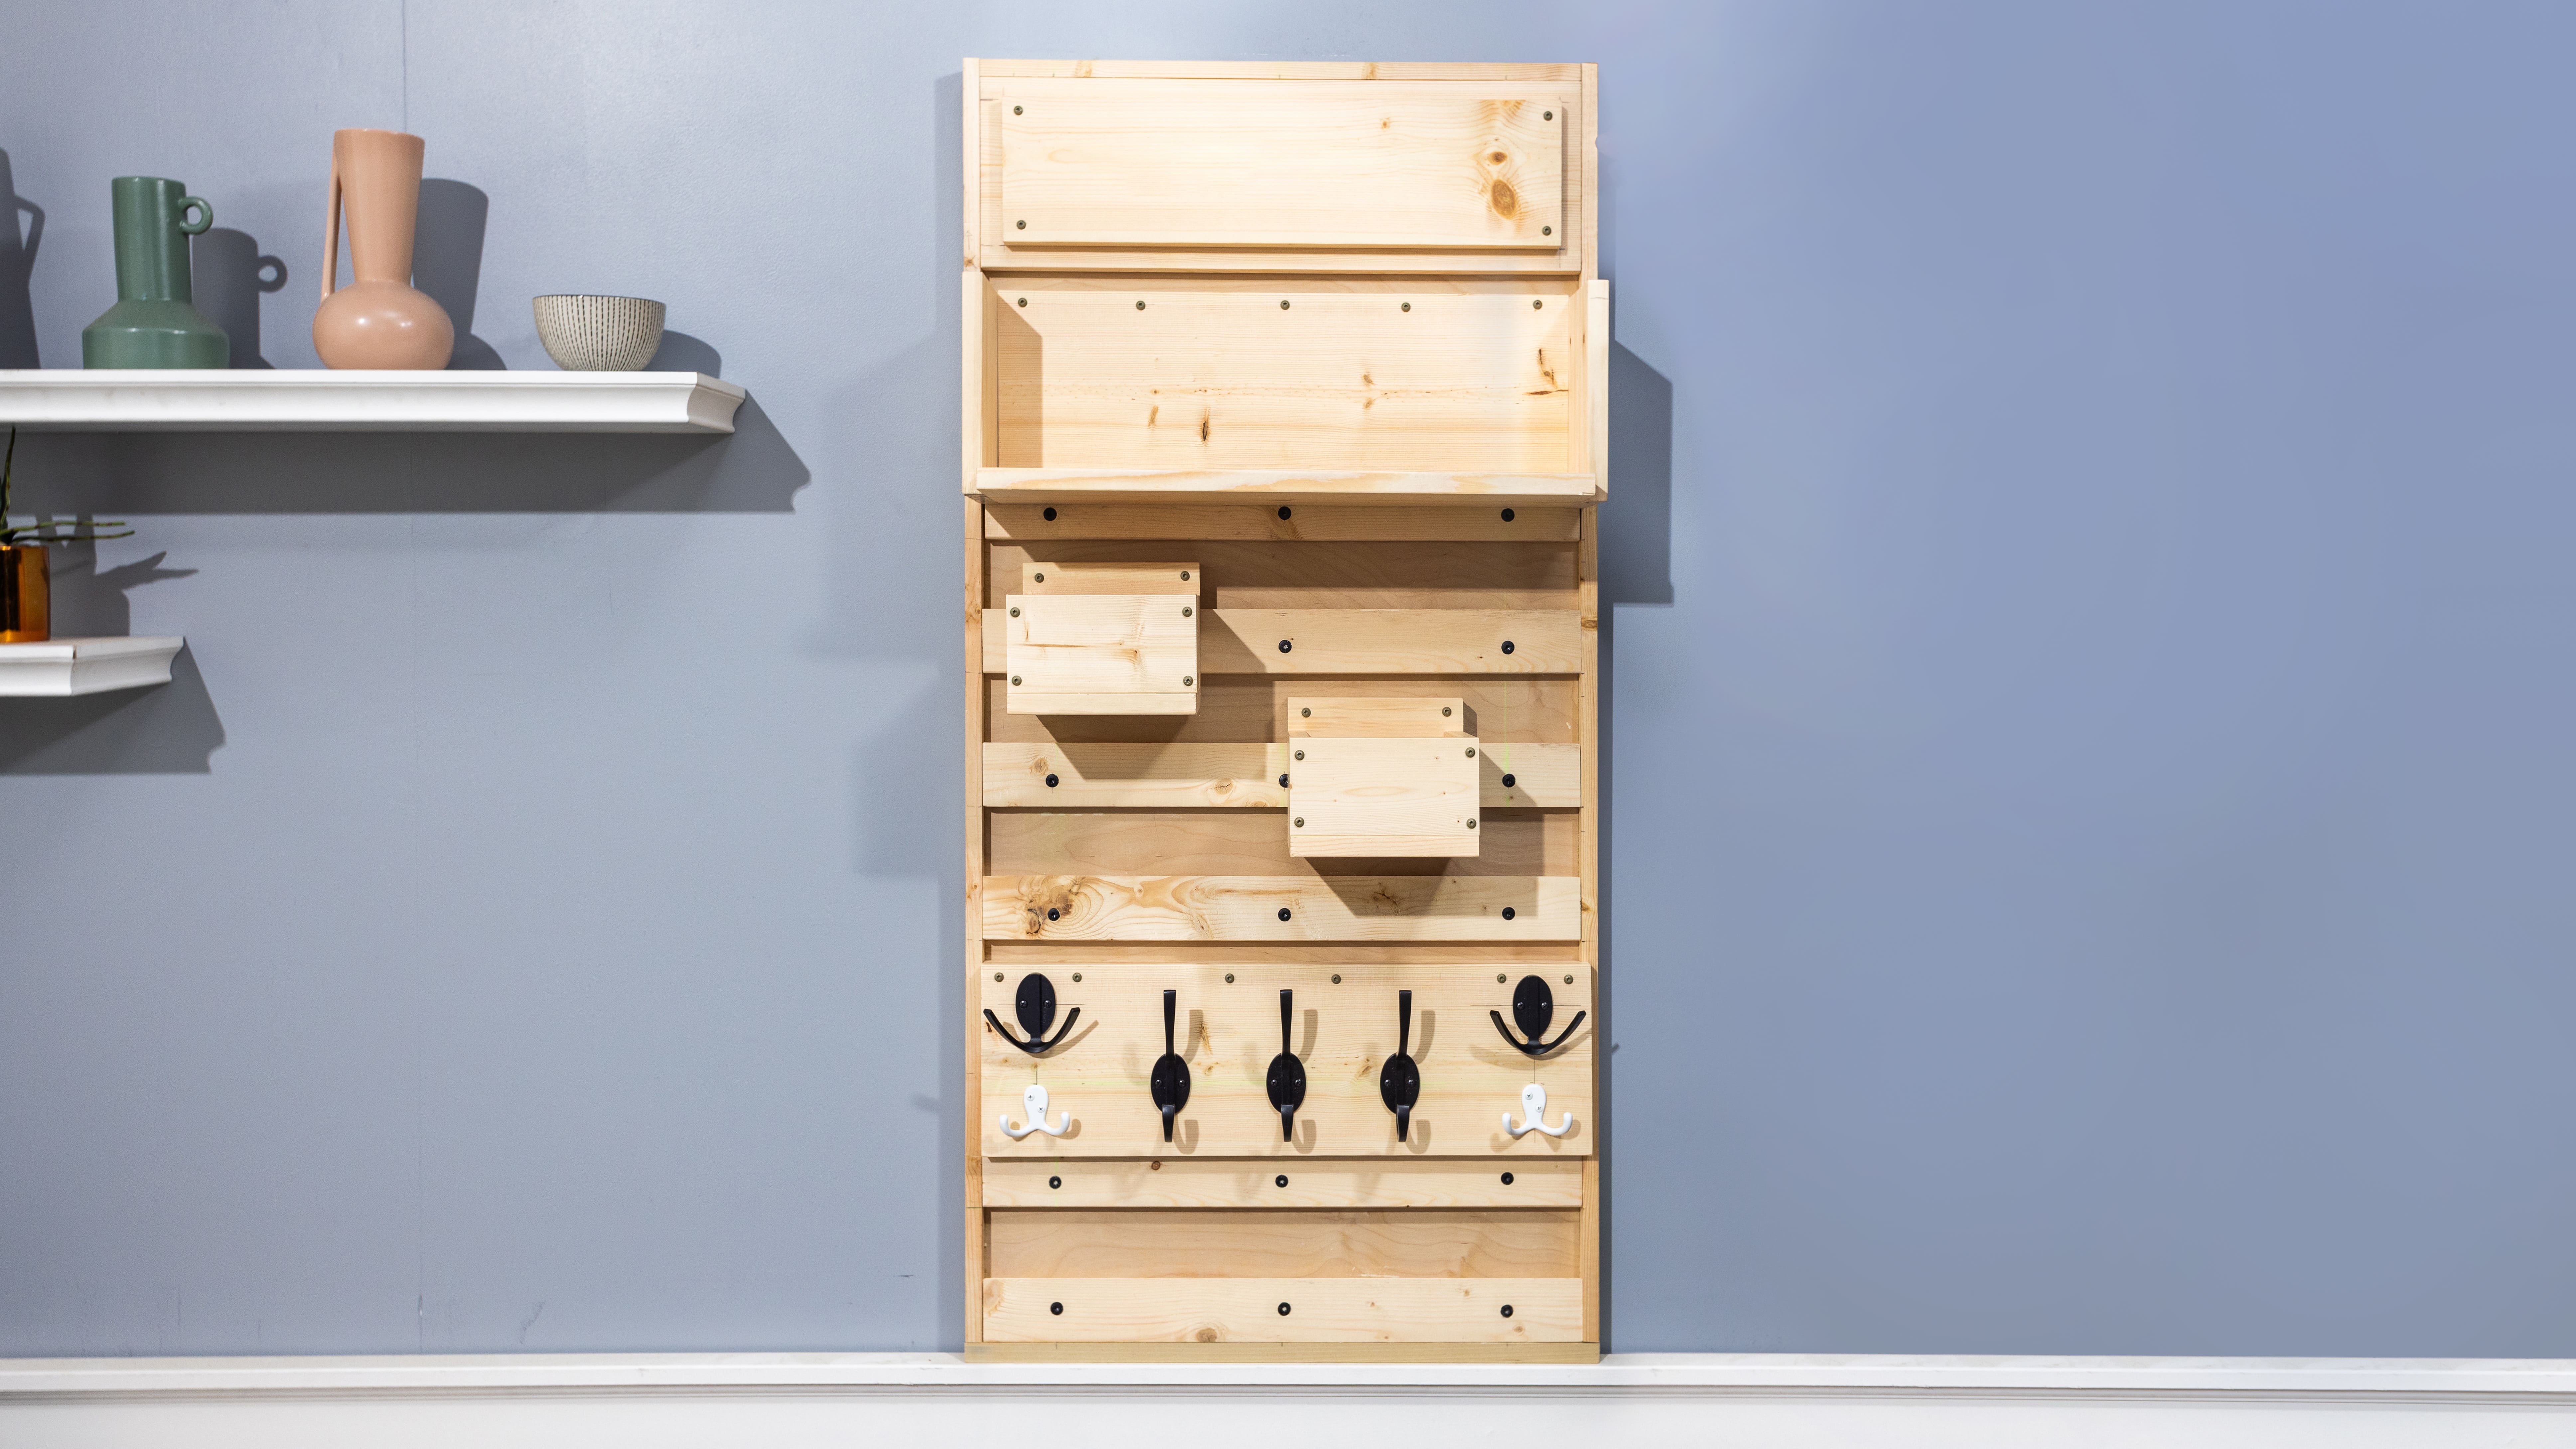

“Whether you’re looking to create a functional and elegant all-purpose welcome area or a new organization system for your favorite cookware, a french cleat storage system is a durable and modern way to enhance your space.”
- Todd Dermody
MATERIALS
For this project, we’re joined by longtime Dunn Lumber fan and current employee, Jacob, to build a French cleat shelving system. Jacob has been stopping by Dunn Lumber with his grandfather since he was a child. Since then, he’s cultivated his love of construction by helping his dad with home repair projects, building multiple tiny homes (including his own), and helping manage our Everett store.
When building his tiny home, Jacob quickly realized his need for more storage. He decided to utilize vertical wall space to expand his storage options with a French cleat shelving system.
French cleats are strong, vertical mounting brackets consisting of two pieces of interlocking wood cut at 45º angles. One cleat is mounted onto a backing surface (like a wall or a panel) while the other cleat is attached to custom-made accessories of your choice (like a keybowl or bookshelf).
Whether you’re looking to create a functional and elegant all-purpose welcome area or a new organization system for your favorite cookware, a French cleat storage system is a durable and modern way to enhance your space.
For this project, we will be making a 2’ x 4’ cleat wall for an entryway.
For our accessories, we will be making two shallow bowls for everyday items like wallets and keys, one bookshelf for tablets and books, one coat hanger rack, and one “welcome home” sign as a larger header piece.
Let’s get started!
Step 1: Measure materials
Each piece of this project is hand-crafted to be functional to your needs. We recommend spending some time thinking about the space your shelving system will go in so that it’s a perfect fit.
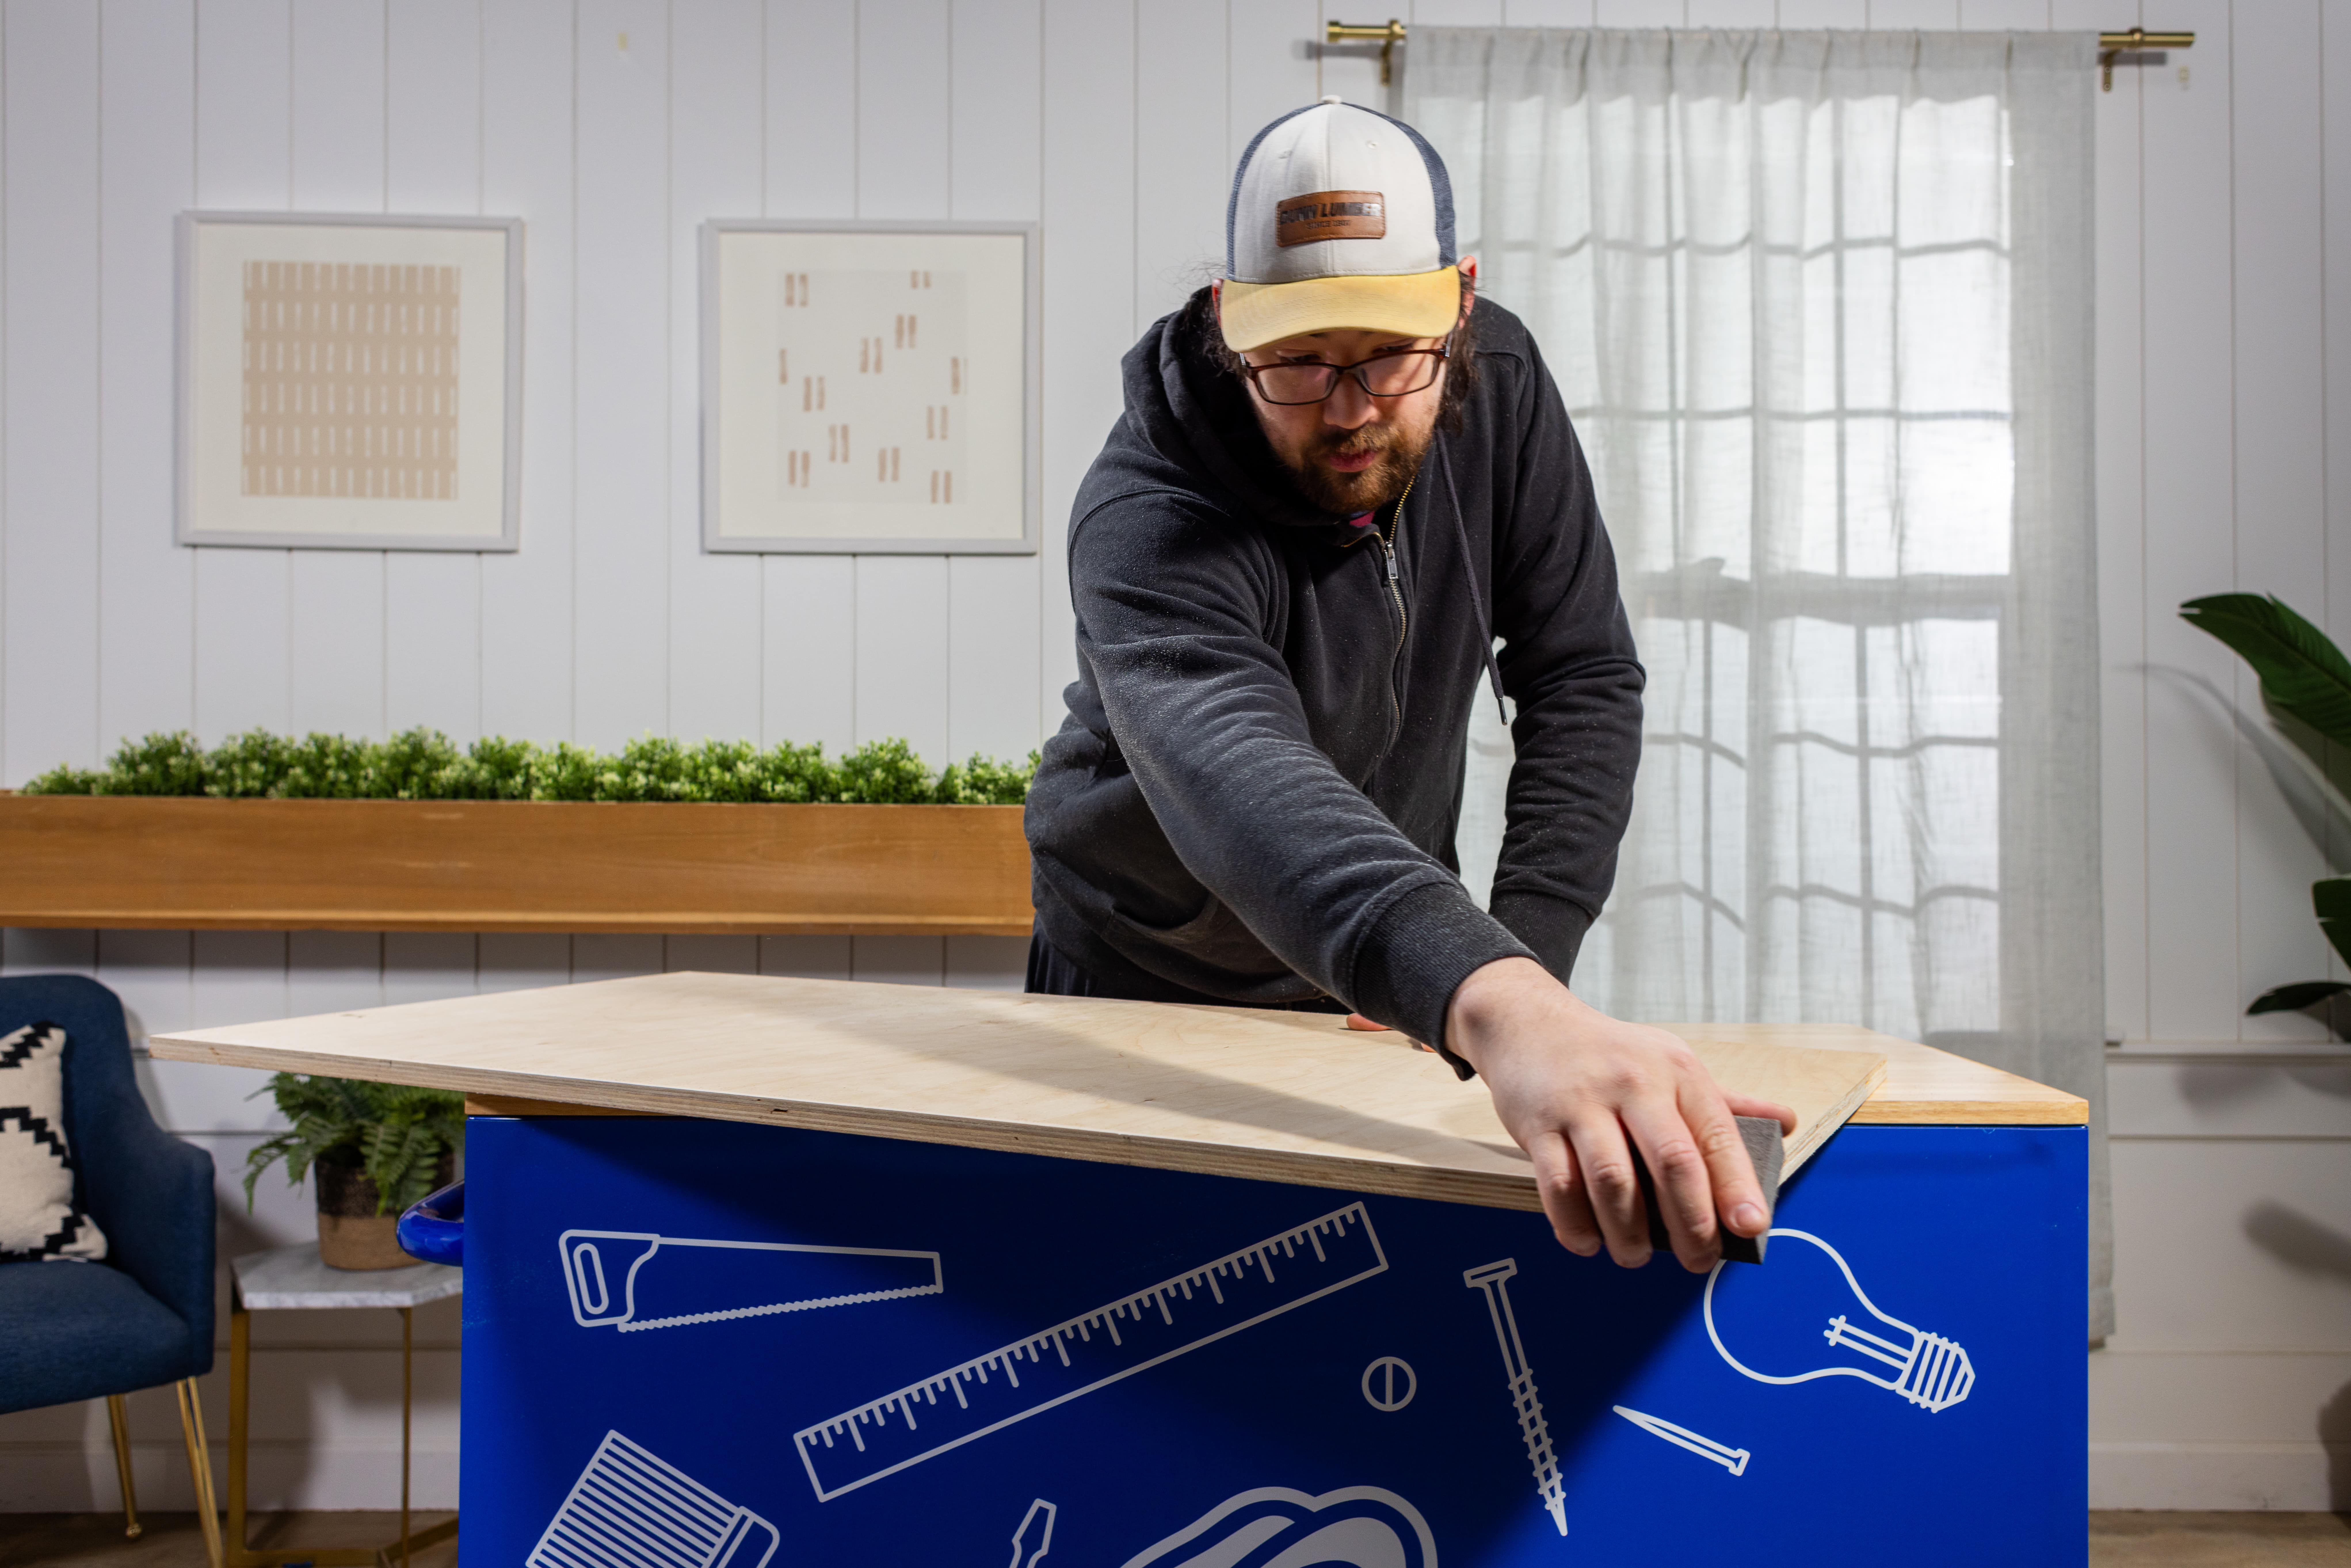
Once you’ve determined the placement, begin by sizing down all your material. We’ll start with the backer board. For this project, you’ll need to cut your ¾" plywood down to 2’ x 4’.
Note: Dunn Lumber offers pre-cut quarter-sized sheets of ¾” plywood, which is what we used for this project. You can also buy a full sheet and we'll cut it to size free of charge.

Step 2: Cut backer board cleats
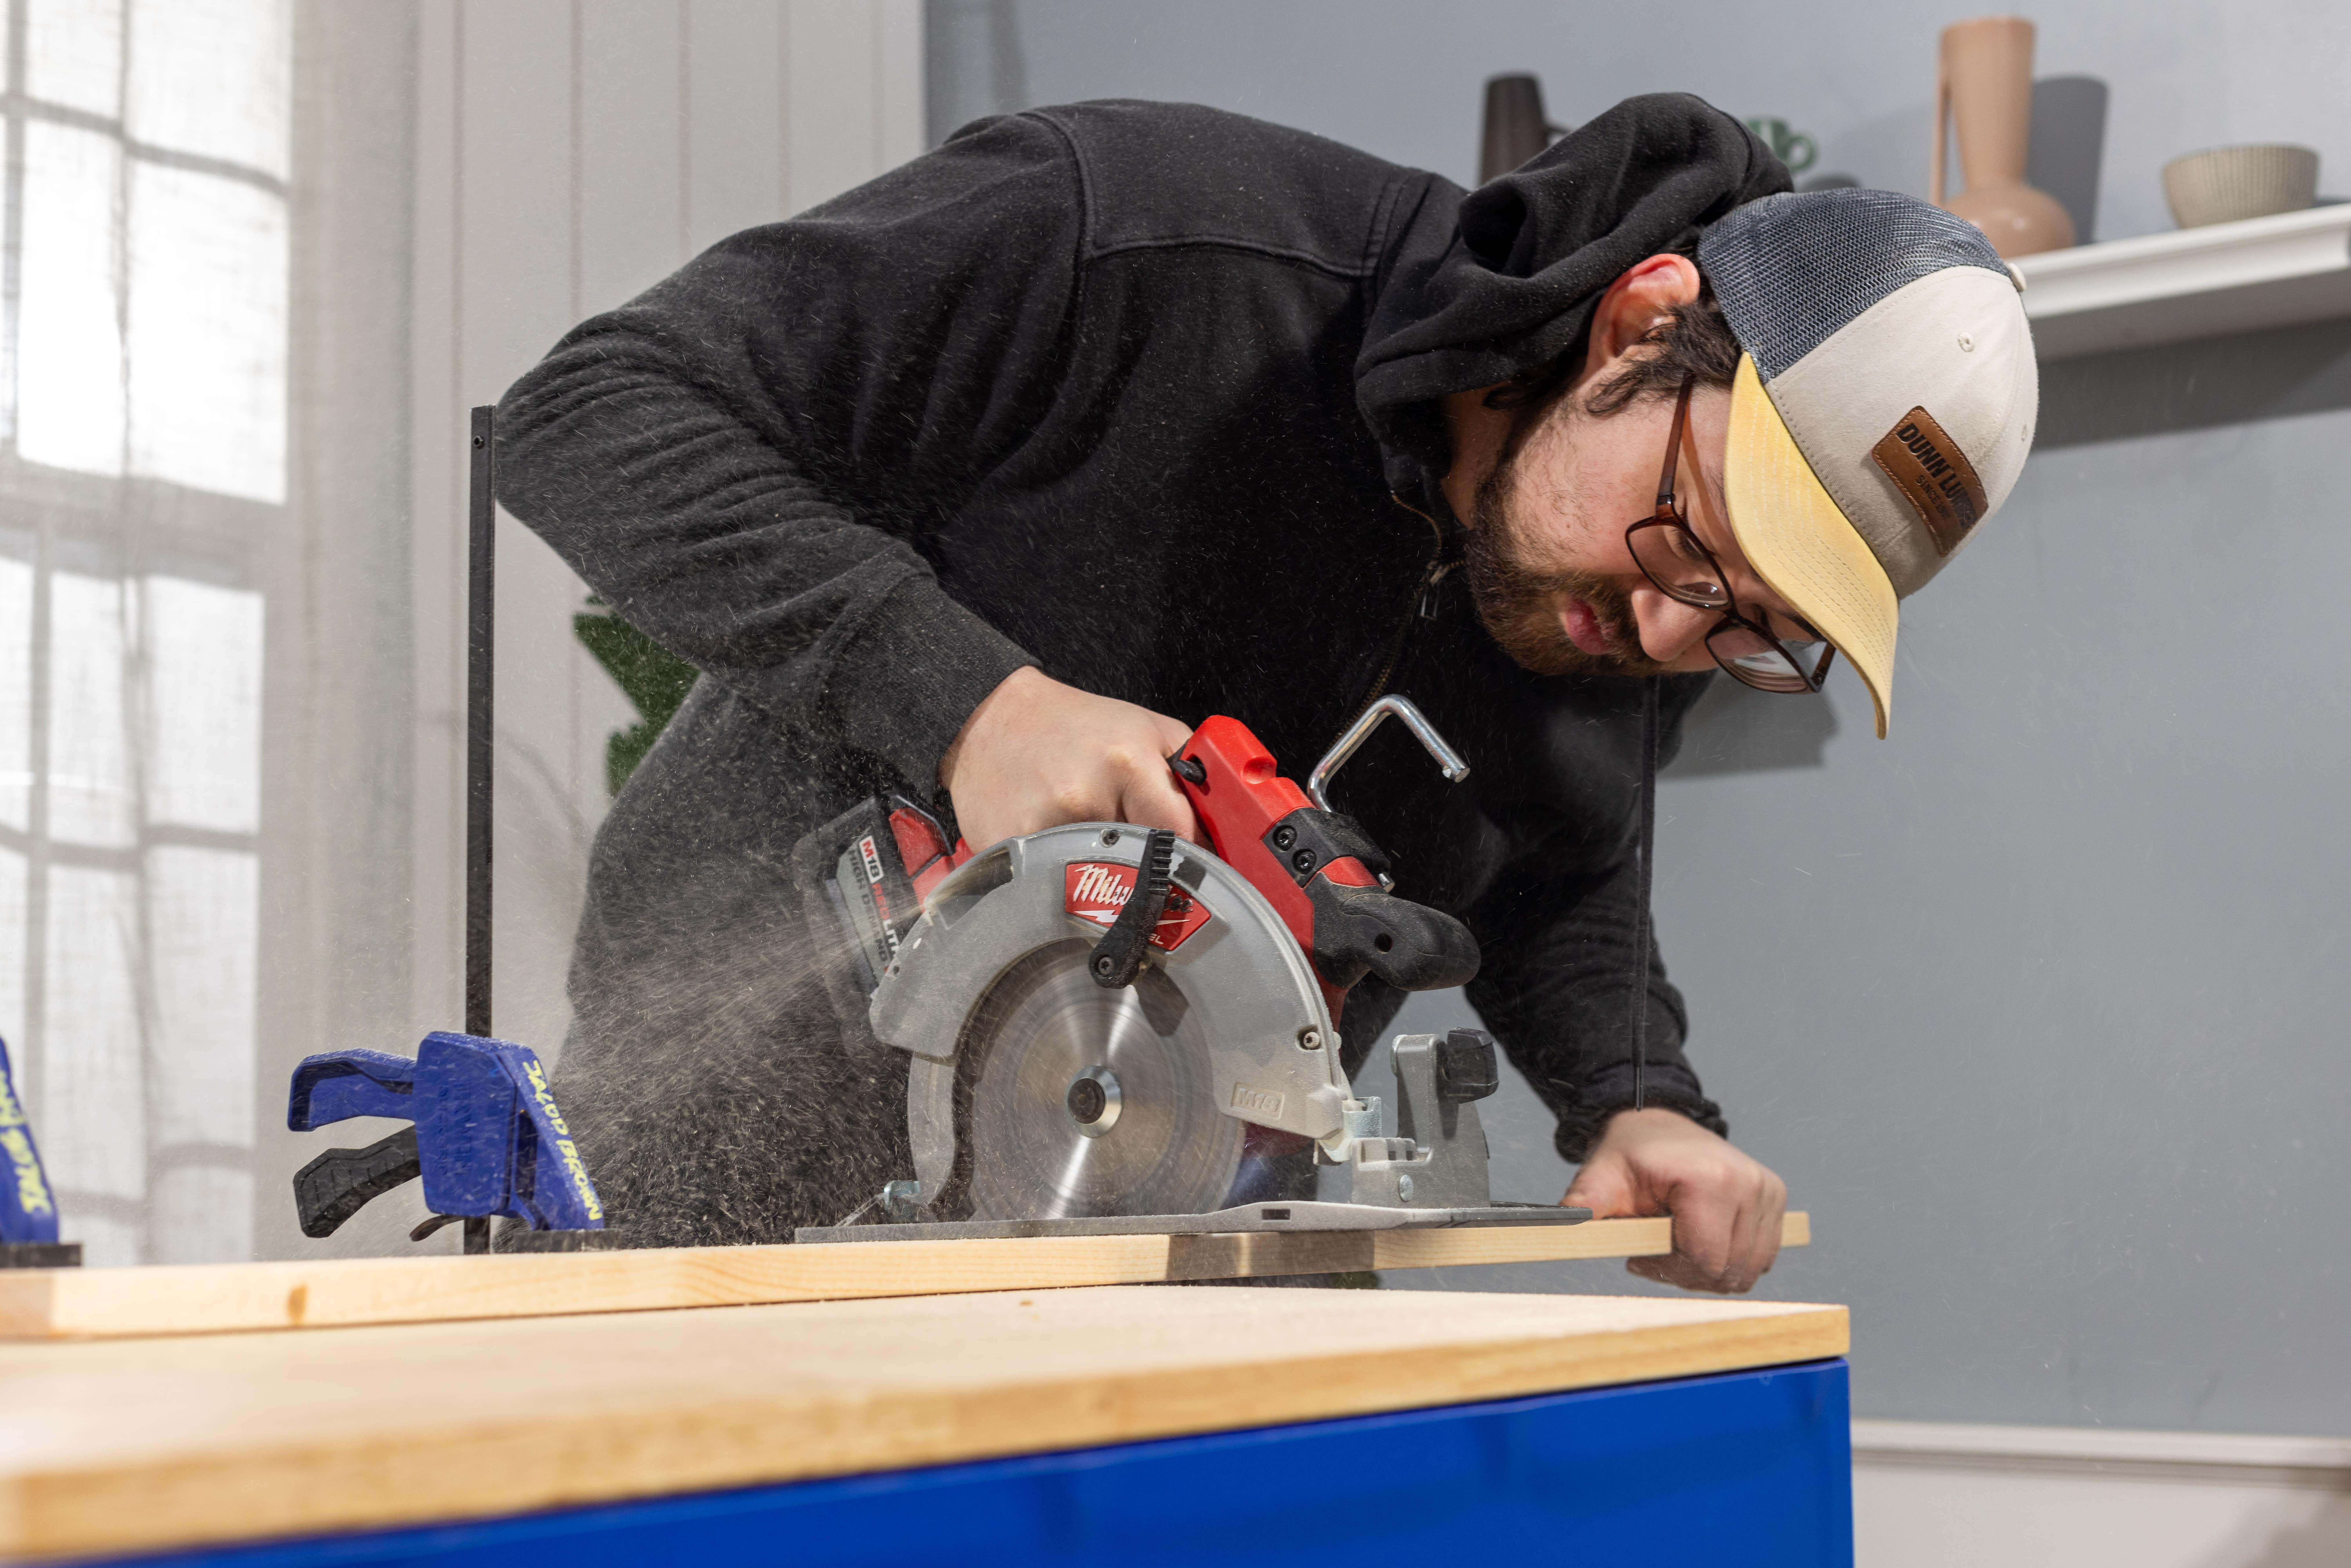
Using a circular saw, take one of your 8’ one-by-six boards and cut it to the length of your backer board. We cut ours to 2’.


Step 3: Refine cleats
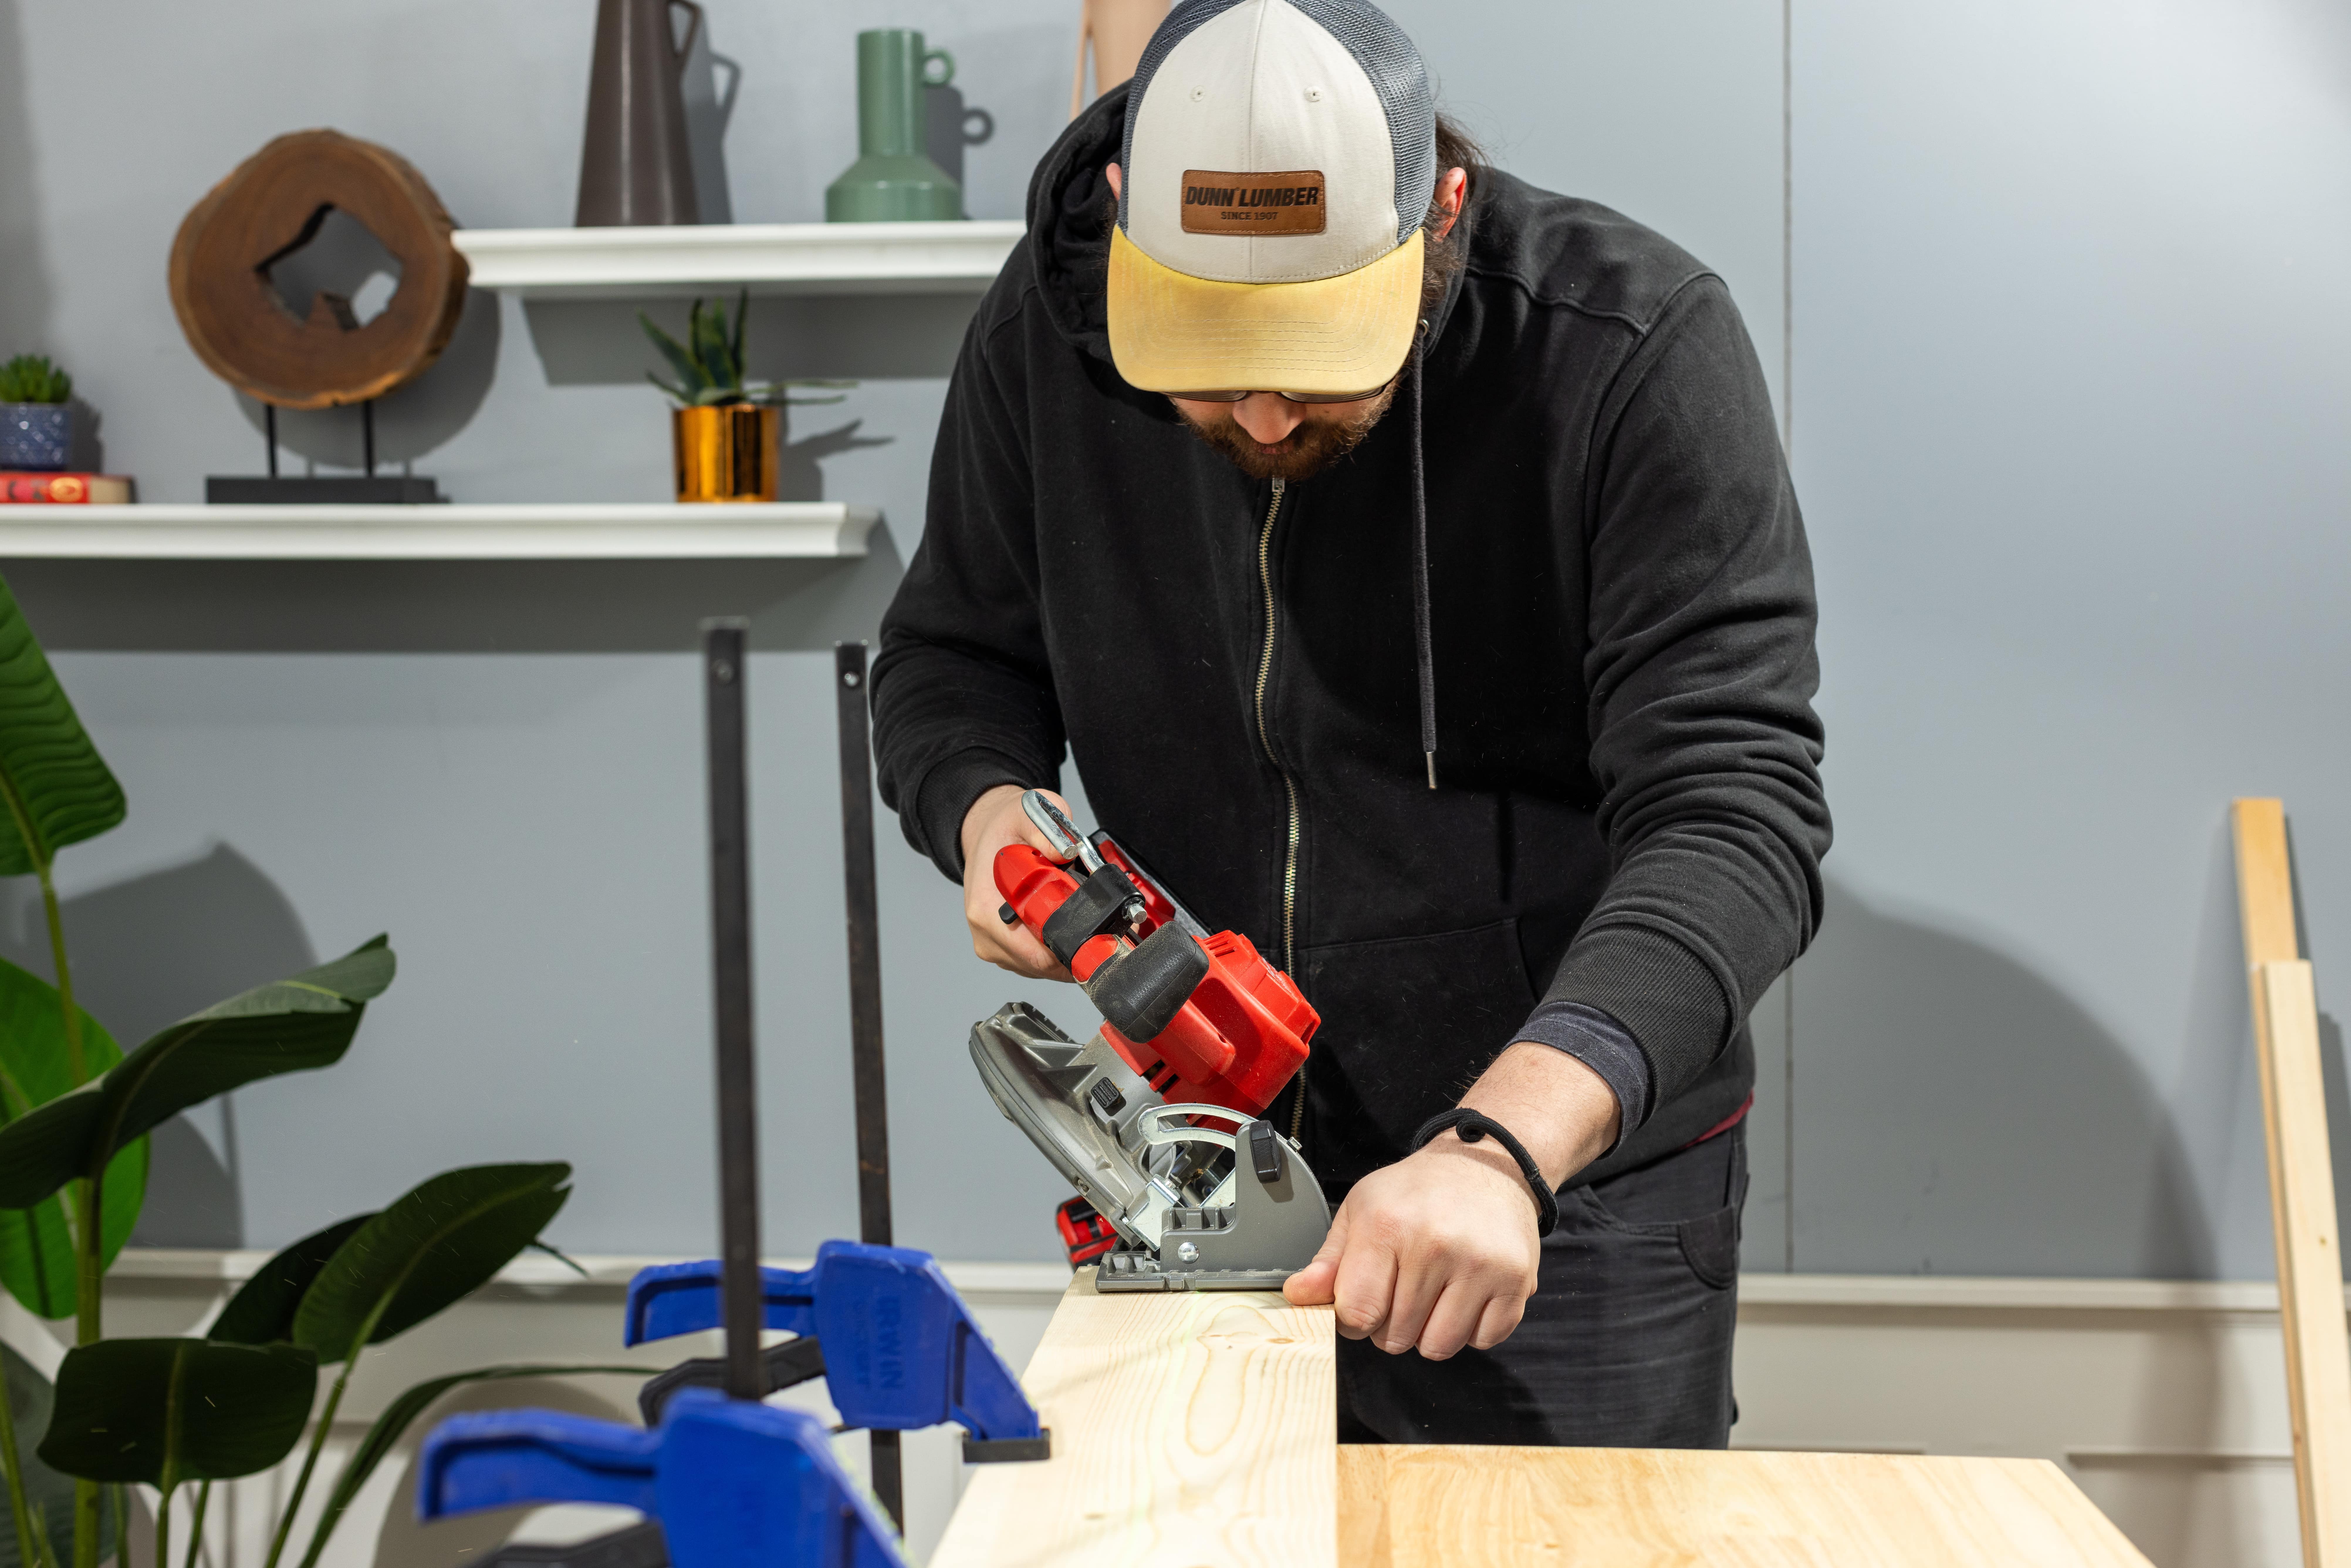
Next, take your 2’ lengths and rip them in half on the table saw at a 45º angle. This will create eight cleats to attach to the backer board, giving you plenty of room to attach accessories at the end of the project.
Pro tip: Measure the center point on your 2’ lengths and then use chalk to create your cut line down the middle before using the table saw. You can also use a measuring tape or table square.
As an alternative to one-by-six boards, you can also use one-by-three boards and create a 45º chamfer with a table saw.
If this is your first time using a table saw, keep your hands clear from the saw whenever possible and use a scrap one-by-two as a pushing stick.
Step 4: Cut border
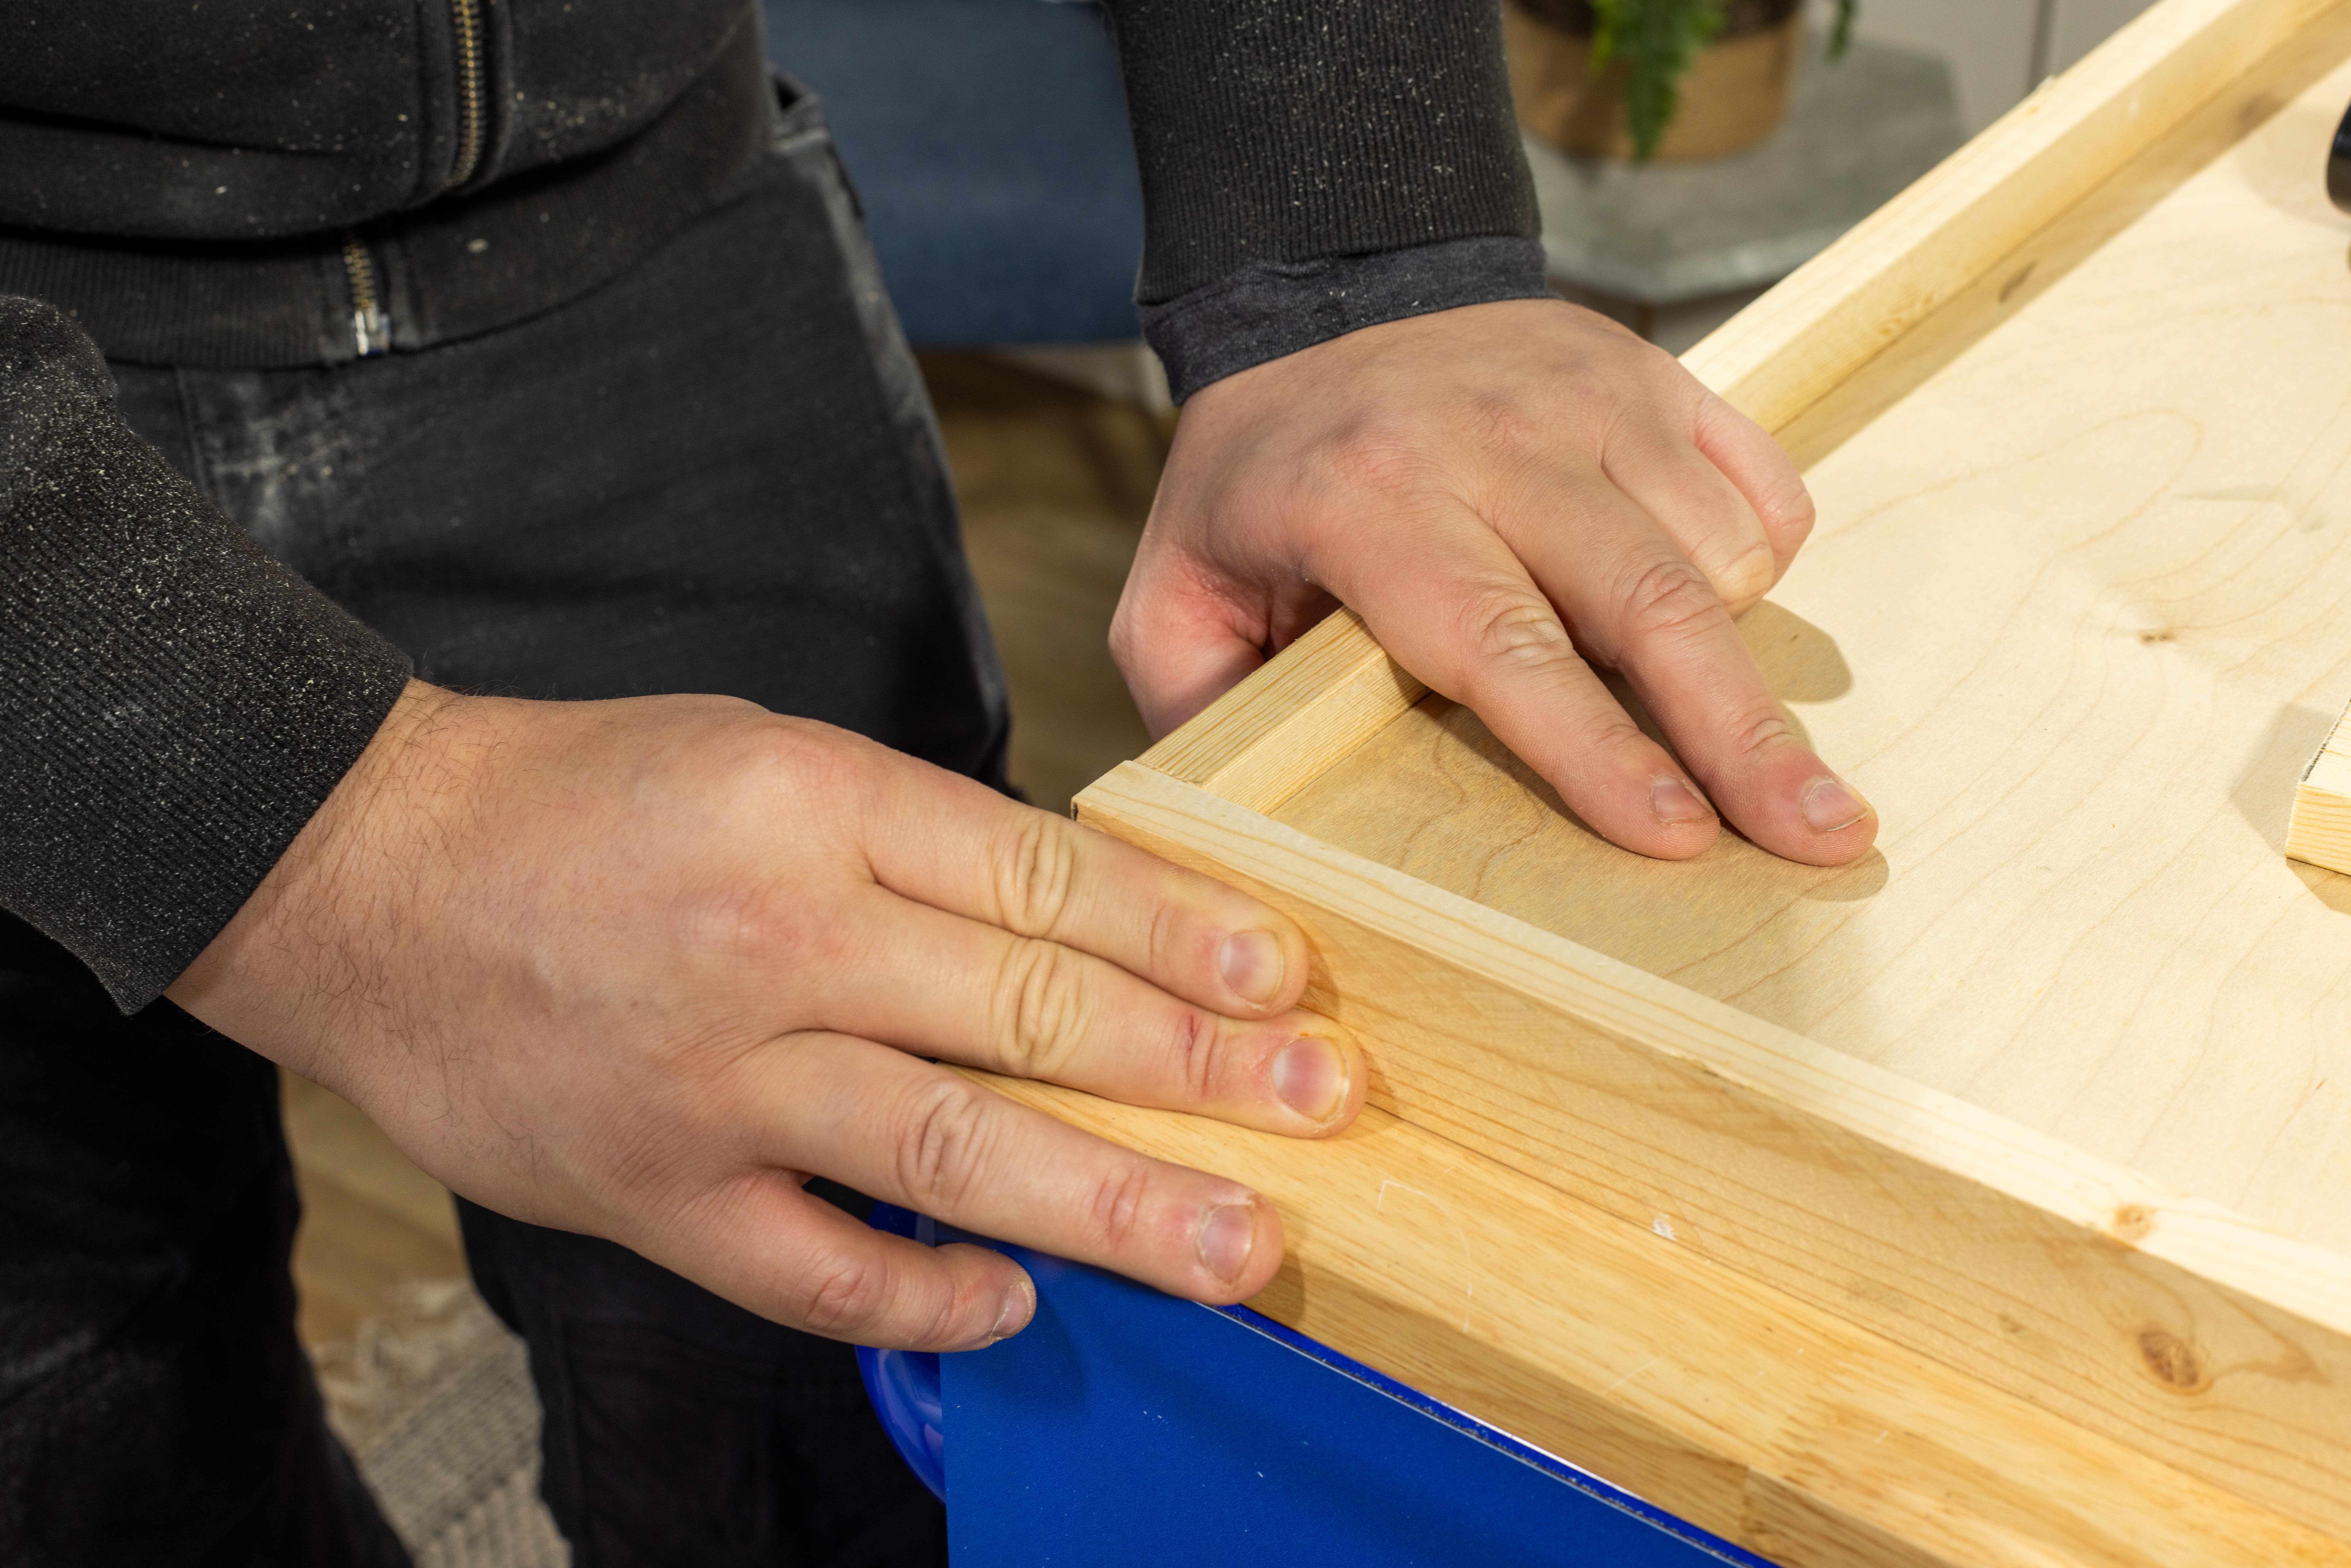
Cut your one-by-two boards to create the border around the backer board.
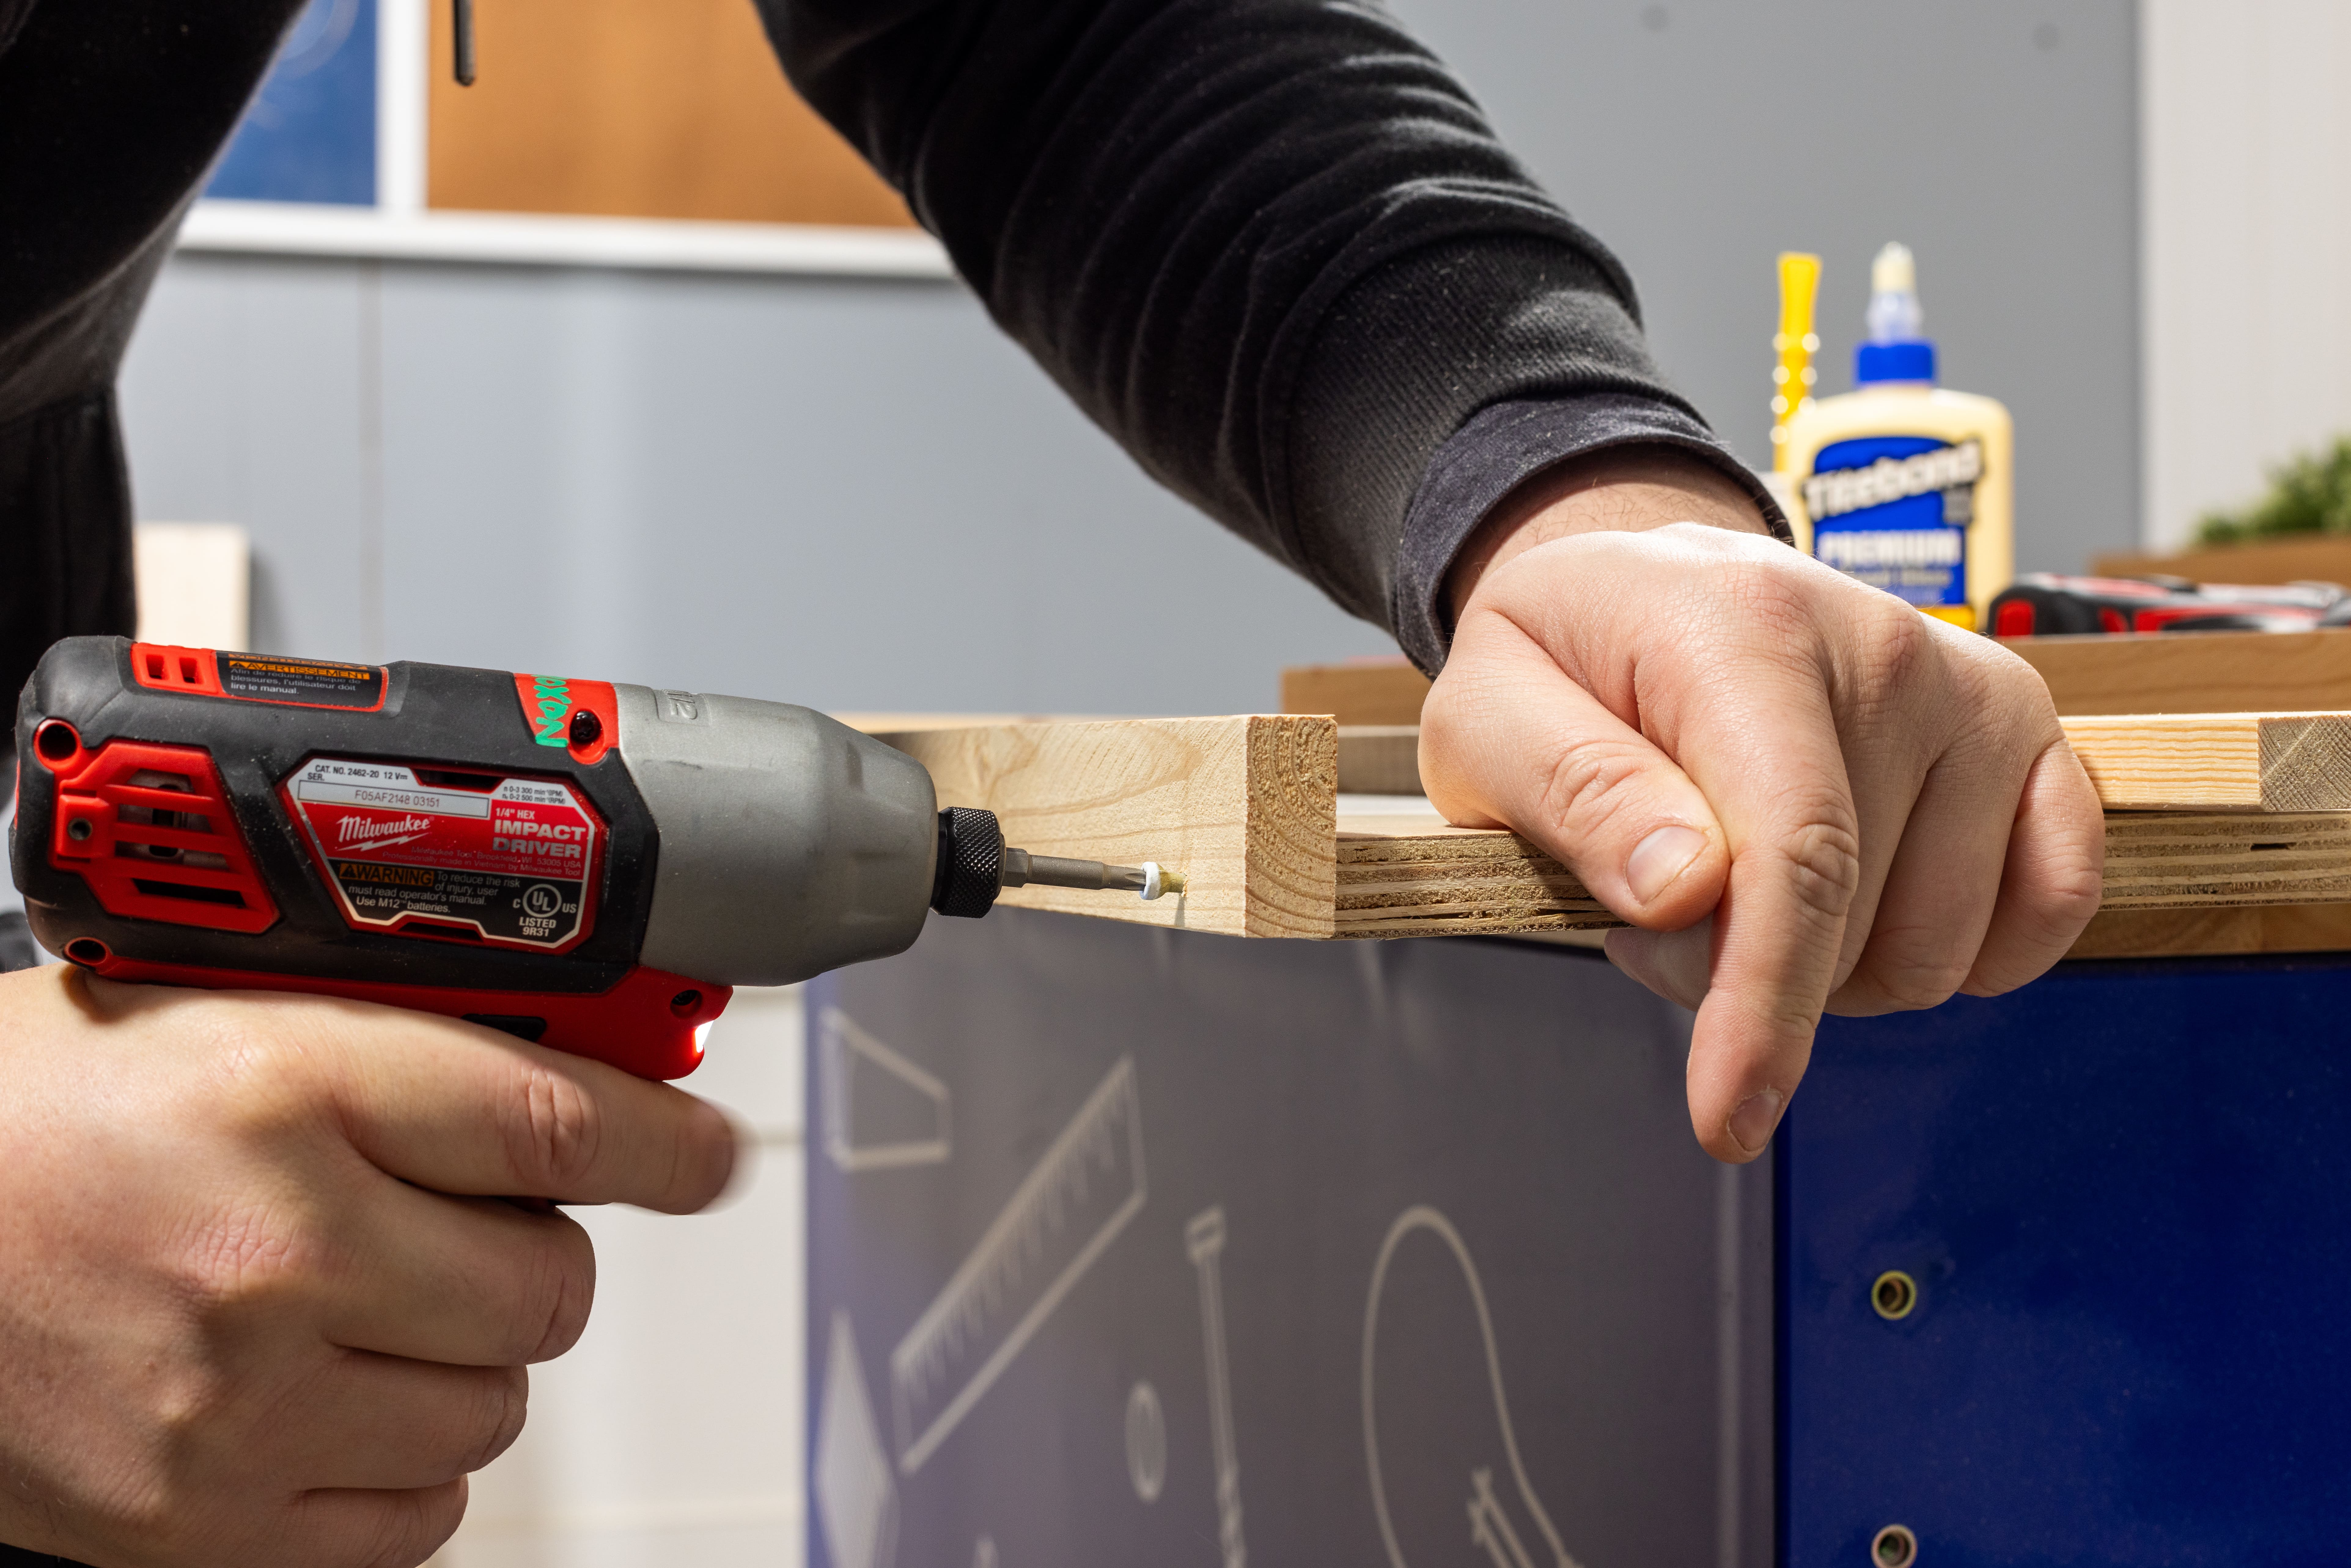
Attach the border by brushing wood glue on the inside of the border pieces. Then clamp them in place and use white head screws to finish attaching them to the backer board.


Step 5: Cut accessory cleats
Repeat steps 2 and 3 to create your accessory cleats.

Step 6: Attach wall cleats
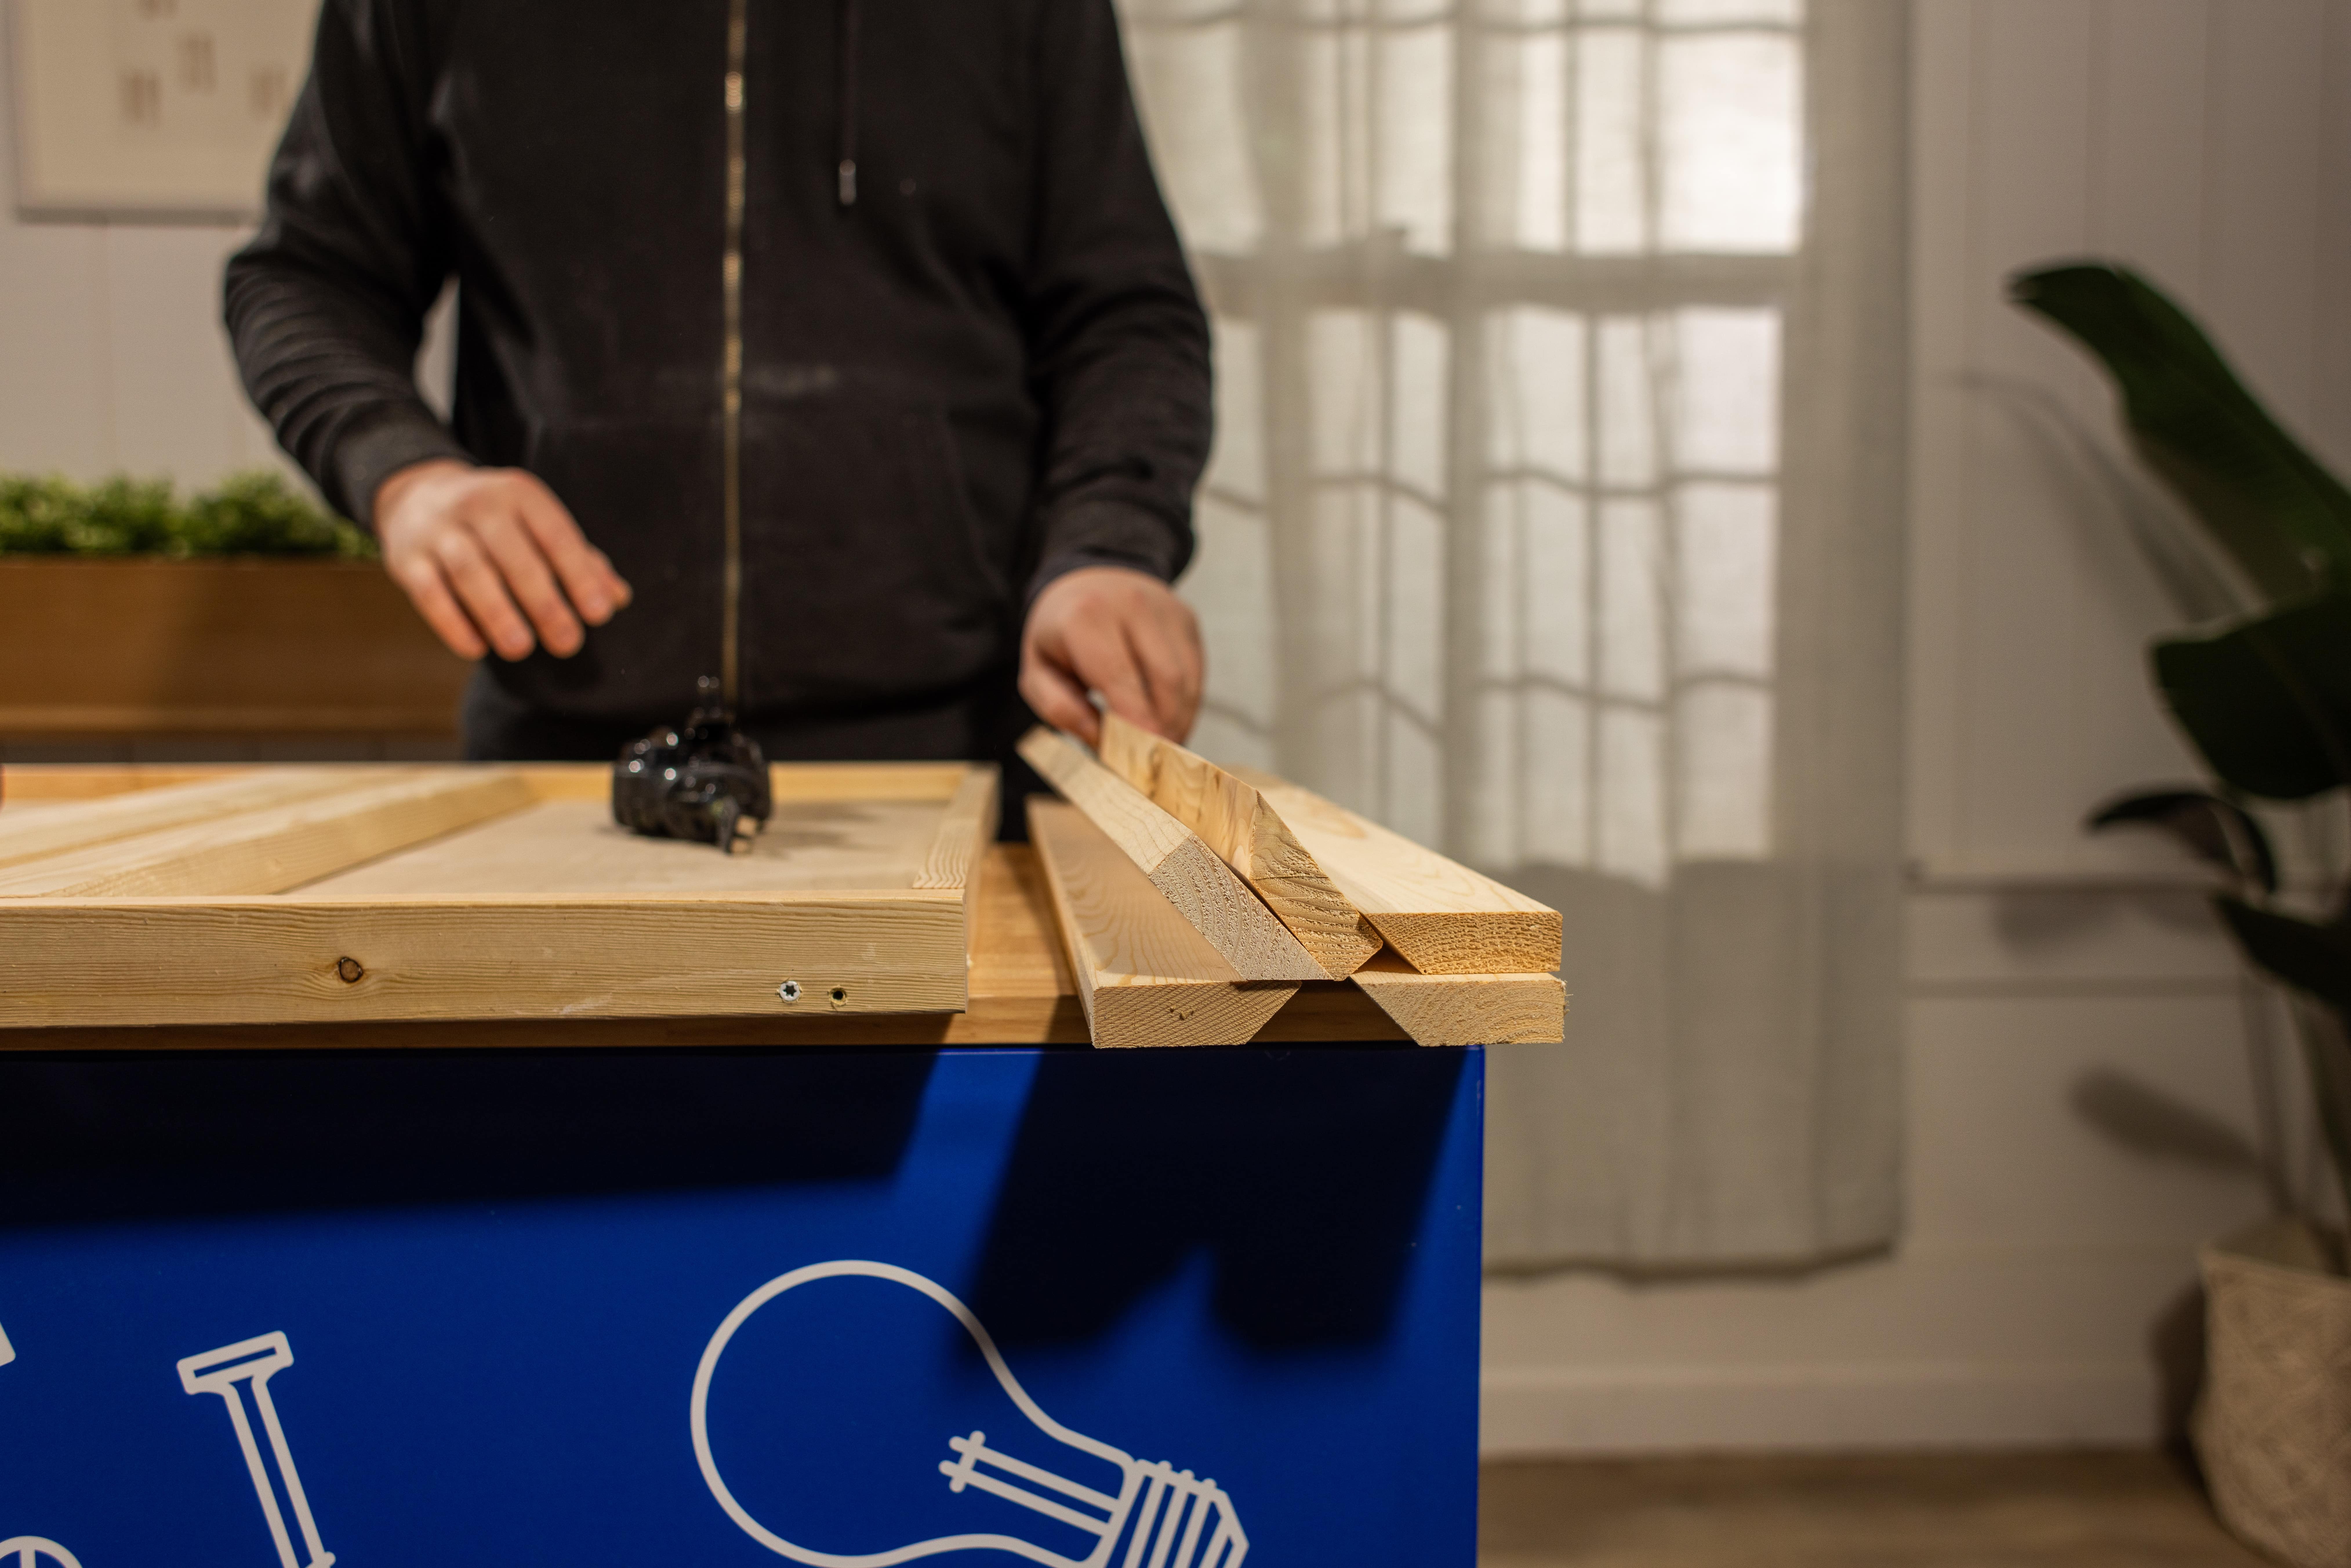
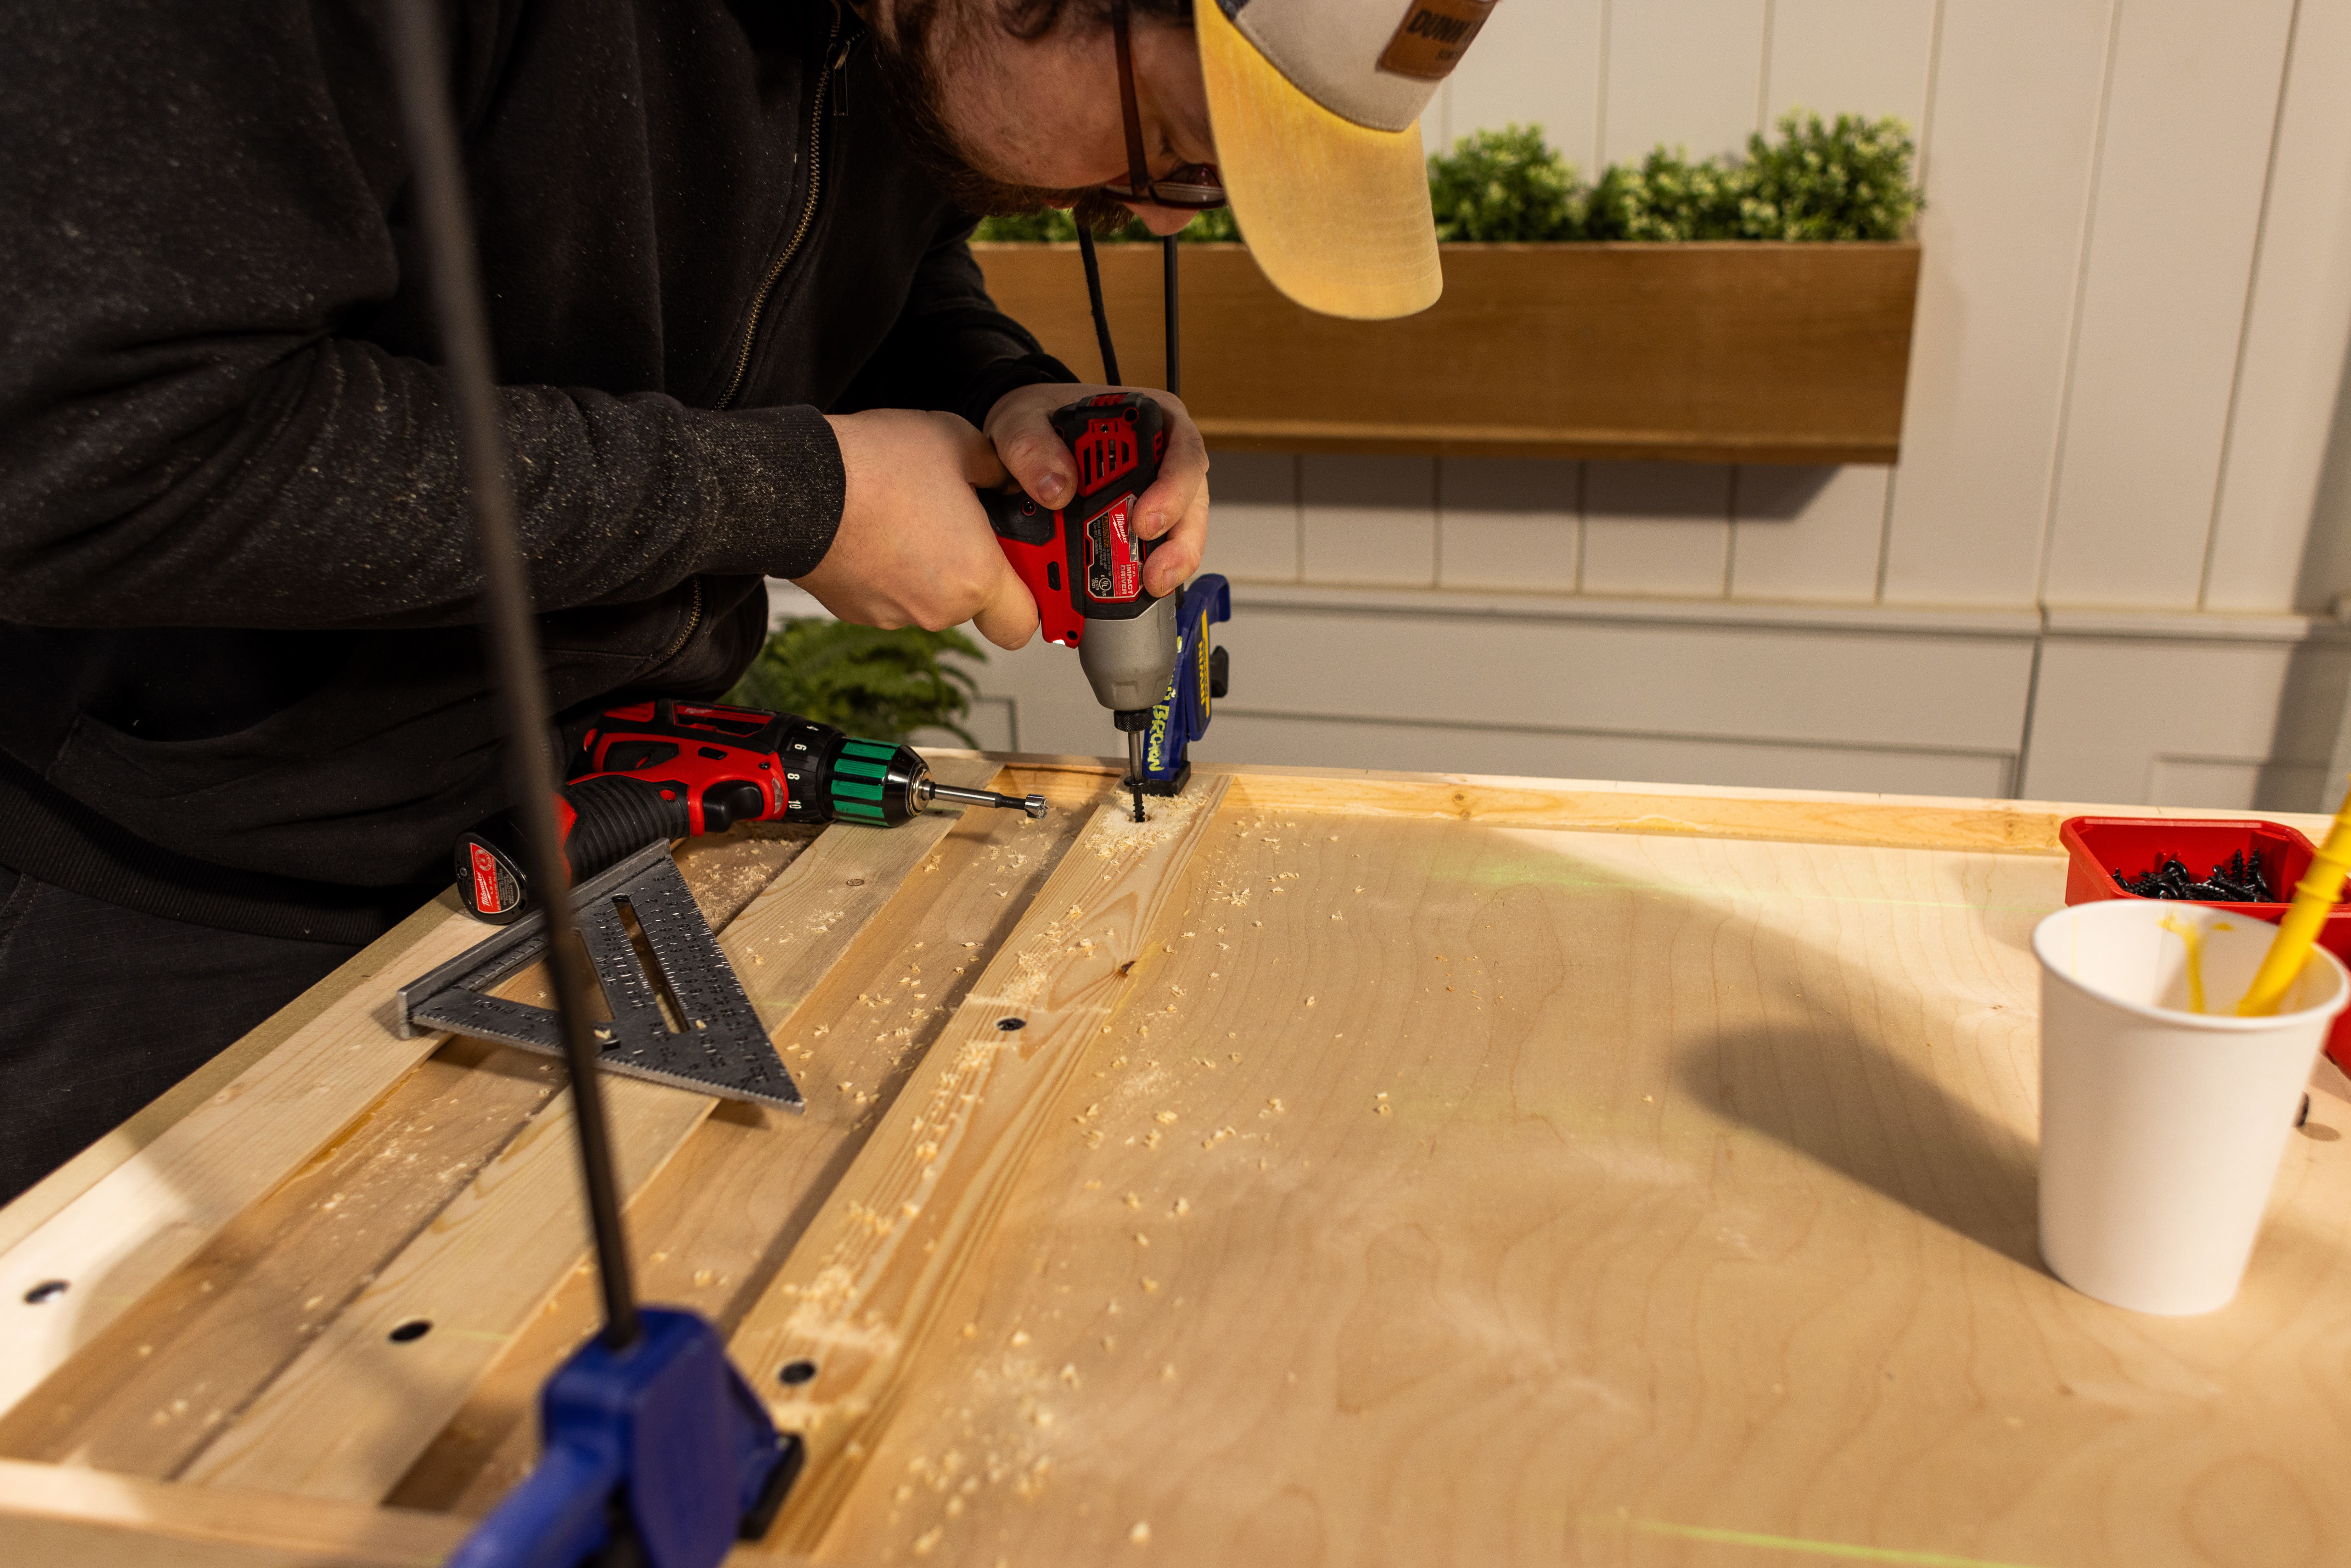
Attach the wall cleats to your backer board starting from the bottom and working up. Before attaching the rails to the backer board, use the chalk line string to determine uniform lag screw placement. You’ll use three screws in total: two on either side, approximately 2” in from the edges, and one centered on the cleat. Cleats are to be placed 5 ⅛” apart up the backer board and the 45º cut section should be pointed up.
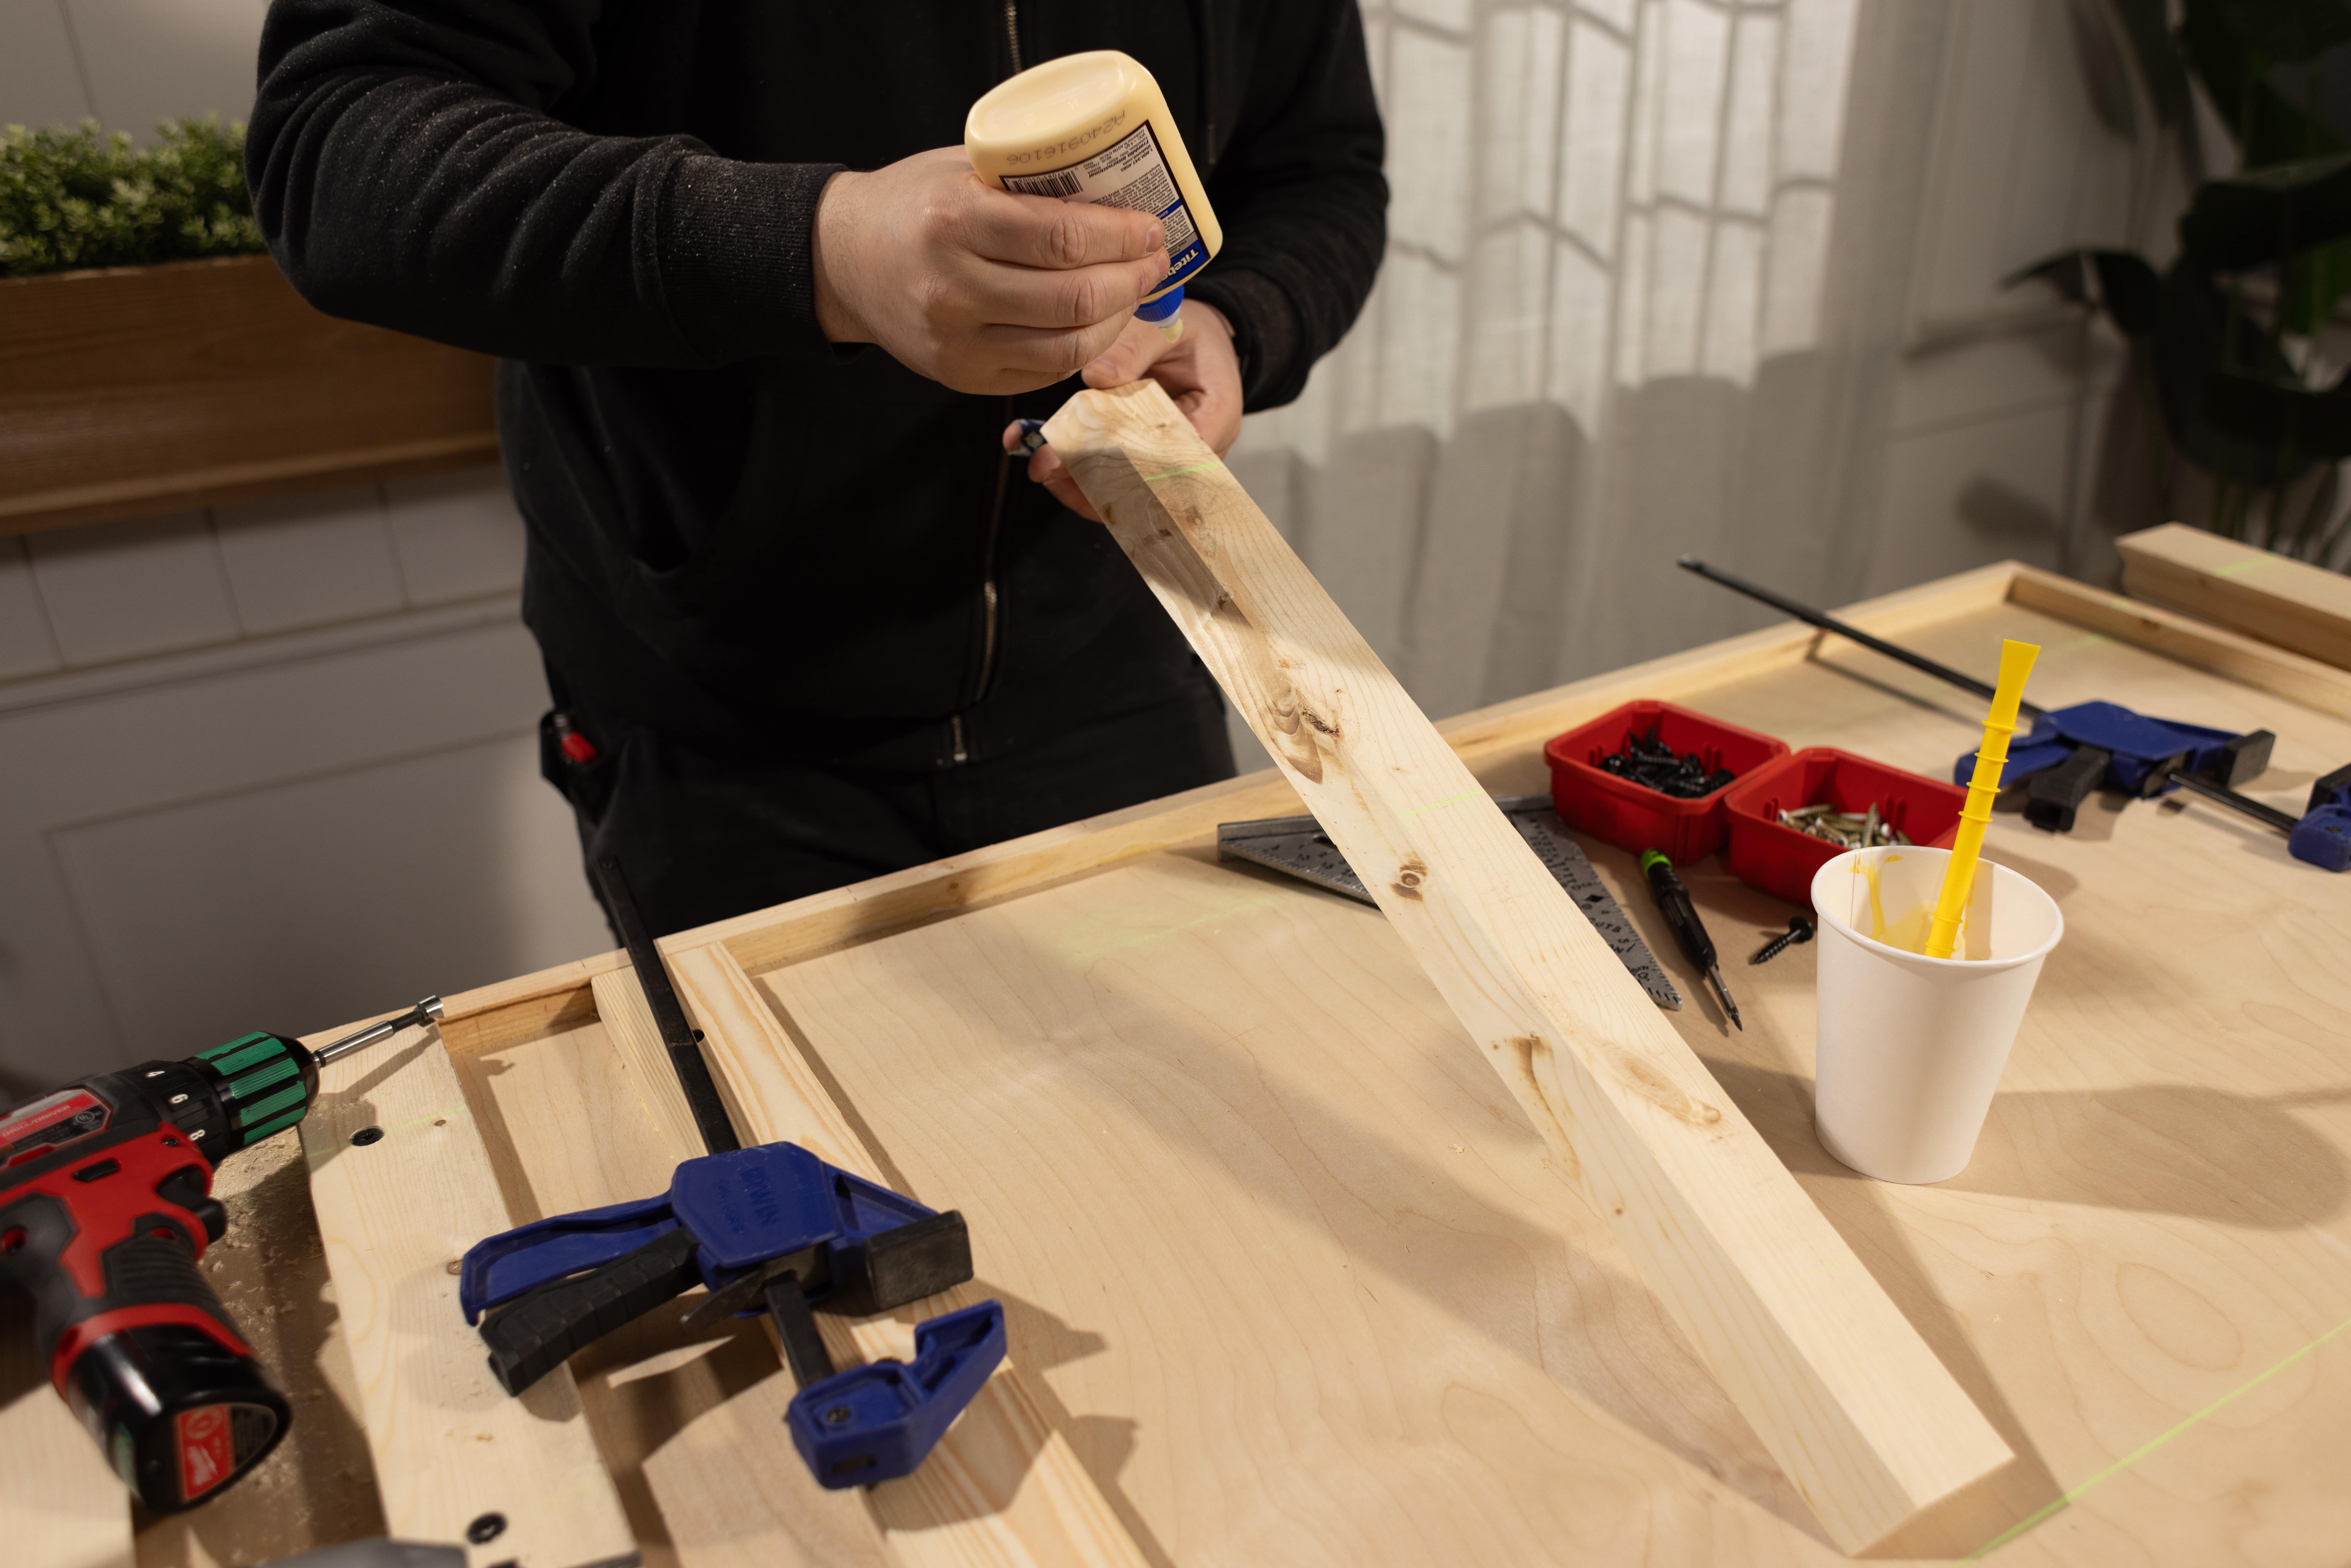
Brush glue onto the back of the cleats before attaching them for extra security.


Step 7: Plan accessories
Think about the accessories you would like to include in your shelving system and draw them out for accuracy. Creativity and vision for your space are important for this step!
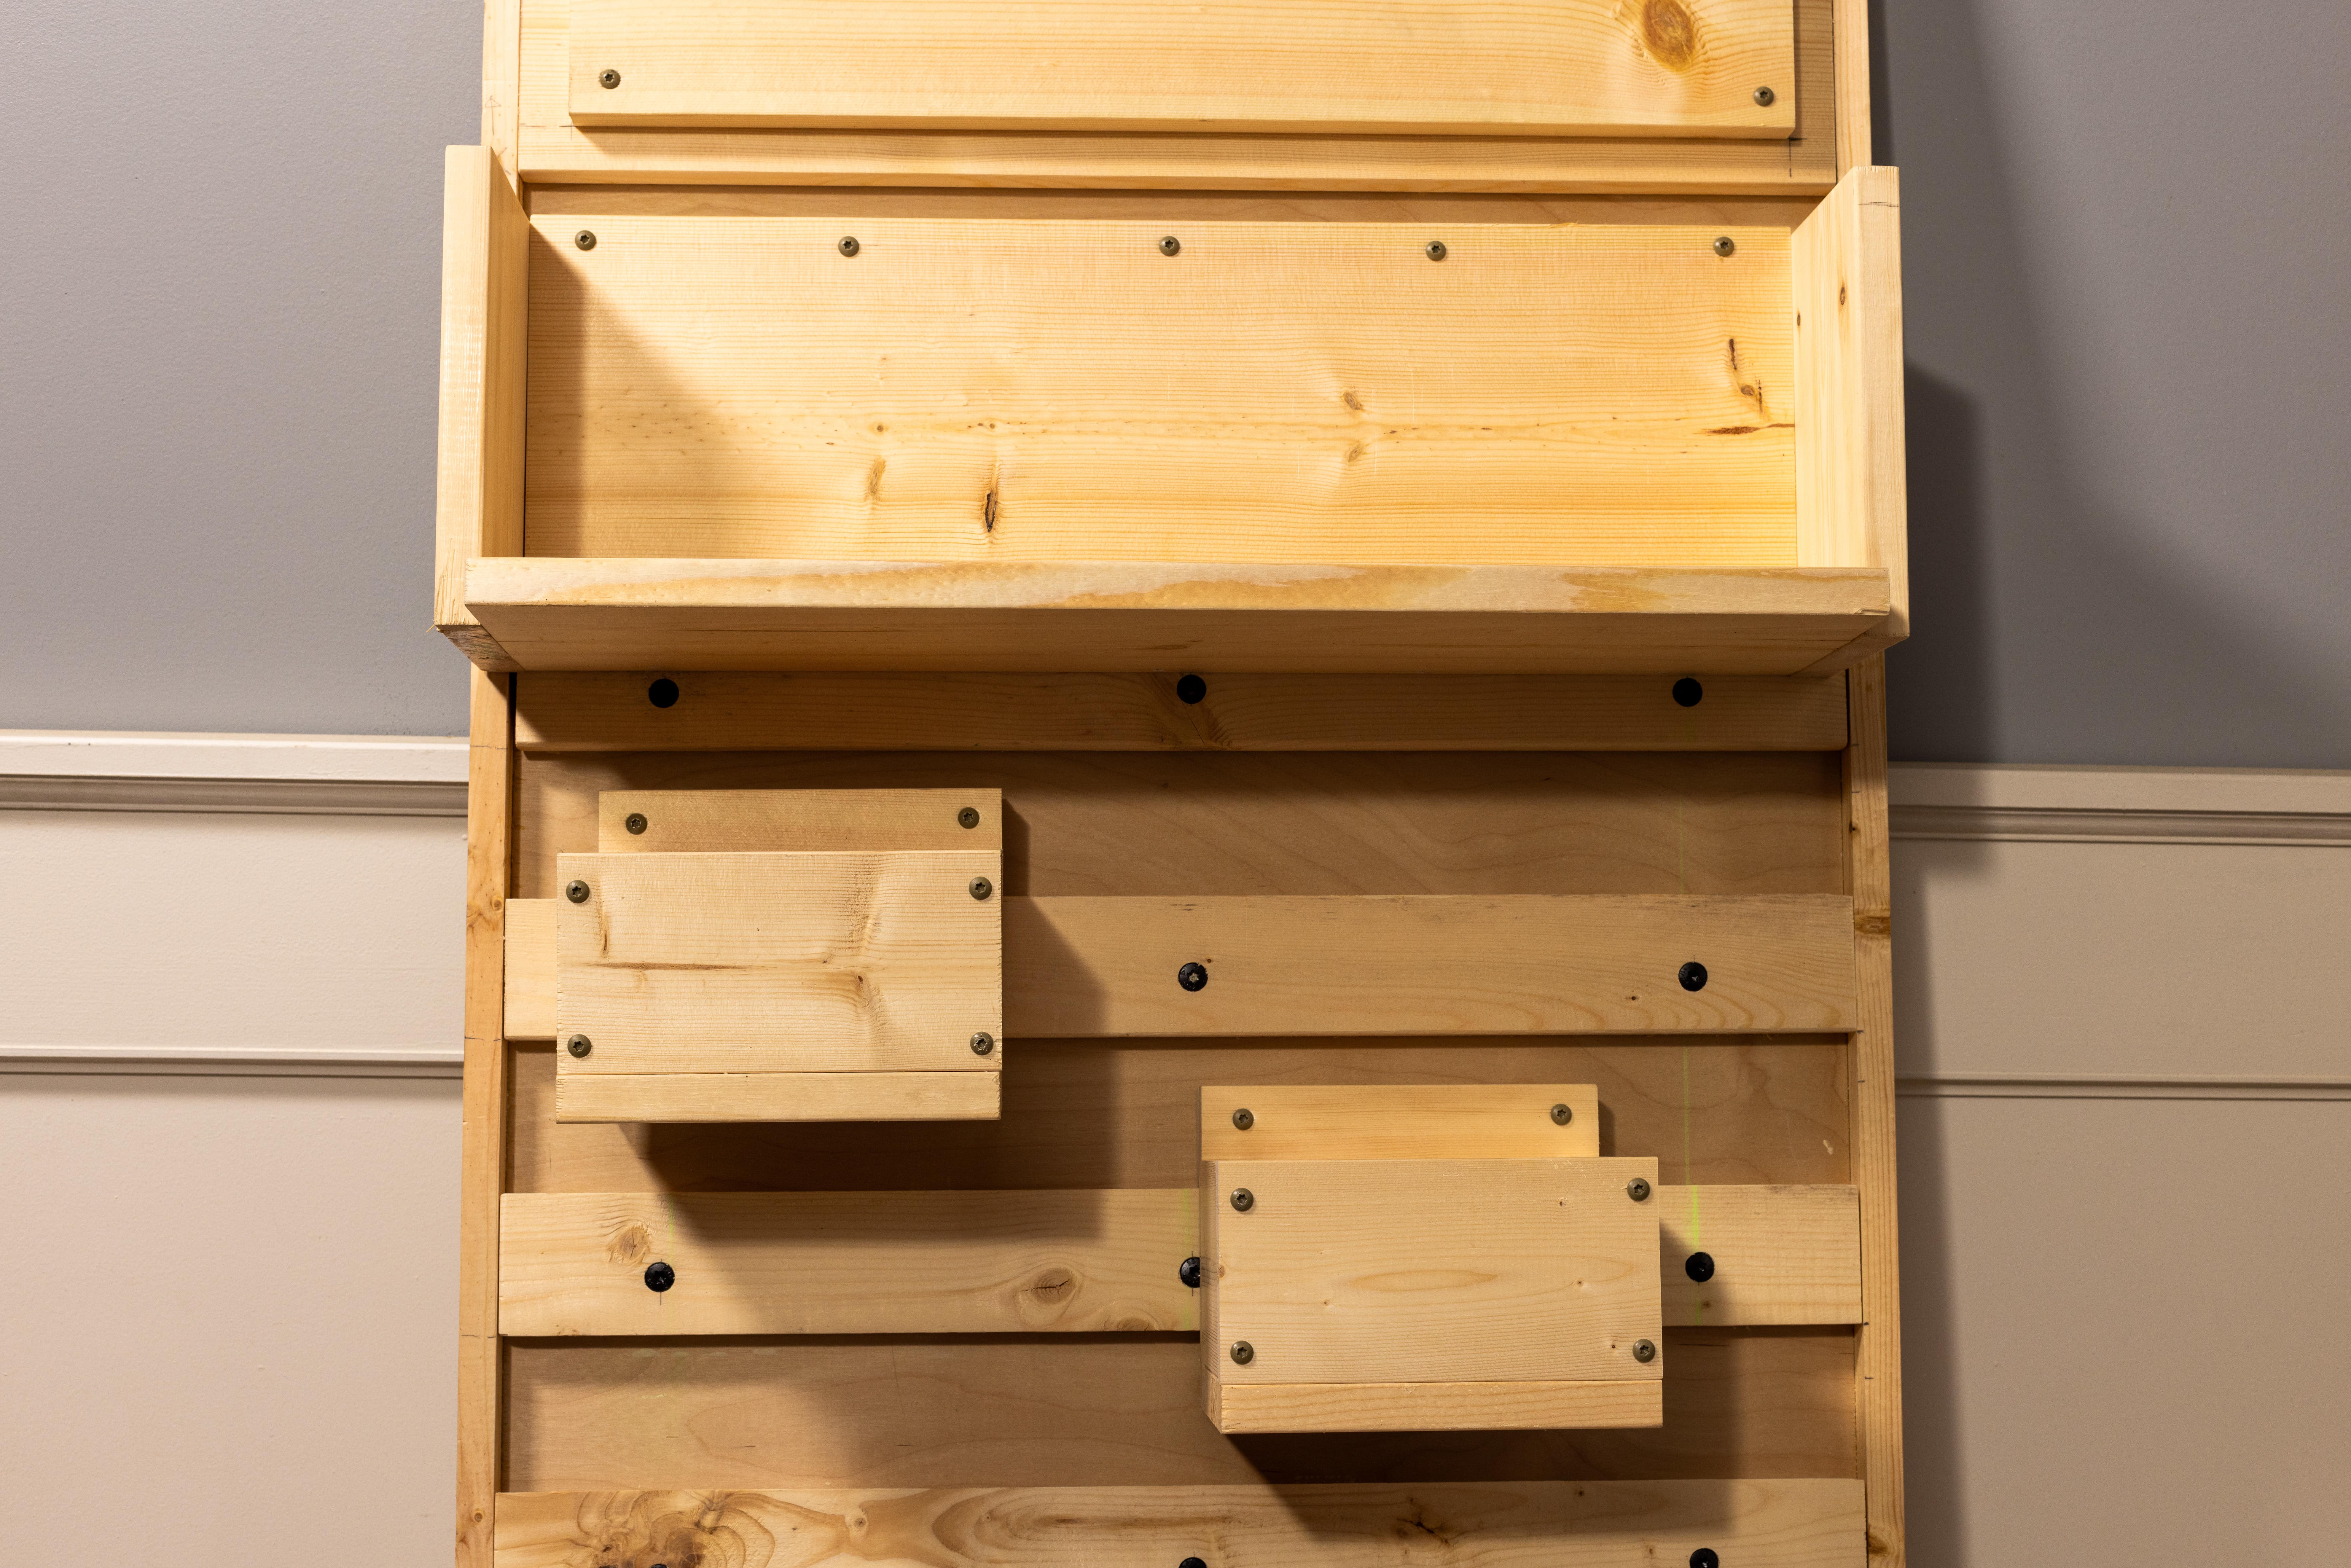
In our version, we made the following accessories for an entryway:
- A set of positional coat hangers (3-4 individual blocks)
- Two (2) shallow 5” x 5” “key bowls” for everyday items like wallets, keys, etc.
- One (1) bookshelf 2’ x 8” for tablets and books
- One (1) “welcome home” sign

Step 8: Cut coat hanger and welcome sign
For the coat hanger and welcome sign, cut two one-by-six boards to 2’.
Attach a 2’ cleat on the back of the coat hanger rack with screws and glue.
Attach the welcome sign to a one-by-eight board, ⅞” from the border, then attach it to the backer board with white head screws.
Step 9: Install hooks and attach coat hanger rack
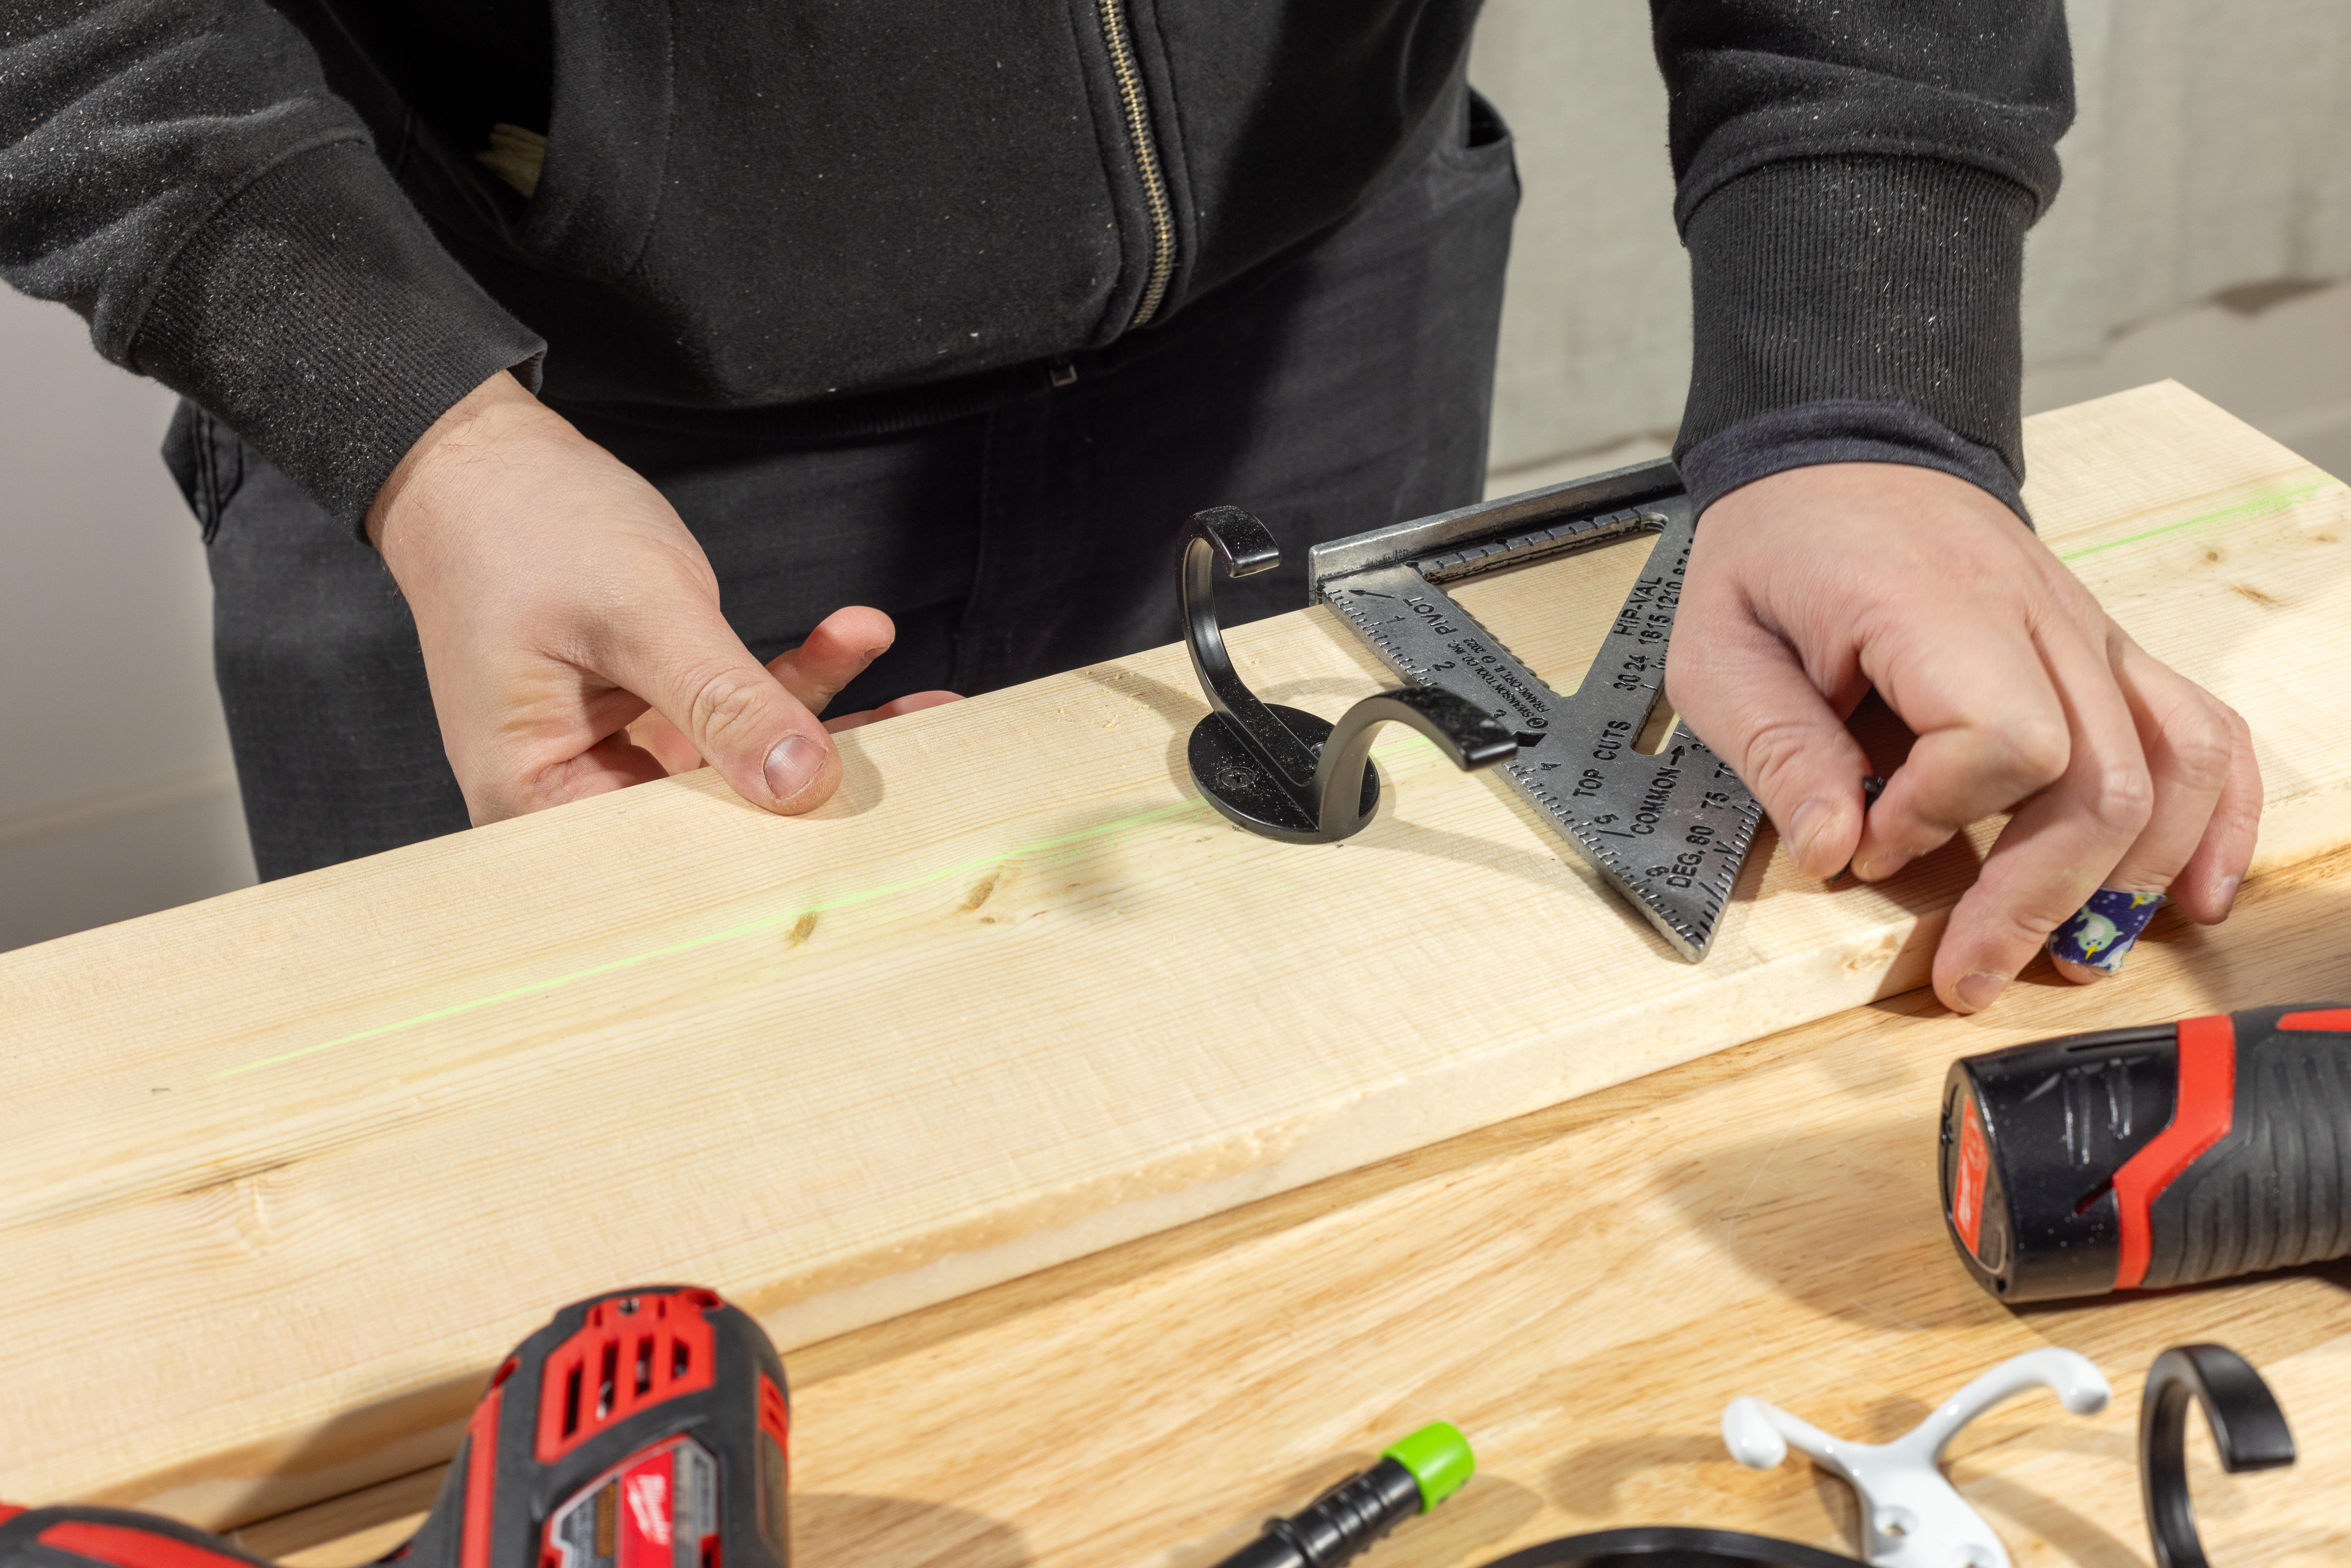
Lightly draw a center line in chalk going across one of the 2’ boards to help align the coat hooks.
Pre-drill holes for the coat hooks.
Attach the coat hooks to the 2' board.
To install the coat hanger rack, attach a 2’ cleat to the backer board with the 45º angled cut pointing down.

Step 10: Paint and attach welcome sign
If you are planning on painting or staining your welcome sign, go ahead and do that now. Otherwise, add a greeting, your last name, or the tried-and-true “live, laugh, love,” to your welcome sign.

Step 11: Prep and attach everyday item boxes
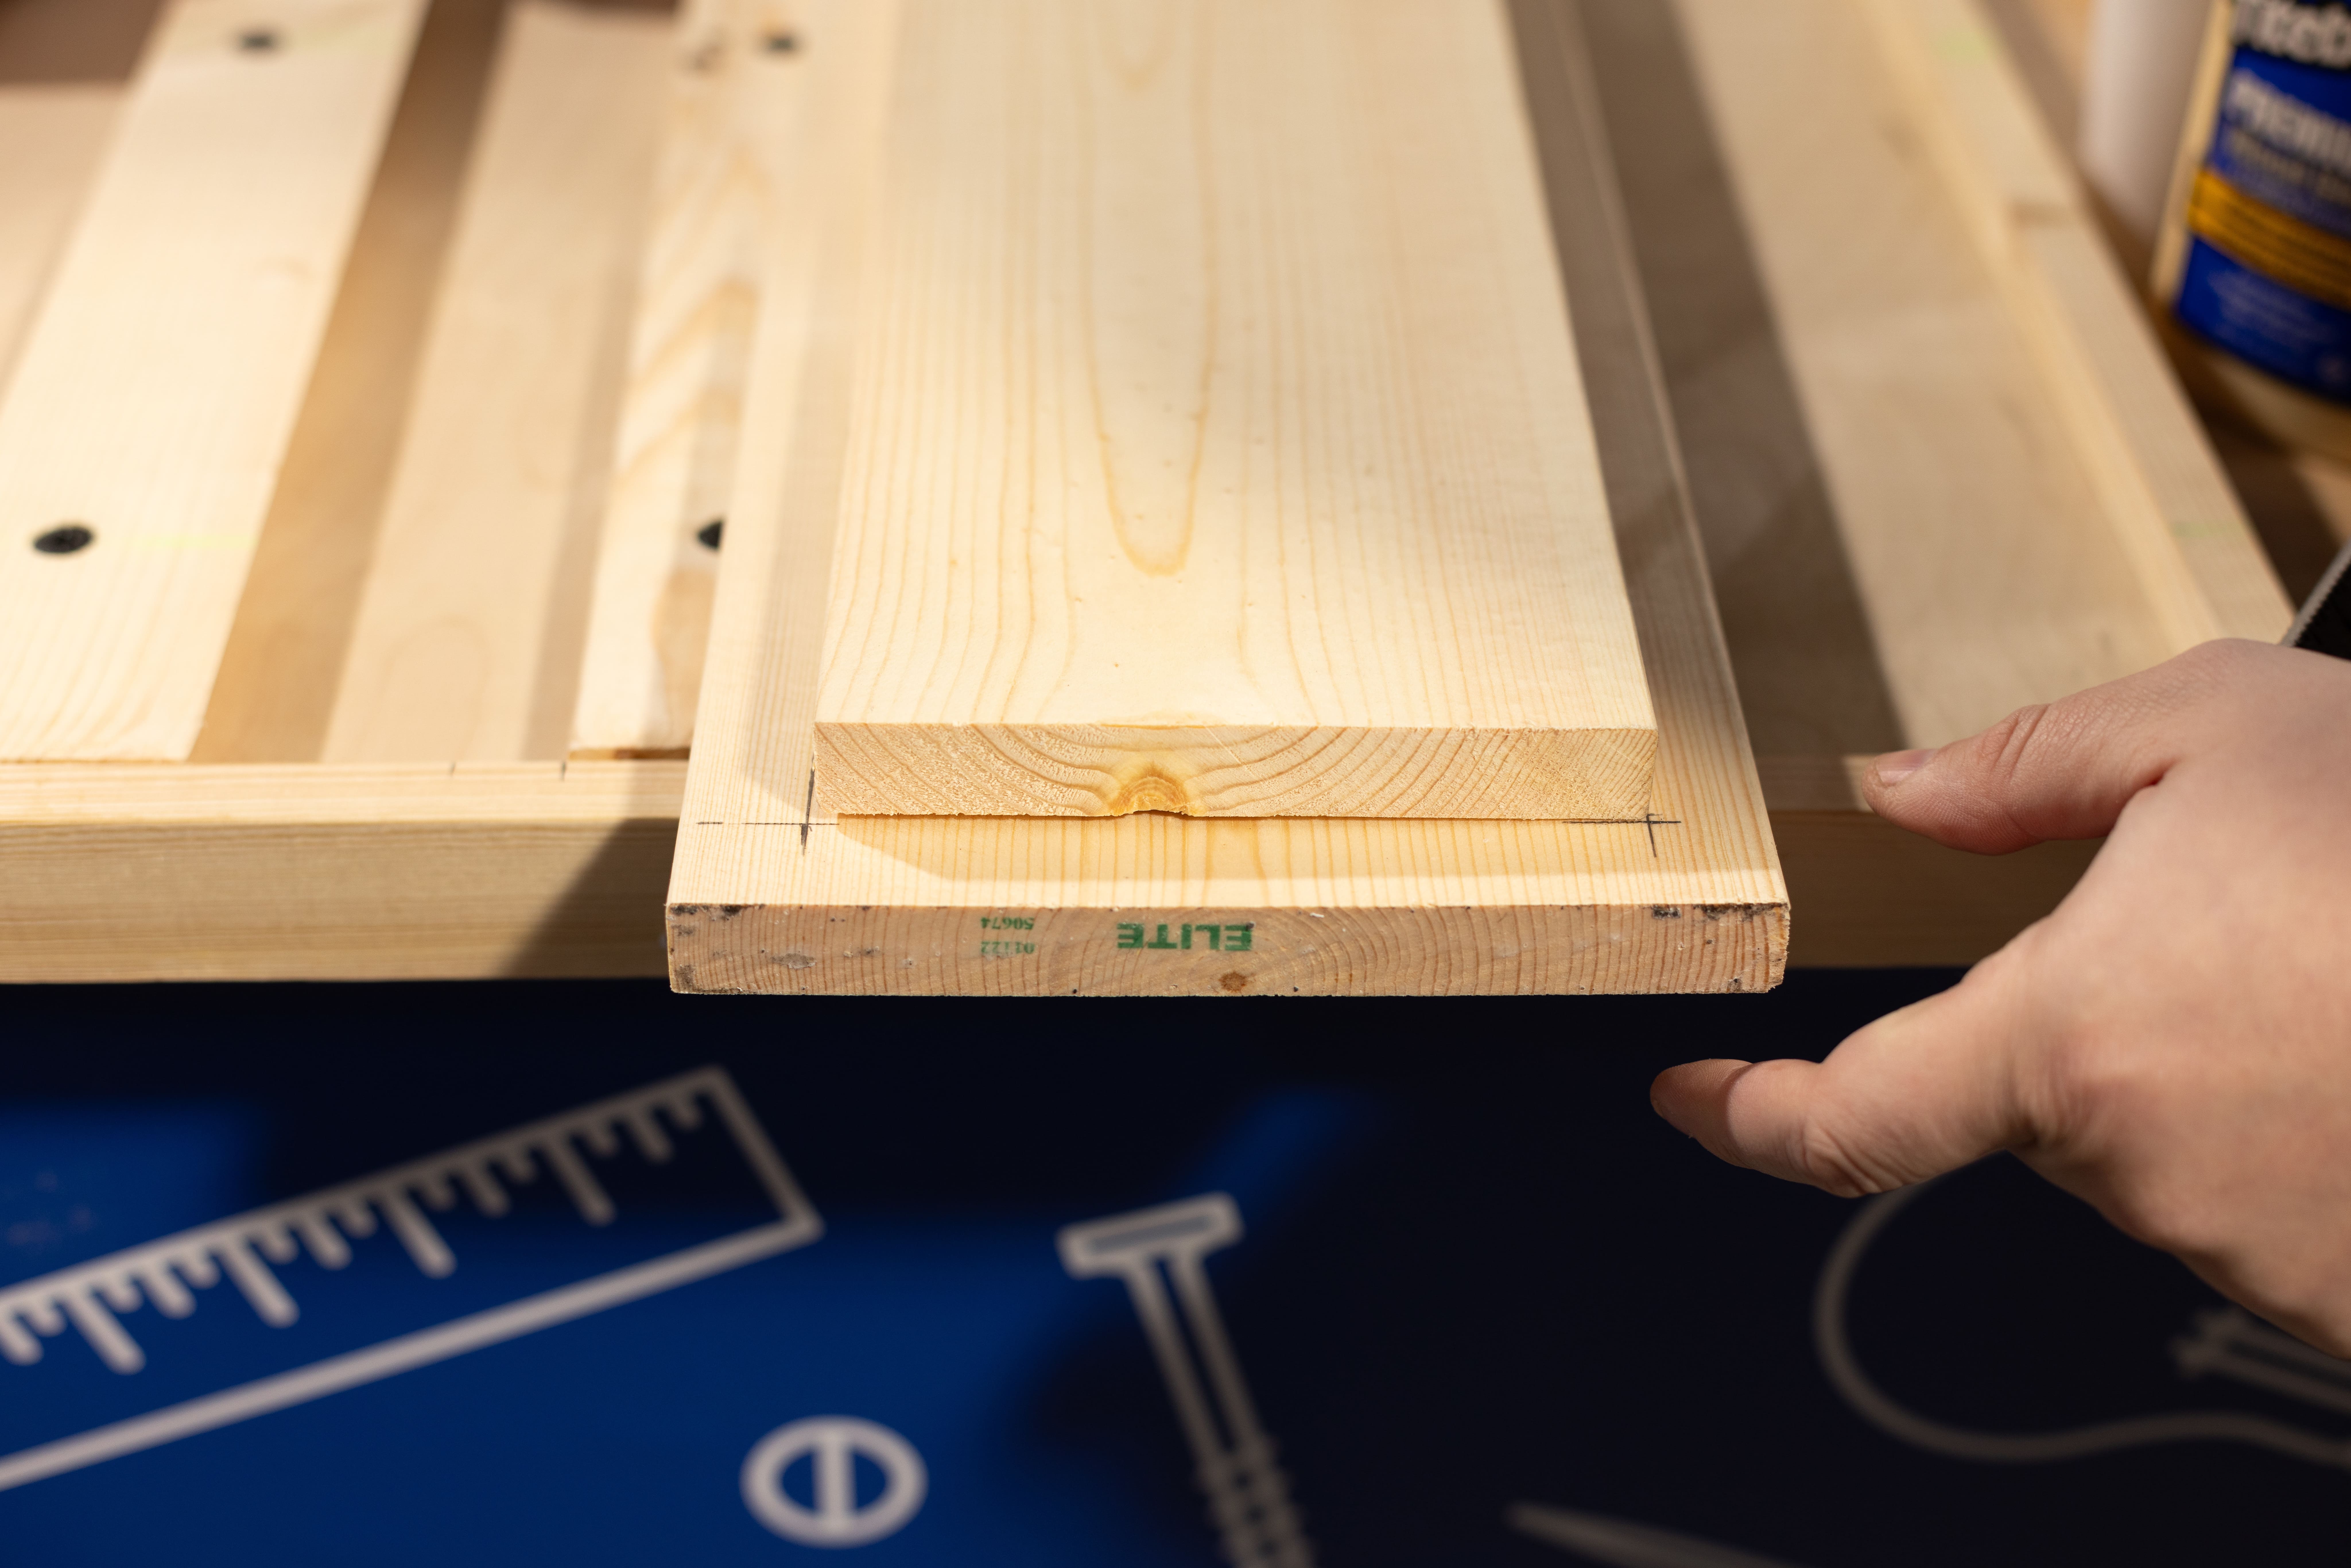
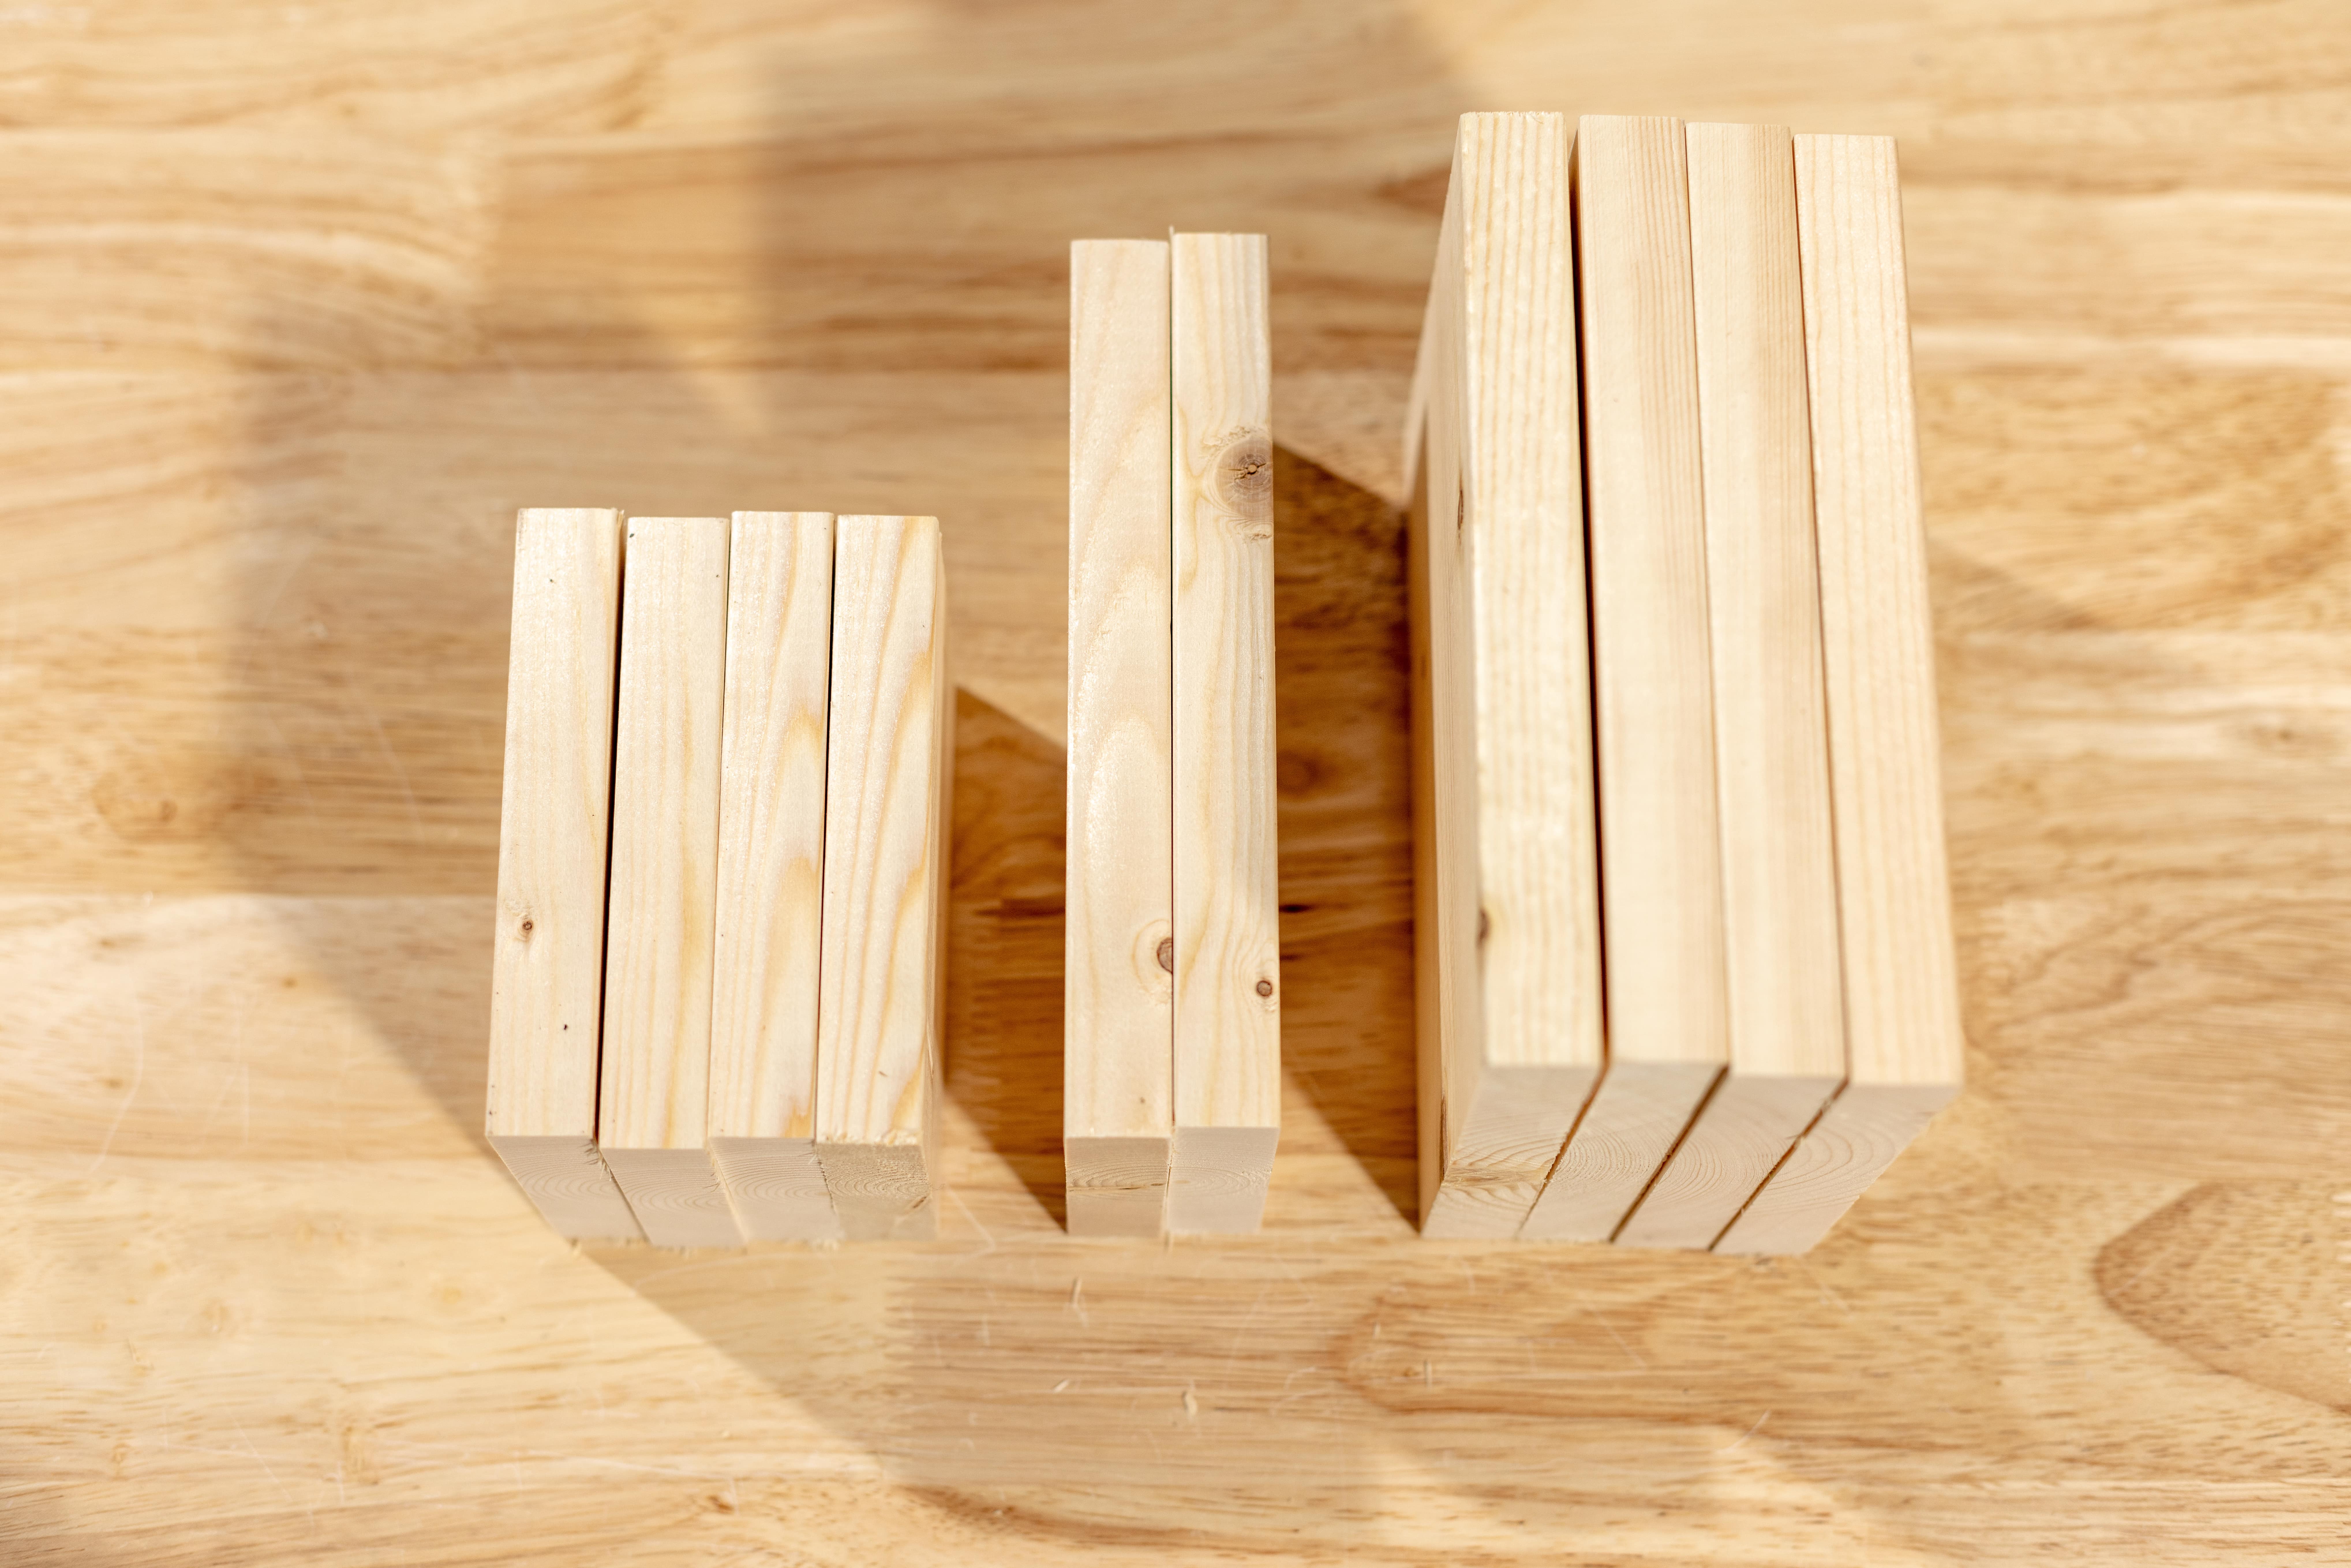
To make the everyday item boxes, begin by cutting two 7" by 7" squares from your one-by-six board. To do this, simply measure 7" inches from the end of the board, cut, and repeat a second time.
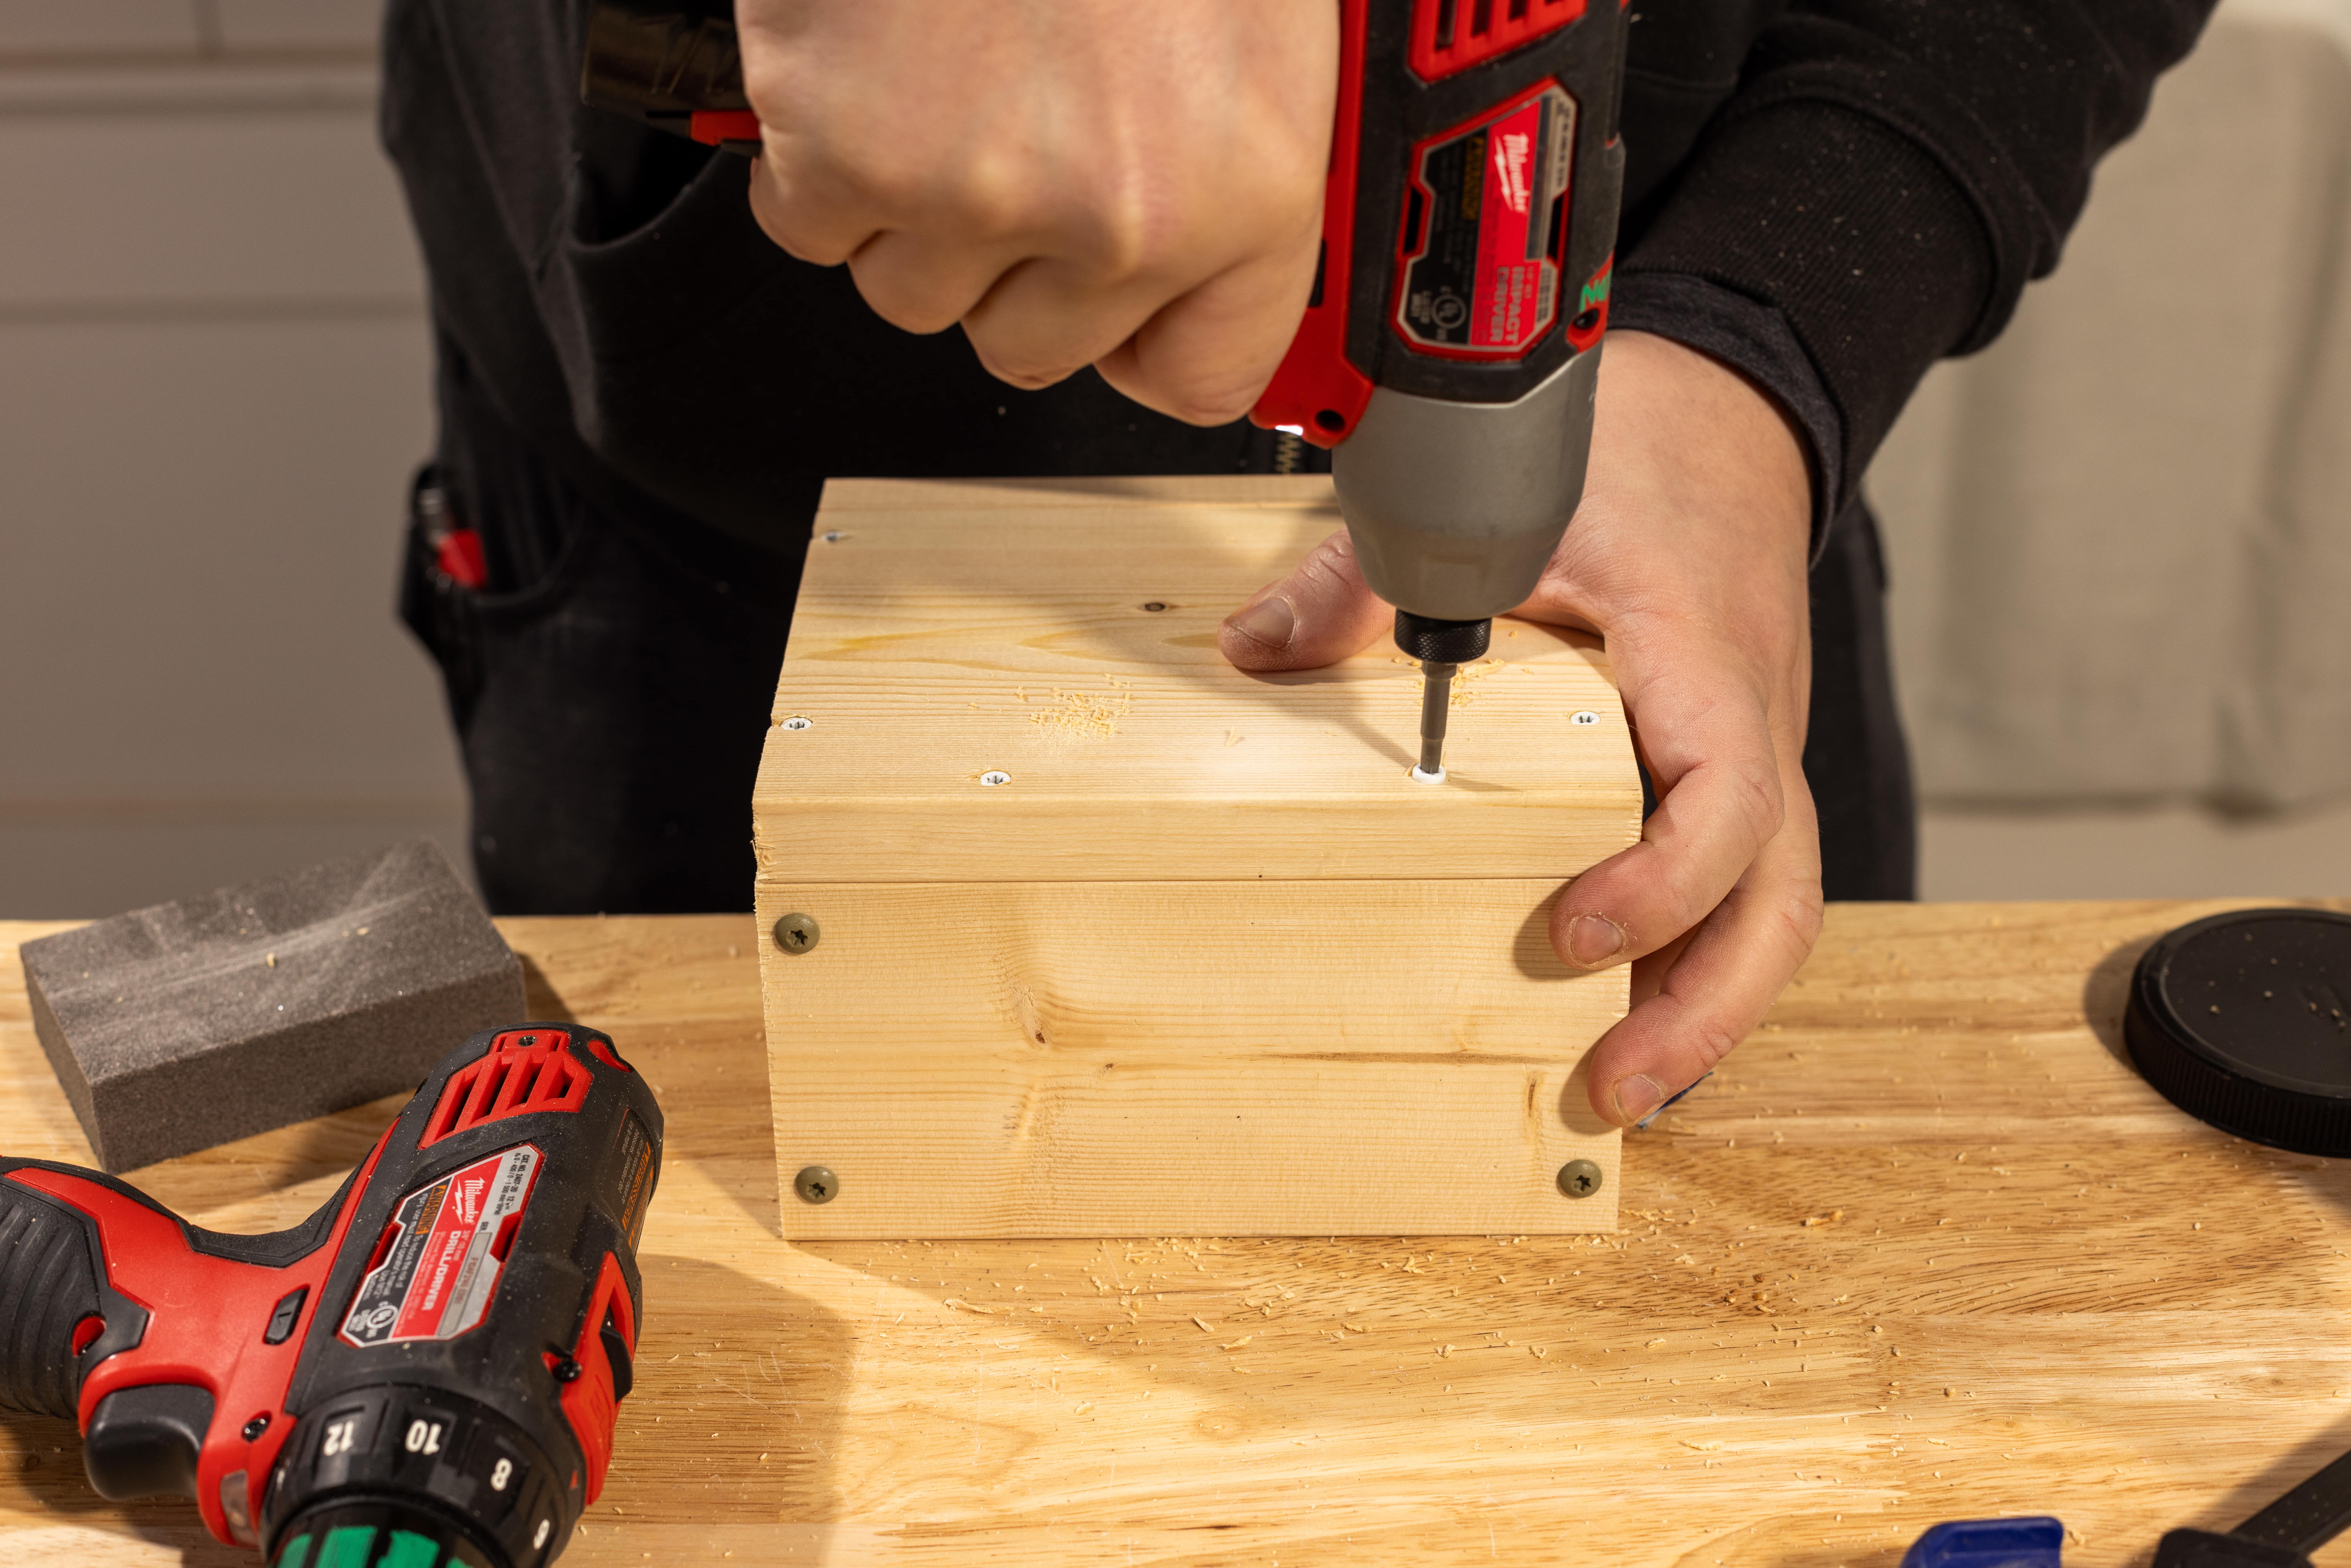
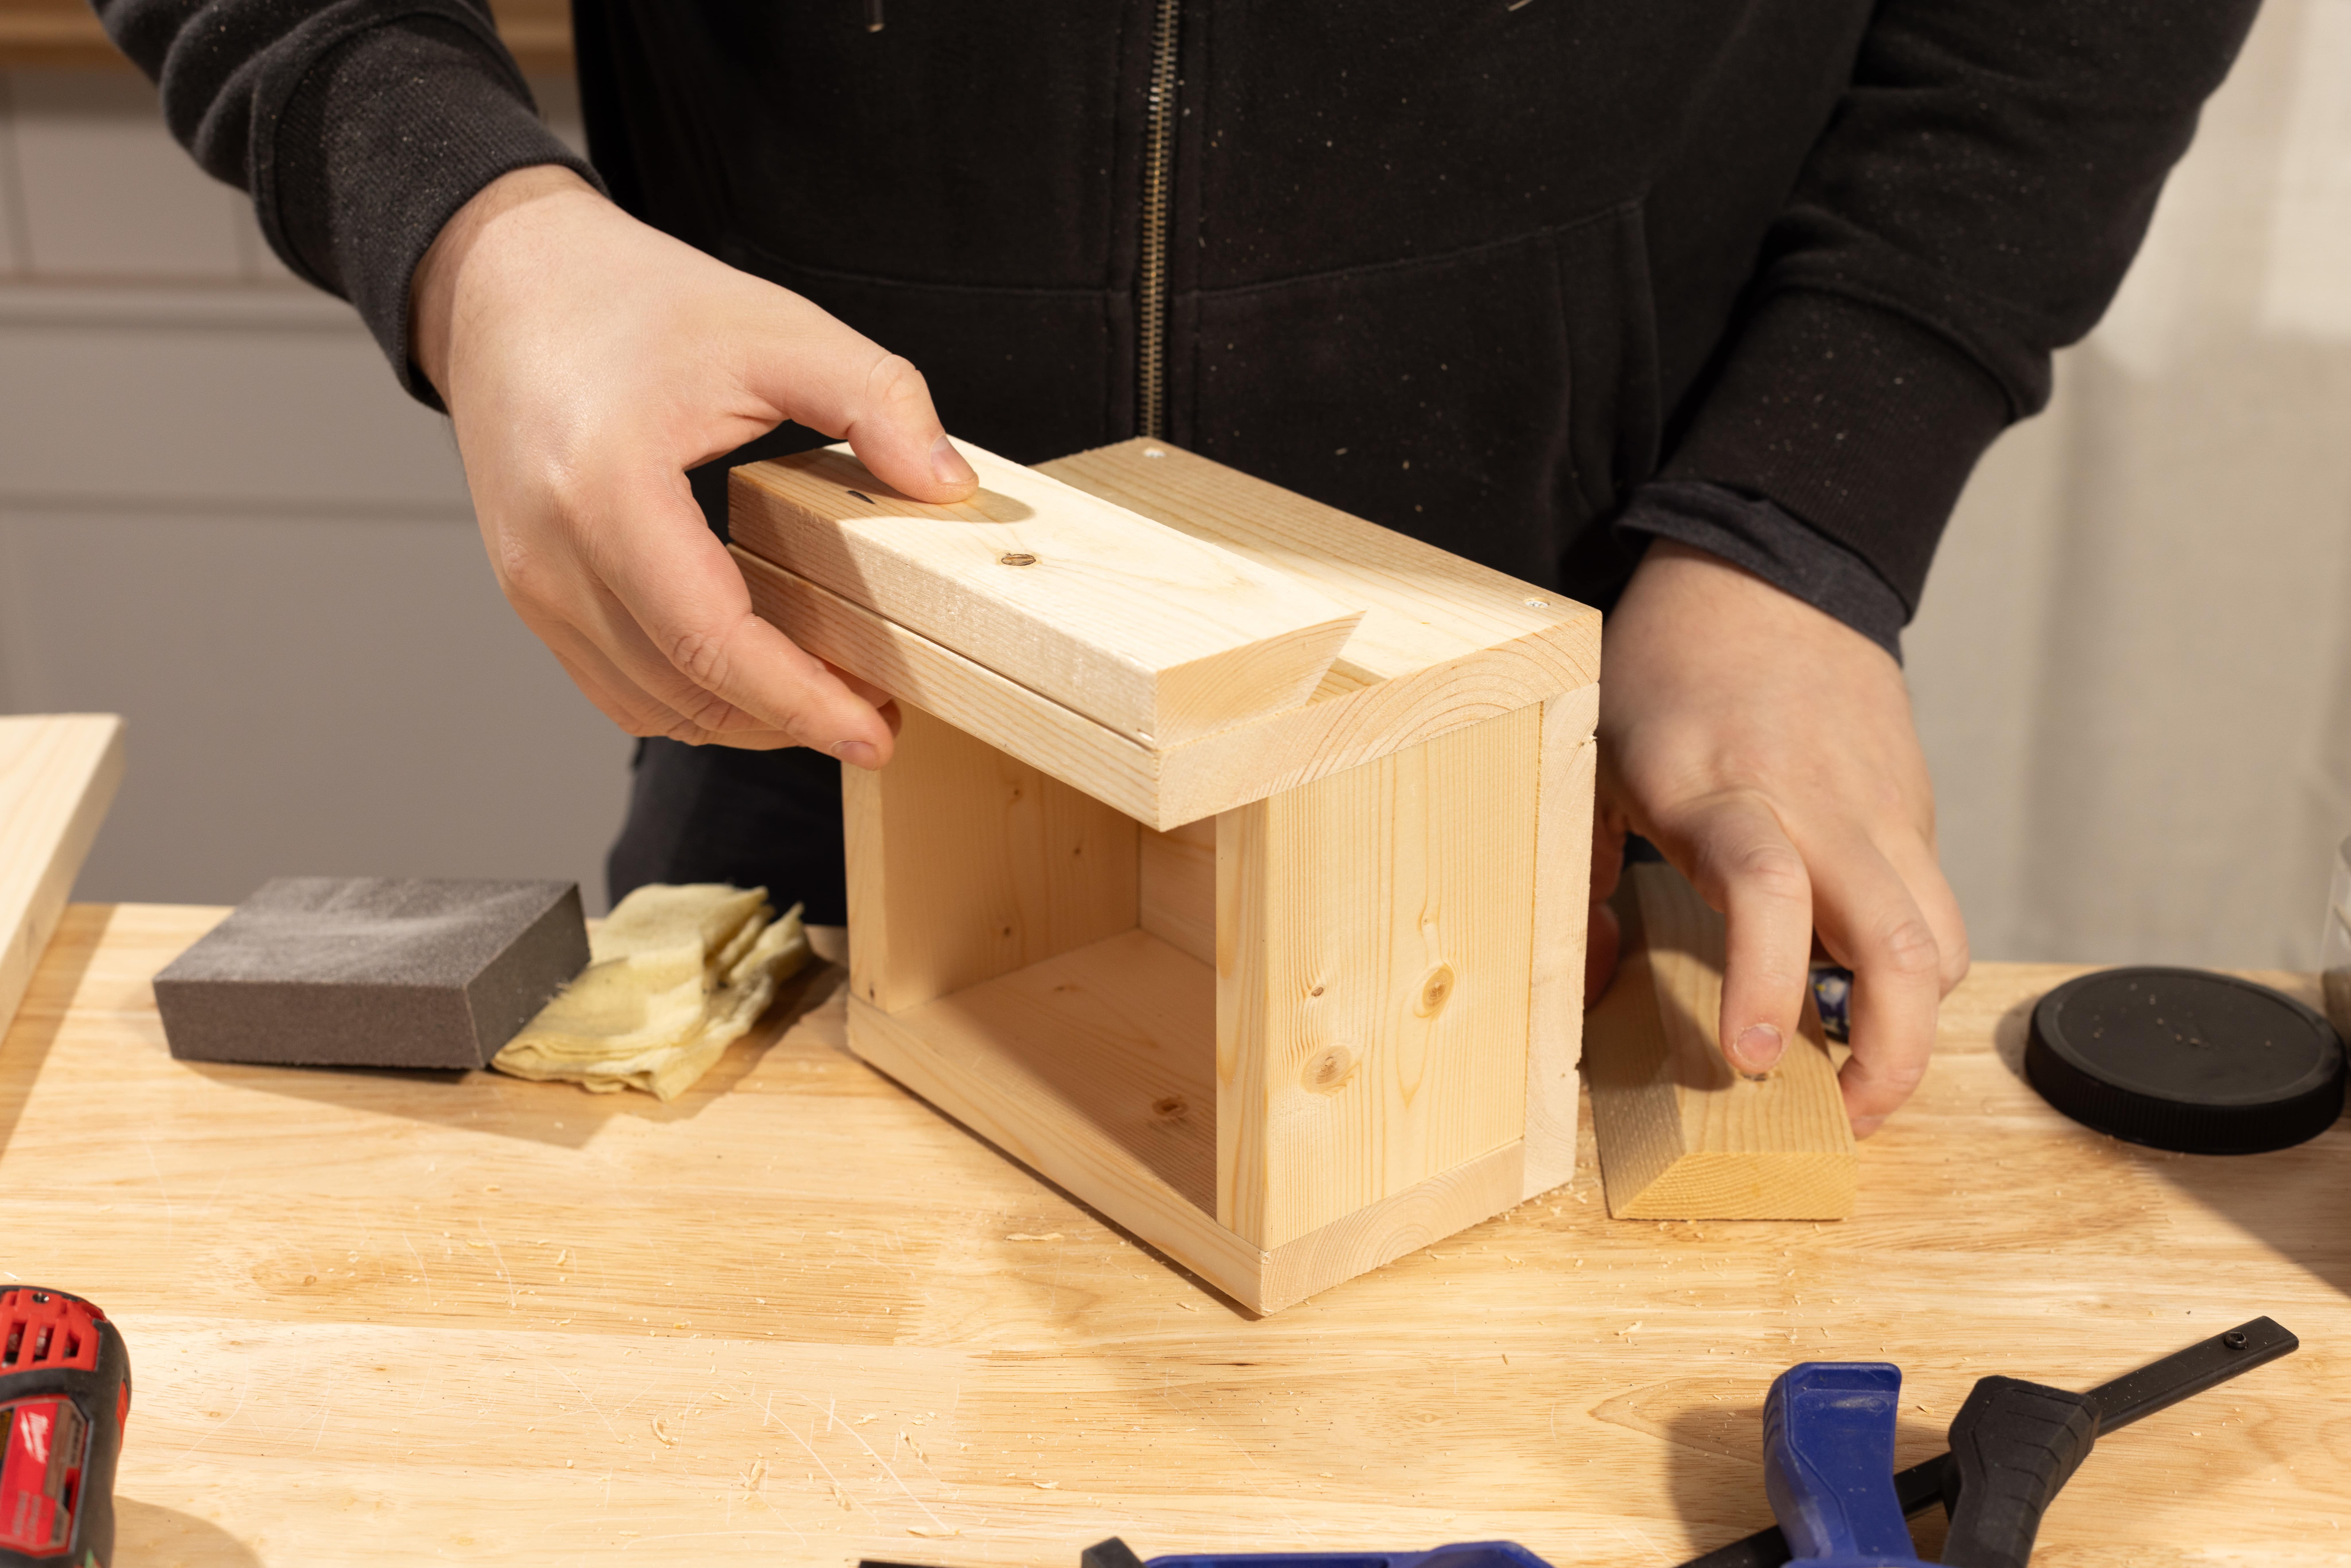
Make small strips to create three side walls using either the one-by-two or one-by-six boards. For this project, we cut four 4" strips for the sides and two 7" strips for the box fronts. Attach them with two 1 ⅝" trim head screws on each side.
Cut a 7" accessory cleat to size and attach it with the angled 45º cut pointing down.



Step 12: Make bookshelf
To make the bookshelf, cut two 22 ½" pieces from the one-by-eight board. Then cut two 8" pieces from the one-by-six board.
Join the 22 ½” one-by-eight pieces to make an “L” shape; you'll end up with a tall side at 8”. Next, attach the one-by-six ends.
Optional: Cut or radius one of the corners on each piece to make it more attractive.

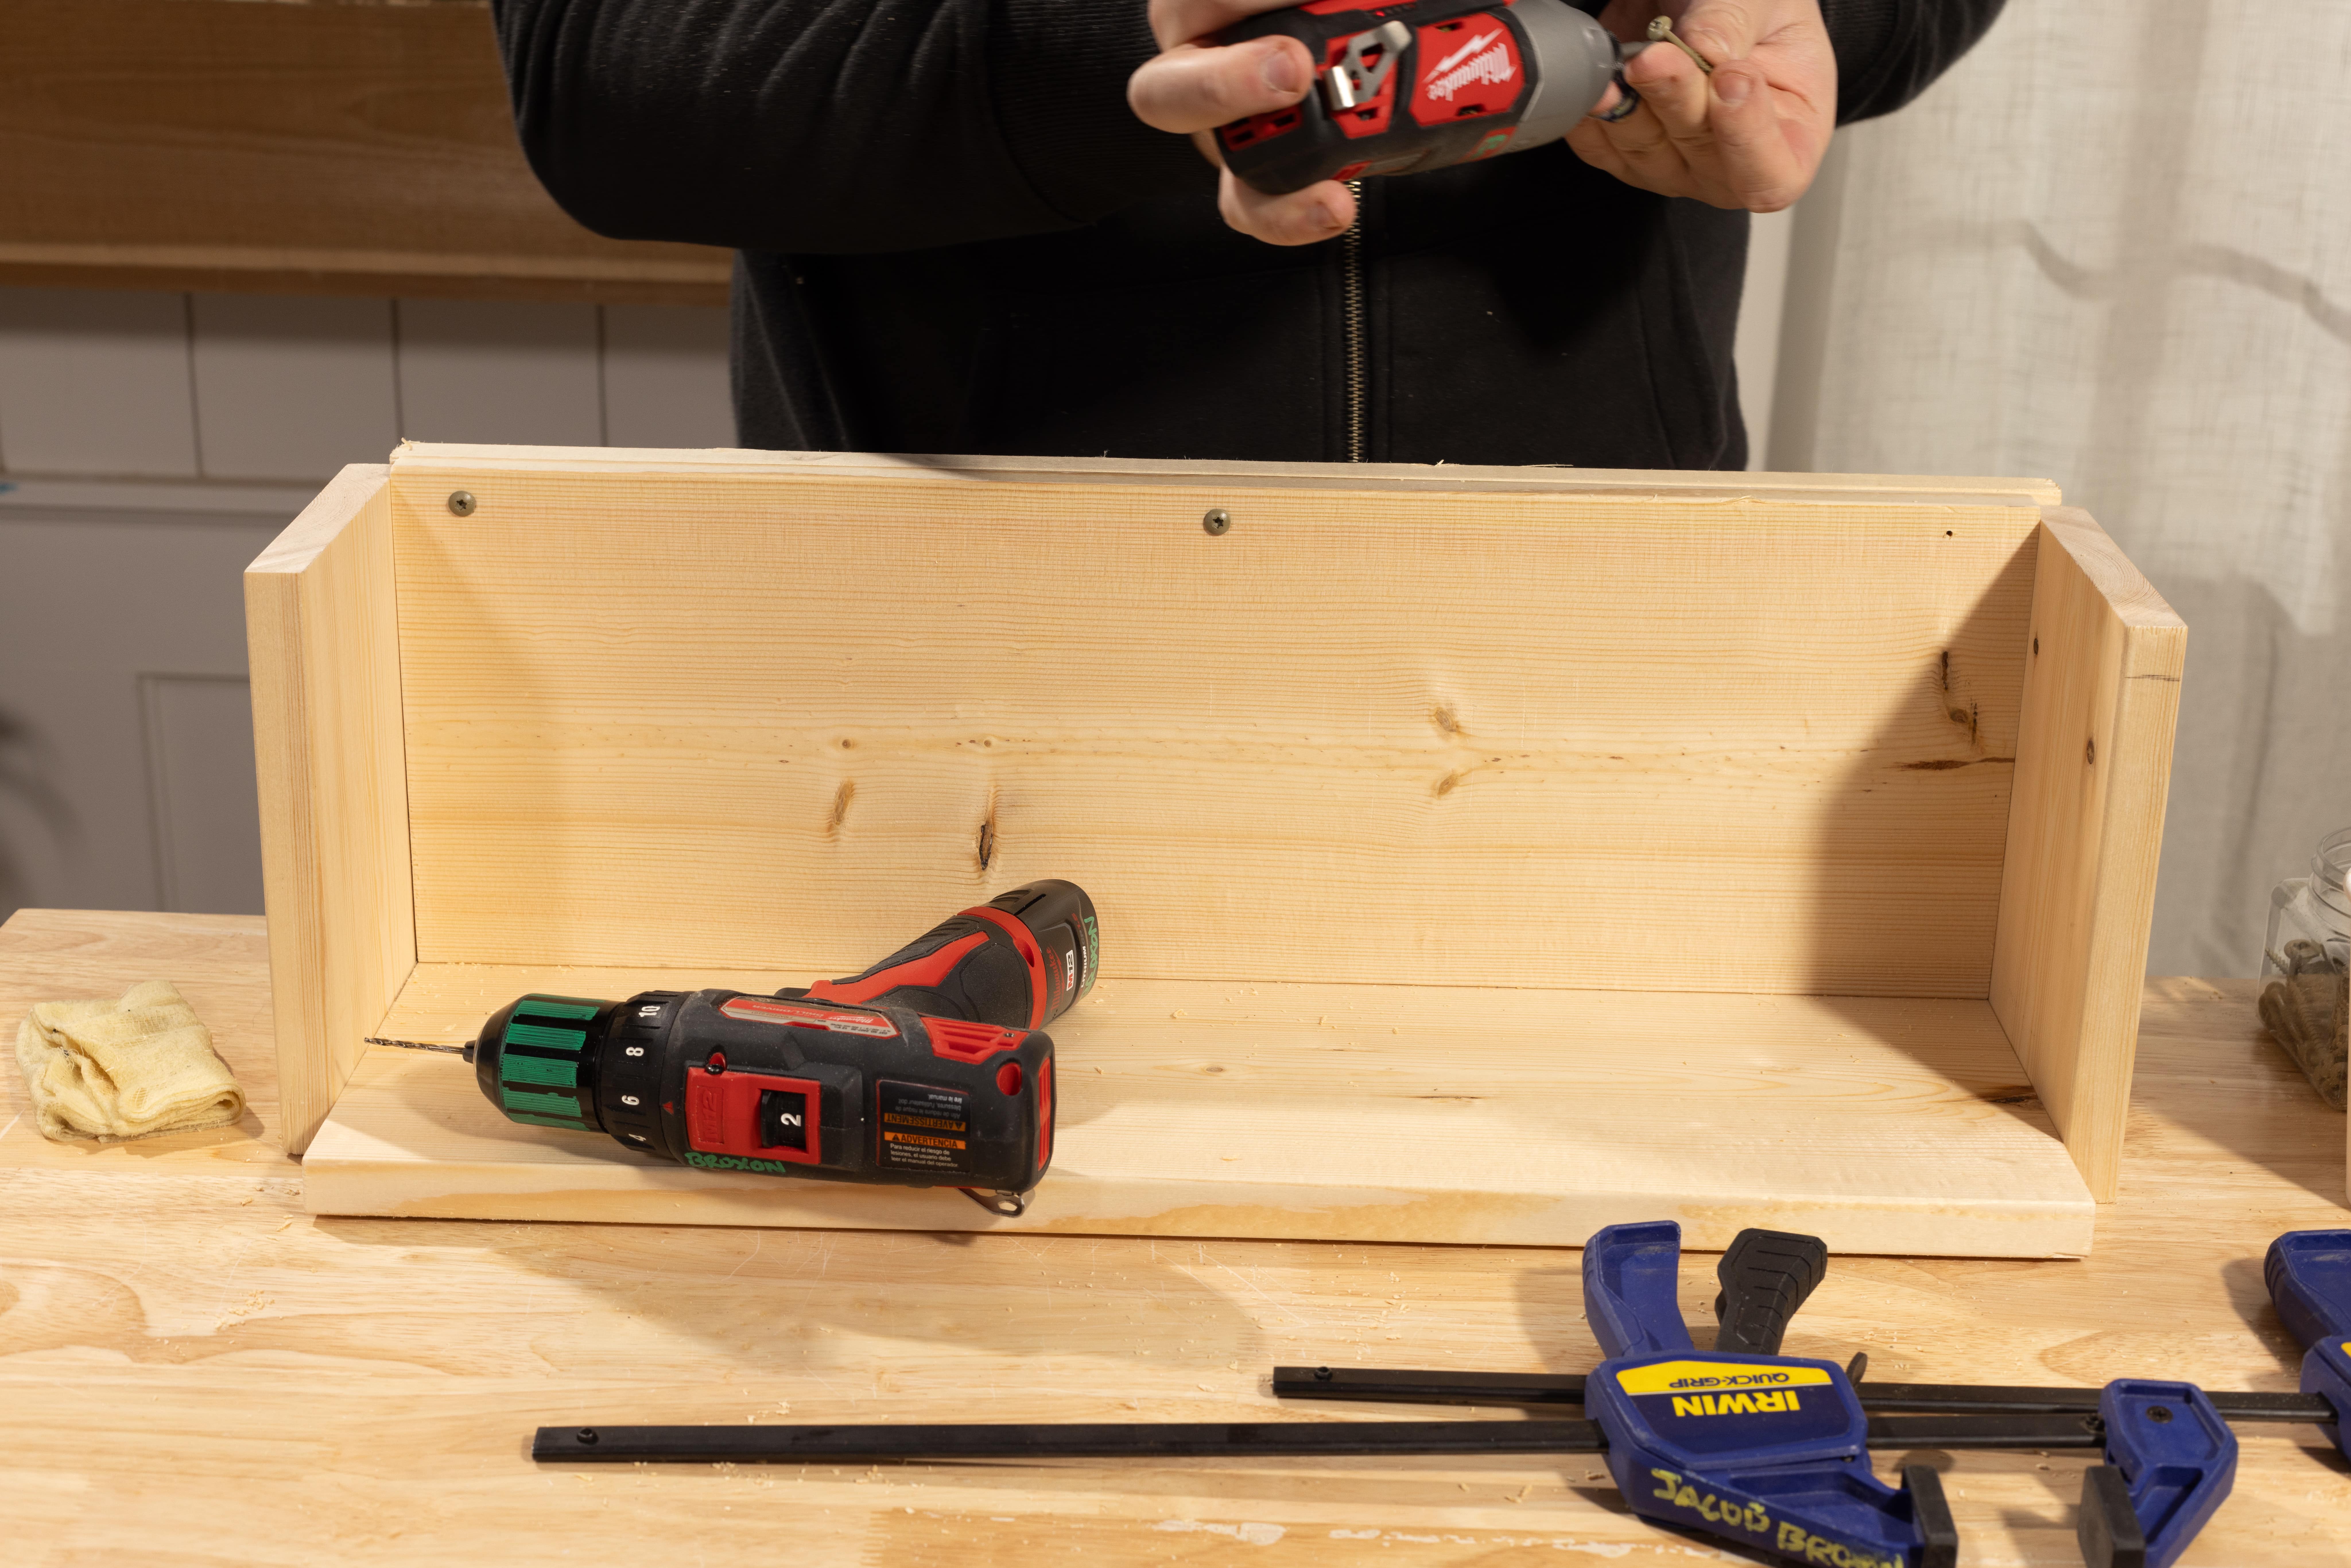

Step 13: Attach bookshelf
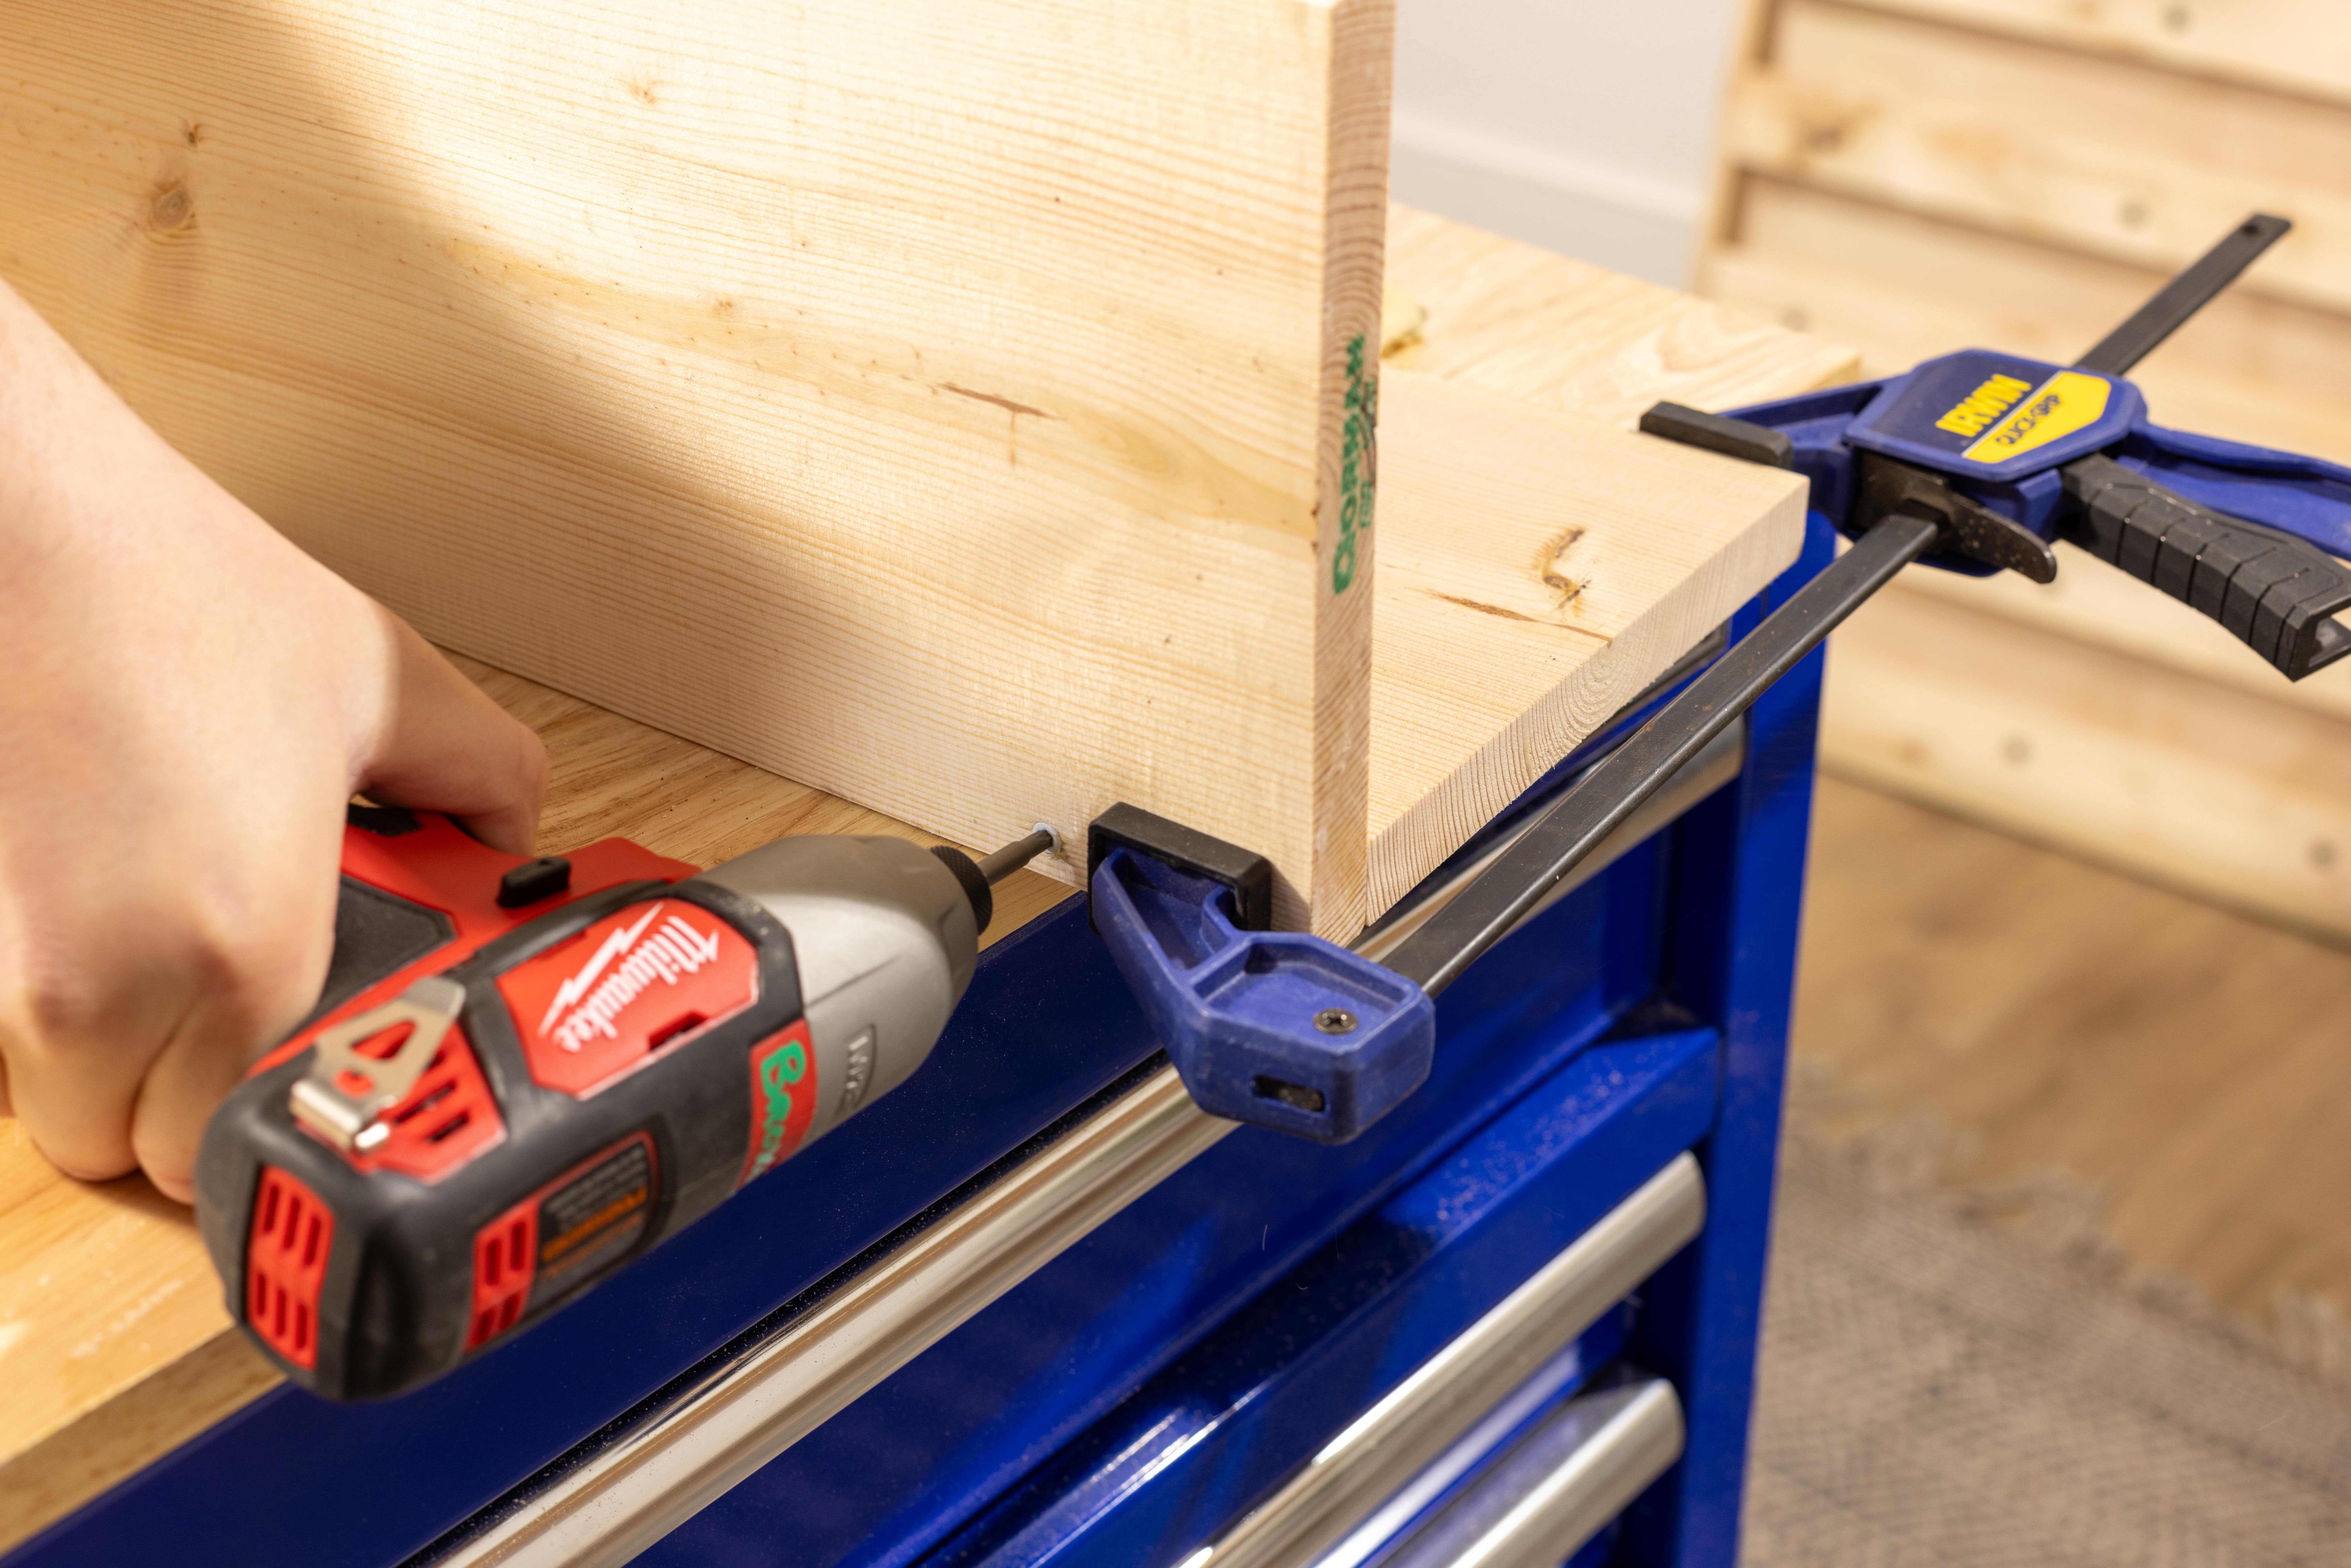
Use lag screws to attach a cleat flush with the top of the bookshelf with the 45º angled cut pointing down. Attach the bookshelf to test fit against the backer board.
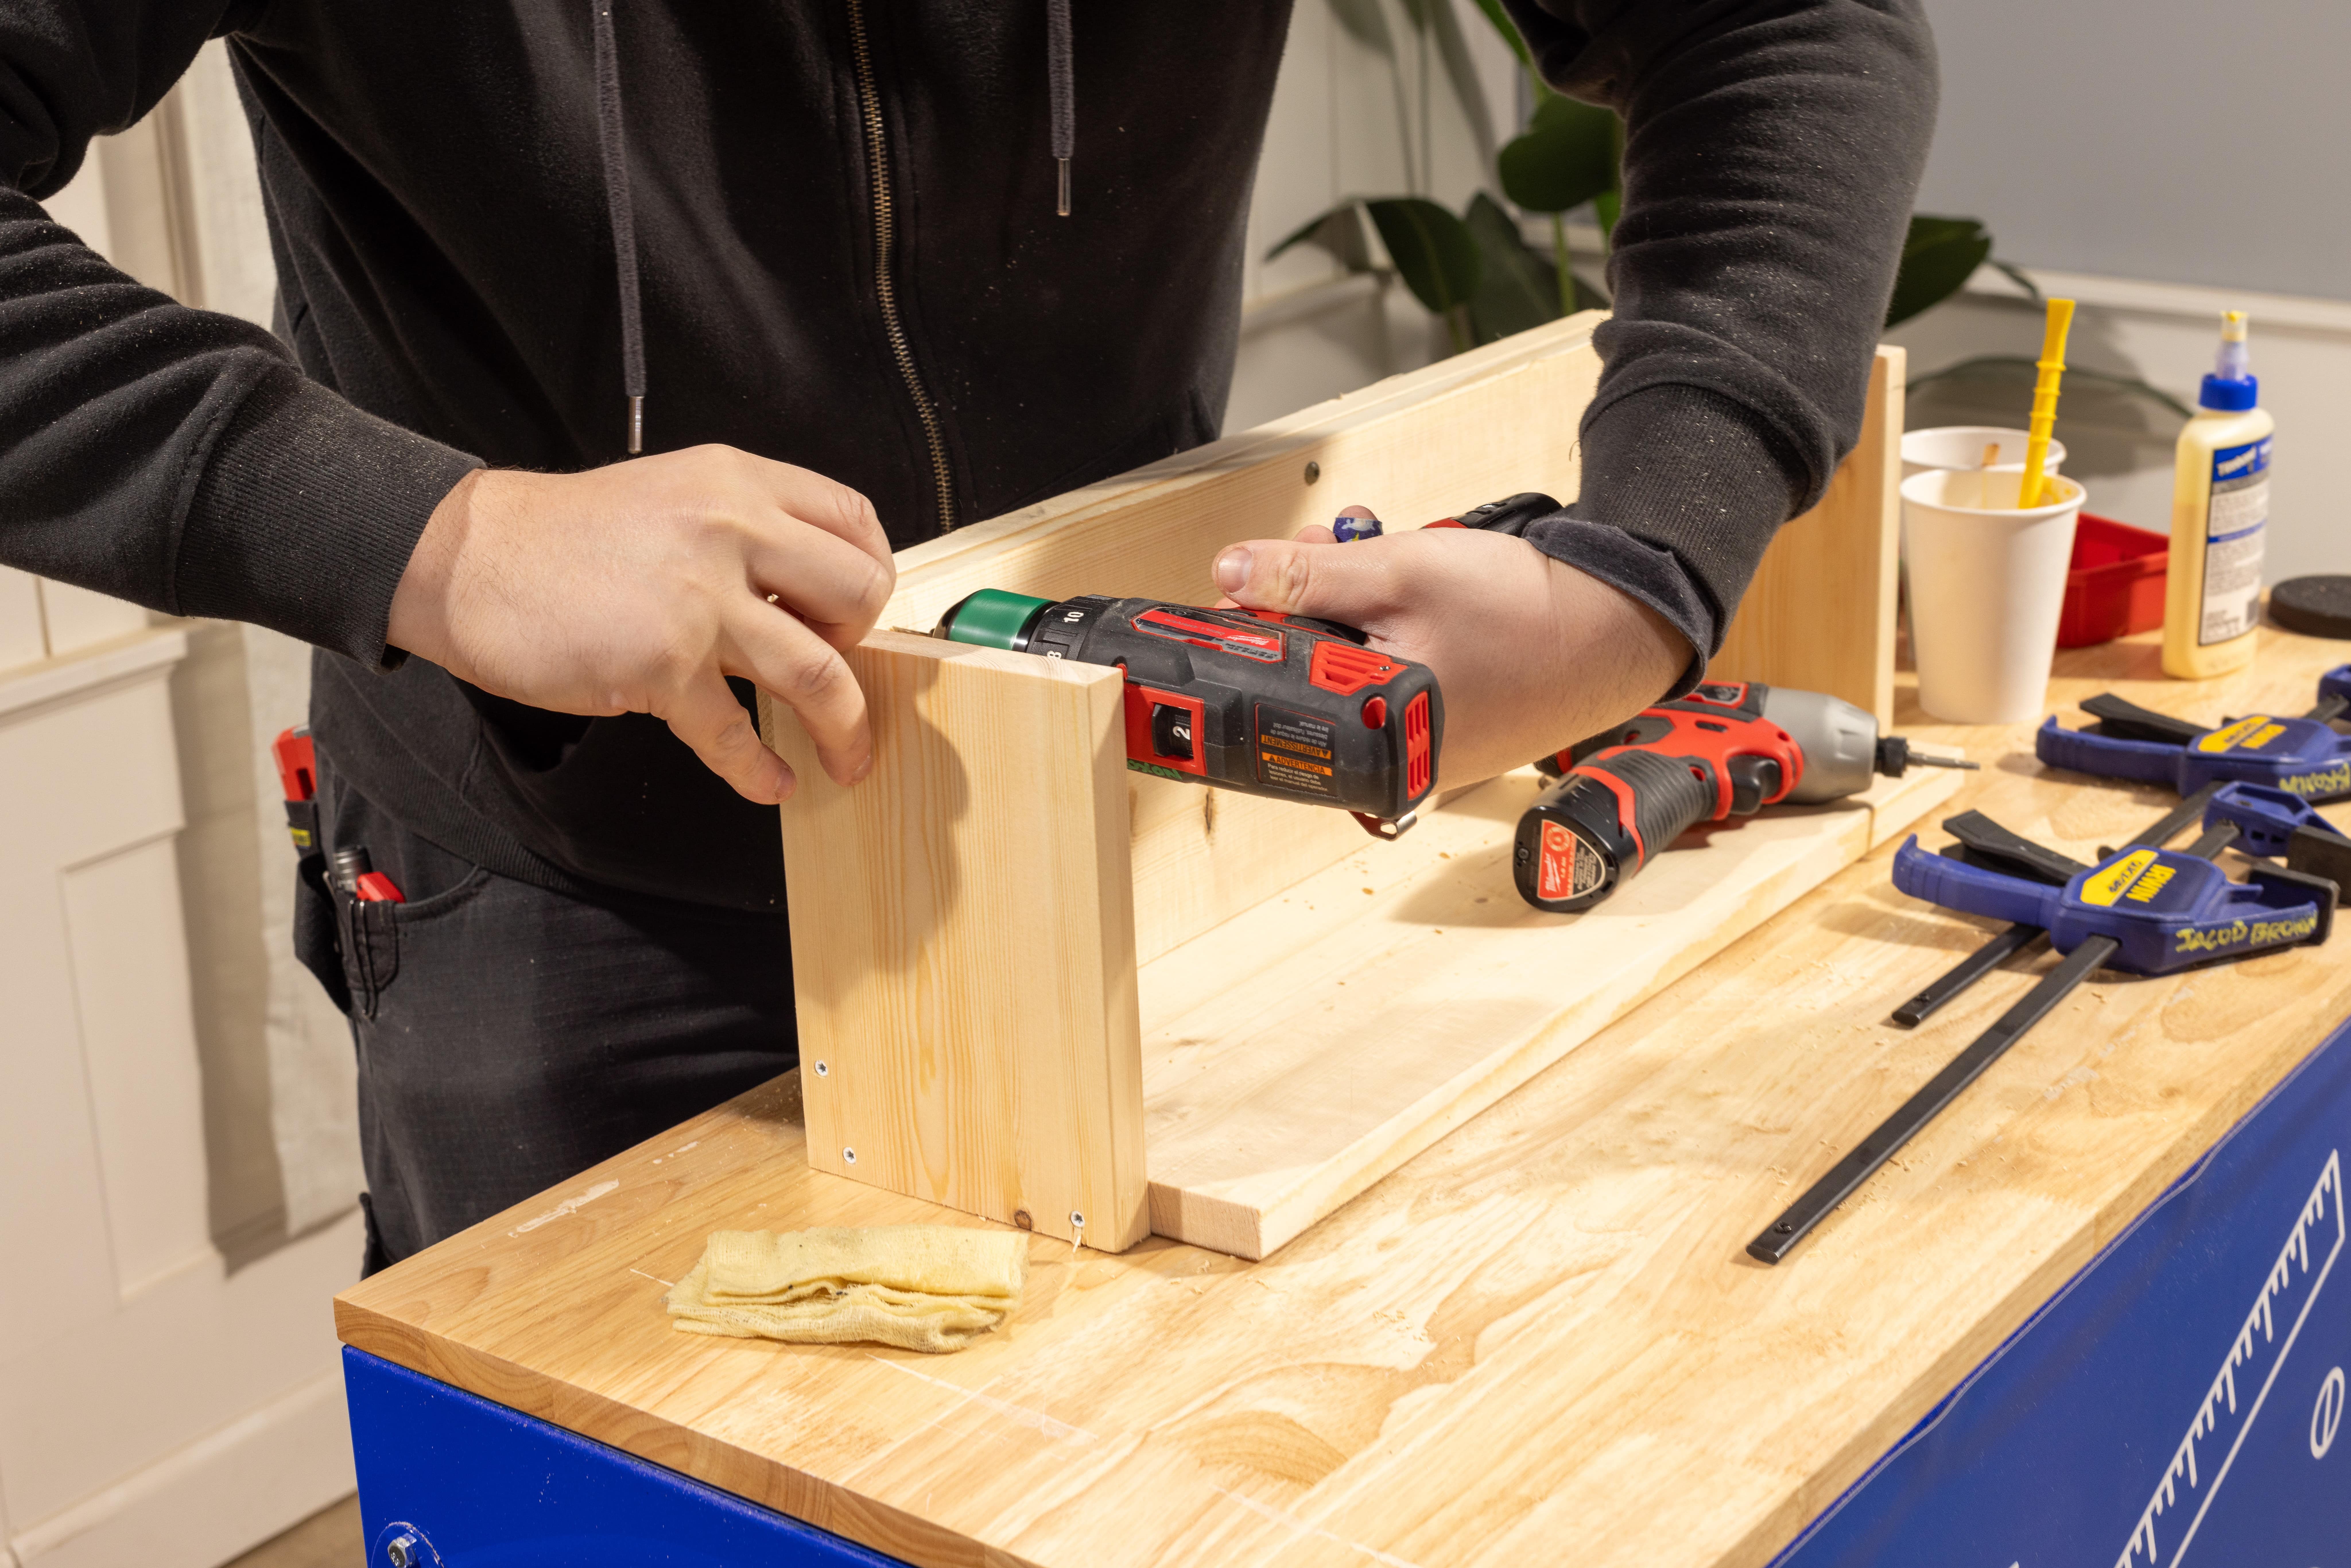

Step 14: Attach backer board
Optional: For this project, we opted for a raw wood aesthetic, but if you’d like to finish your accessories with paint or stain, we recommend doing so here.
Once you’re satisfied with the fit and finish of your accessories, find the area on your wall where you’d like to mount your storage system. Your storage system may be heavy, so use a stud finder to locate the studs you’ll drill directly into. Make a mark on the backer board to pre-drill holes. Then, use timber screws to attach it to the wall.
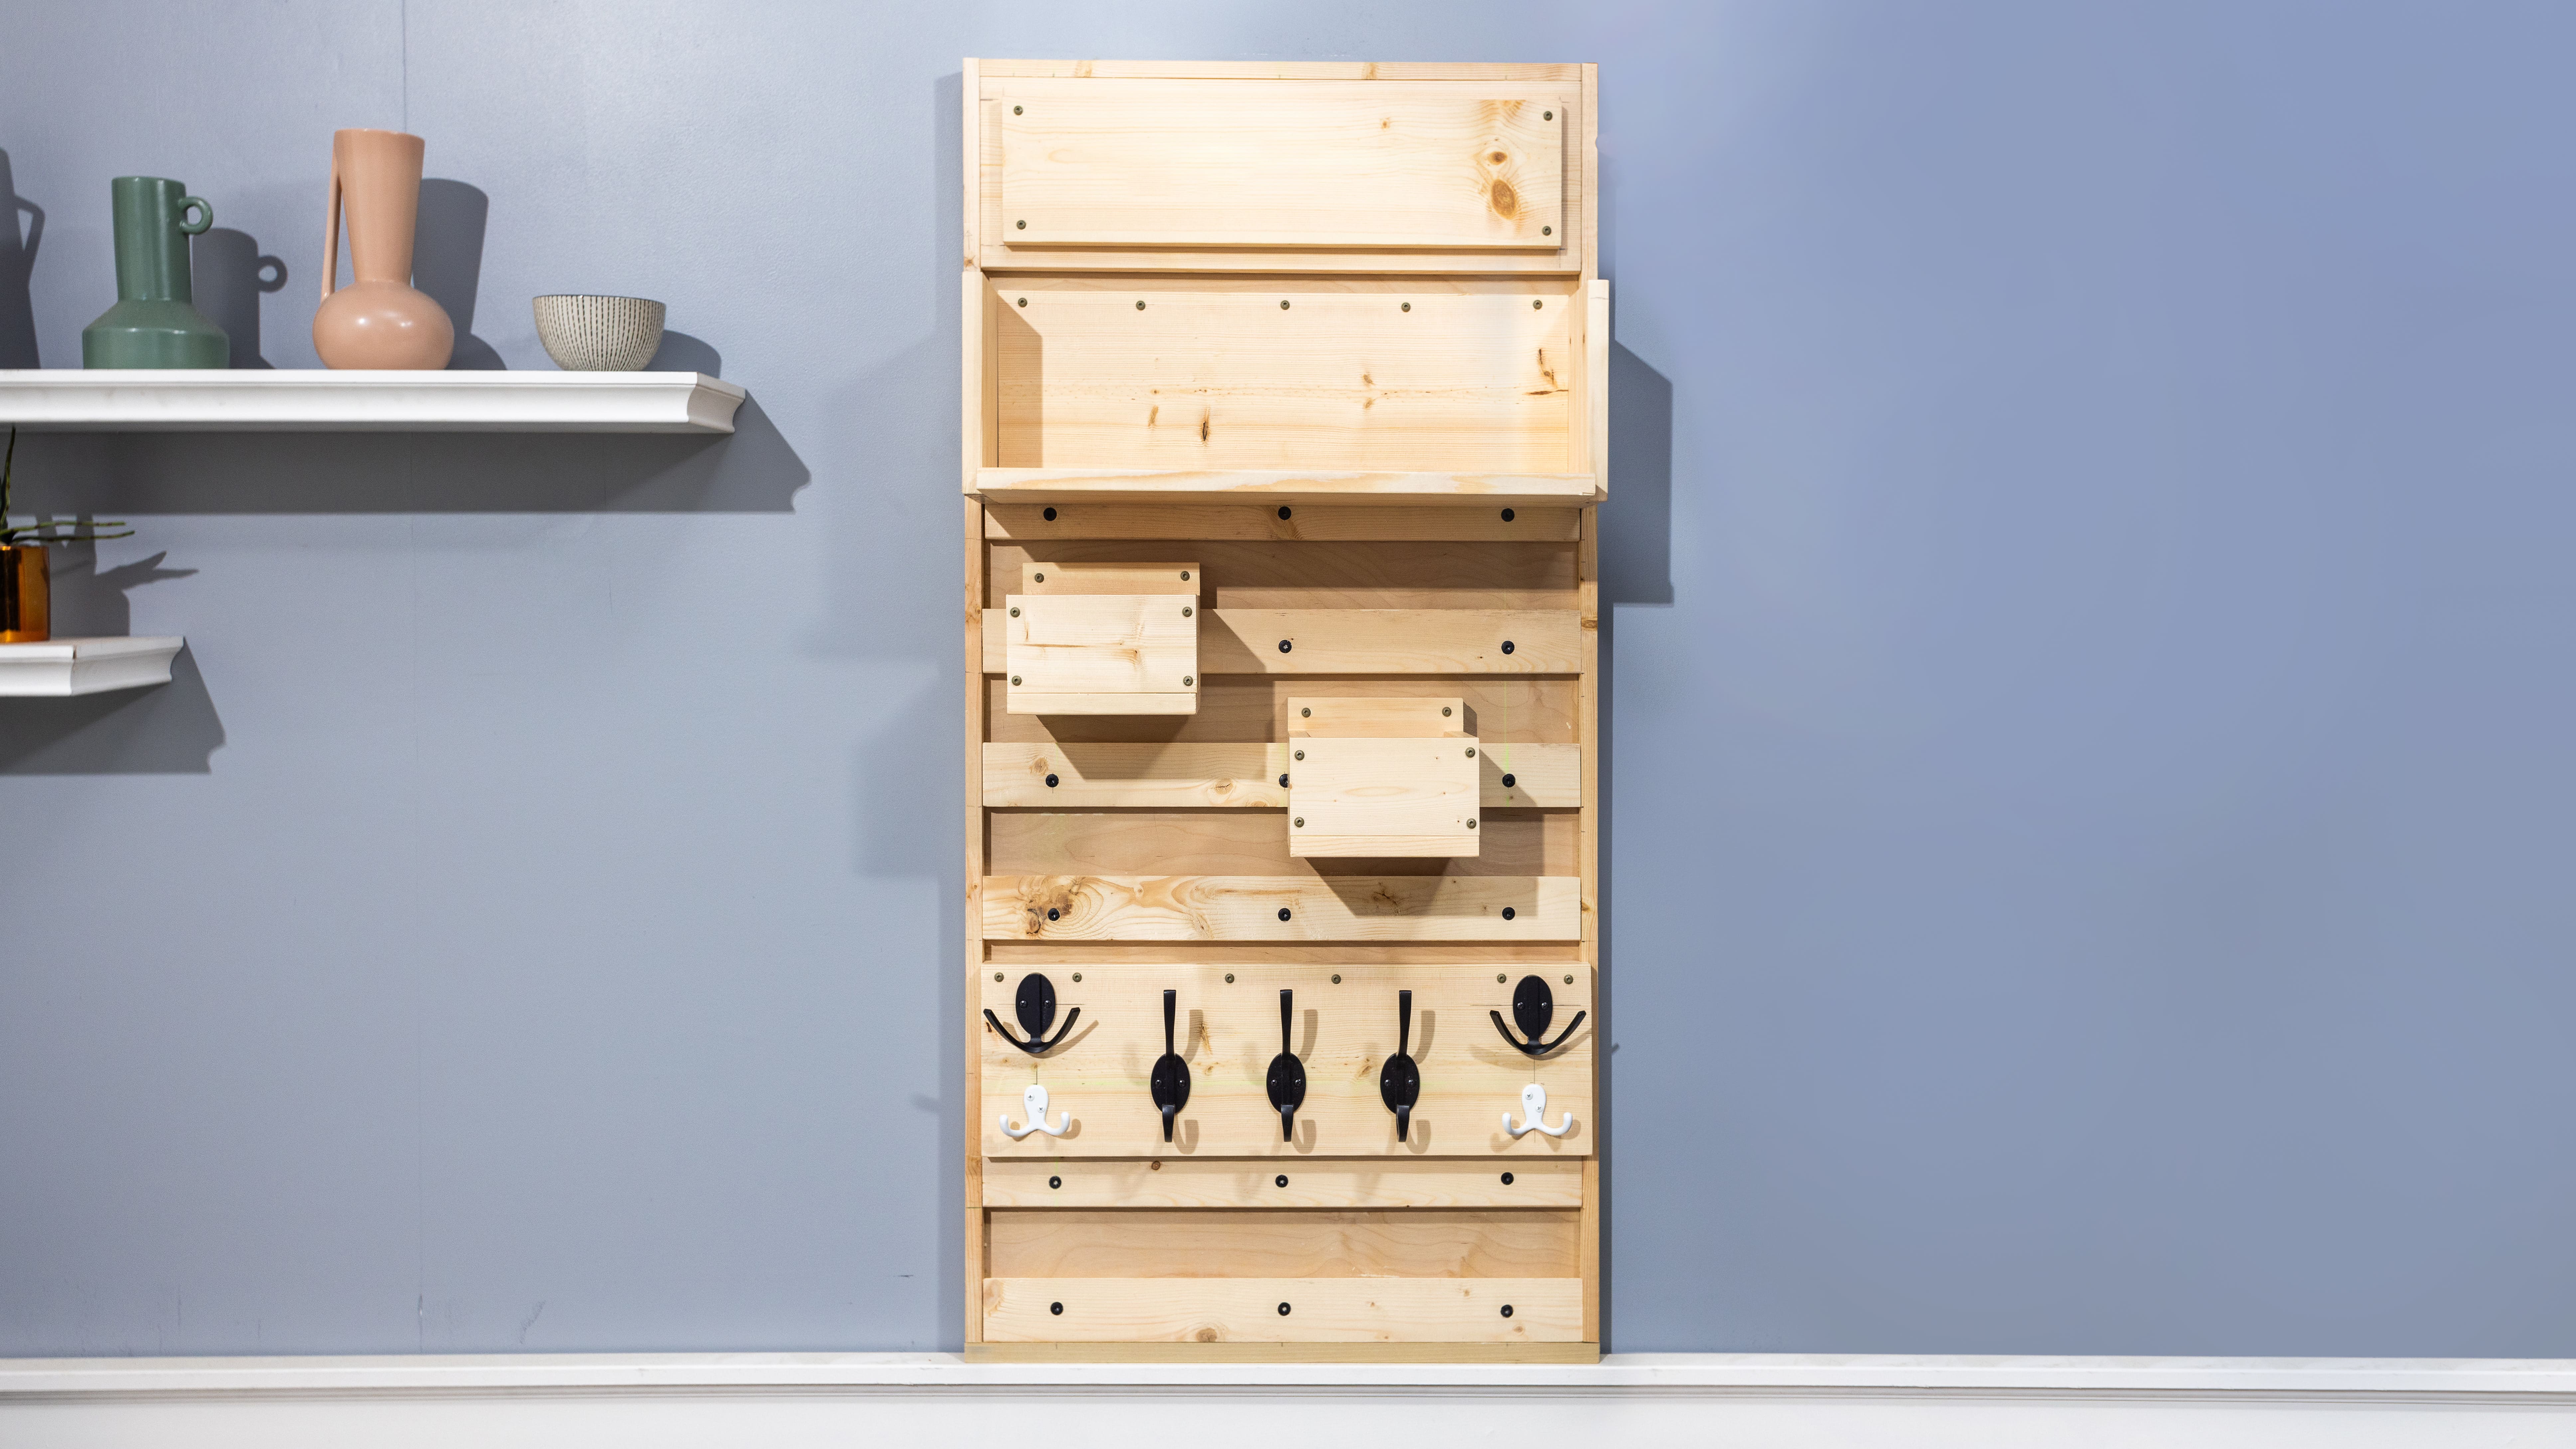

Step 15: Hang and enjoy!
Hang your accessories how you like and enjoy your new modular storage system!
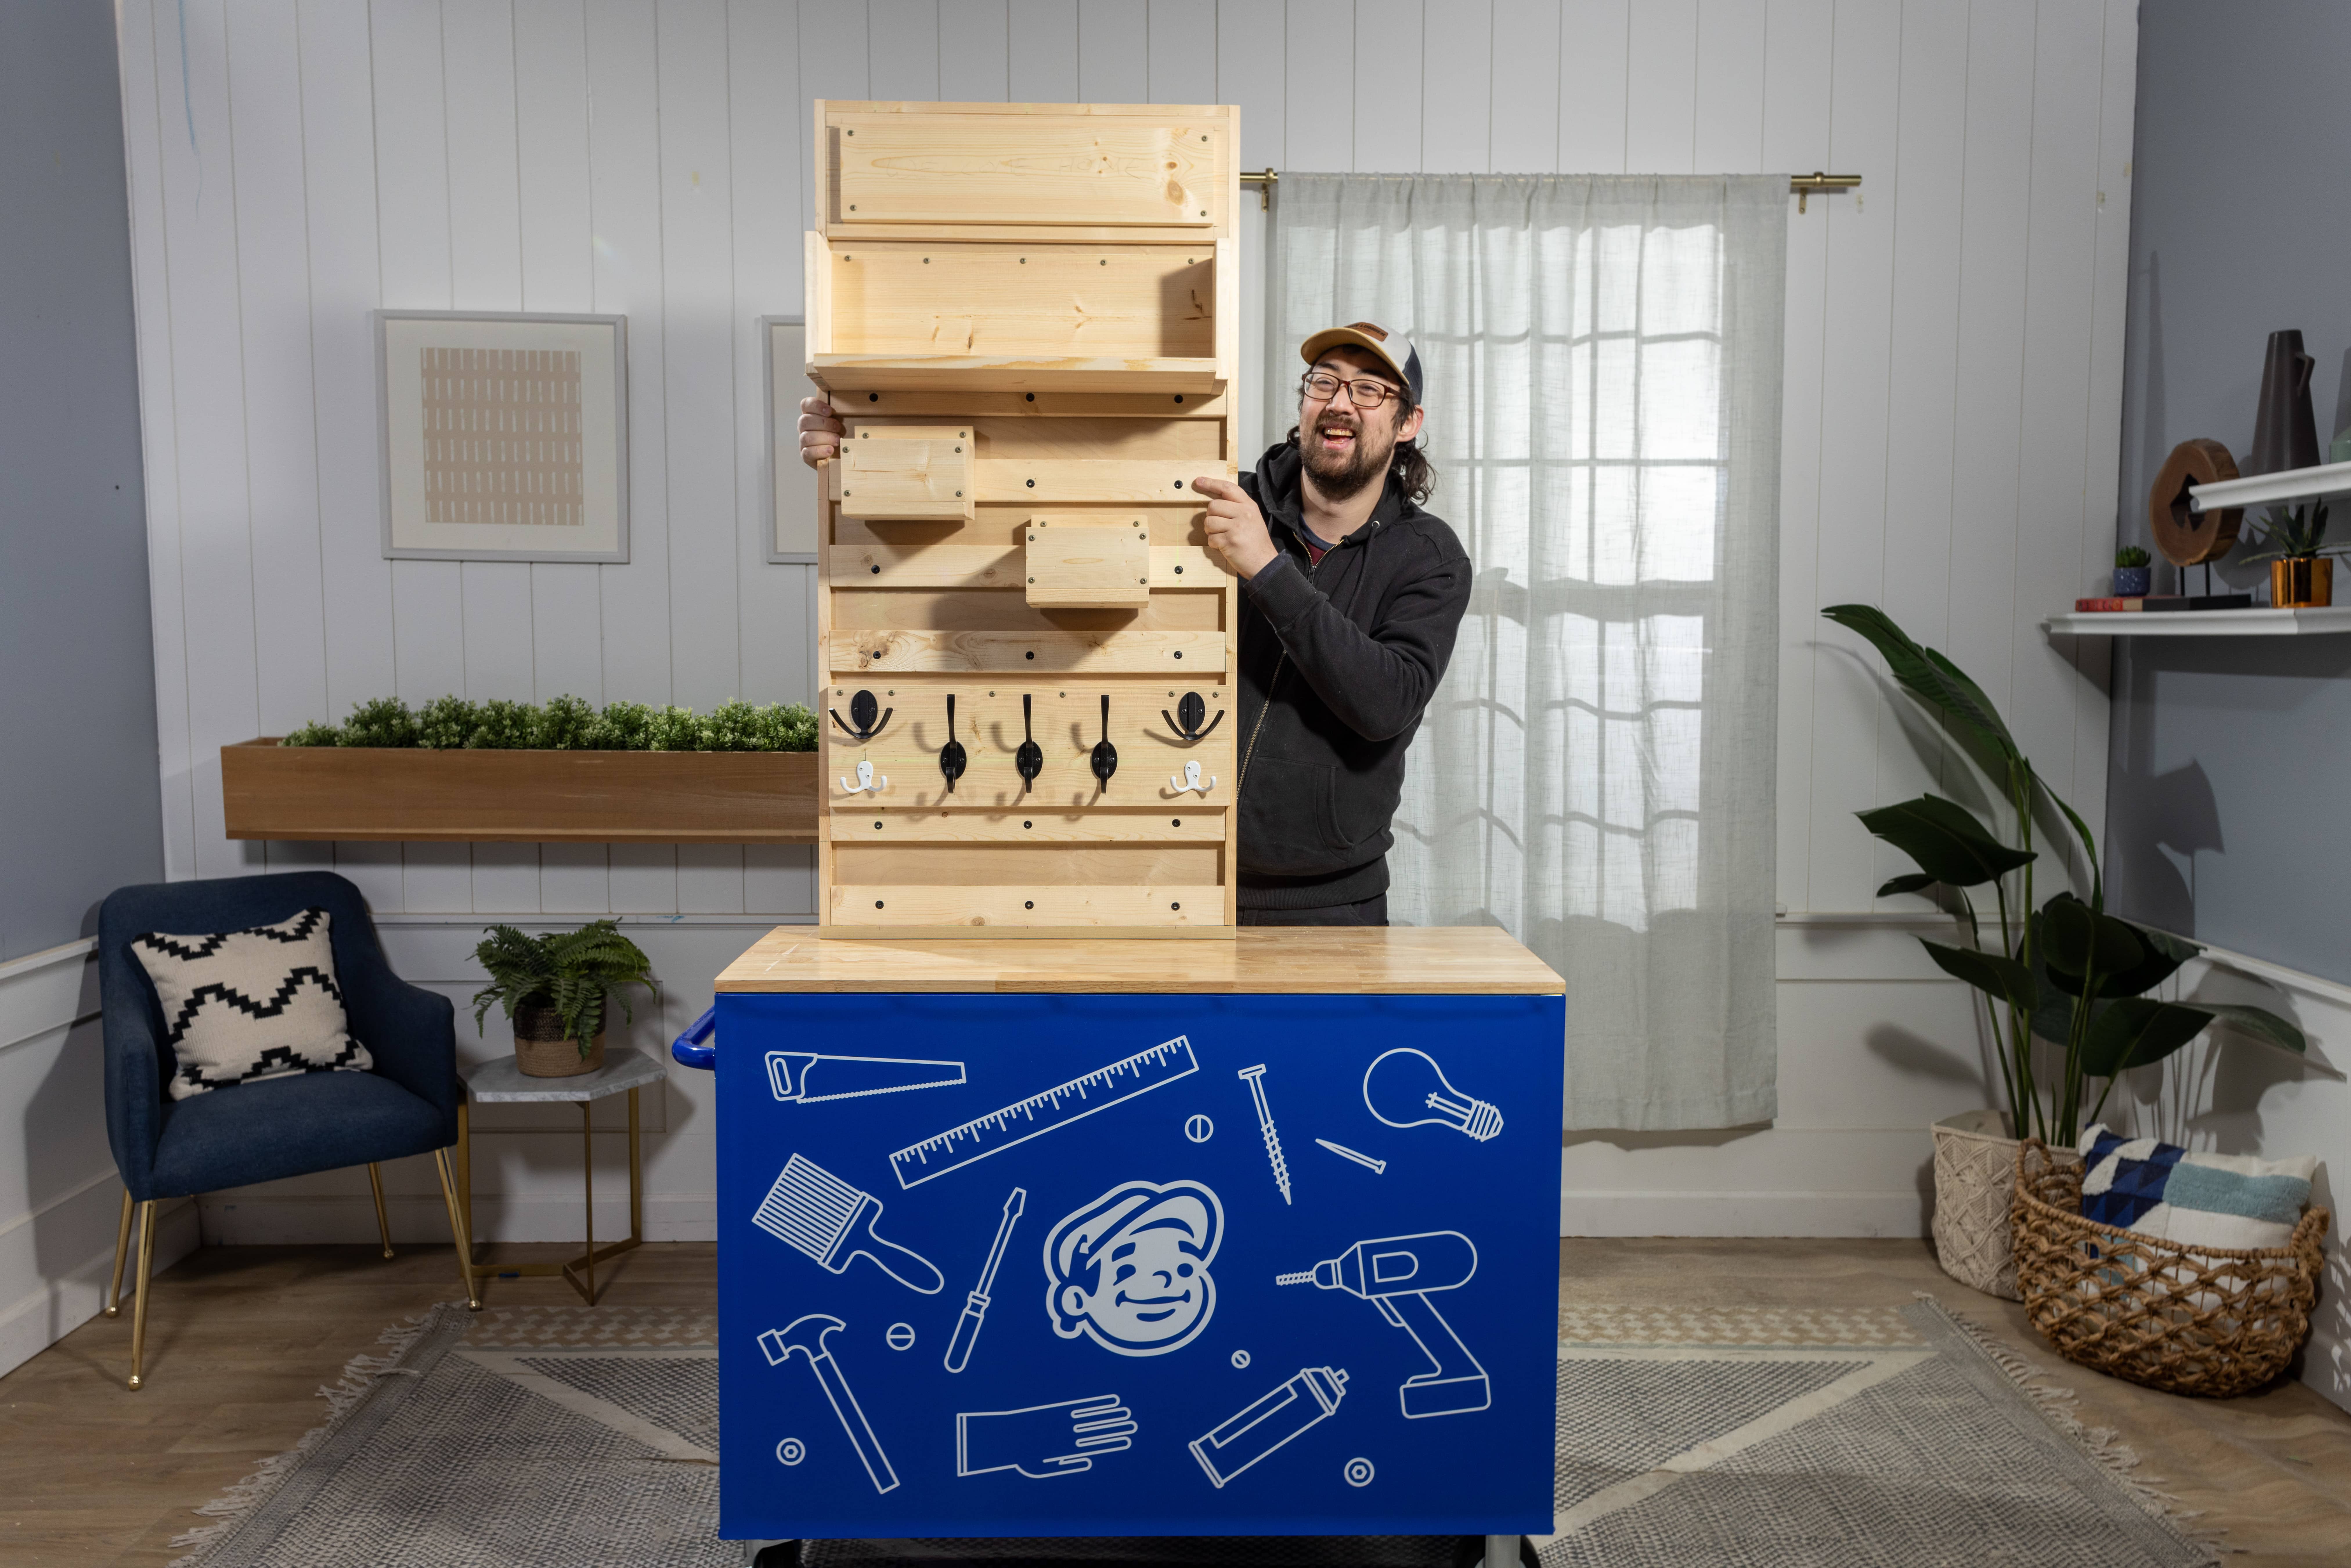

If you enjoyed this project, explore some of our other space-saving ideas like our DIY bathroom storage tower or DIY underbed (or sofa!) storage boxes.


