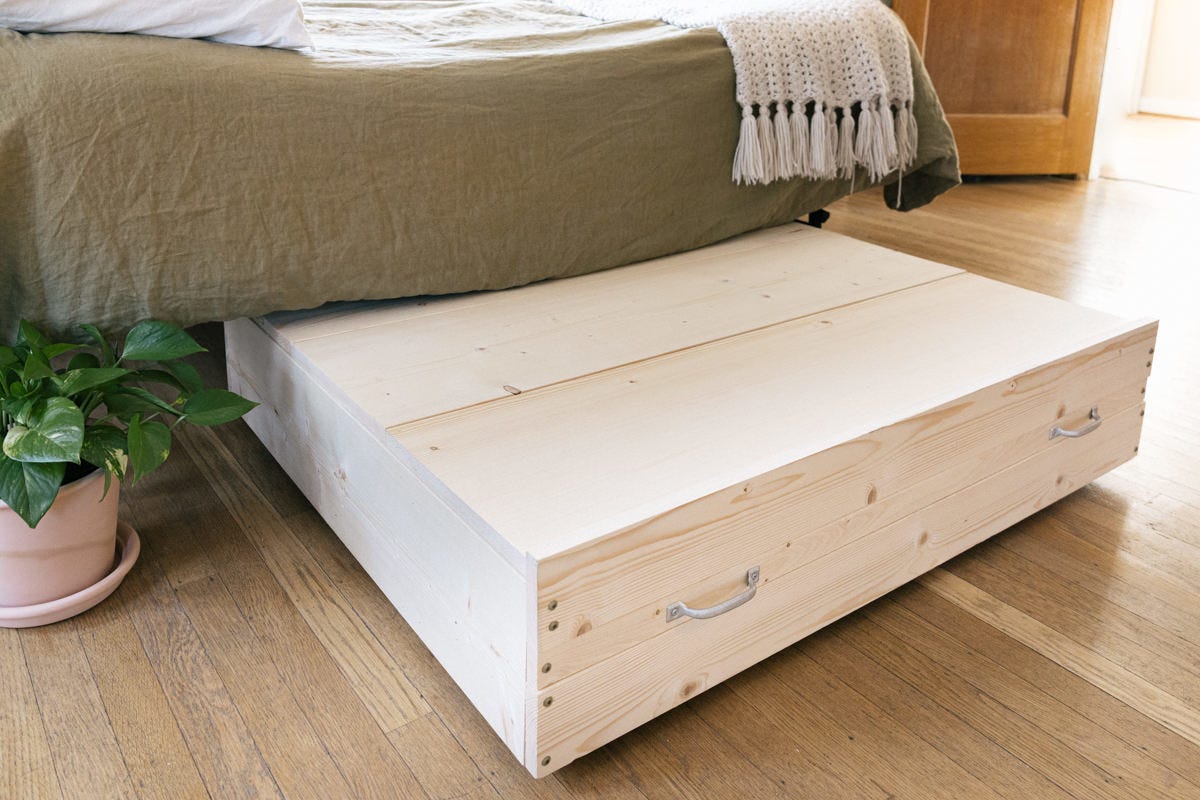

"This under-bed storage box is the perfect solution for toys, games, or seasonal clothing—it even doubles as a kids' play table!"
Materials
Under-bed storage is no new concept, but it’s hard to top a storage solution that makes use of all that unused under-bed space. And, while an under-bed storage box is a great way to store odds and ends, it also displaces any monsters who have taken up residence there.
While there are plenty of storage options out there—from bins and totes to roll-out drawers that attach to a bed frame—most are either on the small or minimal side, while others can cost a pretty penny.
We created our own version that can be customized to fit your bed and easily rolls in and out to provide ample storage that disappears with a shove. The non-slam lid doubles as a tabletop to build Legos on or assemble a jigsaw puzzle.
Step 1: Cut wood
We designed our storage box to fit under a bed that has 9” of clearance between the floor and the bottom of the bed frame. You may need to adjust the height of your box depending on how high your bed frame is off the floor. Our box uses one-by-eights for the vertical sides. You can adjust the width of your board to make your box taller or shorter.
As for the width of the box, we went for 42” here. This number can be flexed in either direction depending on how big you’d like your finished box to be, just make sure to adjust all 42” lengths throughout this project to the length you decide on.
Here are the lengths we cut from each dimension of lumber for a 42”-wide box:
1 x 4
- Two (2) @ 42”
1 x 8
- Two (2) @ 33 ¾”
- One (1) @ 42”
1 x 12
- Three (3) @ 42”
- Three (3) @ 40 ½”
1 x 2
- One (1) @ 42”
- Three (3) @ 32”
- Two (2) @ 33 ¾”
- Two (2) @ 36”
Step 2: Sand and stain wood
After you’ve cut all the pieces above, sand the cut ends and any rough spots on the boards. If you’d like to stain or paint your box, now is the best time to do it. You can technically paint or stain once the project is complete, but it’s easier to get every side of every board now before things get assembled.
Step 3: Assemble box sides
Grab your three pieces of one-by-eight wood and fasten them together to make the sides and back of the box. The two shorter pieces should butt up against the longer piece so that the back of the box measures 42” across.
Fasten the pieces together using #8 x 1 ¼” screws. (We used pan-head screws that have a smooth convex head on them.) When you complete Step 3, you should have a “U” shape.
Step 4: Attach front boards
We wanted the front of our box to be a bit taller than the other sides, so we used two (2) one-by-fours with a one-by-two stacked horizontally between them to get the right dimensions.
Starting at the bottom, attach one 42” one-by-four across the open end of the “U” you created in Step 3. Use the same screws as you used before to attach a 42” one-by-two, and then the other 42” one-by-four in the same manner. The top piece should stand proud (taller than) on the sides and back of the box.
Now that you have the back and sides of the box attached, it’s time to attach floorboards.
Step 5: Add floorboards
The floor of the box is constructed from the three 40 ½” one-by-twelves. Place them in the base of the rectangular box to ensure they fit; if not, trim as needed. Once you’re sure they fit, remove them and set aside.
Grab the two (2) 33 ¾” one-by-two pieces. Place them on the edge inside the box along both sides, and fasten them in place using #8 x 1 ¼” screws. Drive from the inside of the box through the one-by-two and into the sides of the one-by-ten. Center the two 36” one-by-twos (on edge) to the bottom of the back and front of the box. These four (4) one-by-twos form a ledge for the one-by-twelve floor boards to sit on.
Before proceeding, you might want to make a faint mark along the top edge of the box sides where you’ll place the screws on the one-by-twos. Marking now means you won’t inadvertently drive a floorboard screw into a screw that’s already in place.
Put the floorboards back and screw them into the one-by-twos you just installed using #8 x 1 ¼” screws.
Step 6: Assemble box lid
Lay out the three remaining one-by-twelves on a flat surface, butting them up against each other to form the lid (if you notice one side looks better than the other, place the good side down so it shows once the lid is flipped over).
Square up the ends and fasten them together with the three (3) 32” one-by-twos using the same #8 x 1 ¼” screws. Place one (1) of the one-by-twos near the center and the others out toward the edges (but don’t go all the way to the edges).
Step 7: Mount hinges
We used 4” T-hinges for the lid. With the lid set aside, position the short wing of the hinge vertically on the back wall of the box, with the long wing across the top wall of the box. Screw the short wings into place using the screws provided.
Now, lay the lid in place and mark the hinge at the back edge of the lid. Remove the lid again, and transfer that line to the other side of the hinge (we used tape to do this). Then lay the box on its backside with the lid (upside down) pushed up to the marked line on the hinges. Fasten the long wings of the screws to the underside of the lid.
Step 8: Attach lid support
To keep the lid from slamming on little fingers (or big ones, for that matter), we recommend attaching spring-loaded lid supports. These are easily installed using the directions on the packaging—just mark for screw holes and then screw the two ends of the support into place (one end on the bottom of the lid and the other near the top of the back wall). Now test the closing of the lid. Ours was a little tight so we used a sanding sponge to bevel the bottom of the lid's front lip.
Step 9: Attach casters
Casters allow the box to easily slide in and out from under the bed. To attach these, flip the box upside down and screw four (4) casters onto the bottom side of the floorboards using ⅝” screws. We used a scrap board to position the caster 1 ½" in from the corner of the box.
Step 10: Attach handles
To make the box easier to pull out from under the bed, we recommend attaching handles to the face. You can choose anything that fits your aesthetic here—drill holes and make rope handles, buy cabinet pulls, or use screen door handles (like we did). Just make sure the fastening screws don't poke through the face of the box.
And voila! That’s all there is to it. Now, your handy under-bed storage box is ready to roll. For more bedroom organization projects, be sure to check out our tips for maximizing space in a small room and this simple DIY wire laundry basket.