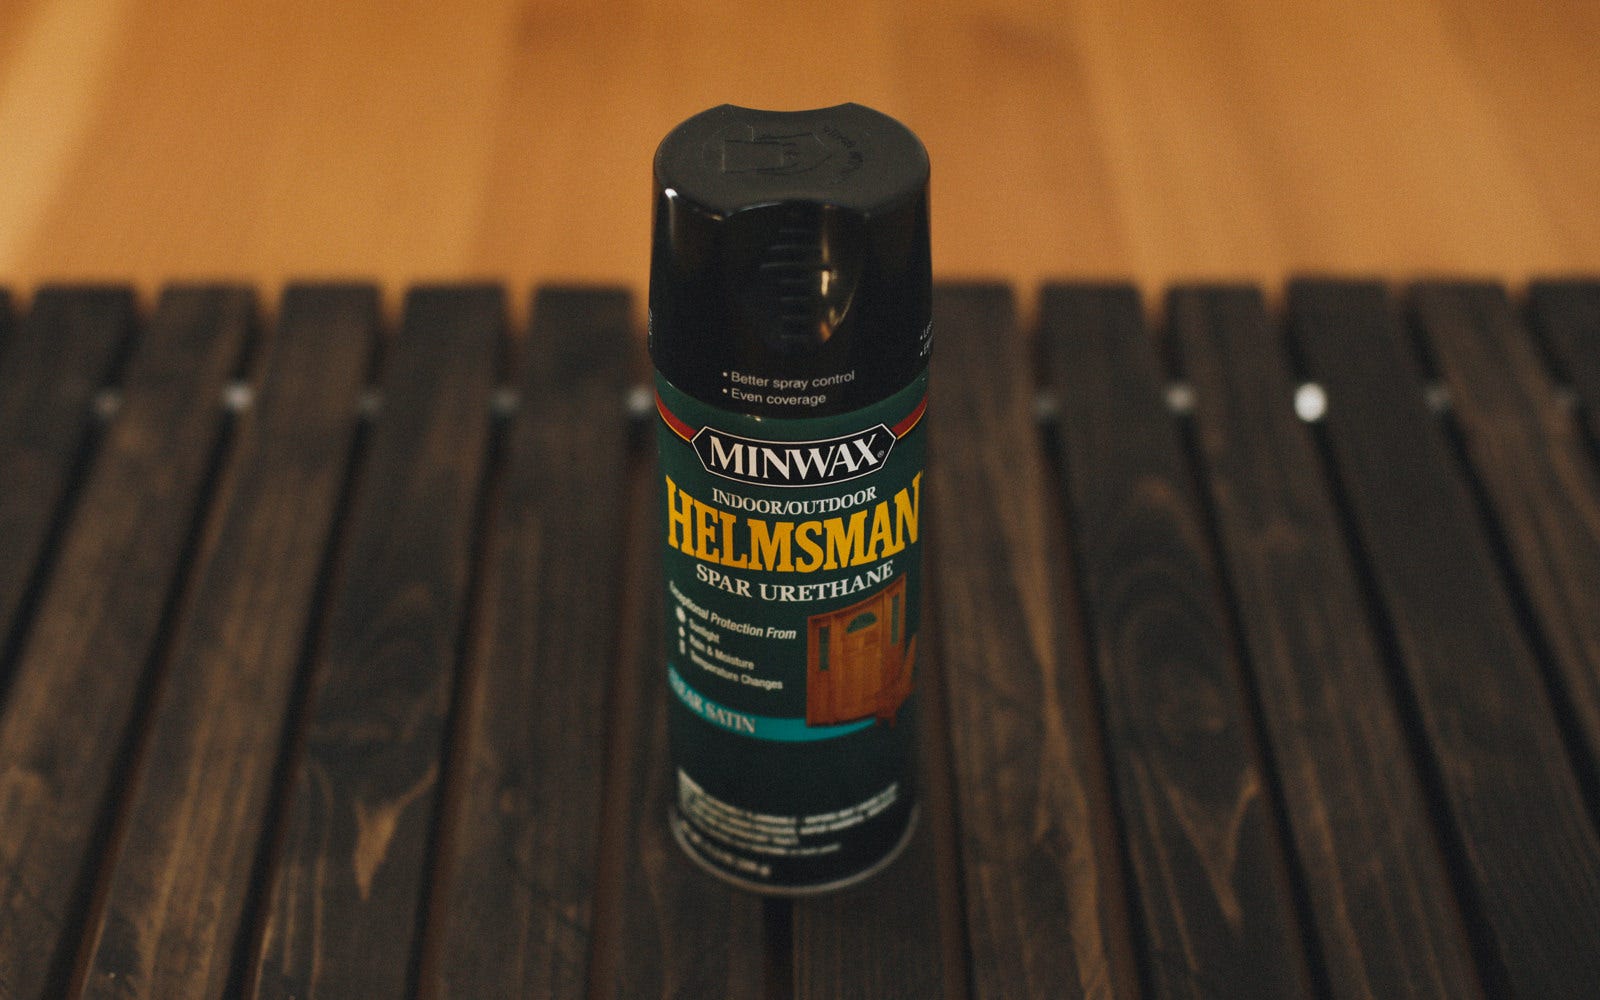
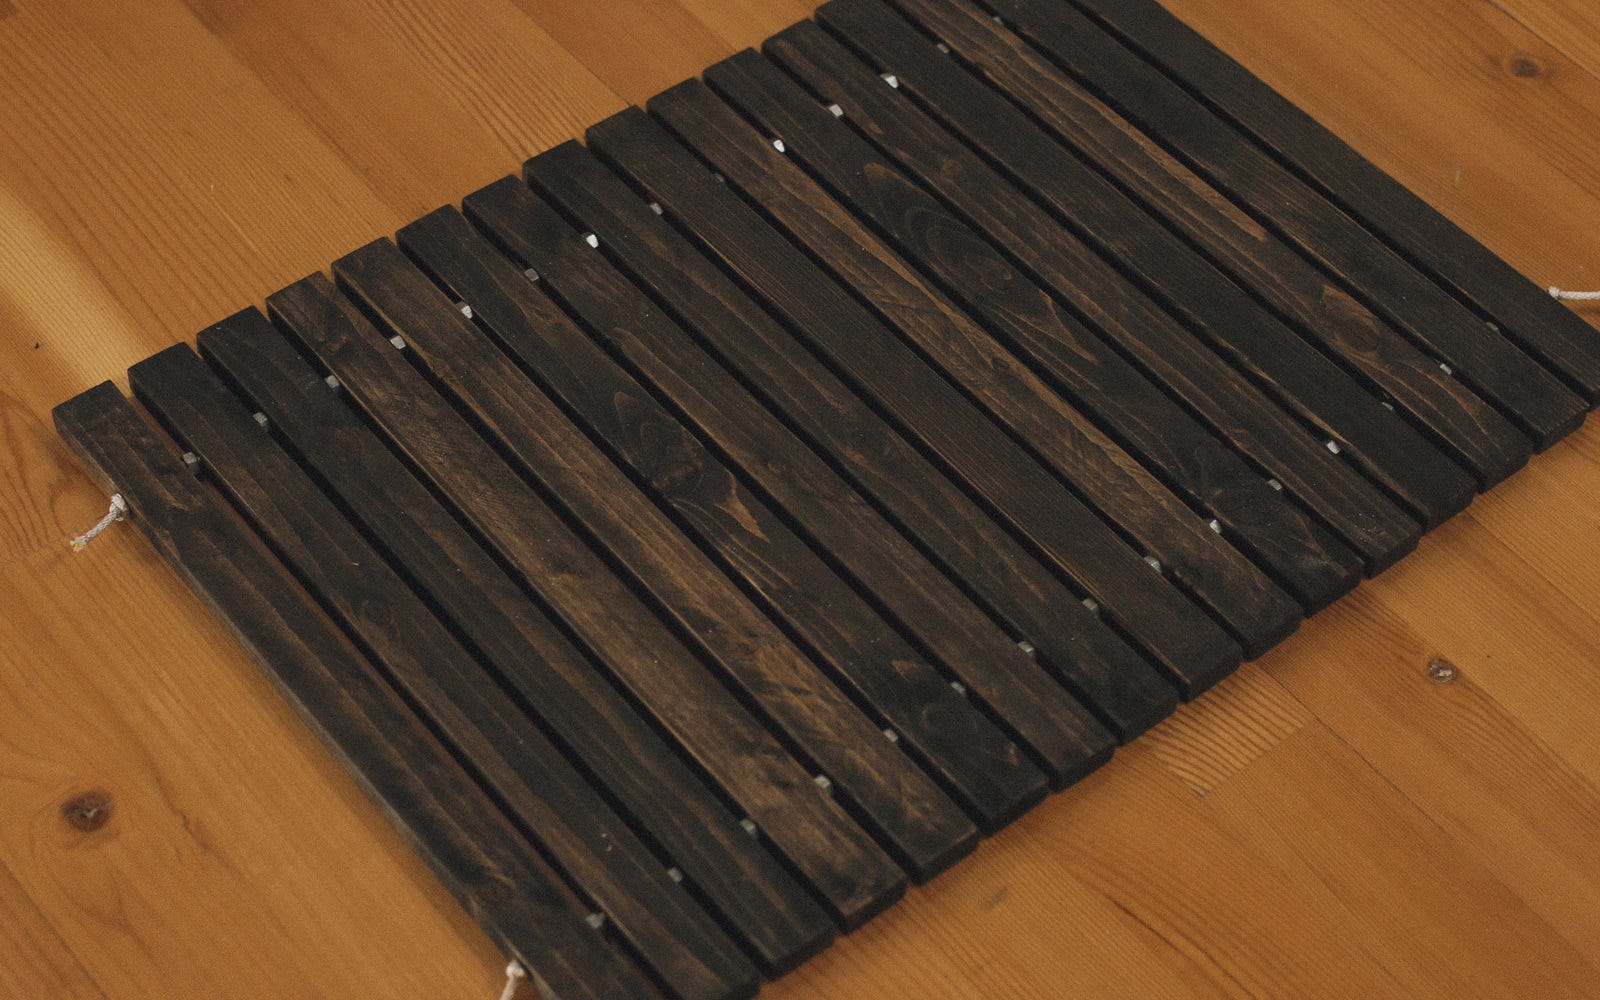
"Spring is just around the corner, so it's a great time to spruce up your front porch. We recommend this super cute wood stake door mat. Keep the rain, mud, and muck out of your home in style!"
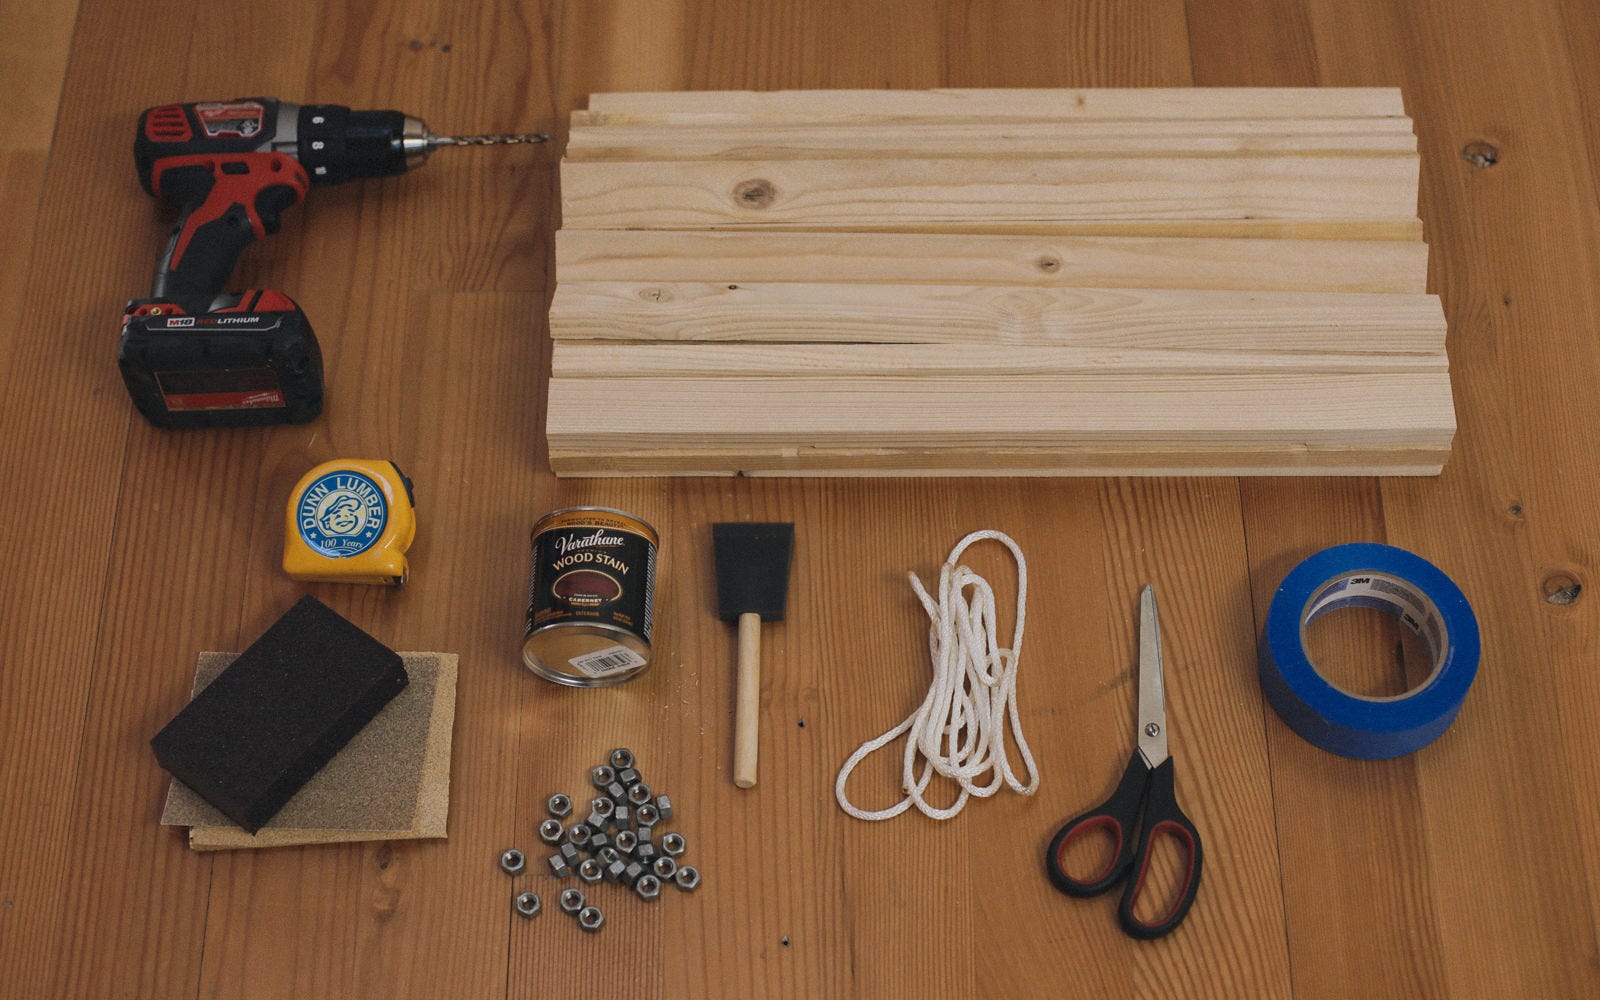
Materials
This doormat is a fun project that seems to be all over the internet right now. So we decided to give it a try ourselves! It's very simple, though it took a little longer than we originally expected because of all of the individual pieces. This is a great project to keep really relaxed and do over a couple days or plough through and get it done in an afternoon!
Step 1
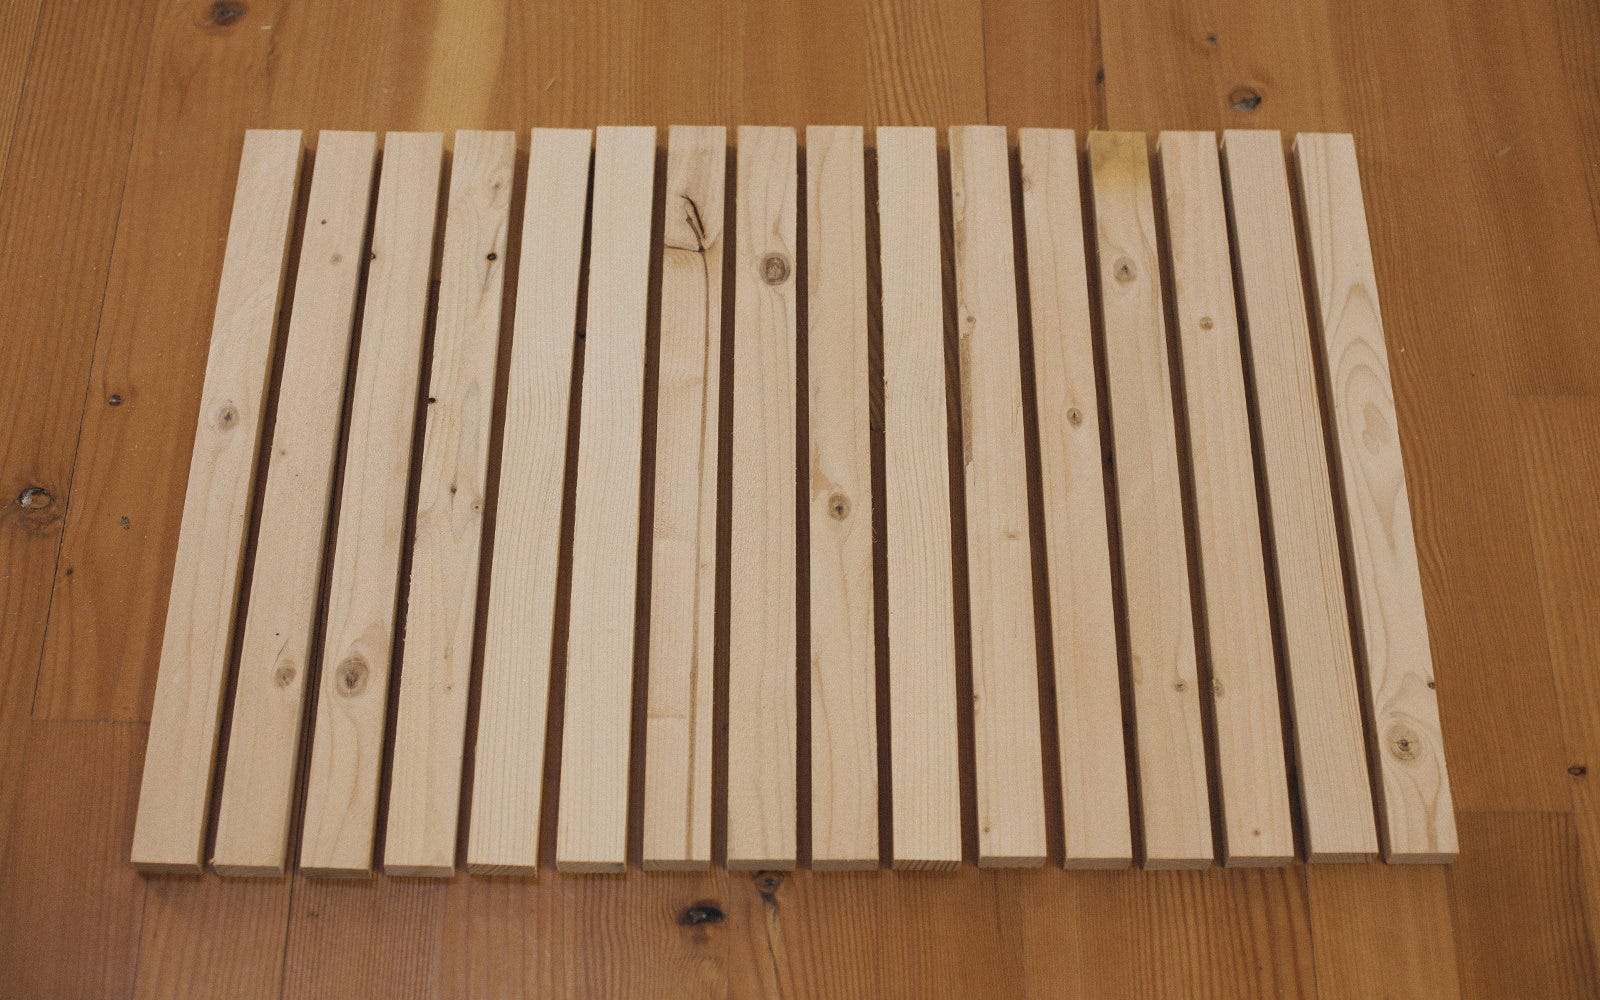
Begin by cutting stakes to 20 ½ inches. We recommend doing this by first cutting a smooth edge on the blunt end and then measuring and cutting off the point of the stake. This way you'll end up with clean cuts on either end.
Step 2
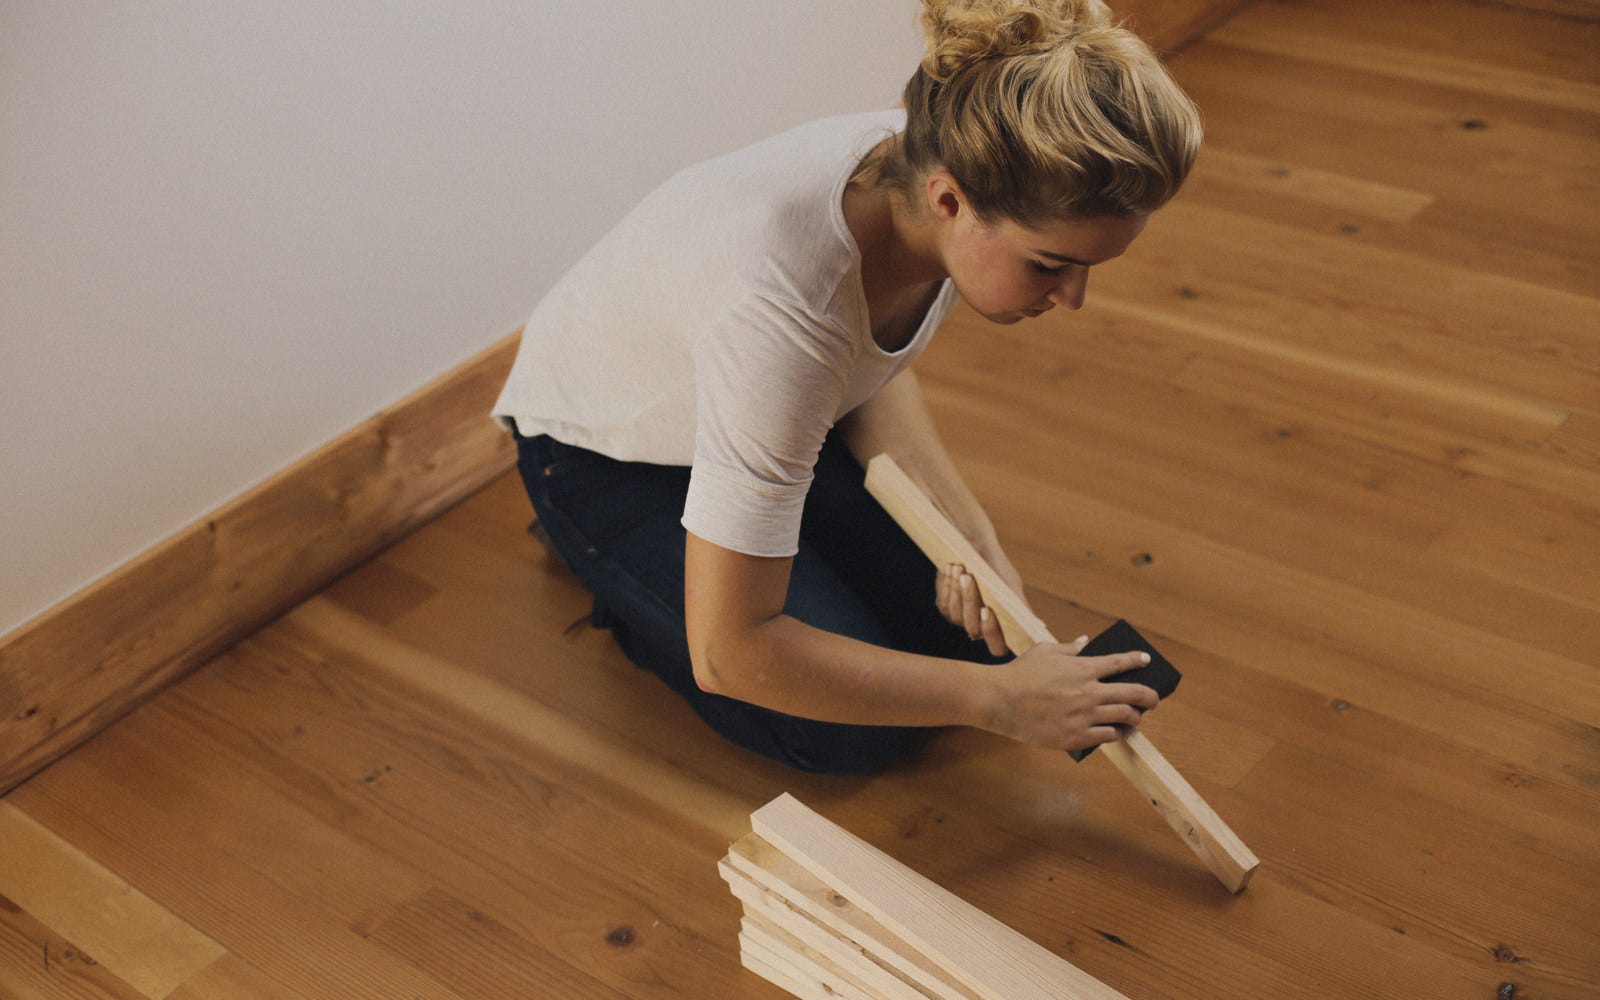
Next we're going to sand. If you have a sander this will be worth getting out, but you can also go the old fashioned way like we did. We weren't expecting a lot of bare feet on this particular doormat so we just did an initial sanding with a medium/coarse sanding sponge focusing on the side of the stake that would be the top of our doormat. If you have small children, or if you'll be using this at a beach house where there will be lots of bare feet we recommend continuing the sanding process with higher grit sandpaper.
Step 3
After sanding, inevitably, comes staining. So lay down a drop cloth or plastic tarp and start reading the side of your can of stain. We used Varathane wood stain in espresso. This is a really fun color that's very dark, and ended up bringing out some really beautiful qualities in the wood. Be sure to wipe off any excess stain.
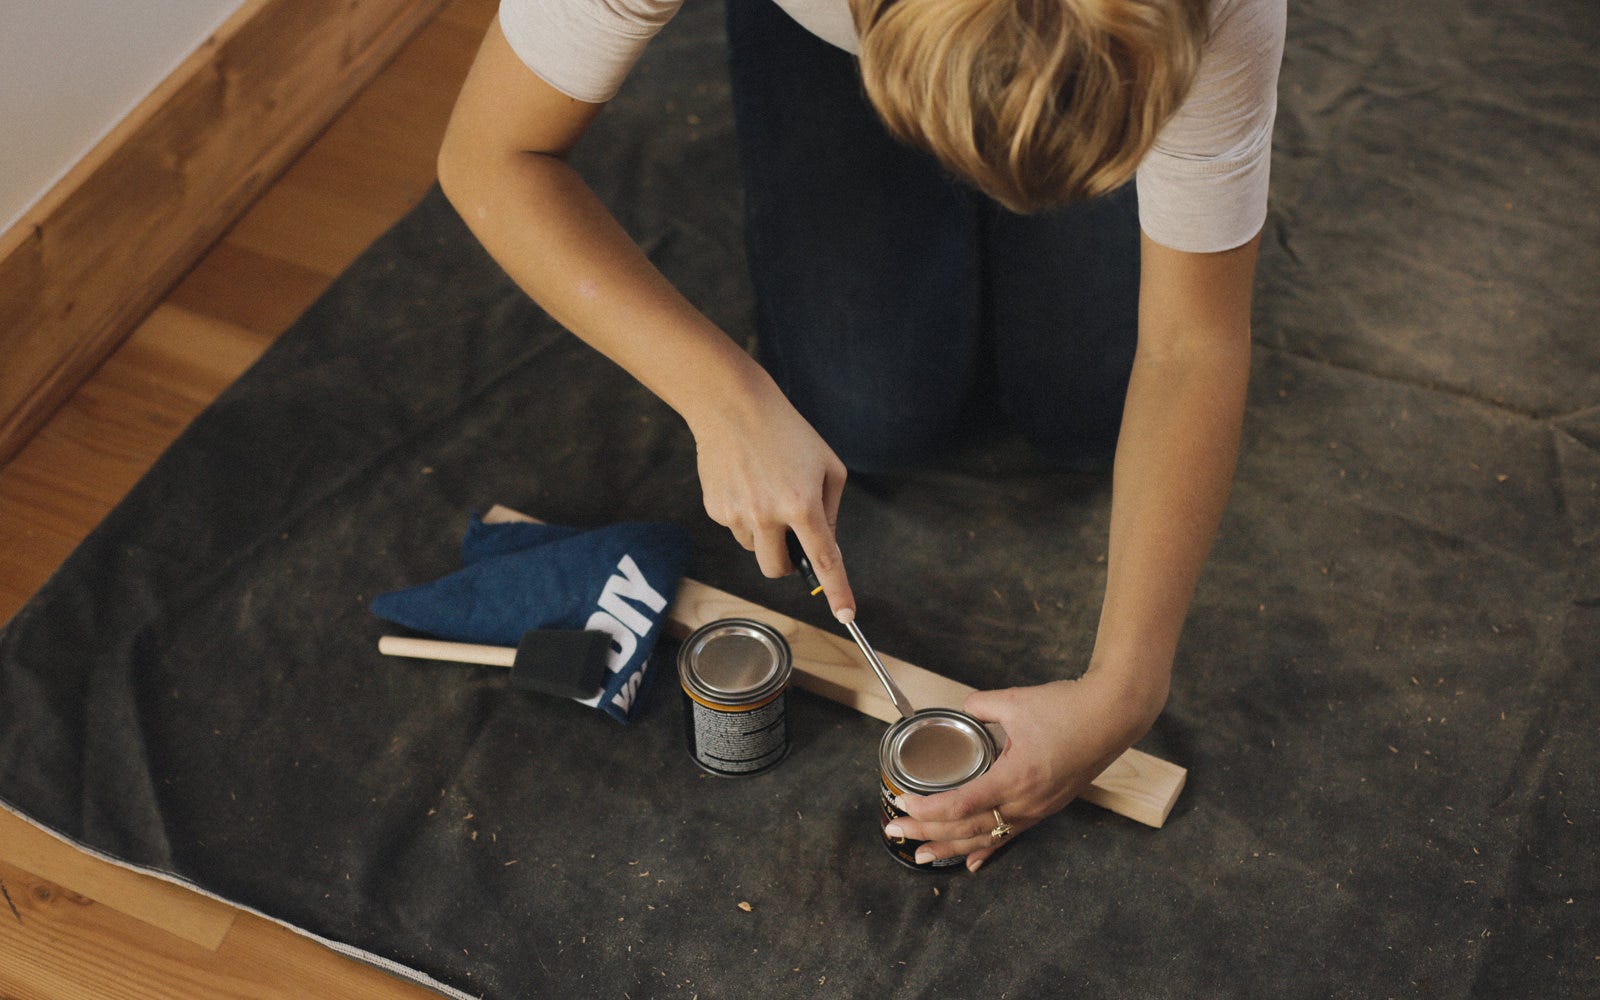
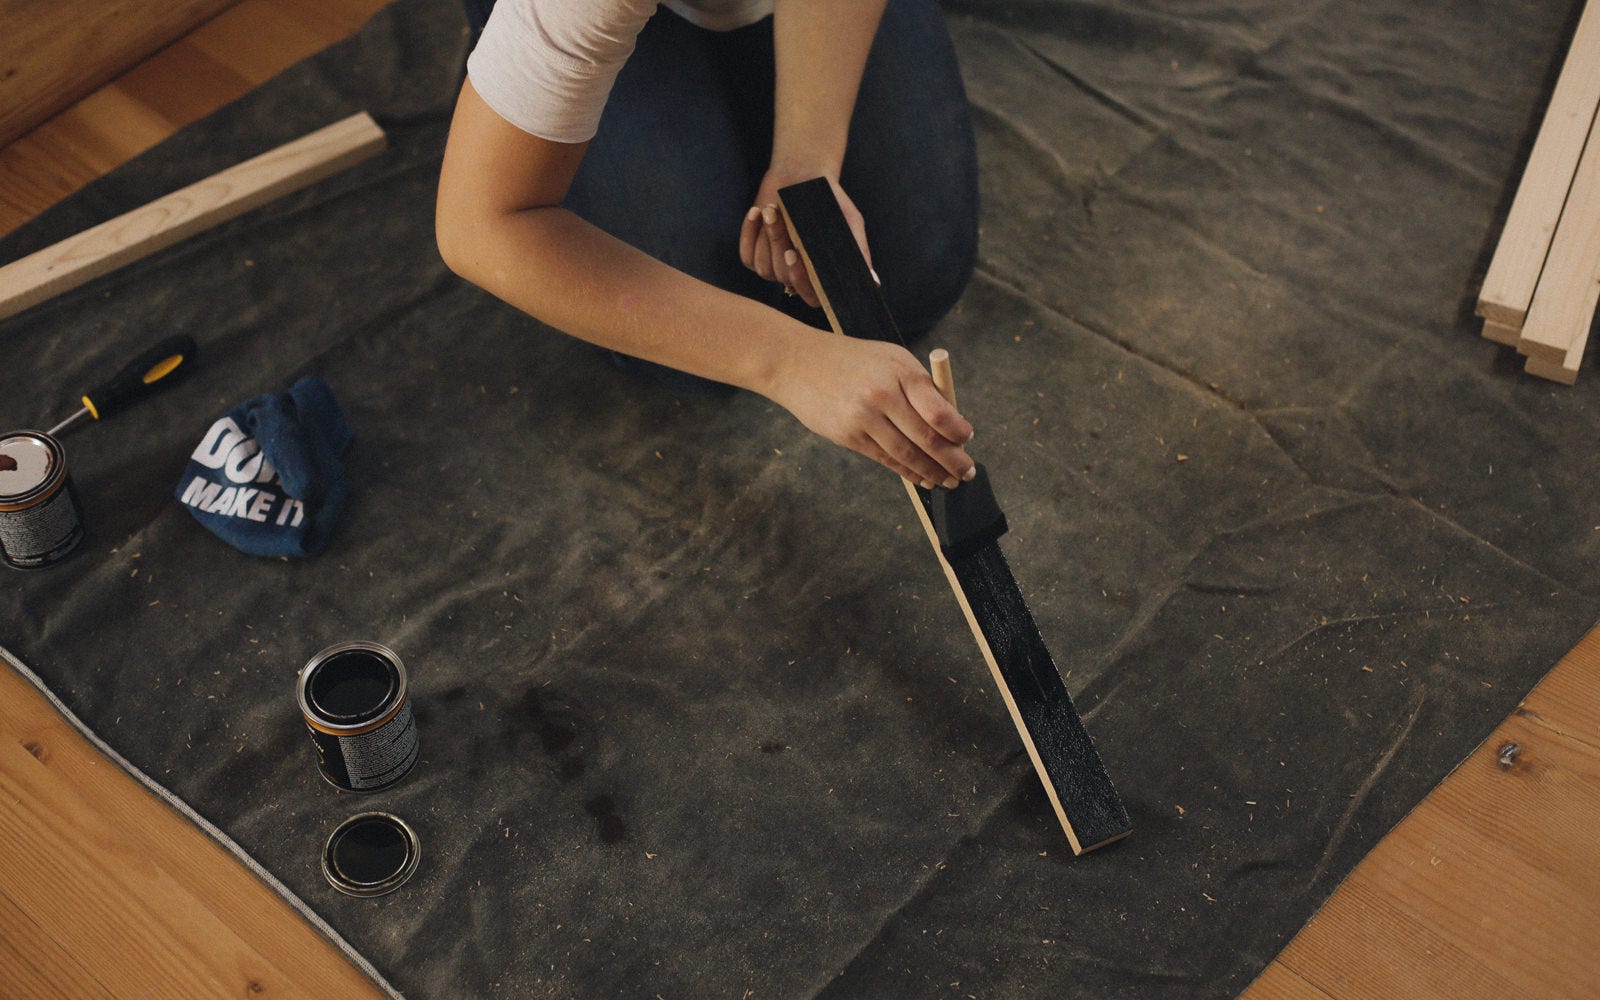
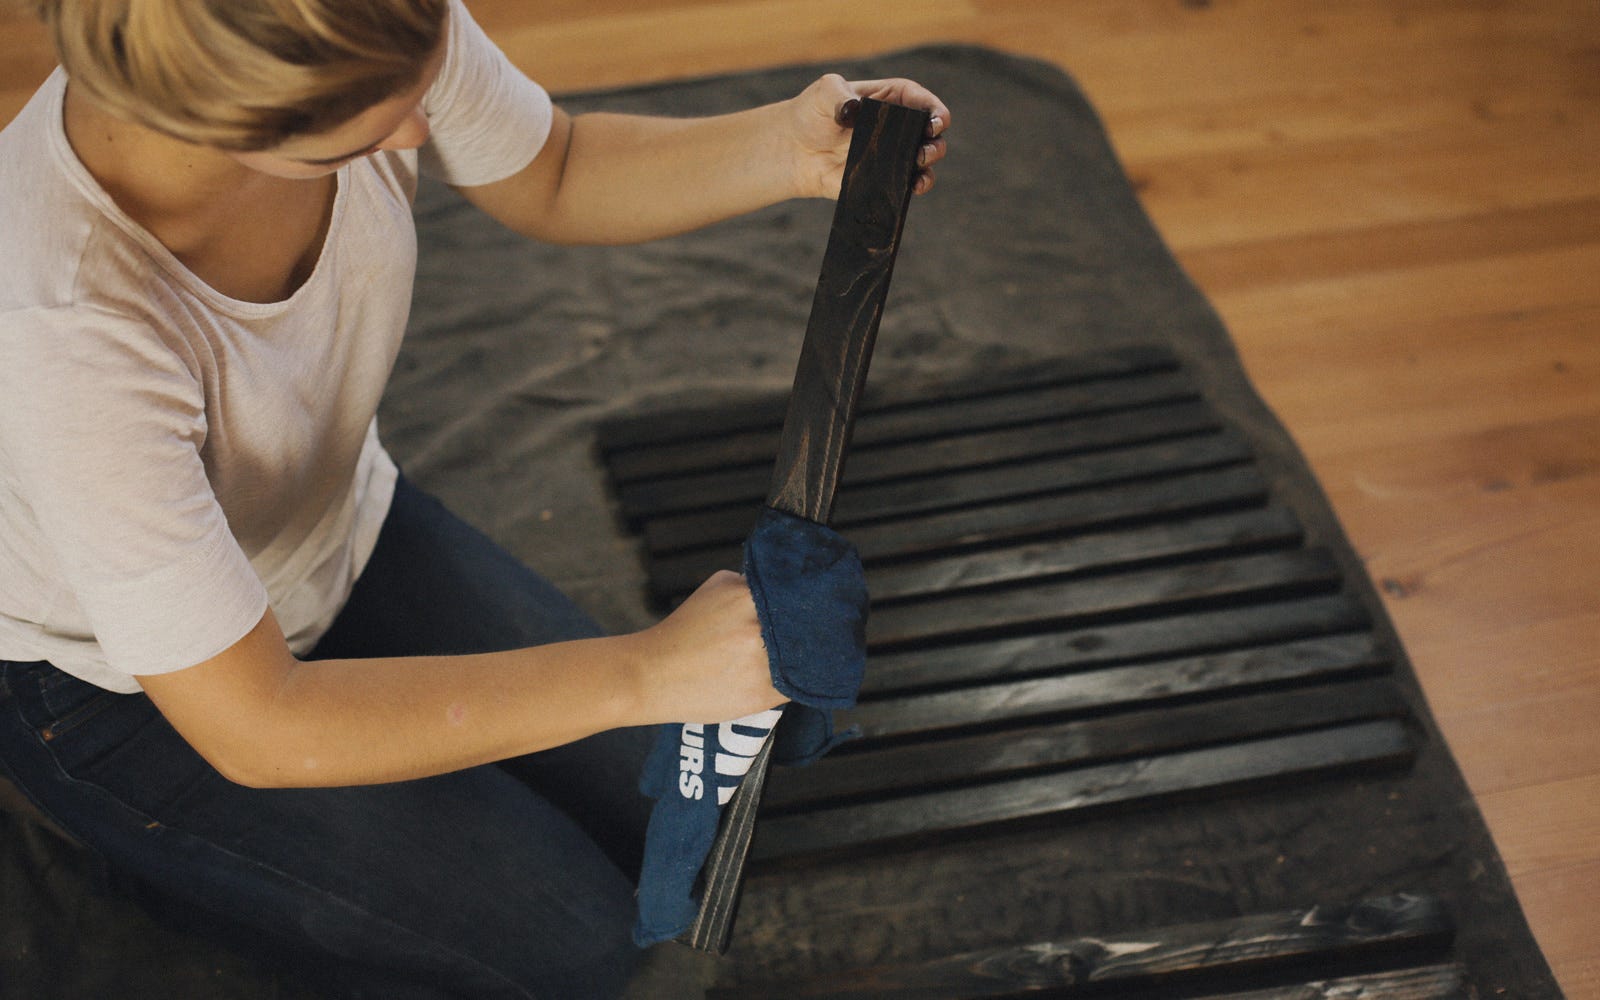
Step 4
After the stain is dry you can begin drilling. Measure three inches down from either end of the stakes and mark. You'll be drilling through the one inch edge of the stake. Help prevent breakage while you're drilling by drilling through the stake into a piece of scrap lumber. Be careful to not go deep into the scrap lumber; that can result in other difficulties.
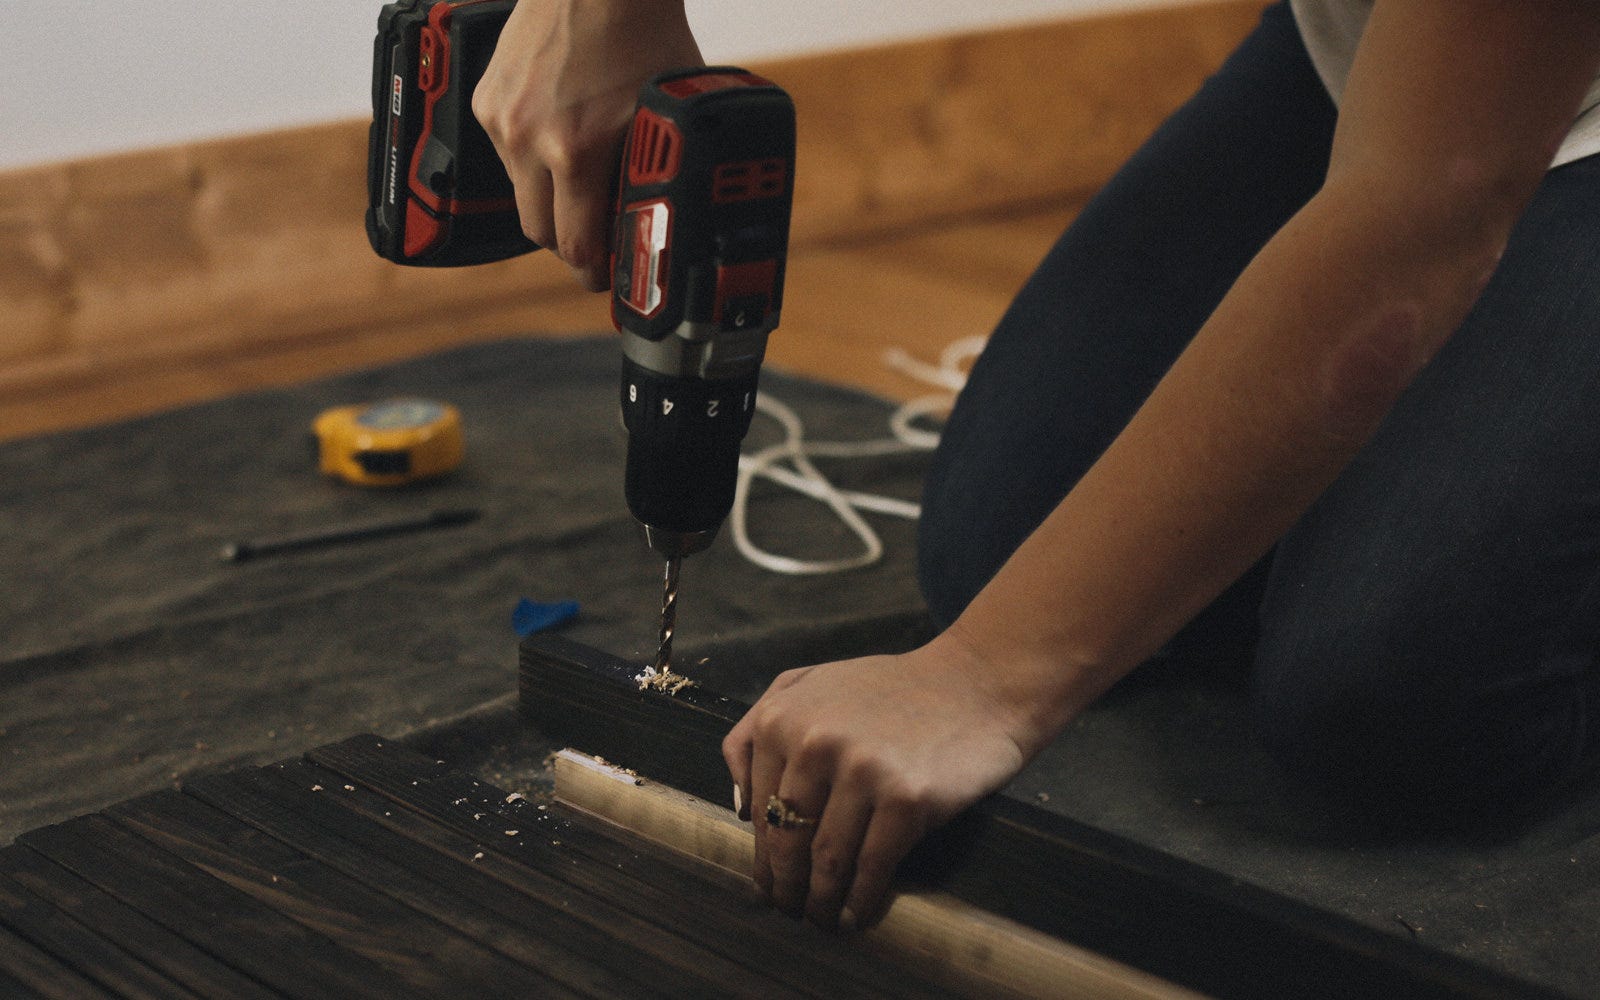
Step 5
After drilling grab your sandpaper and smooth out the edges of your holes. Don't worry about the looks too much; the nuts will cover up the imperfections. But ensure that holes are cleared enough for the rope to get through.
Step 6
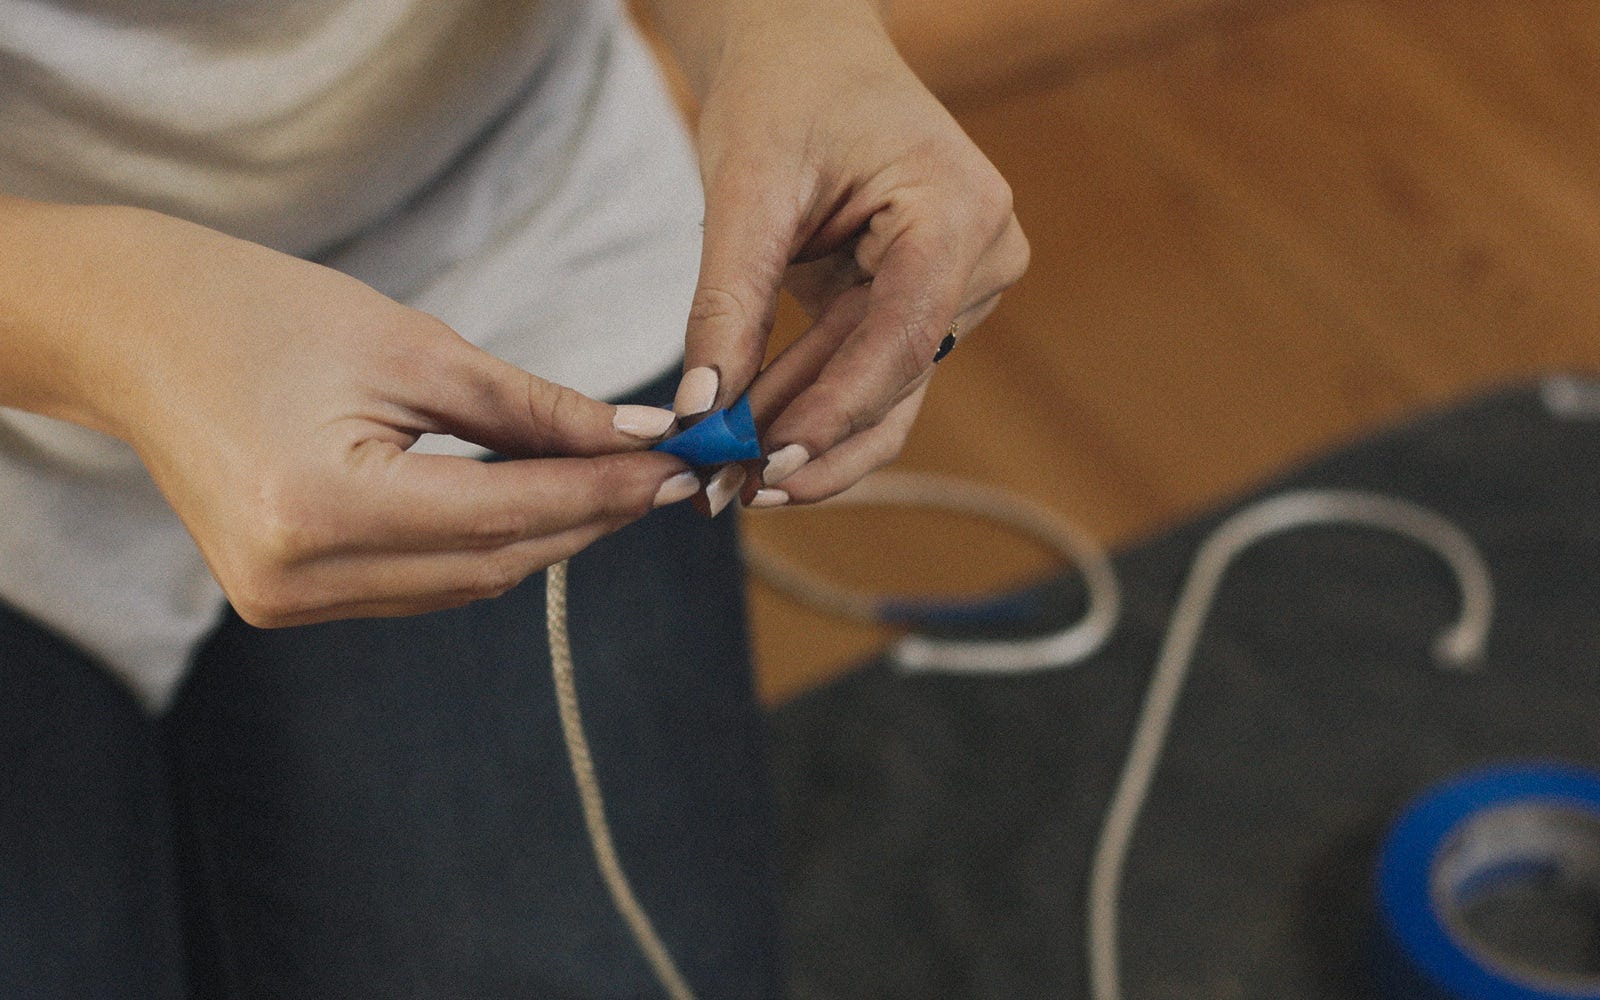
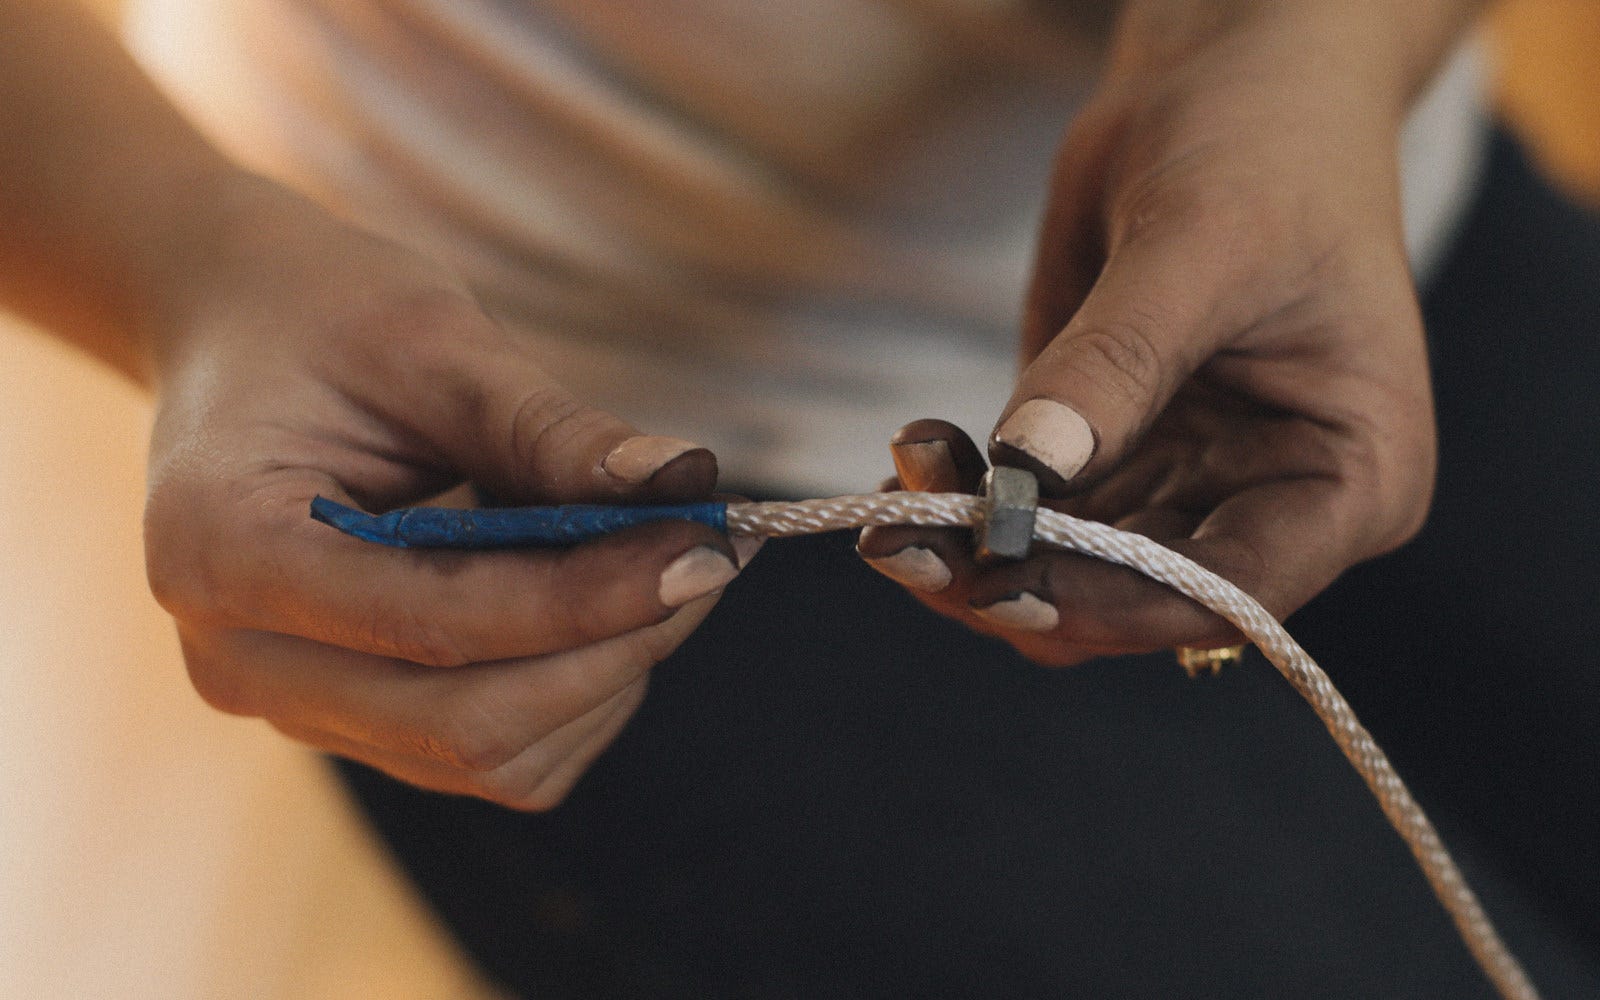
Cut your length of rope in half. Tape the end of the rope into a point to help get it through the holes in the stakes. We found that the taped section has to be as long as the hole is deep in order to be able to push it through.
Step 7
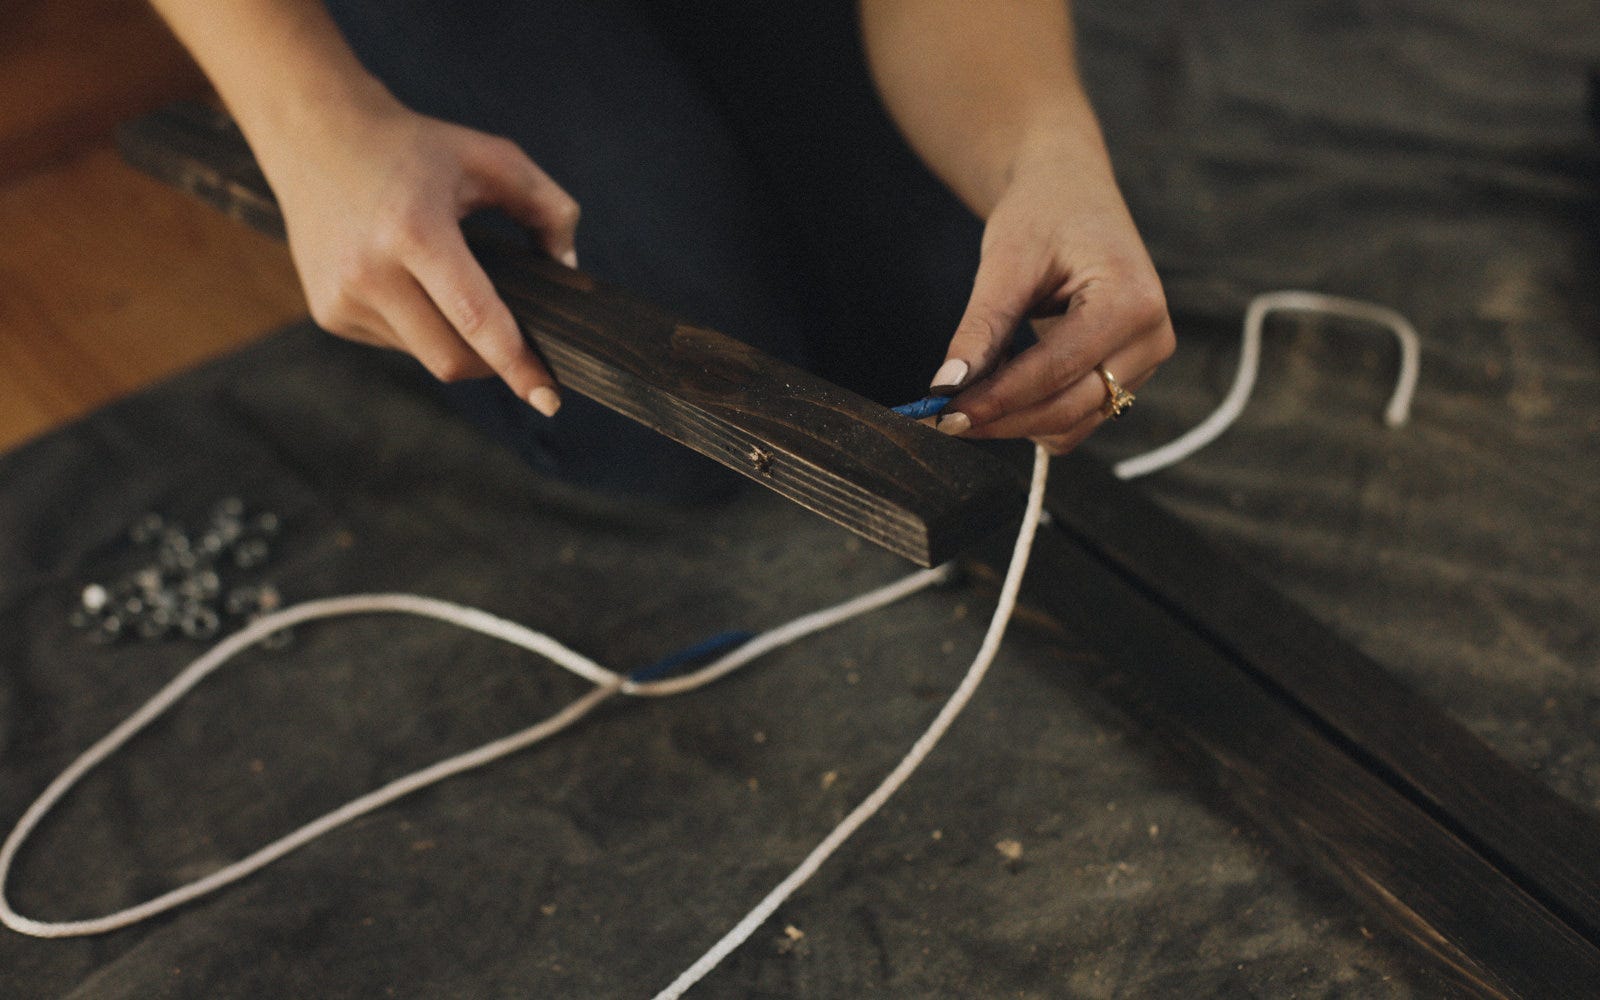
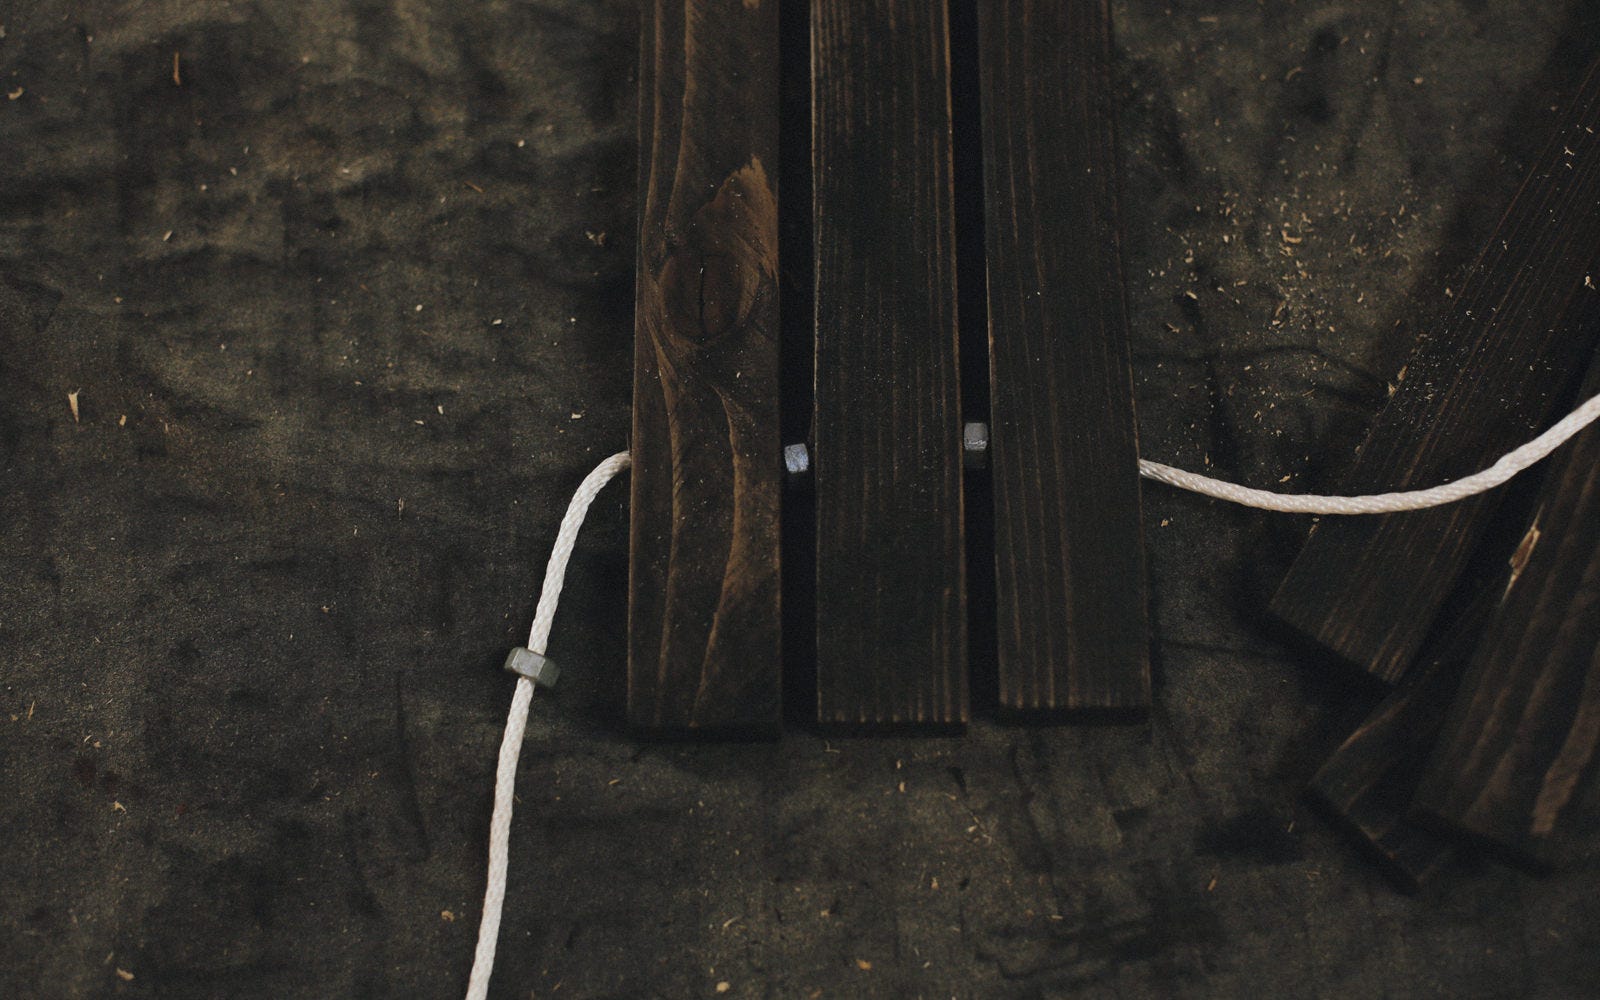
Consider which side of the stakes you want to be the top of your doormat and begin stringing them onto your rope interspersed with nuts.
Step 8
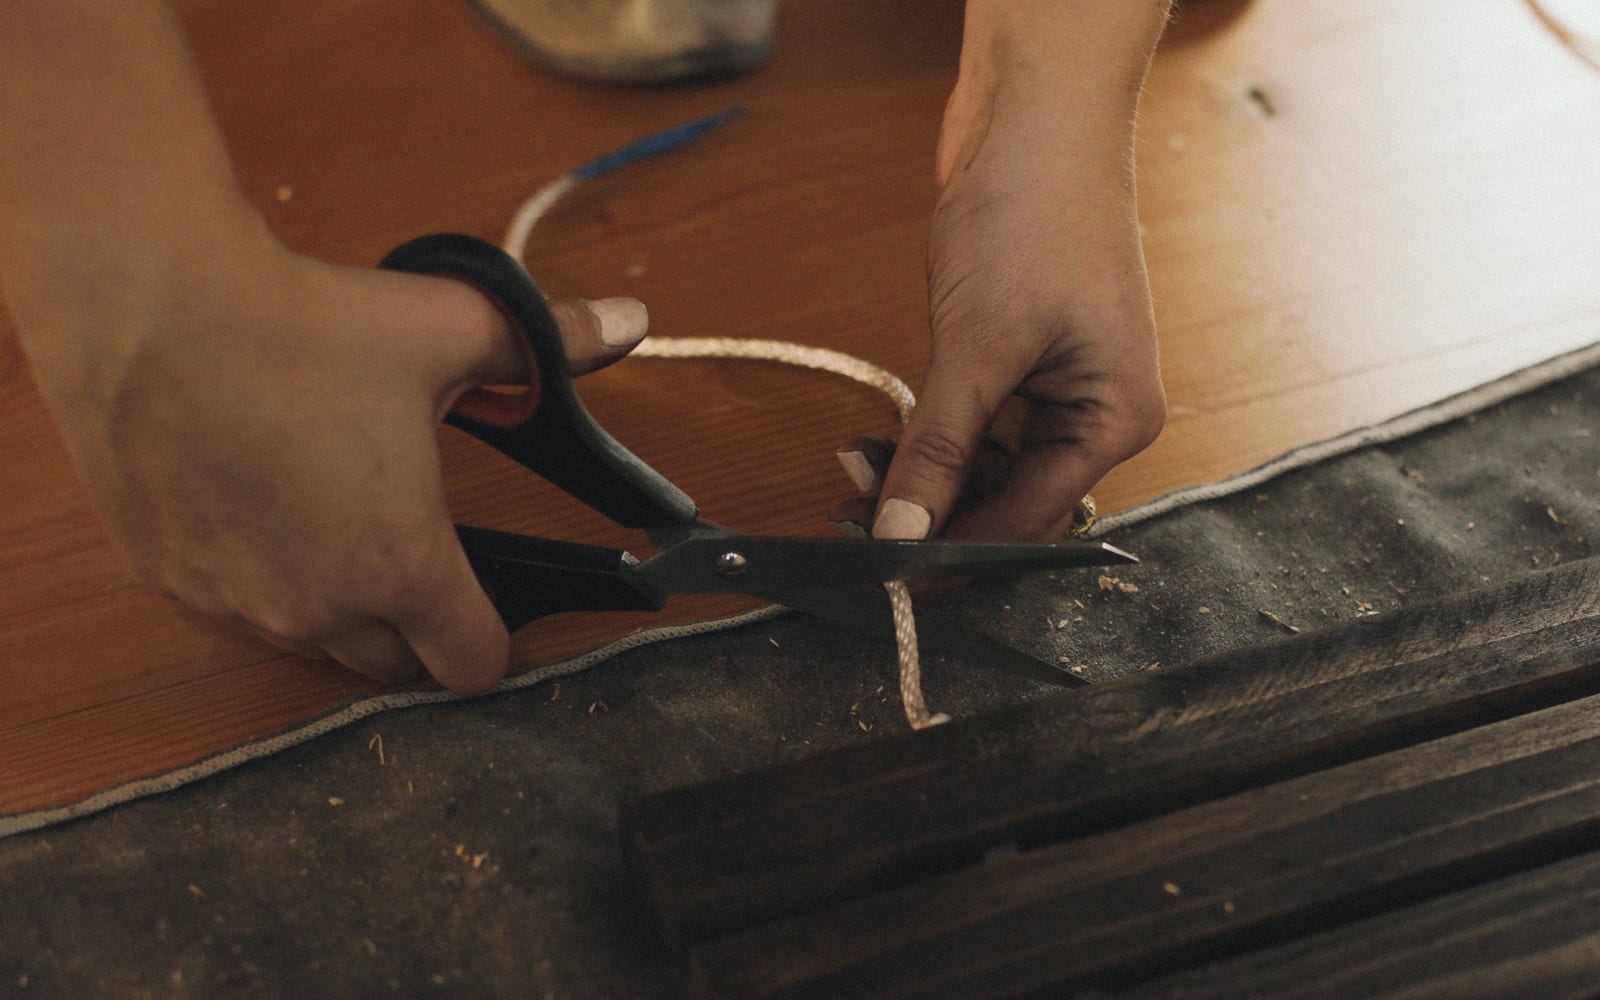
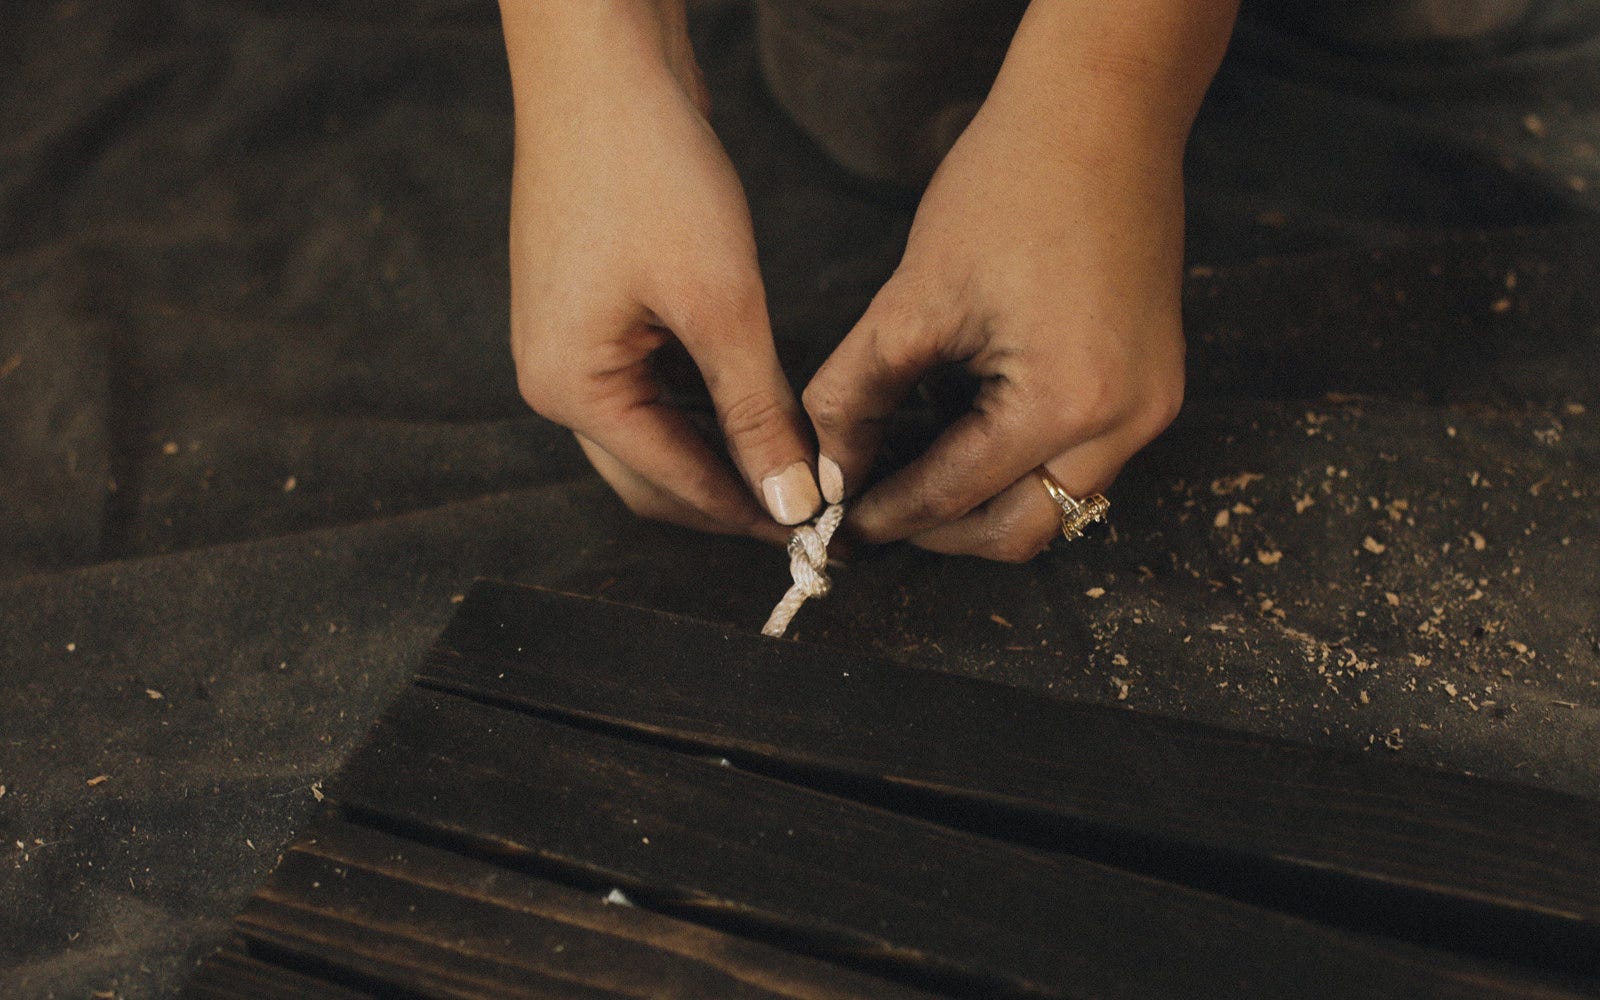
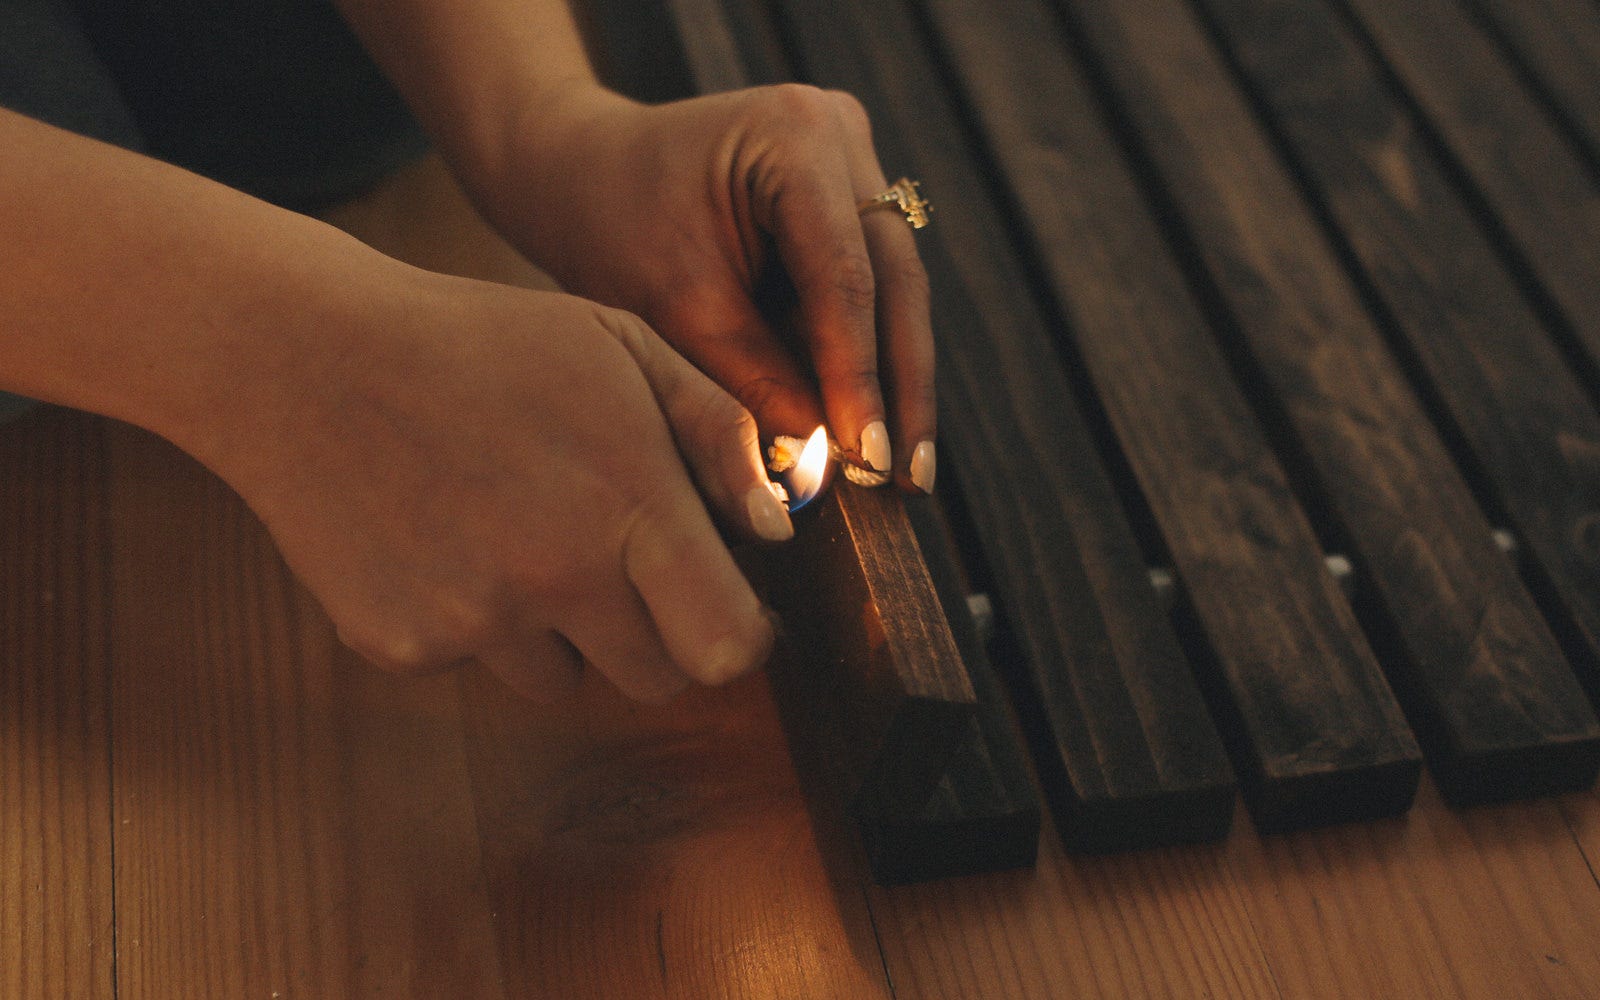
When all the stakes and nuts are on, even out the rope, tie a knot in both ends, and cut off the excess. Using a lighter or a match, fuse the ends of the rope to prevent fraying.
Step 9
This final step is optional: use a urethane finish spray to seal in the color, and to protect the wood from the elements. The one downside of this finish spray is that you won't be able to re-stain the doormat, so keep that in mind!
