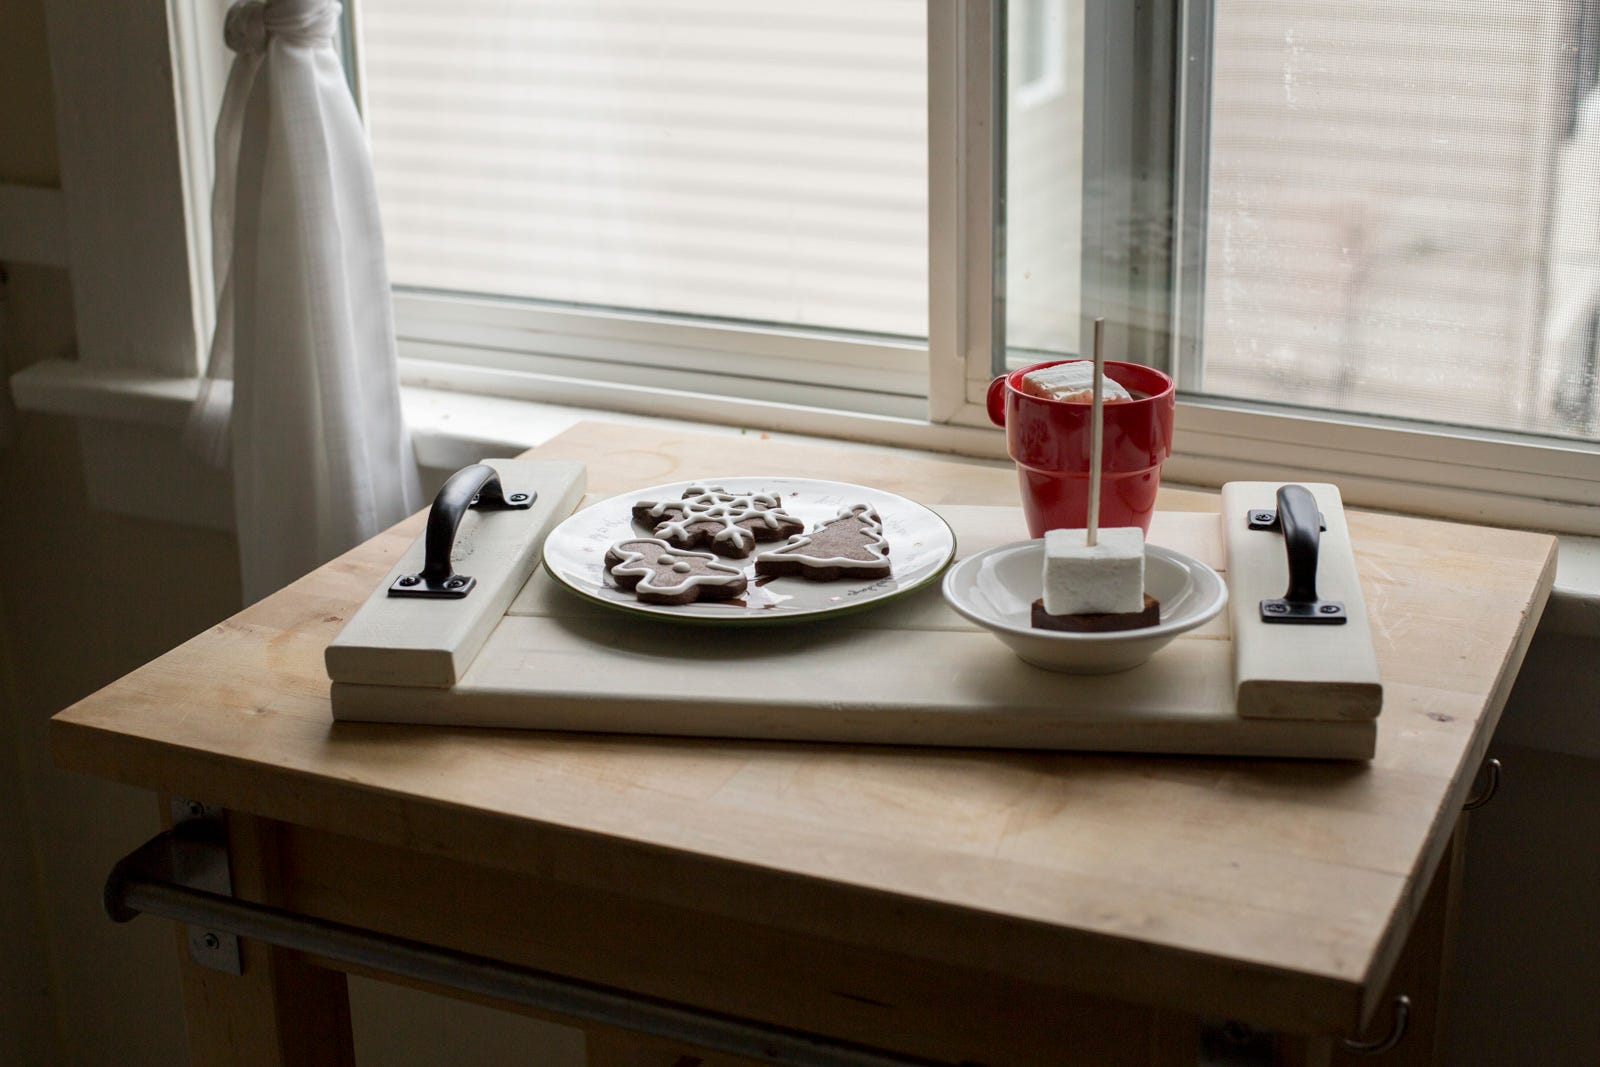
"This is a fun project to get ready for Santa!"
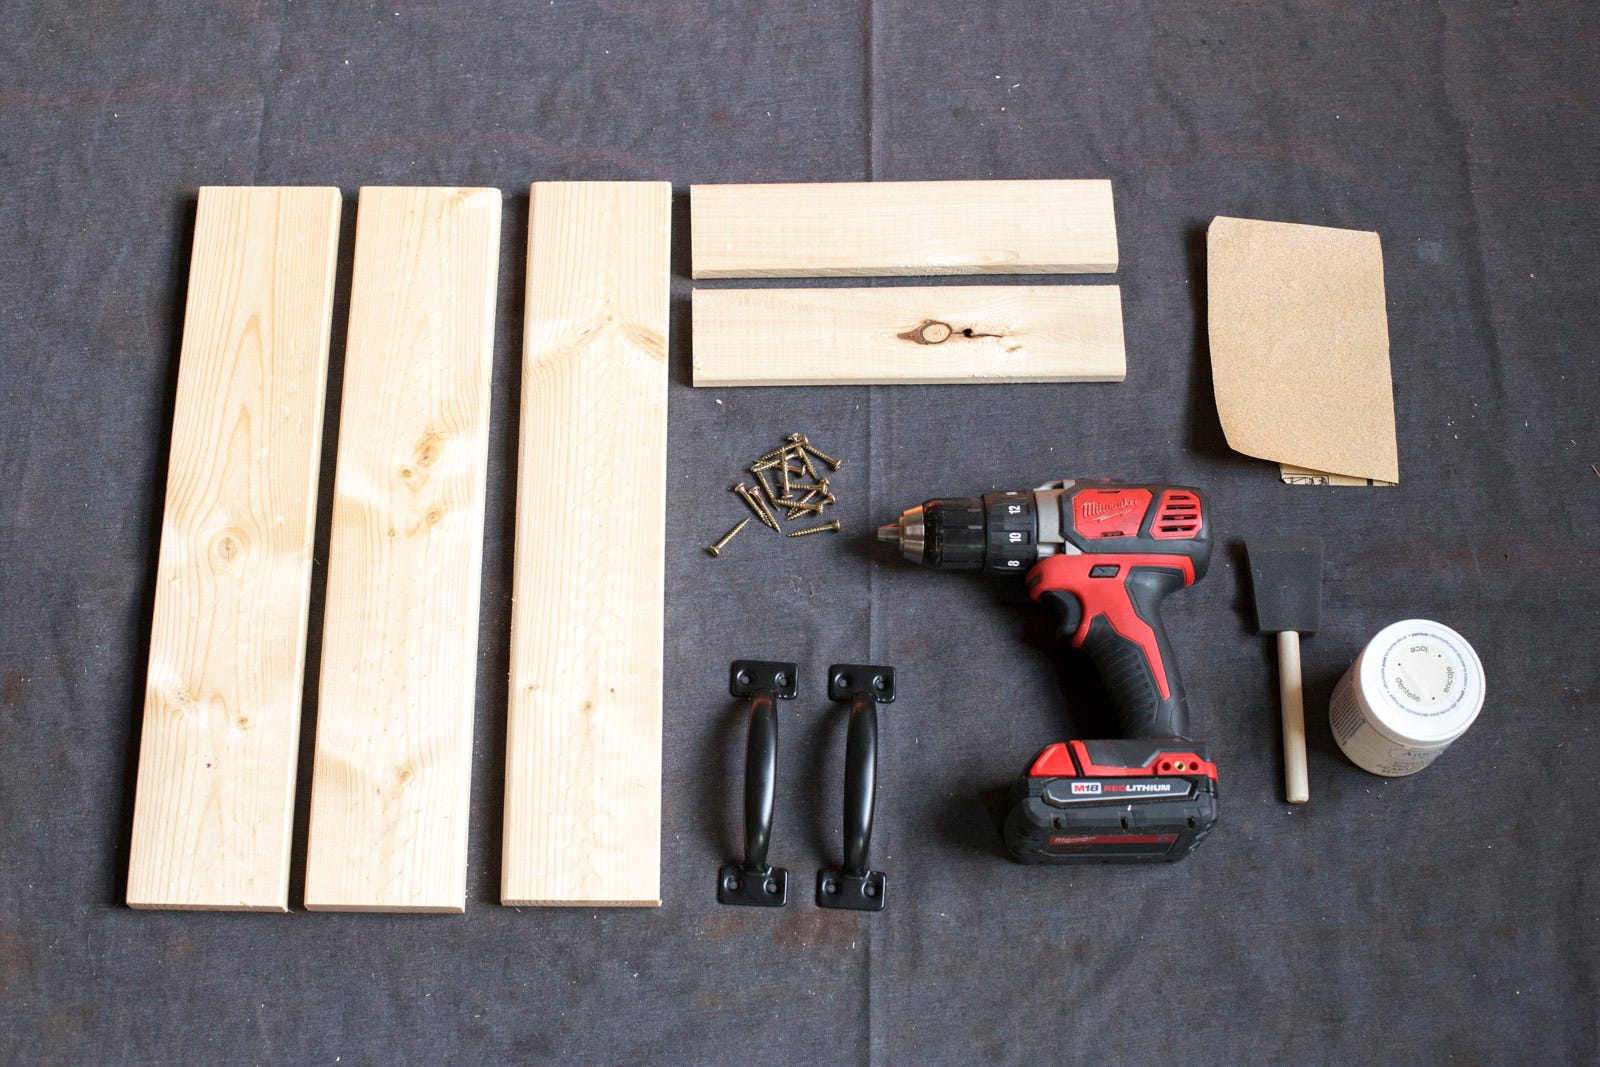
Materials
Step 1
Use a handsaw to make the following cuts:
- From your one-by-three:
- Two pieces at 10 ½". These will be the handles.
- From your one-by-four:
- Three pieces at 18". These will make up the tray.
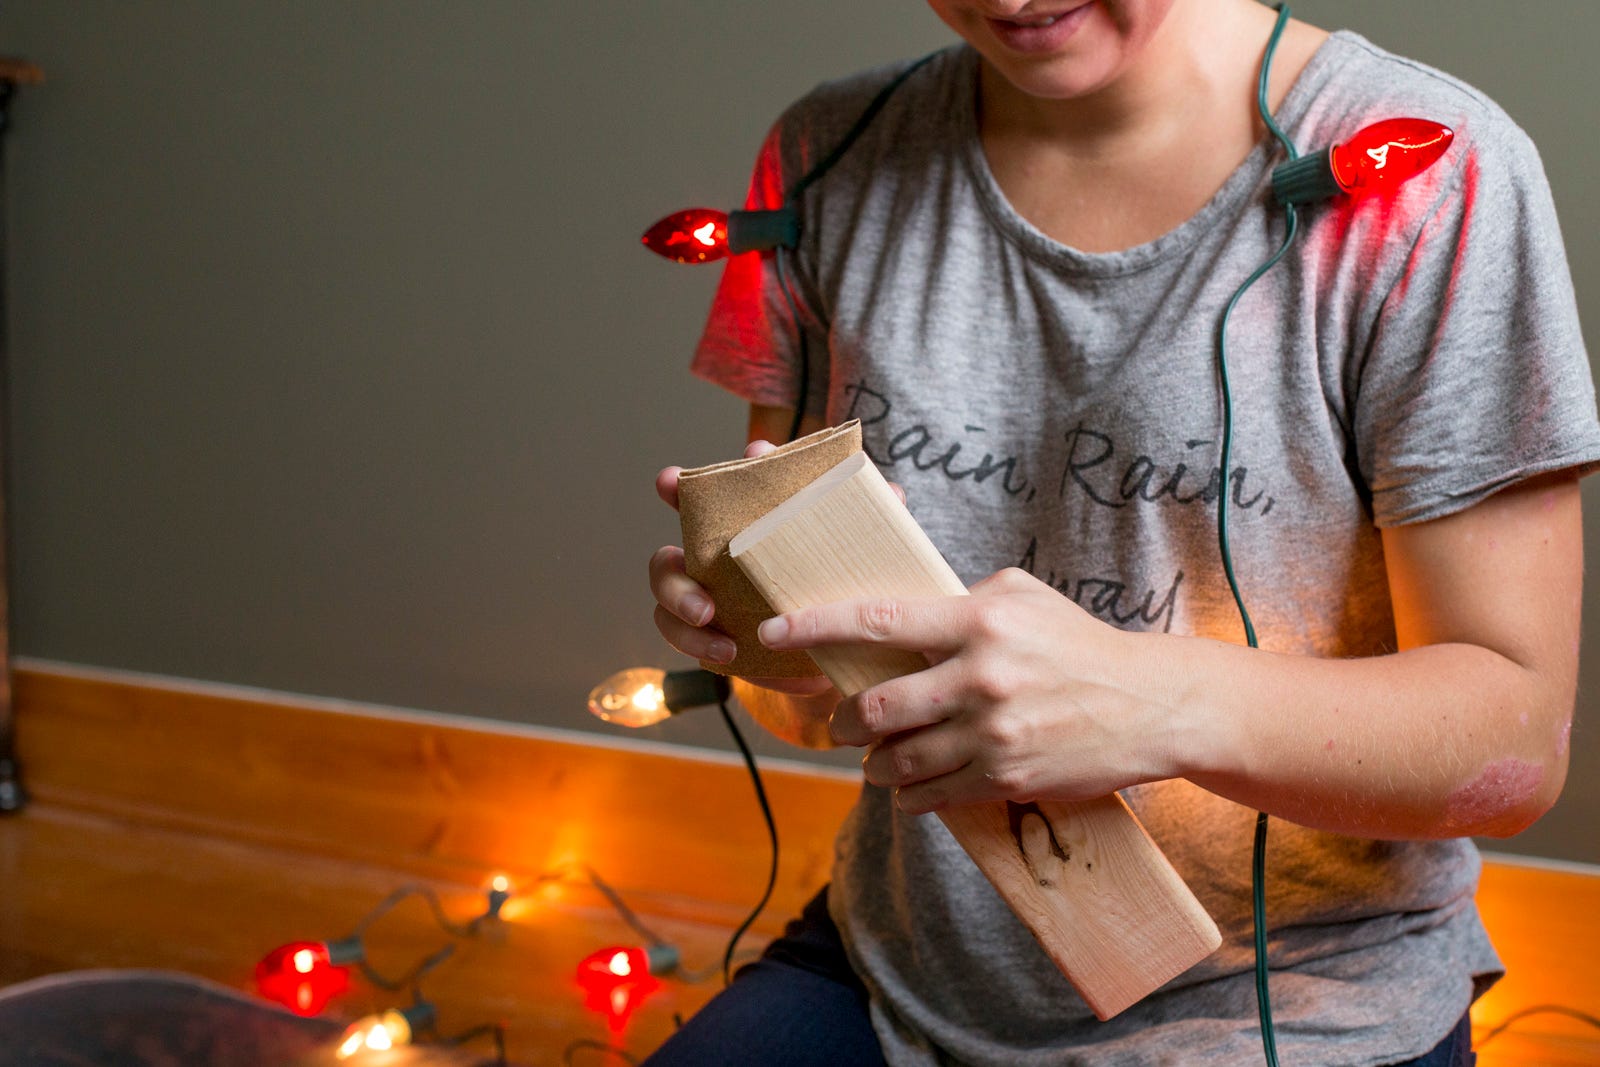
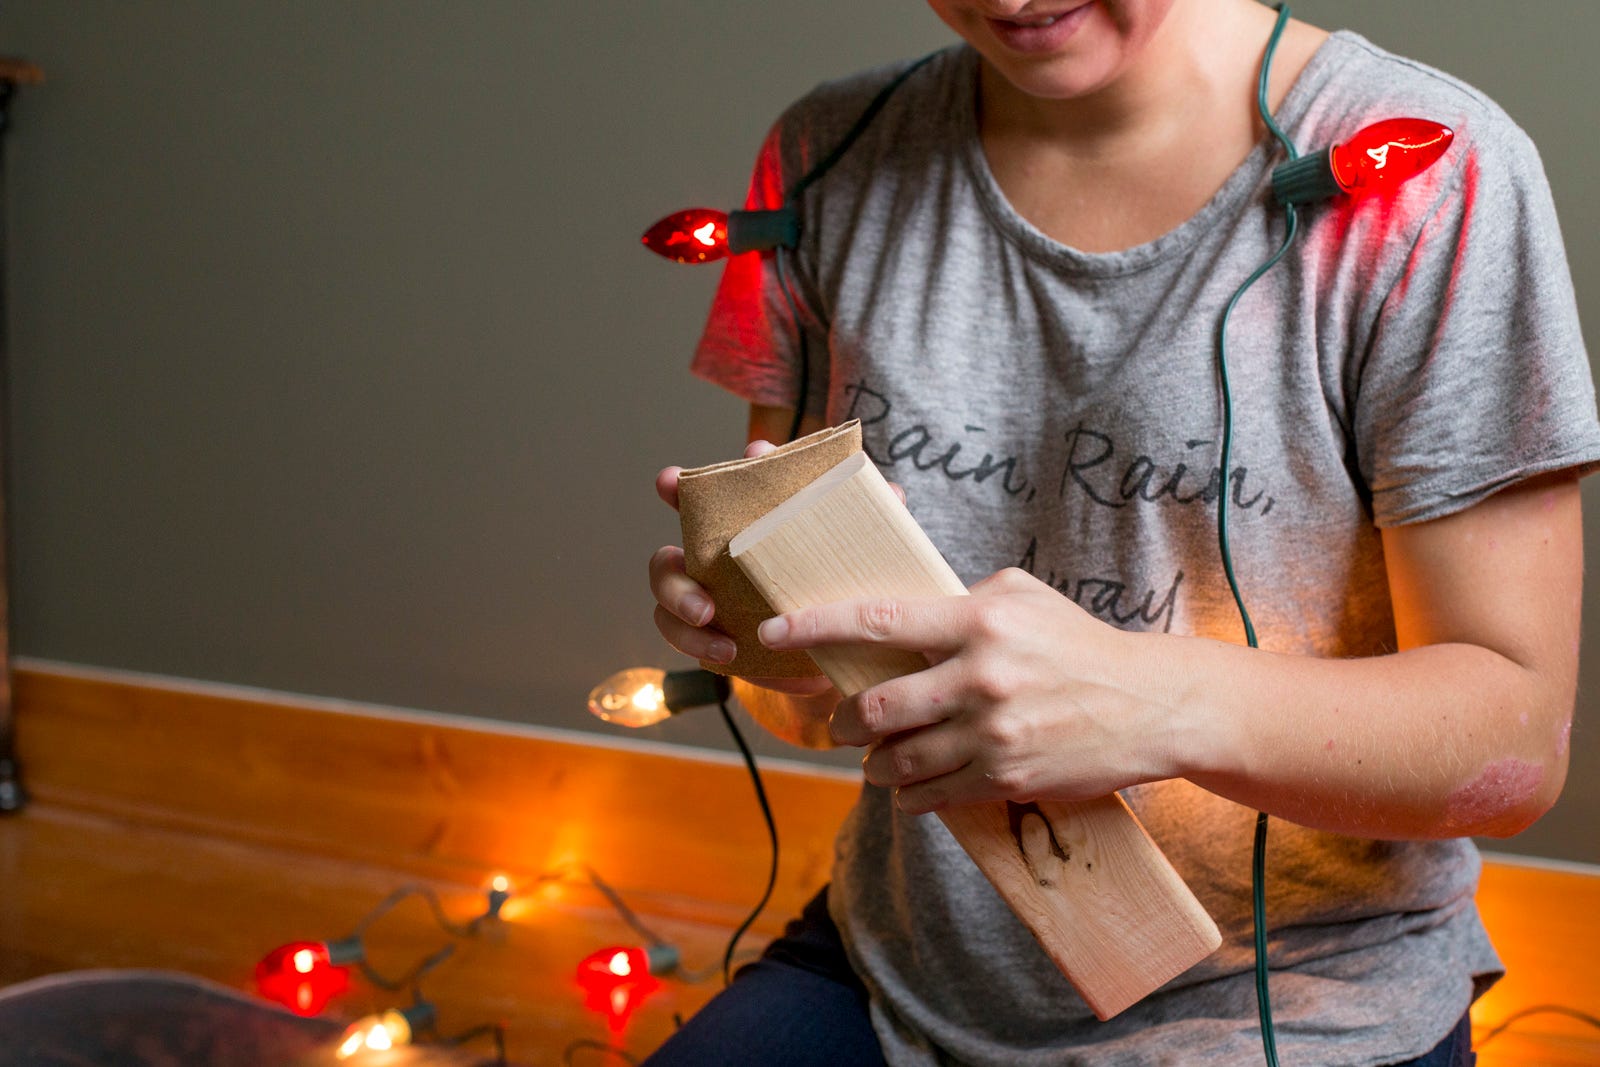
As always, sand each piece to ensure a smooth finish.
Step 2
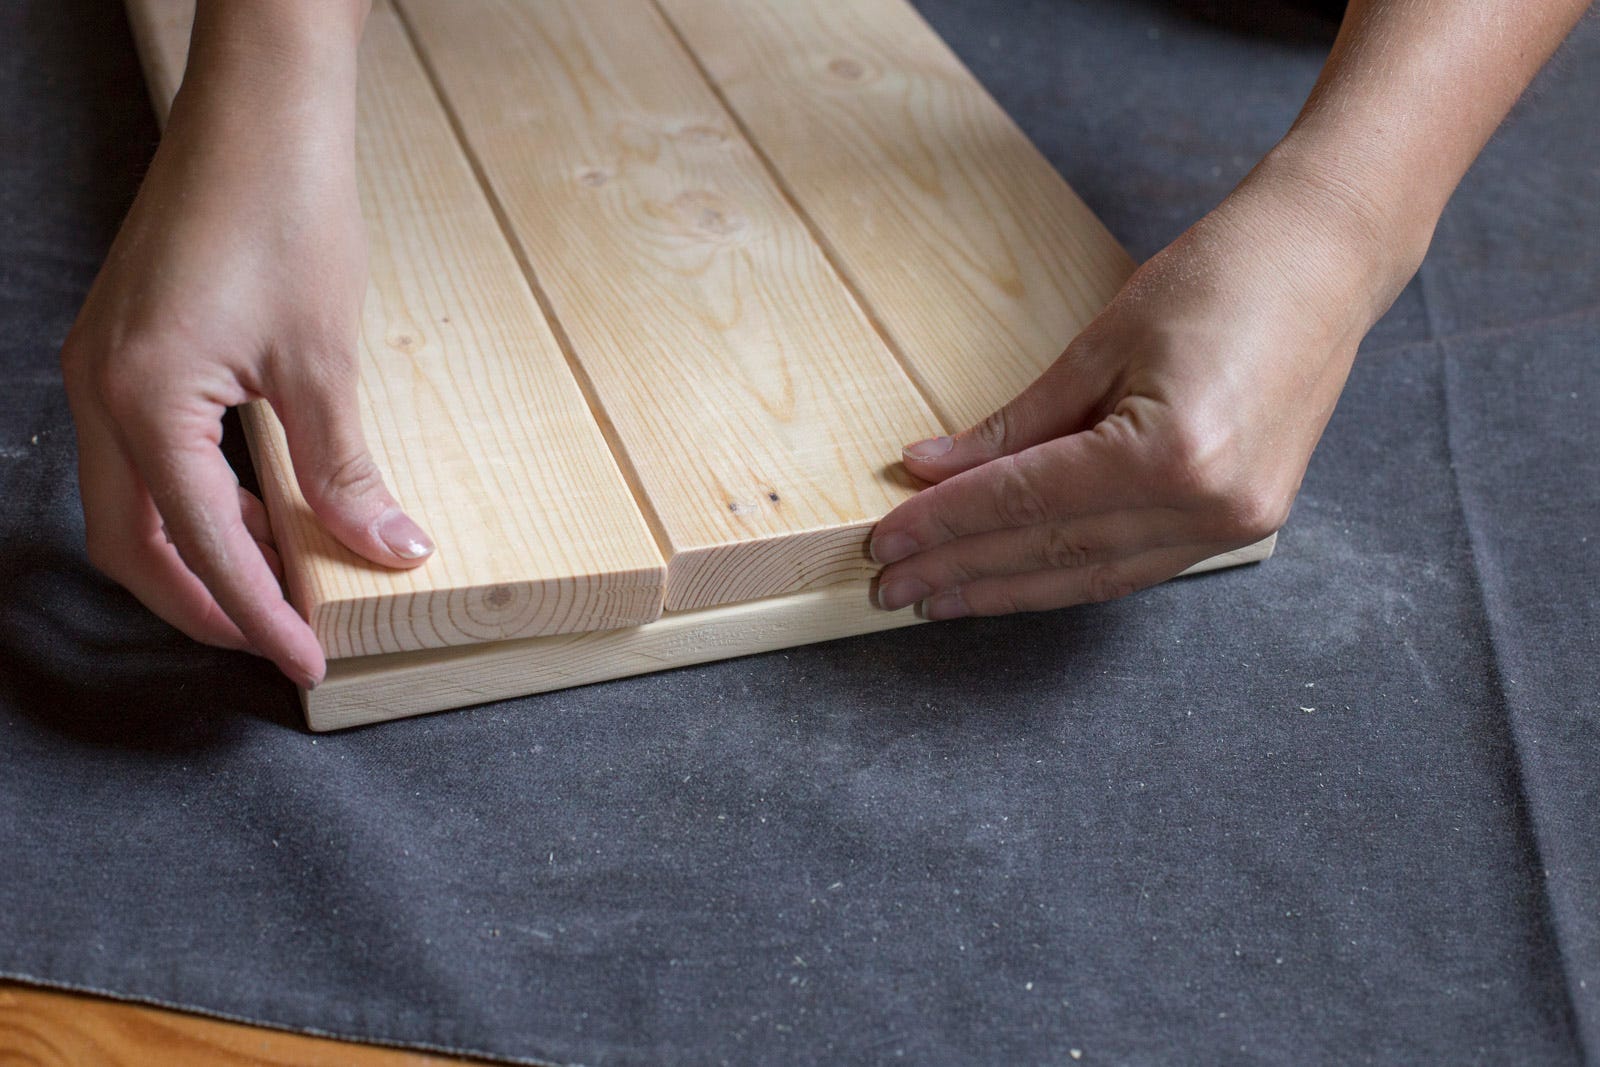
Now it's time to do a dry fit. Assemble the tray with the two "handles," on the bottom.
Step 3
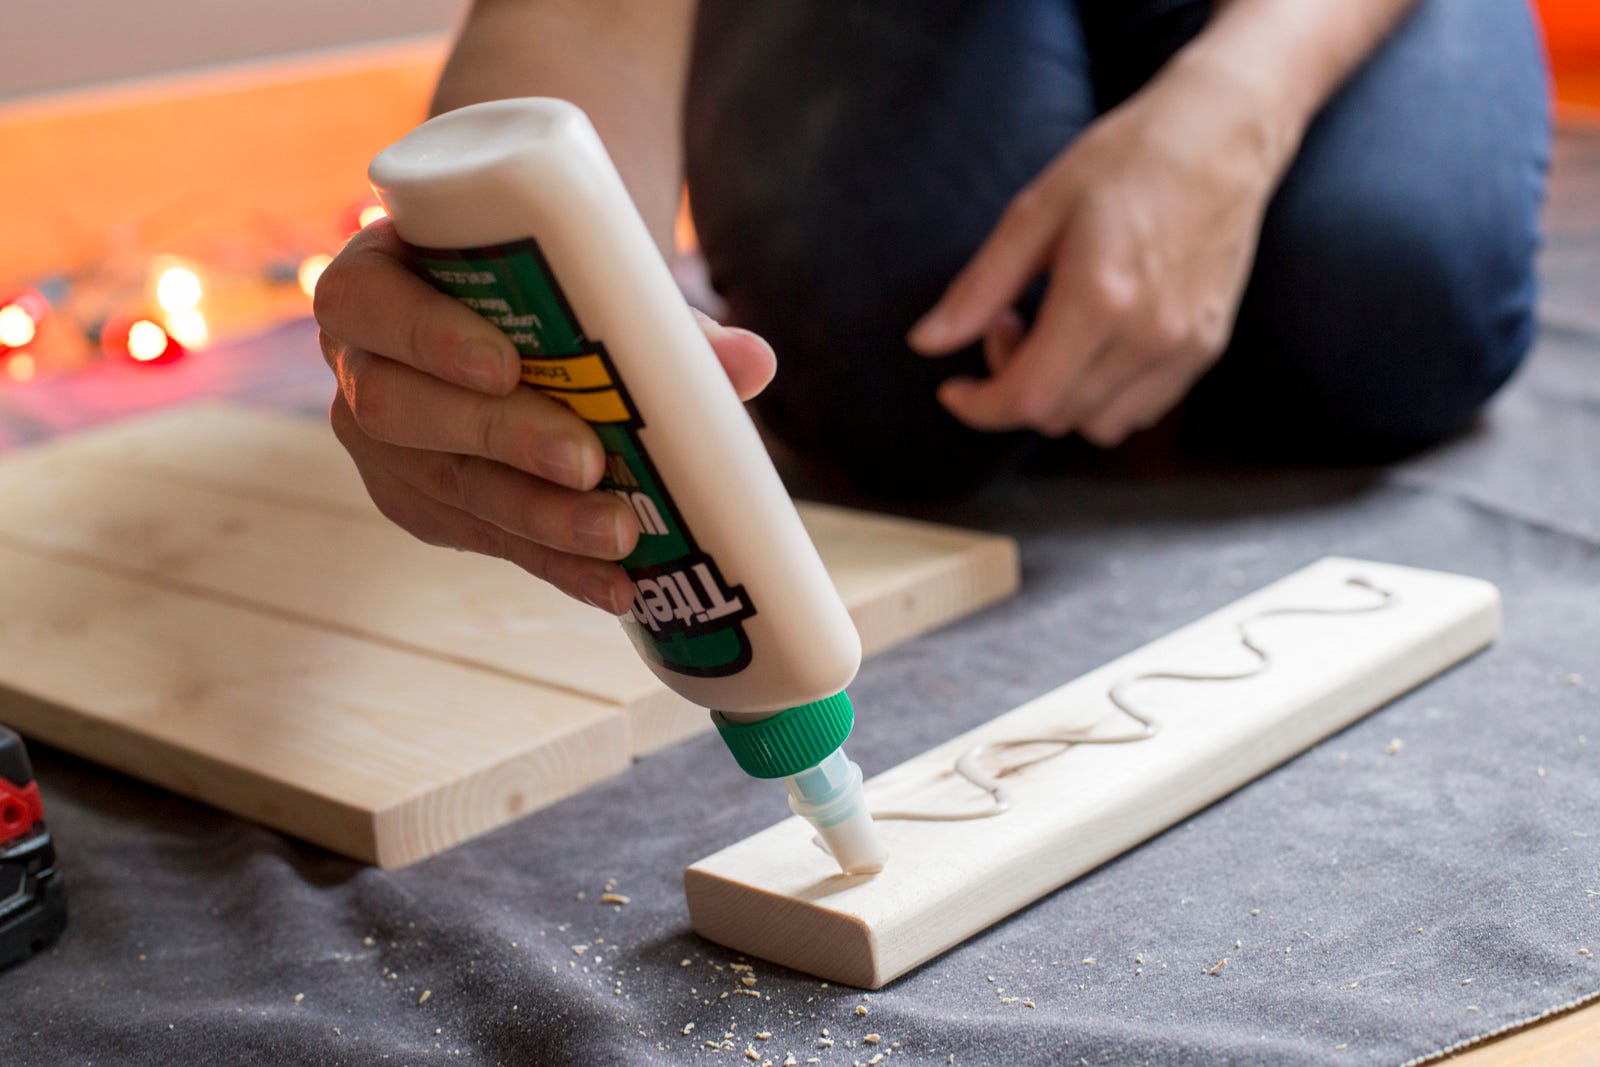
Now, glue the 10 ½" pieces and fix them to the 18" pieces.
Step 4
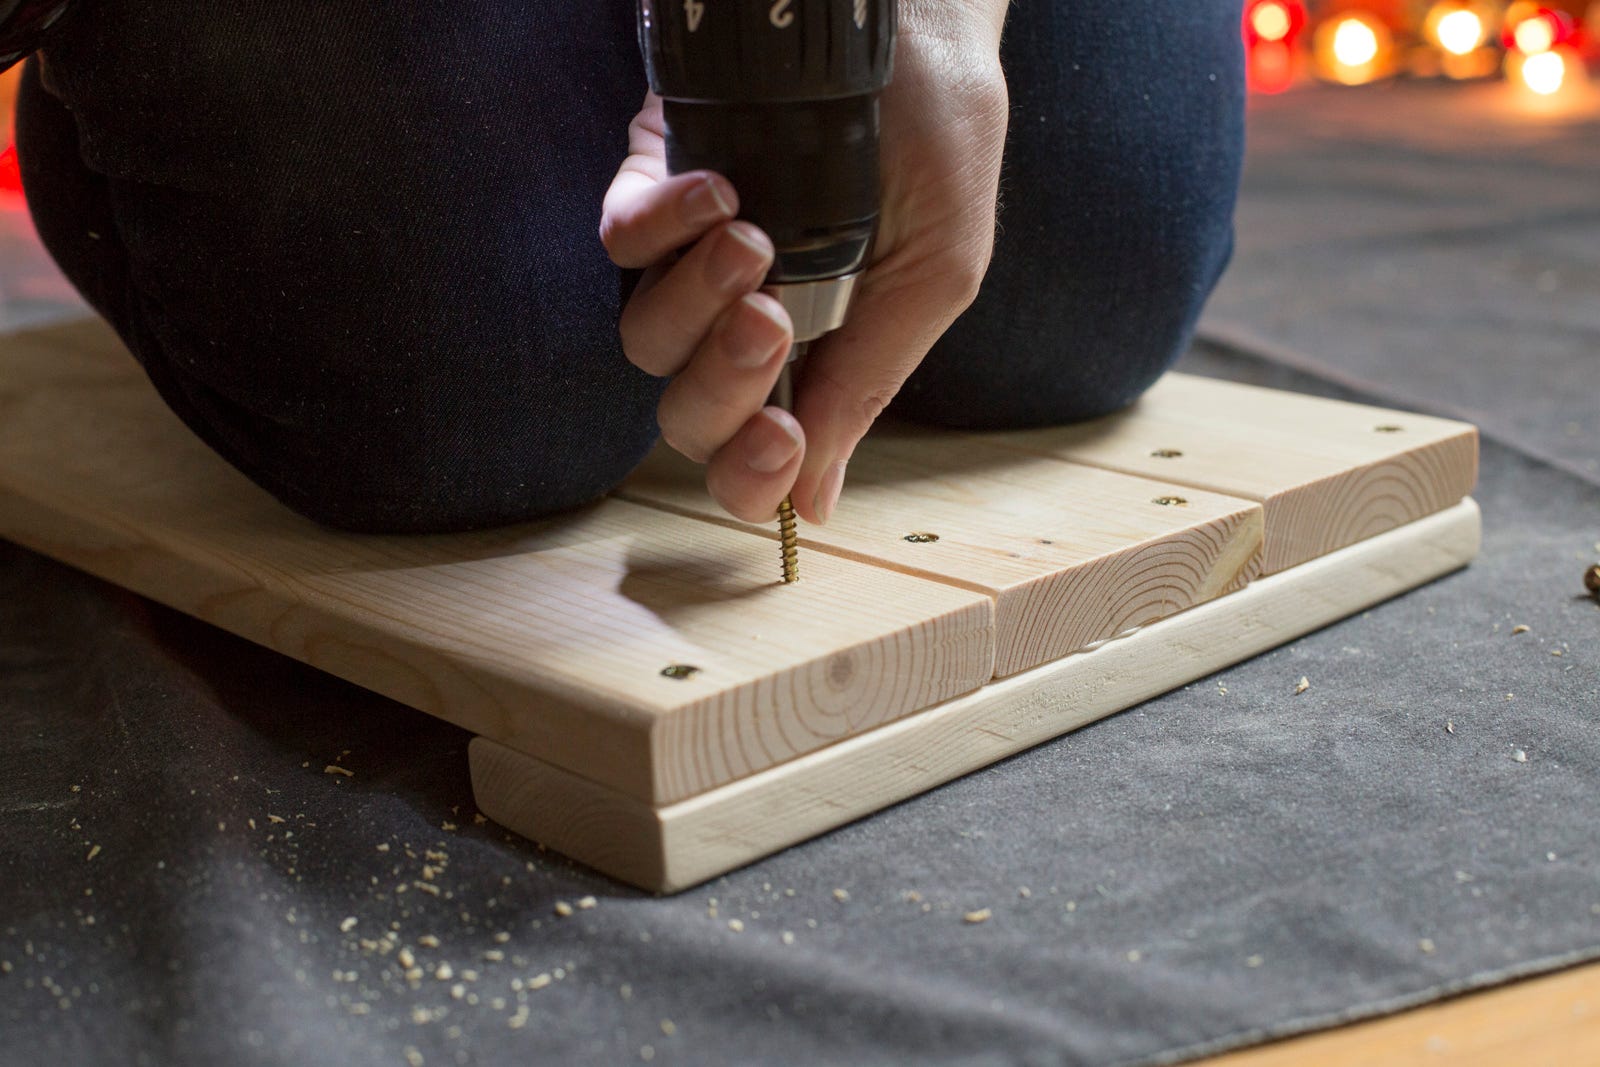
Pre-drill holes with a 3/32" drill bit and secure each plank in place using two screws per plank.
Step 5
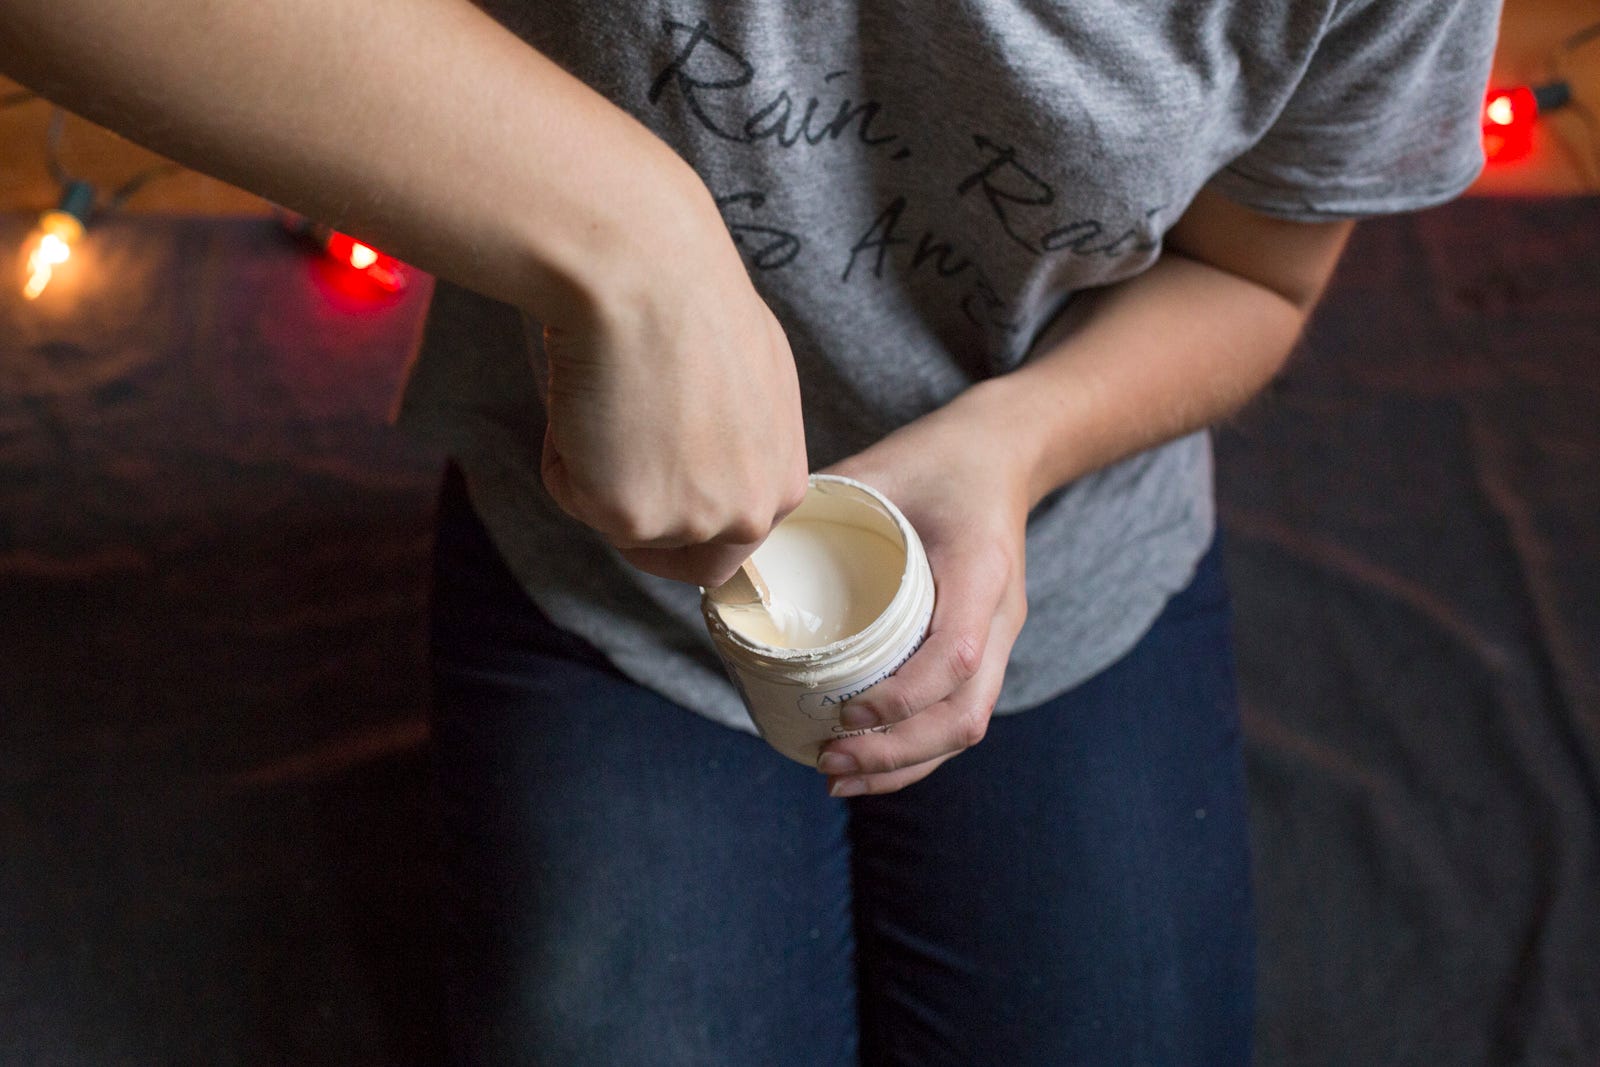
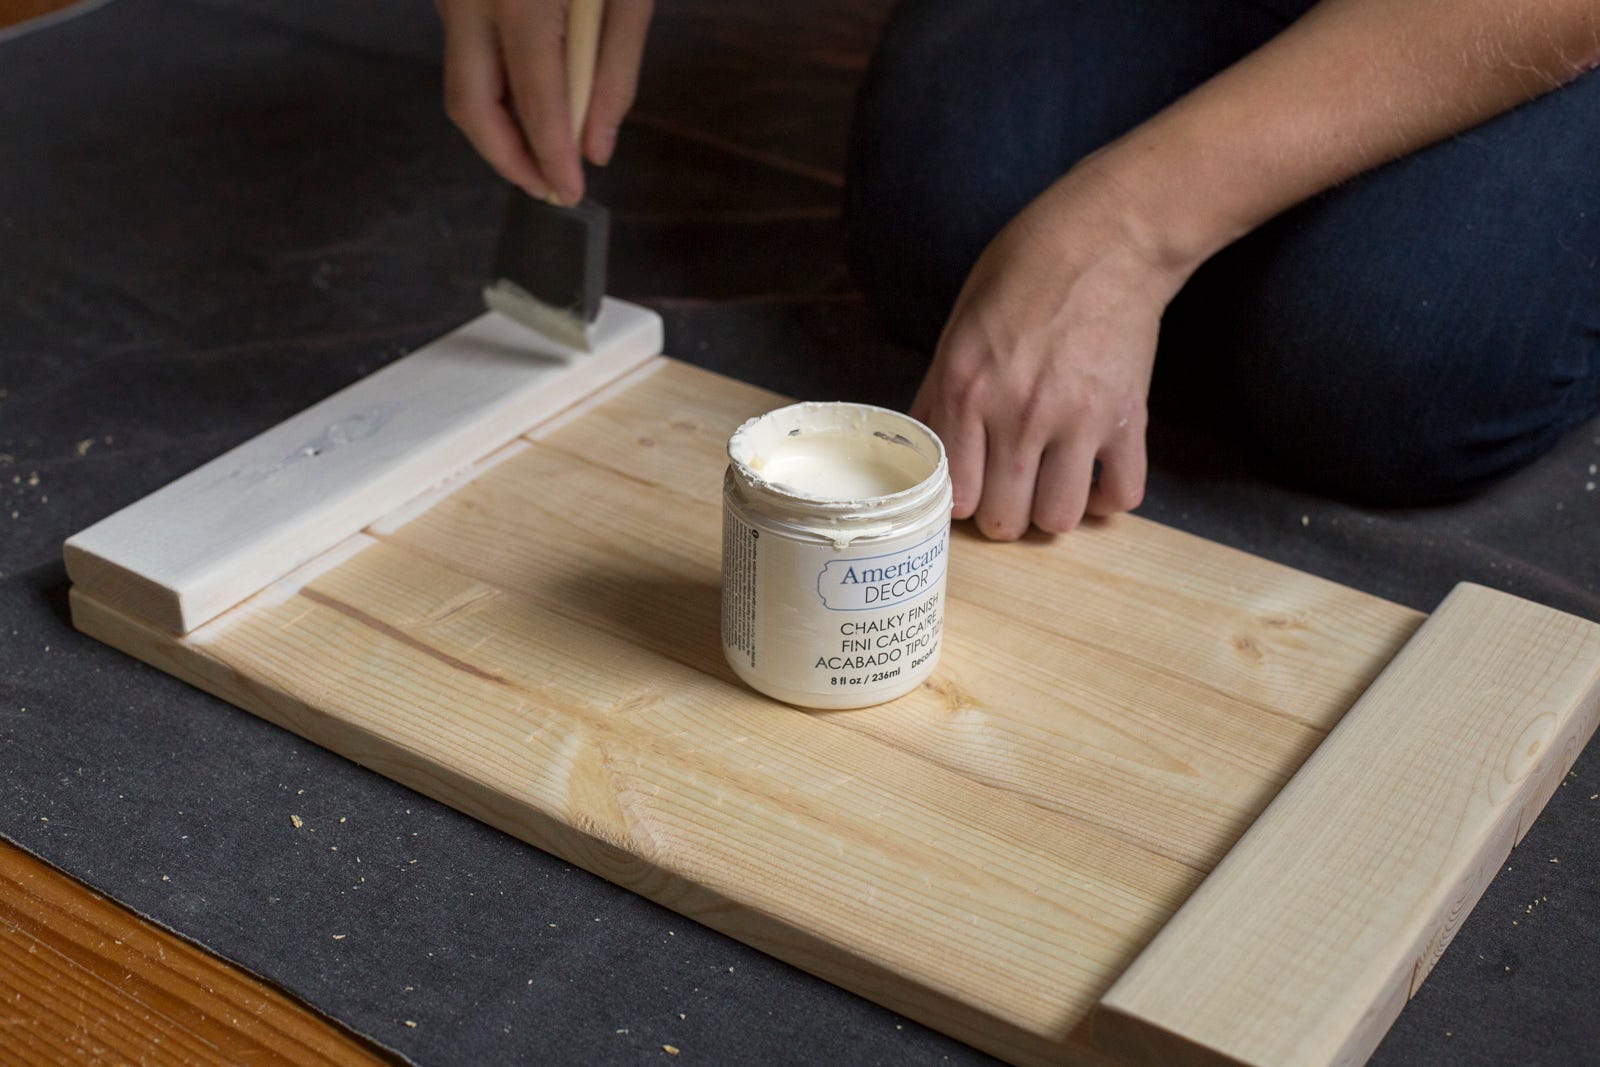
Now it's time for a finish. You can special order Rust-Oleum's Chalked paint from your closest Dunn Lumber yard, or we found a different brand at a local craft store. Make sure to follow the directions on the label. After stirring, we used a foam brush to apply the paint.
Step 6
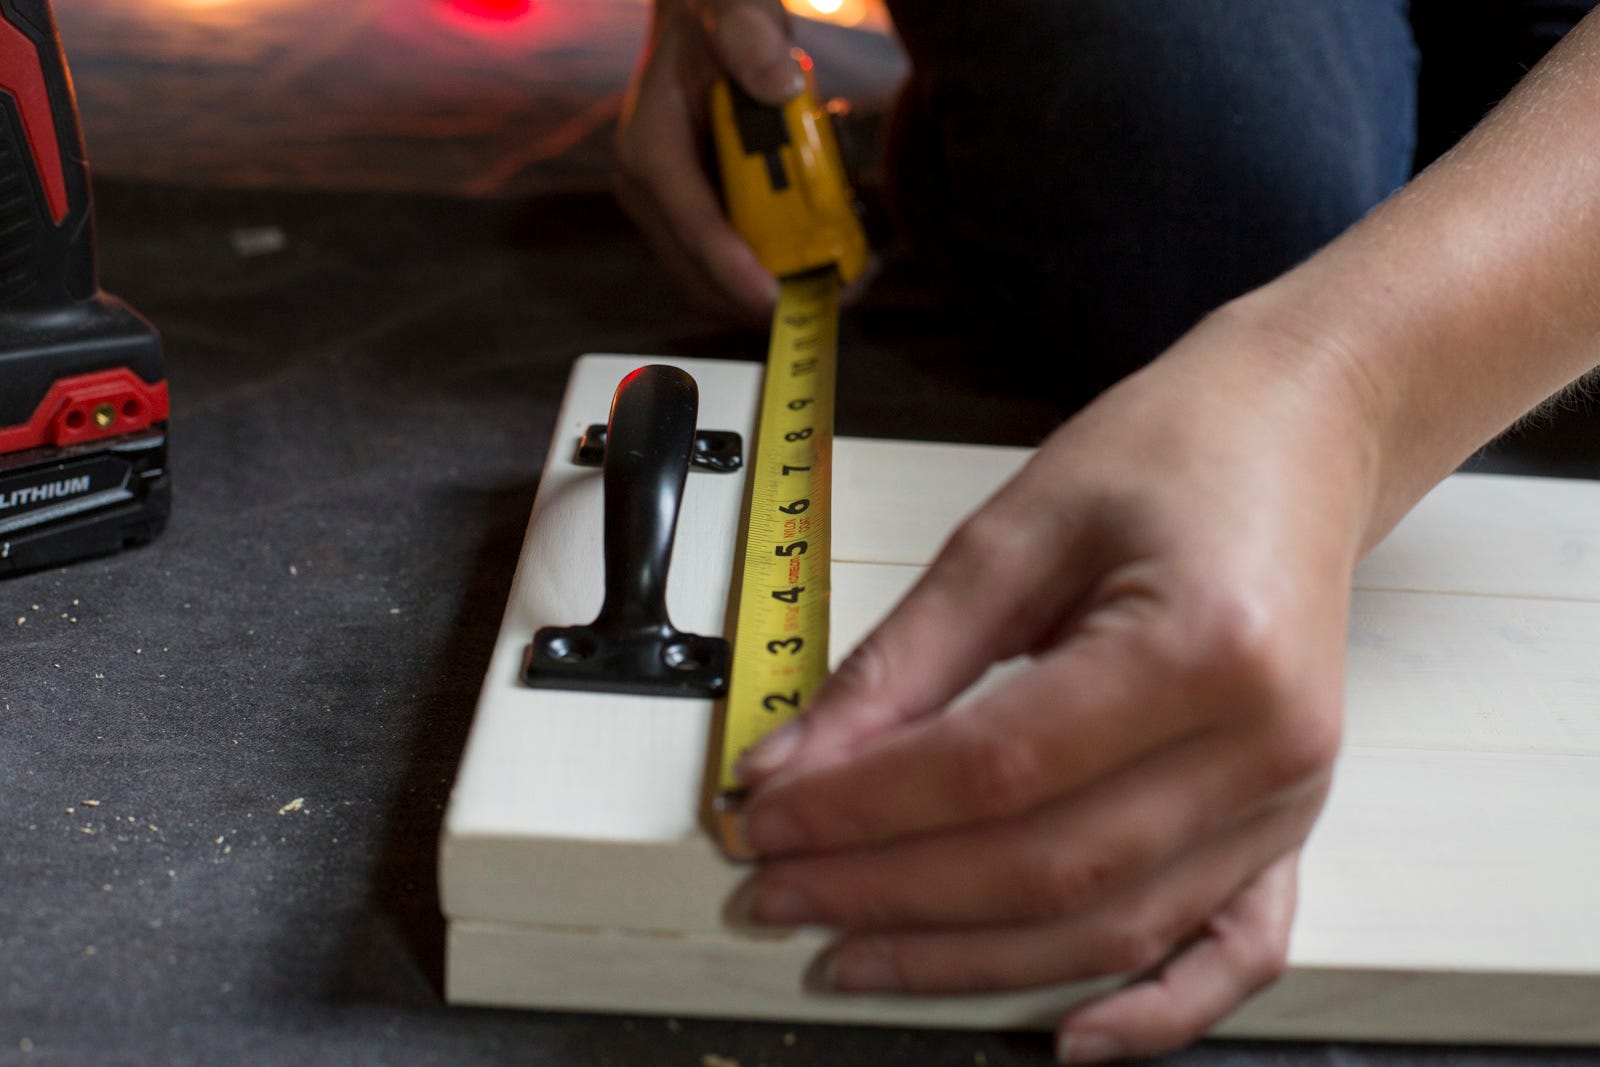
Next, measure and place the handles and pre-drill holes where you'd like them to go. Then, secure them with screws.

Step 7
Check out the hot chocolate recipe, marshmallow recipe, and gingerbread cookie recipe, so you're all ready for Santa.
