"One product solution rising in popularity is Johns Manville (JM) GoBoard—a product that meets demands in reducing moisture and mold in walls while also increasing productivity on the jobsite."
General contractors have many options when considering backer boards, a product that provides a stable surface between tile and the interior wall system and protects against water leaks. One product solution rising in popularity is Johns Manville (JM) GoBoard—a product that meets the demands in reducing moisture and mold in walls, while also increasing productivity on the jobsite.
JM GoBoard is a durable, ultra-lightweight waterproof tile backer board that empowers faster job completions. GoBoard is comprised of proprietary coated fiberglass mats on the outside—providing excellent bonding and stiffness—and a core made of high-density polyisocyanurate (“polyiso”) closed-cell foam, which provides strength, durability, and built-in waterproofing abilities.

So, why use GoBoard?
Built-in waterproofing
JM GoBoard has built-in waterproofing, eliminating the need for an extra coat or layer of membrane over the board. Its waterproof core prevents water from passing through like it would with cement boards. Installers only need to seal board joints and fastener locations directly after installation, and they can tile the same day (which reduces overall installation time).
Durable
The product’s high-density core provides compressive strengths of:
● More than 250 psi in the 1/4” board
● More than 200 psi in the 1/2” and 5/8” boards
Lightweight
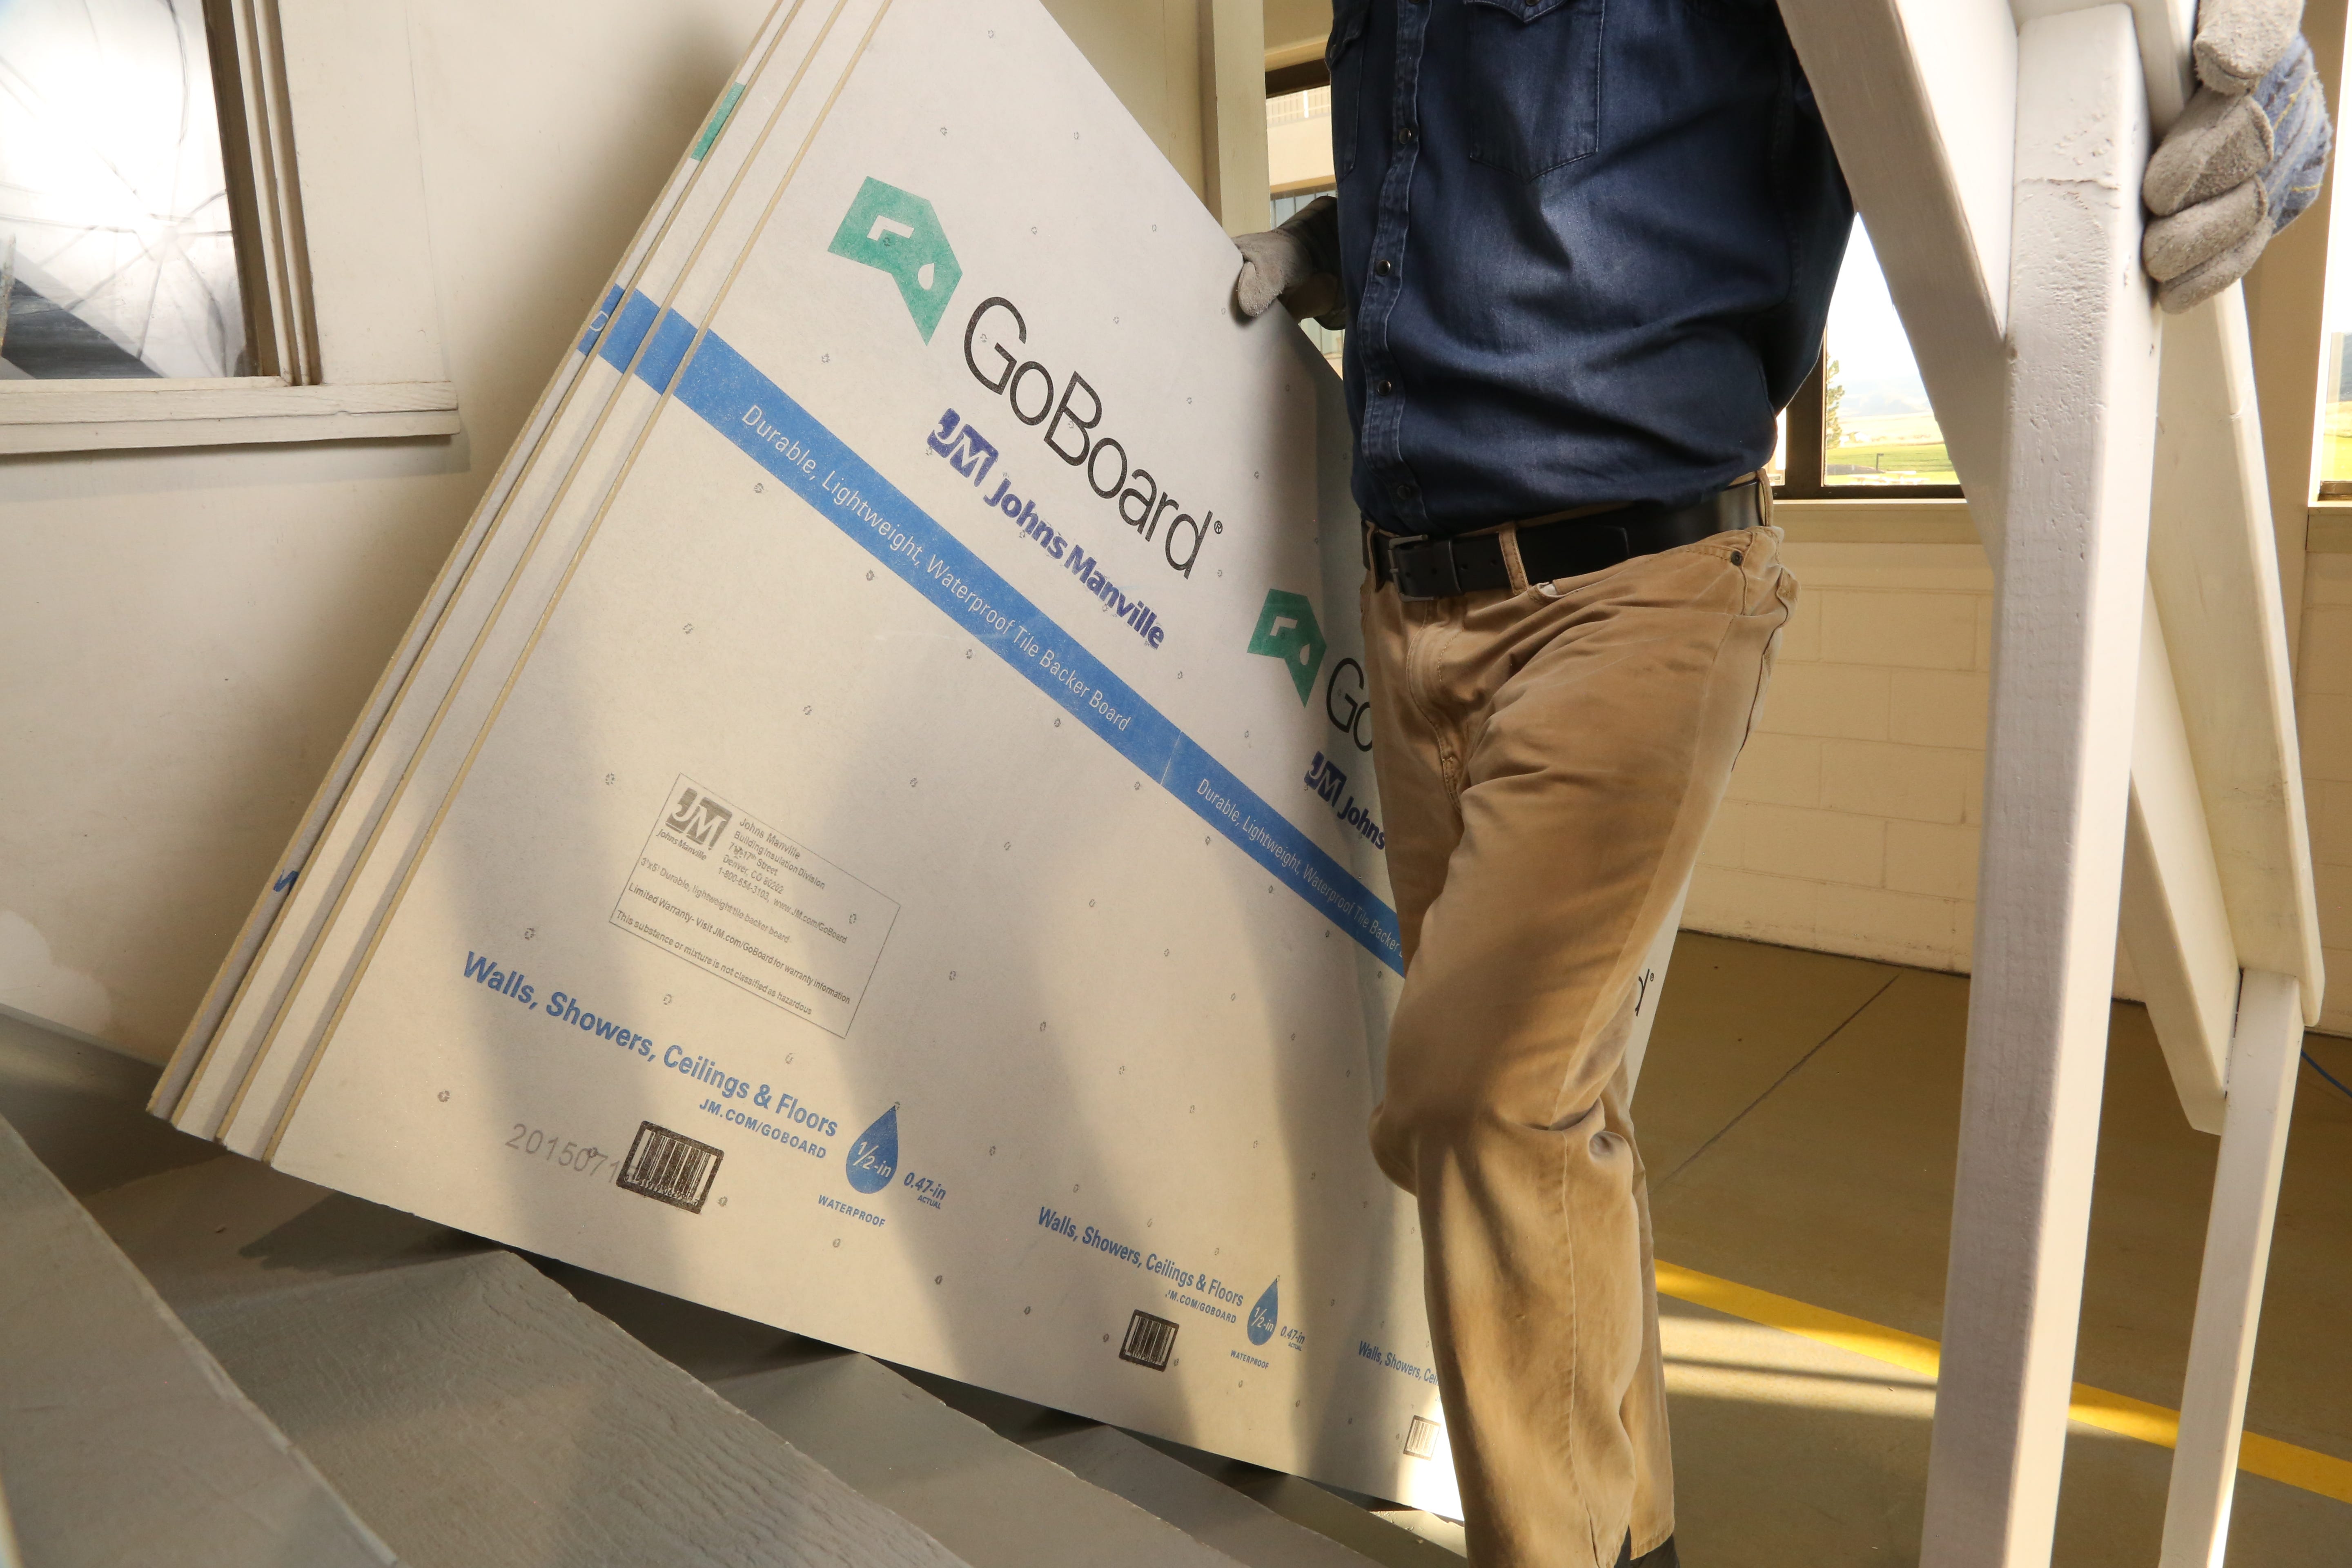
A three-by-five 1/2” piece of GoBoard weighs approximately 7 1/2 pounds. An average cement board of the same size weighs 30 pounds or more, making it challenging to carry into upstairs bathrooms.
Ease of installation
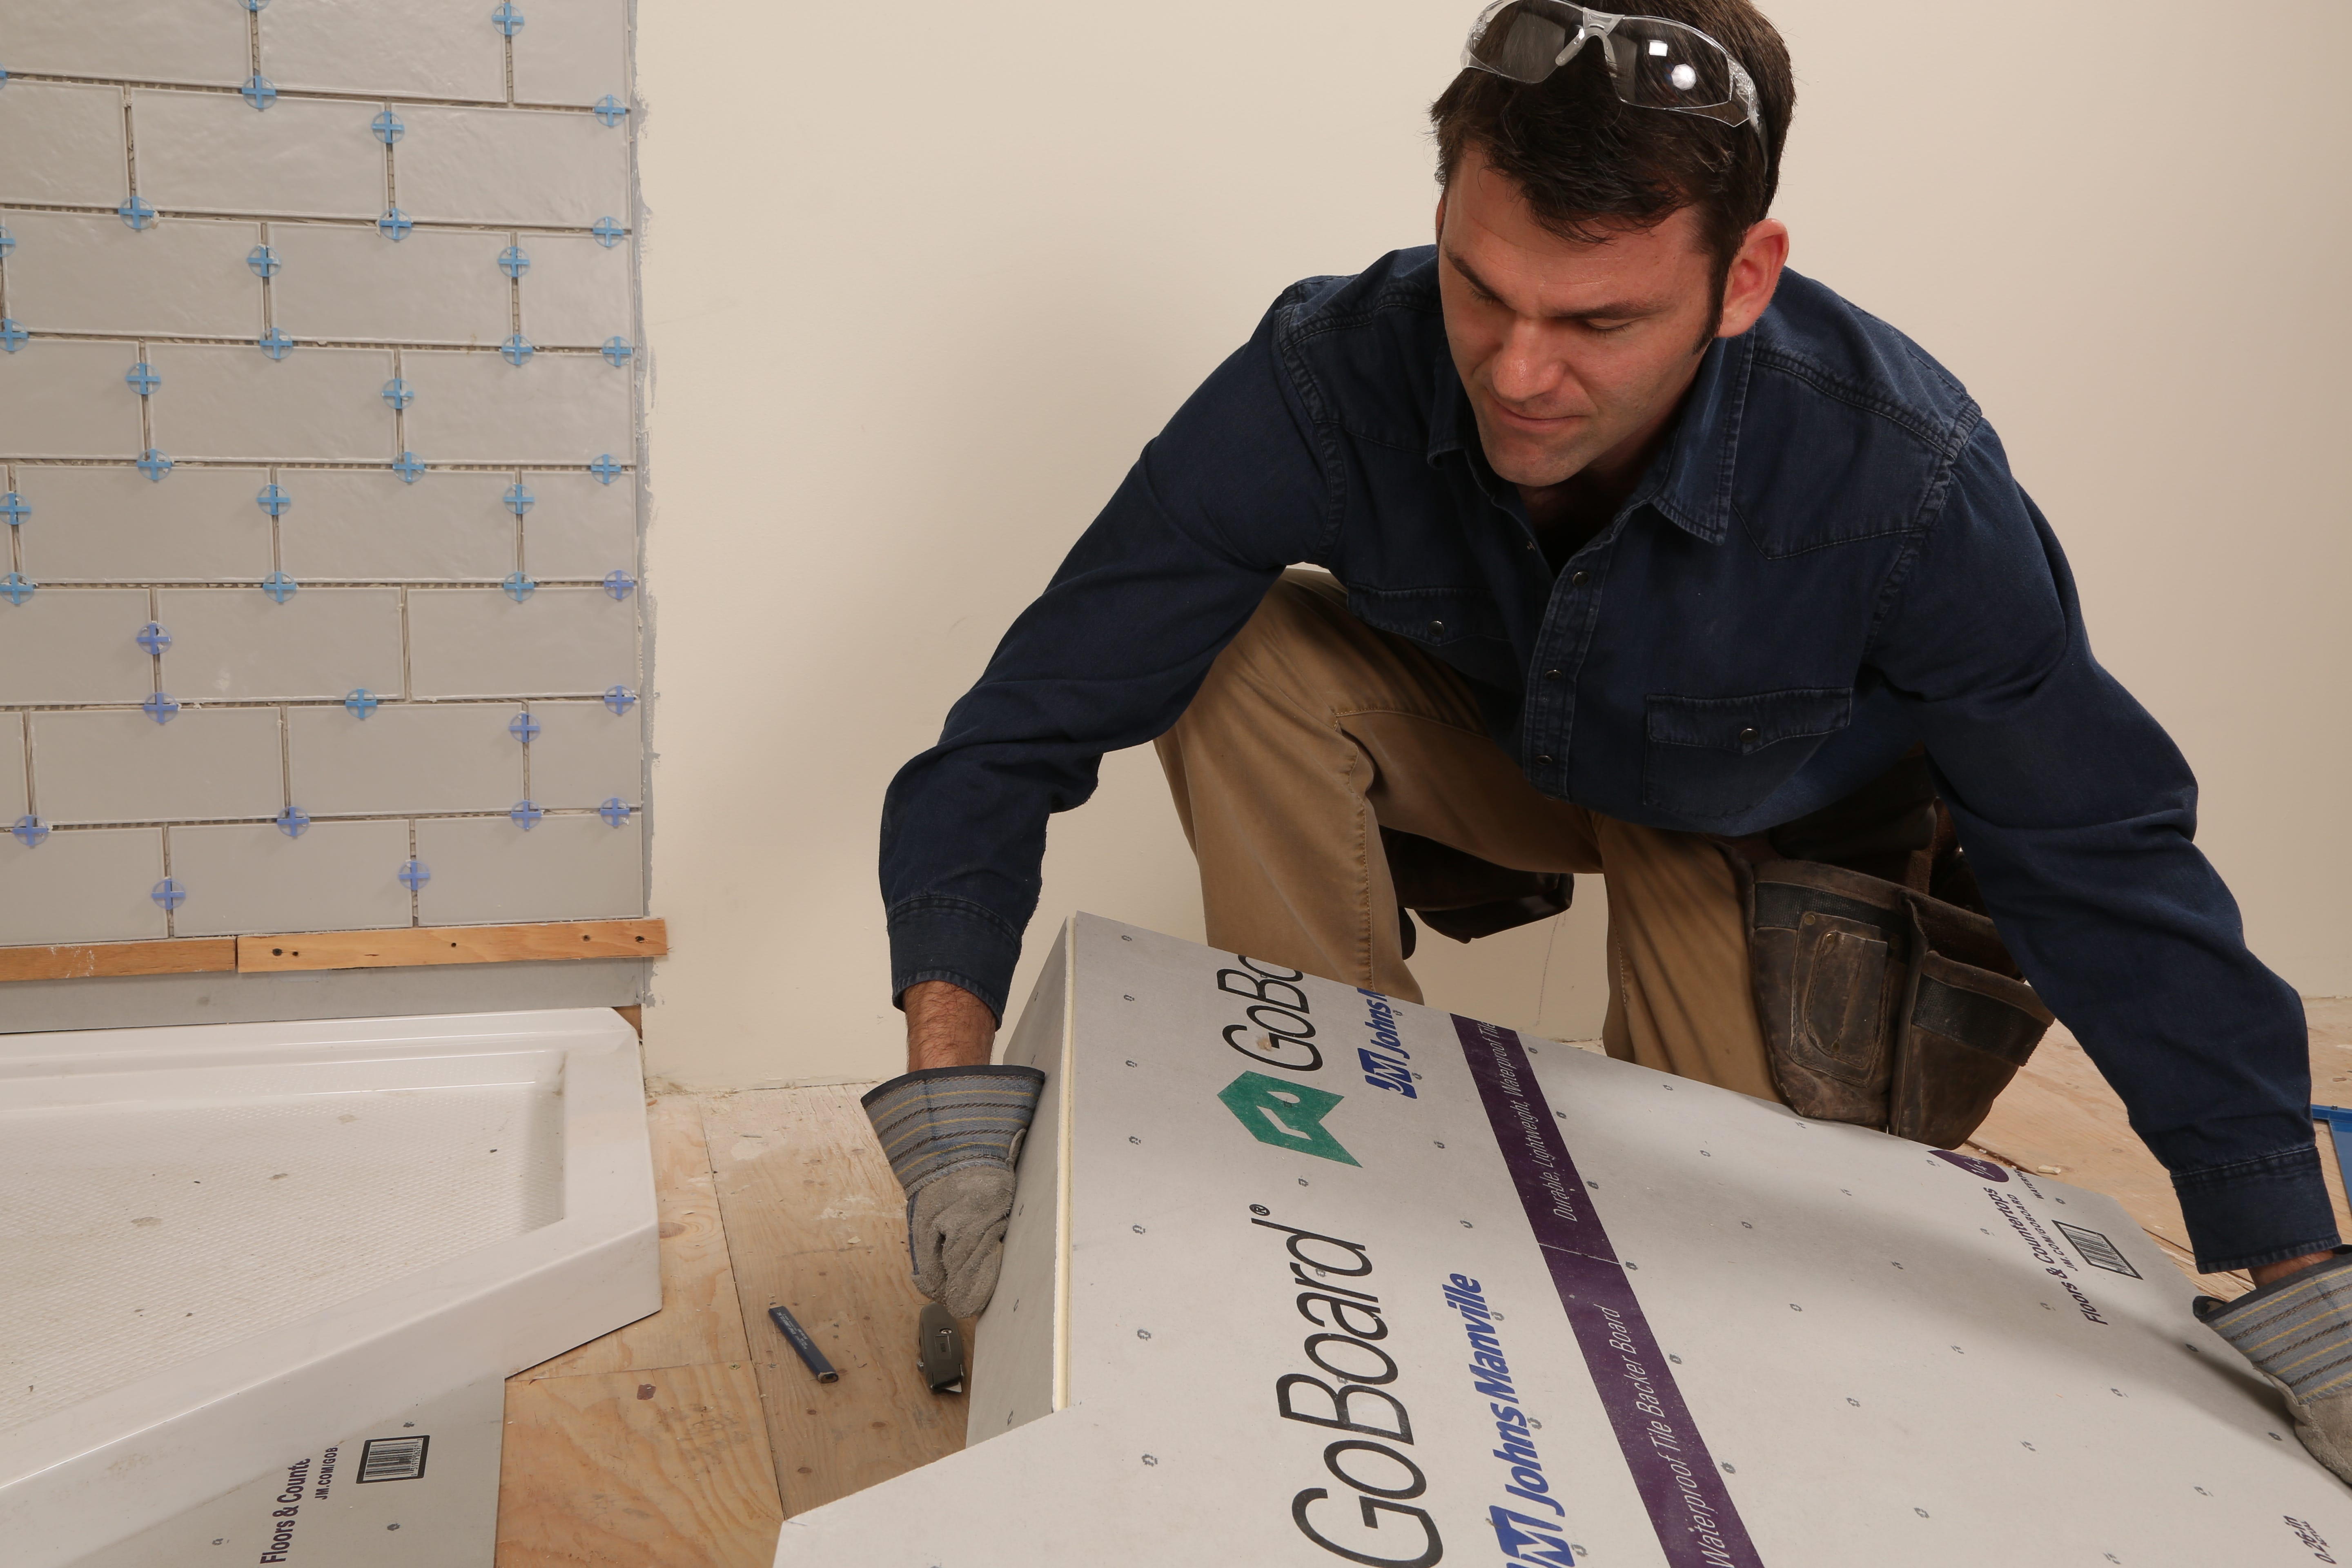
GoBoard can be cut right where it’s installed without crumbling or disintegrating, virtually eliminating the mess from cutting cement and other heavy boards. A simple score with a utility knife and a snap of the board makes the job easy and fast.

Installation guide
Begin the installation by removing all fixtures in the space, such as faucets, towel racks, lights, and any nearby electrical outlets or trim, and ensure all framing meets local building code requirements. Look out for signs of mold on the studs and subfloor and make any necessary repairs before beginning.
After properly prepping for installation, follow these step-by-step instructions to safely and efficiently install JM GoBoard:
- Measure the space and gather the appropriate amount of GoBoard.
- Measure GoBoard to match the wall size, then cut through the outer facing with a utility knife and snap apart to the desired size. To snap, firmly grab the board edge and quickly apply downward pressure at the scored line.
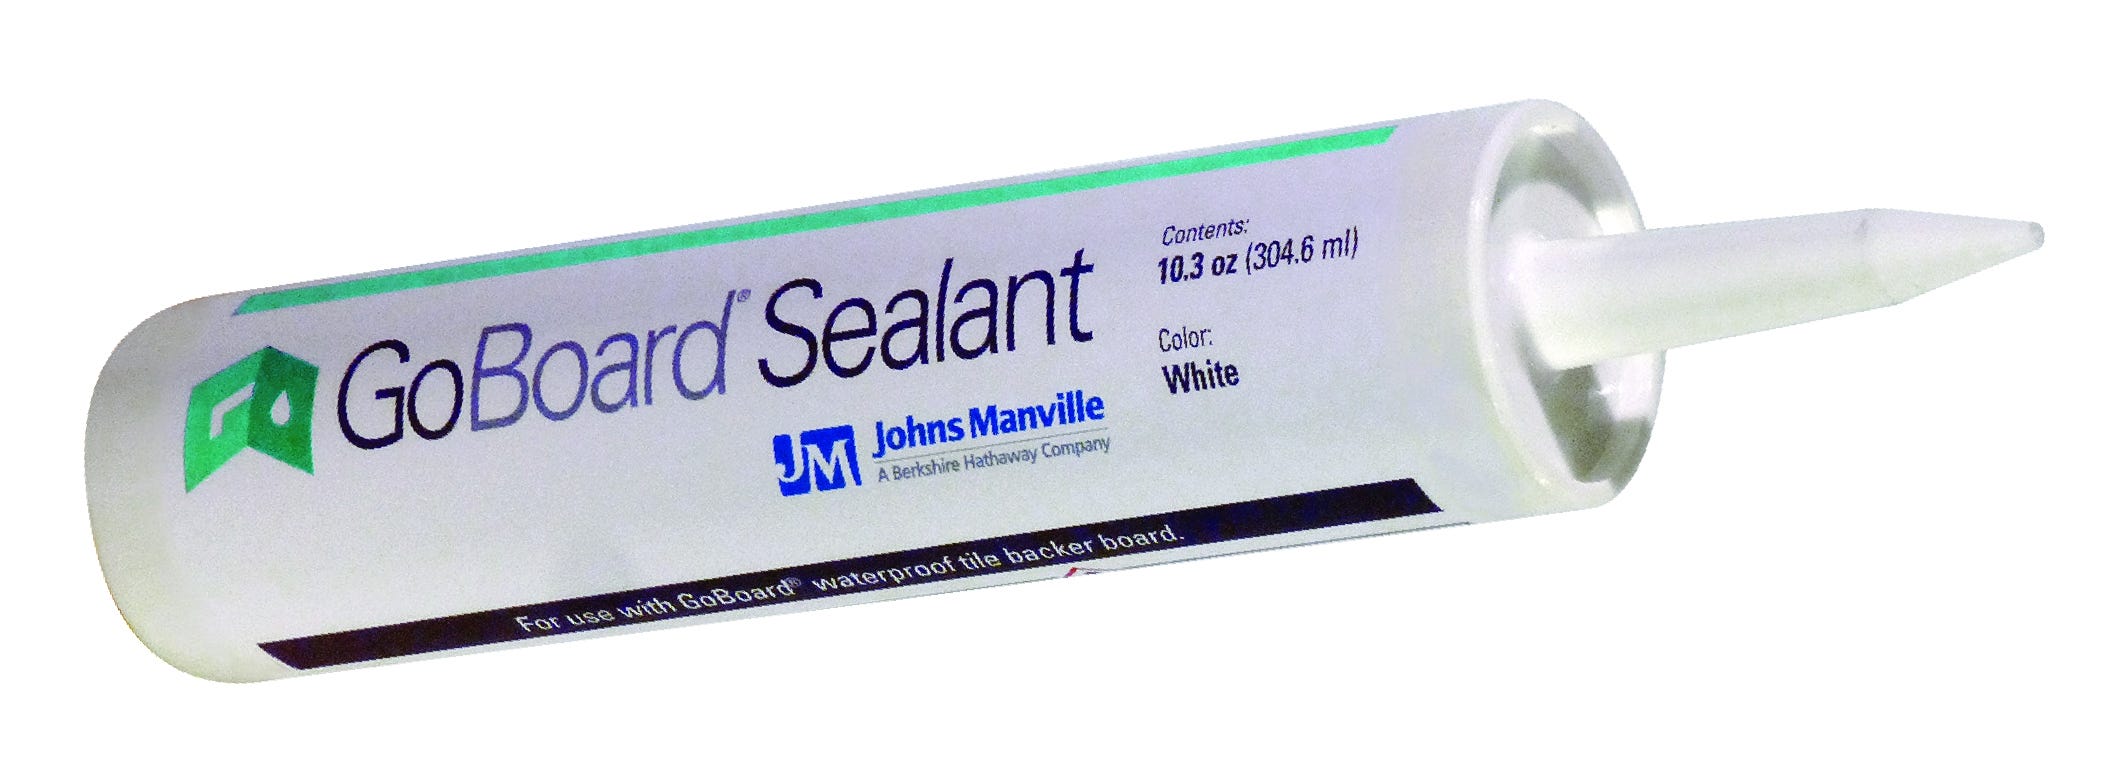
- Liberally apply a continuous bead of JM GoBoard Sealant to the bottom edge of GoBoard and place onto the wall. Remember, there must be a 1/8” gap between GoBoard and the base that is completely filled with sealant. The sealant must also extend onto the surface of the GoBoard at least 1” beyond the joints on either side.
- Fasten GoBoard Tile Backer to wood or steel studs using GoBoard Fasteners (with or without GoBoard Washers), or other approved fasteners listed in the GoBoard Manufacturer Installations Instructions.
- Again, generously apply a continuous bead of sealant to the top edge, leaving a 1/8” gap at the joint. Use a putty knife to spread the excess sealant across the GoBoard surface.
- Repeat this process for each additional board until the wall is completely covered.
- Once complete, seal all fastener locations, joints between boards, corners, and other changes of the plane. Each fastener location should be completely covered with at least a 2 1/2” diameter patch centered over the fastener. While GoBoard is inherently waterproof, all edges, joints, change of planes, and fastener locations must be sealed to protect the whole system against water damage and mold.


Other tips and tricks to keep in mind
● Use backer board screws if fastening GoBoard to steel
● Shorter screws can be used if fastening GoBoard to thinner countertops
● To bond to floors and countertops, dry-set mortar or polymer-modified thin-set mortar to fill gaps and to bind backer board to wall and tile
● When installing GoBoard in steam showers, install a vapor barrier
Tool checklist
It’s important to gather the necessary tools before the installation process begins to ensure proper installation and that any project deadlines are met.
- Backer board fastener tool, such as a cordless drill
- Utility knife
- Pencil or pen for marking
- Straightedge (like a ruler or T-square)
- Measuring tape
- Putty knife (3” for easiest application)
- 1/4” square-notched trowel
- Caulk gun
- 1" to 3" paintbrush (for liquid sealant)
- Proper personal protective equipment (PPE)
To install GoBoard in other locations, like steam showers, ceilings, floors, and countertops, check out this quick reference install guide or installation video.
Before starting that next project, read more industry tips and tricks from Dunn Solutions. Learn about the best screws to use with cement board, understand why bathroom remodels cost more per square foot, and consider these five questions to ask yourself before your next DIY project.


