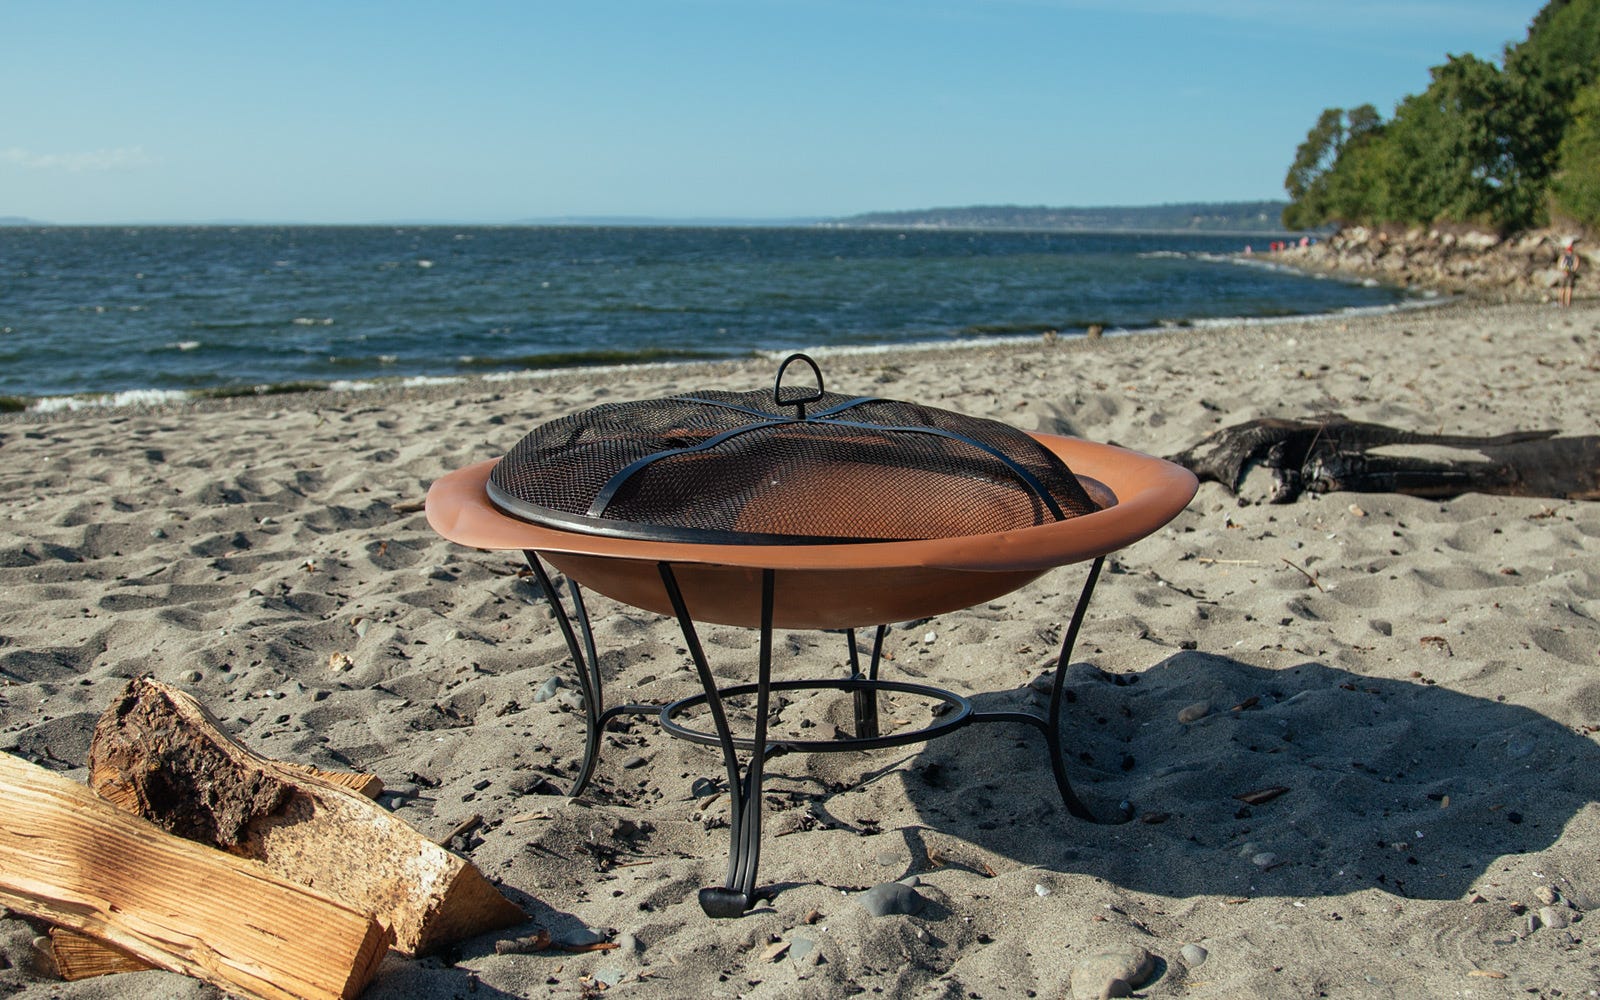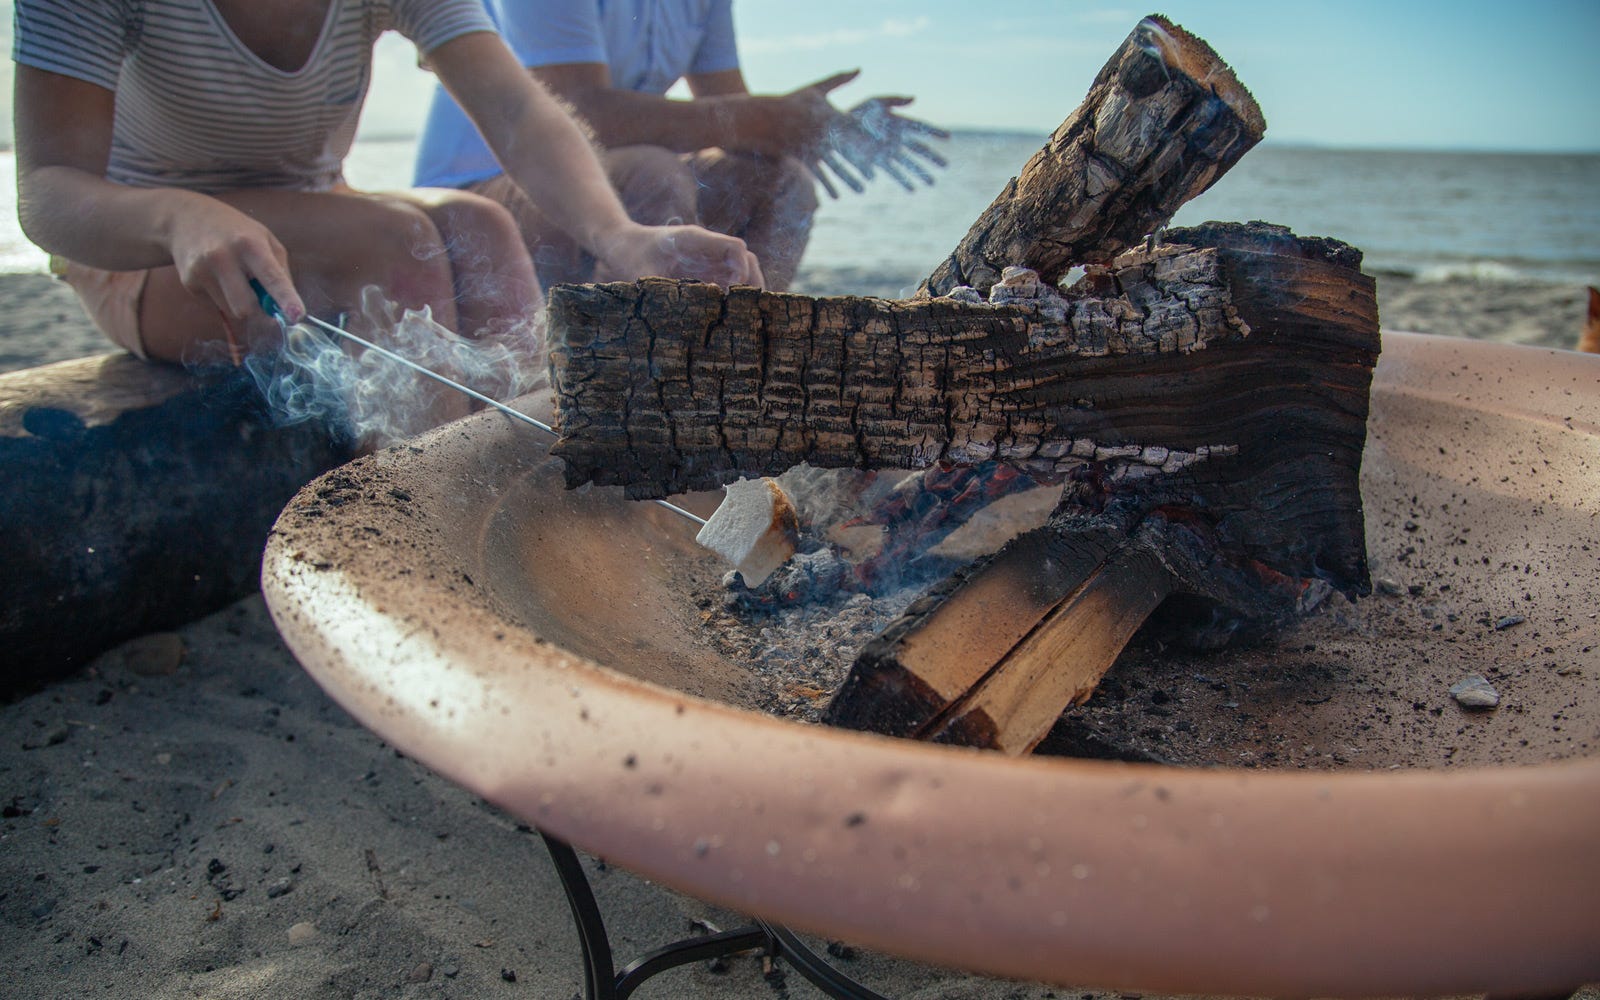
"There's nothing like enjoying an evening out on your deck around a fire pit to remind you that it is summer. It's a sacred time to take a moment and savor the long days, clear skies, and enjoy the company of friends and family. Perhaps you've planned ahead and made some marshmallows to roast. But maybe you've postponed your evening summer ritual because your fire pit is a little worse for ware after sitting in the Seattle rain all winter. Have no fear, Dunn DIY is here with a fast, simple solution to get you back to evenings of s'mores, sunset watching, and crackling fires."

Step 1: Clean
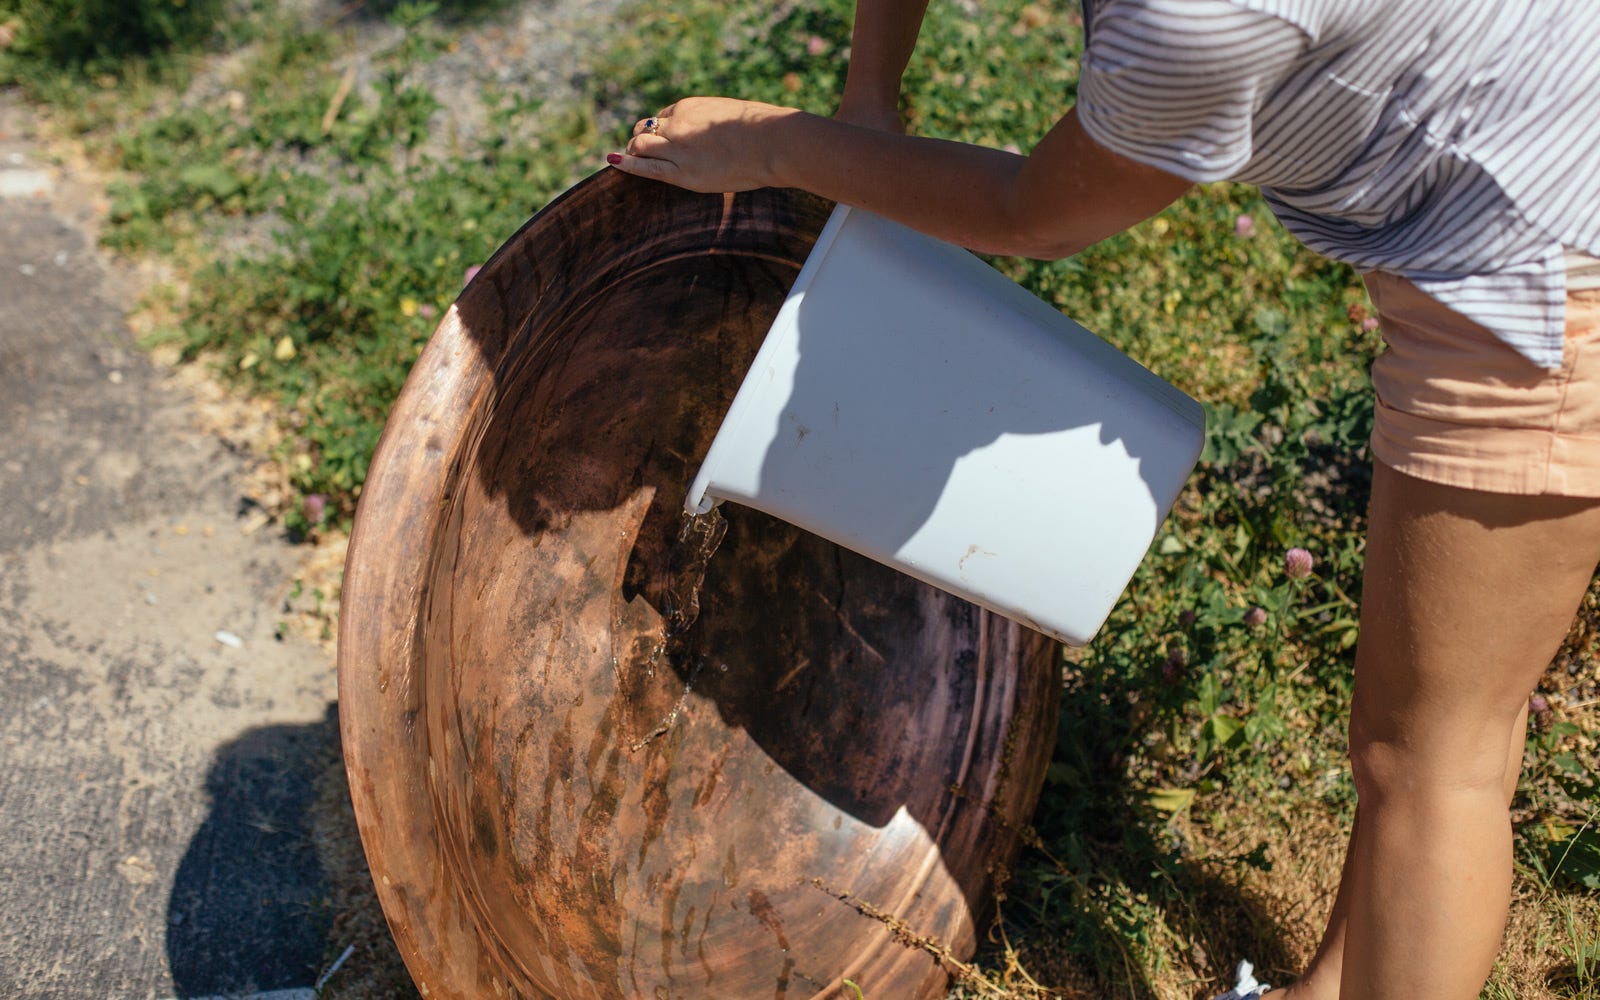
Begin by mixing up some warm soapy water and use your 3M pad to scrub off all the ash and dirt that's built up on the the fire pit, along with any loose paint. Make sure you get every surface. When you're done cleaning, rinse everything off and let it dry.

Step 2: Sand
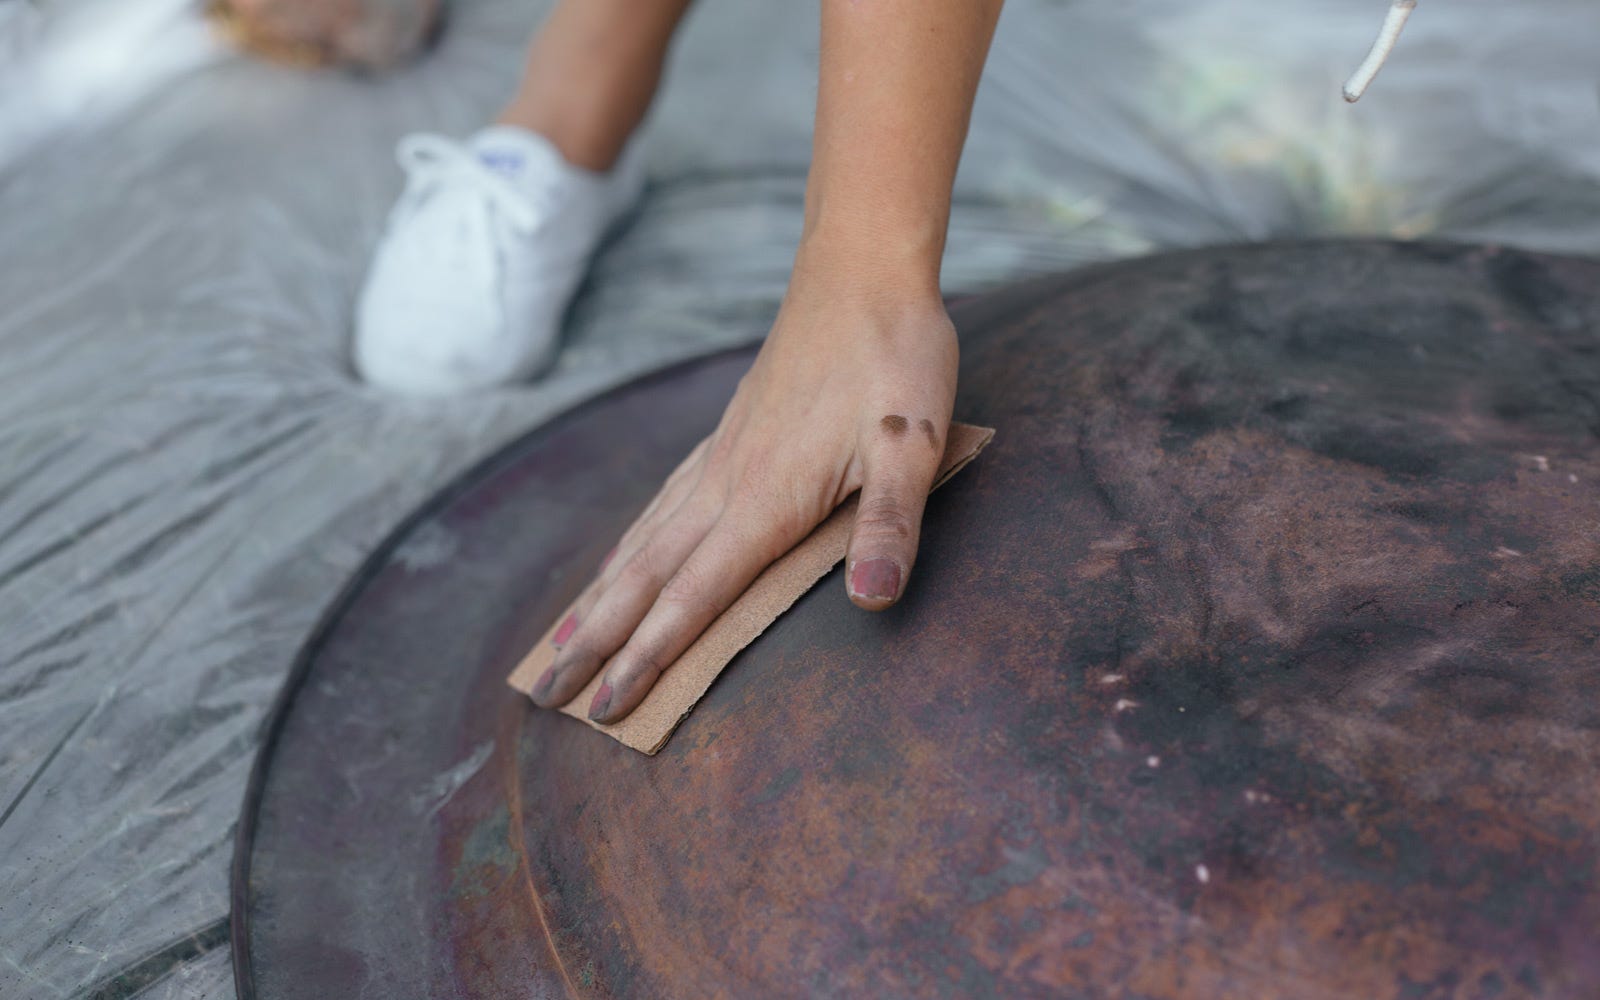
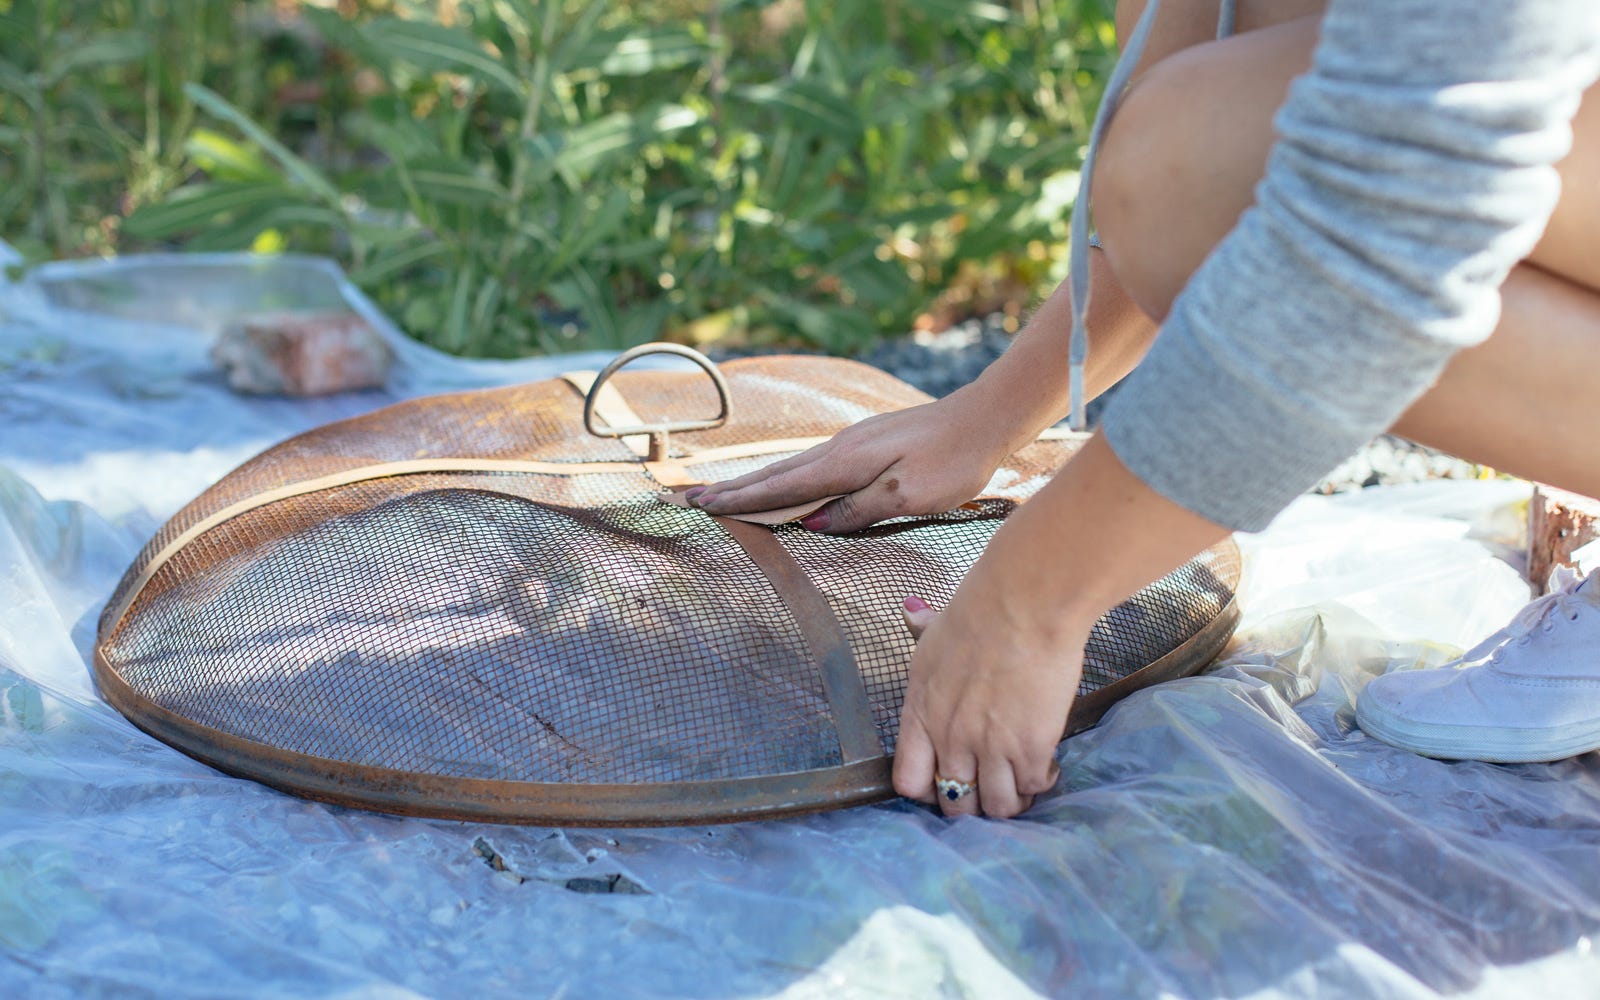
Next, it's time to sand your fire pit. Sand the outside, inside, base, and wire frame. Sanding helps create a rough surface for the spray paint to stick to, this will also help remove anymore loose paint that got leftover from the cleaning step. This takes some elbow grease, but the results are quite satisfying.
Step 3: Wipe down
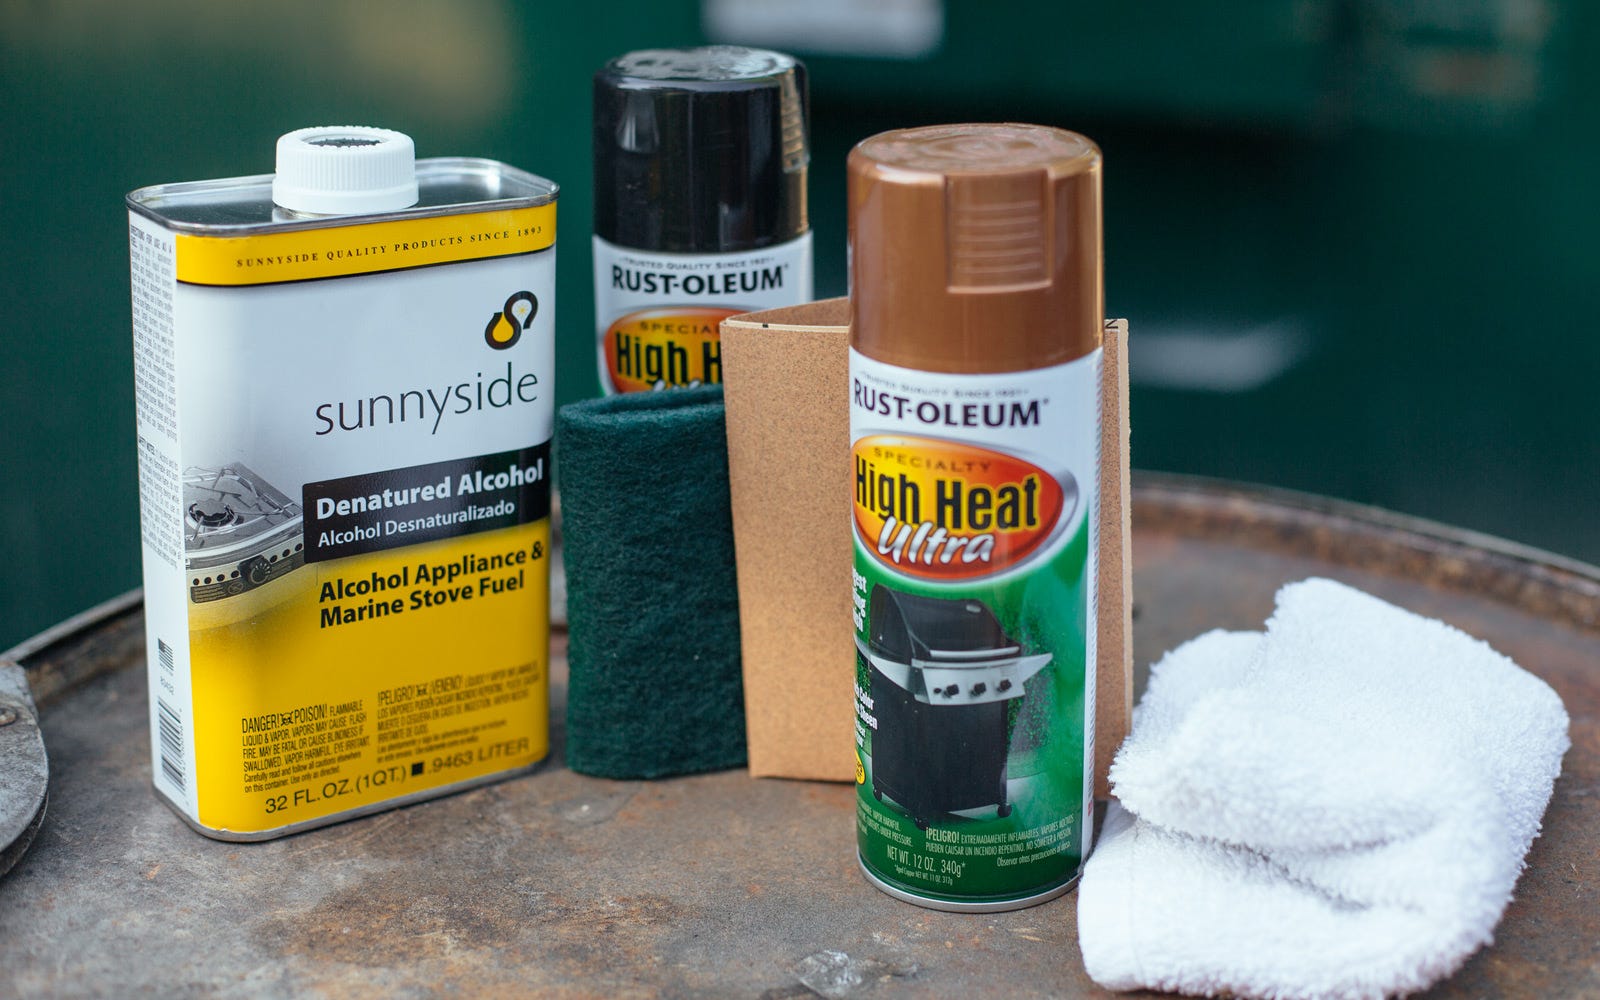
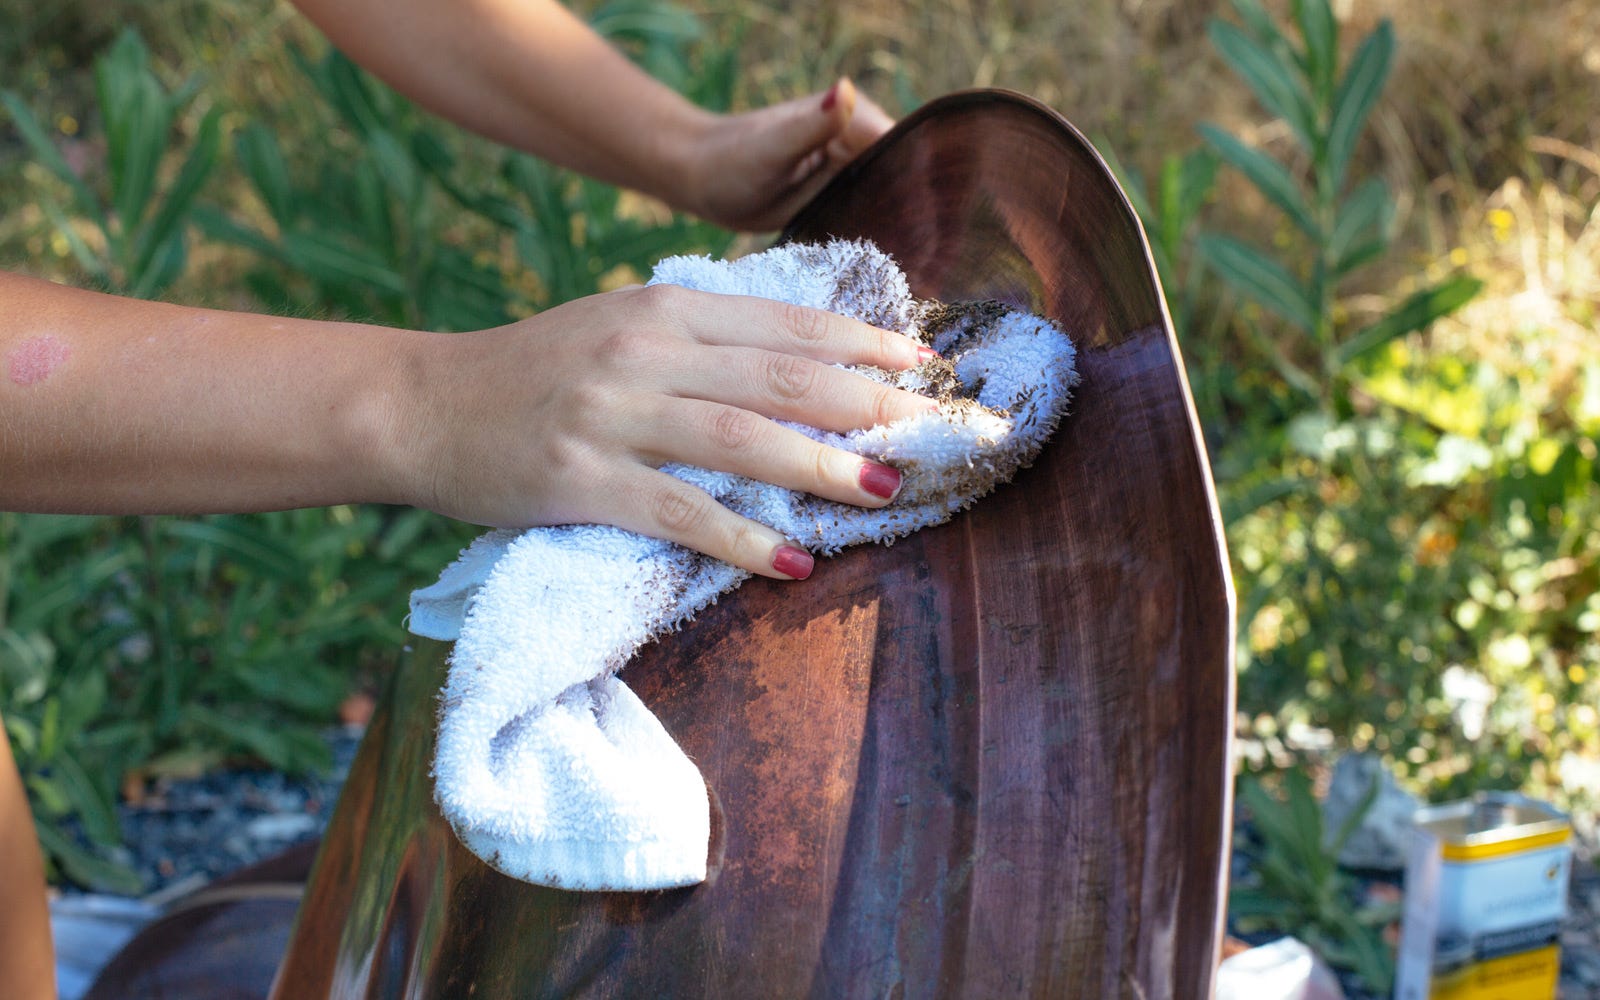
Grab your gloves, take a clean cloth, and pour some of the denatured alcohol on it. Wipe off all surfaces and make sure the alcohol doesn't touch your skin. The alcohol removes the dust from sanding, any oils from your hands, or any other residue that would prevent the paint from adhering to the surface. Let the fire pit dry for 30 minutes.
Step 4: Paint
Now it's time to paint.
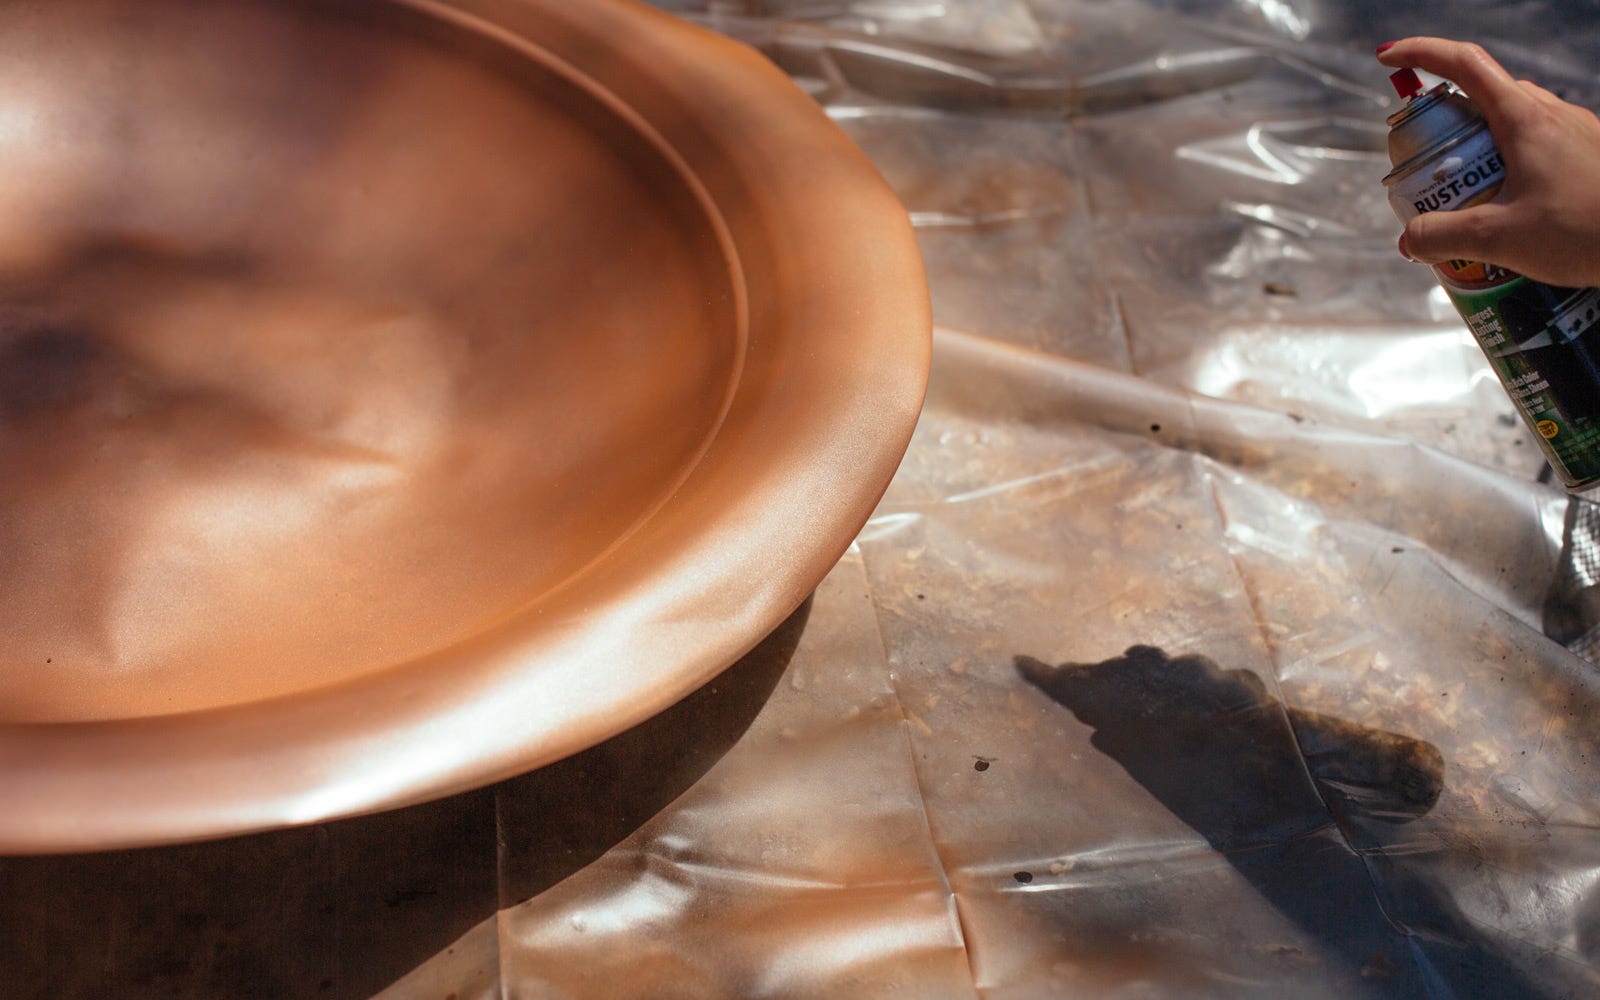
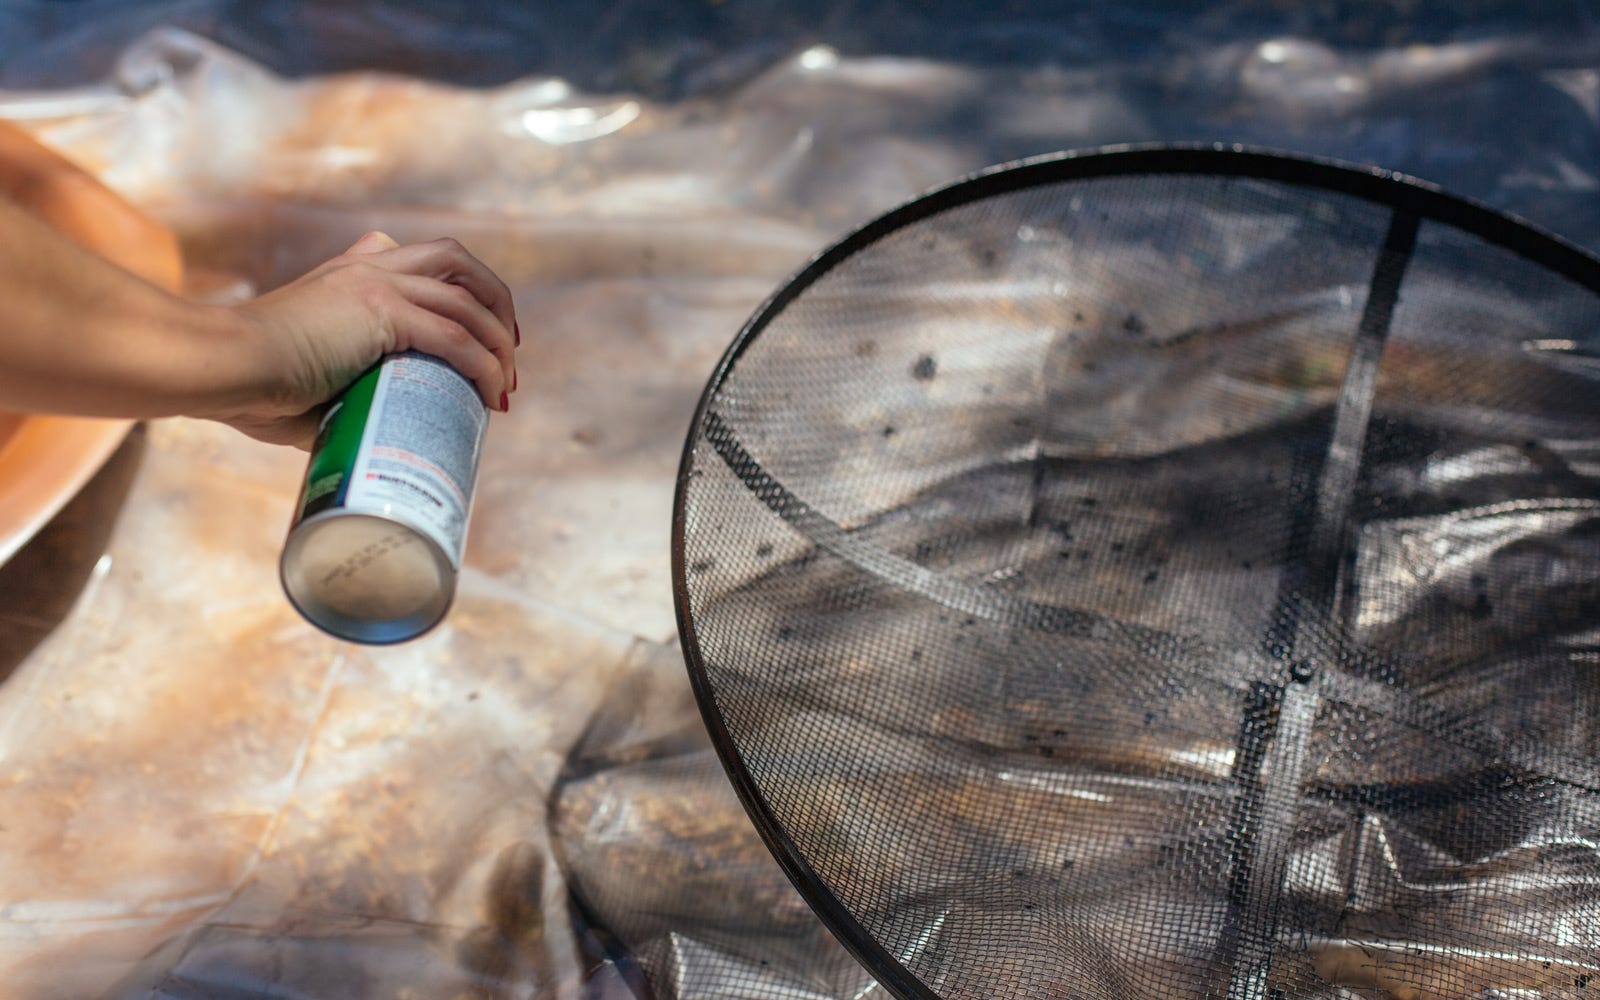
We used Rust-Oleum's Ultra High Heat in Copper for the actual pit and Rust-Oleum's Ultra High Heat in Black for the the base and top; it's a rust-preventive enamel that provides the best protection for high heat surfaces. It withstands temperatures up to 1200 degrees, so it is ideal for BBQ grills, wood stoves, radiators, fire pits, fireplace screens, automotive parts and more.
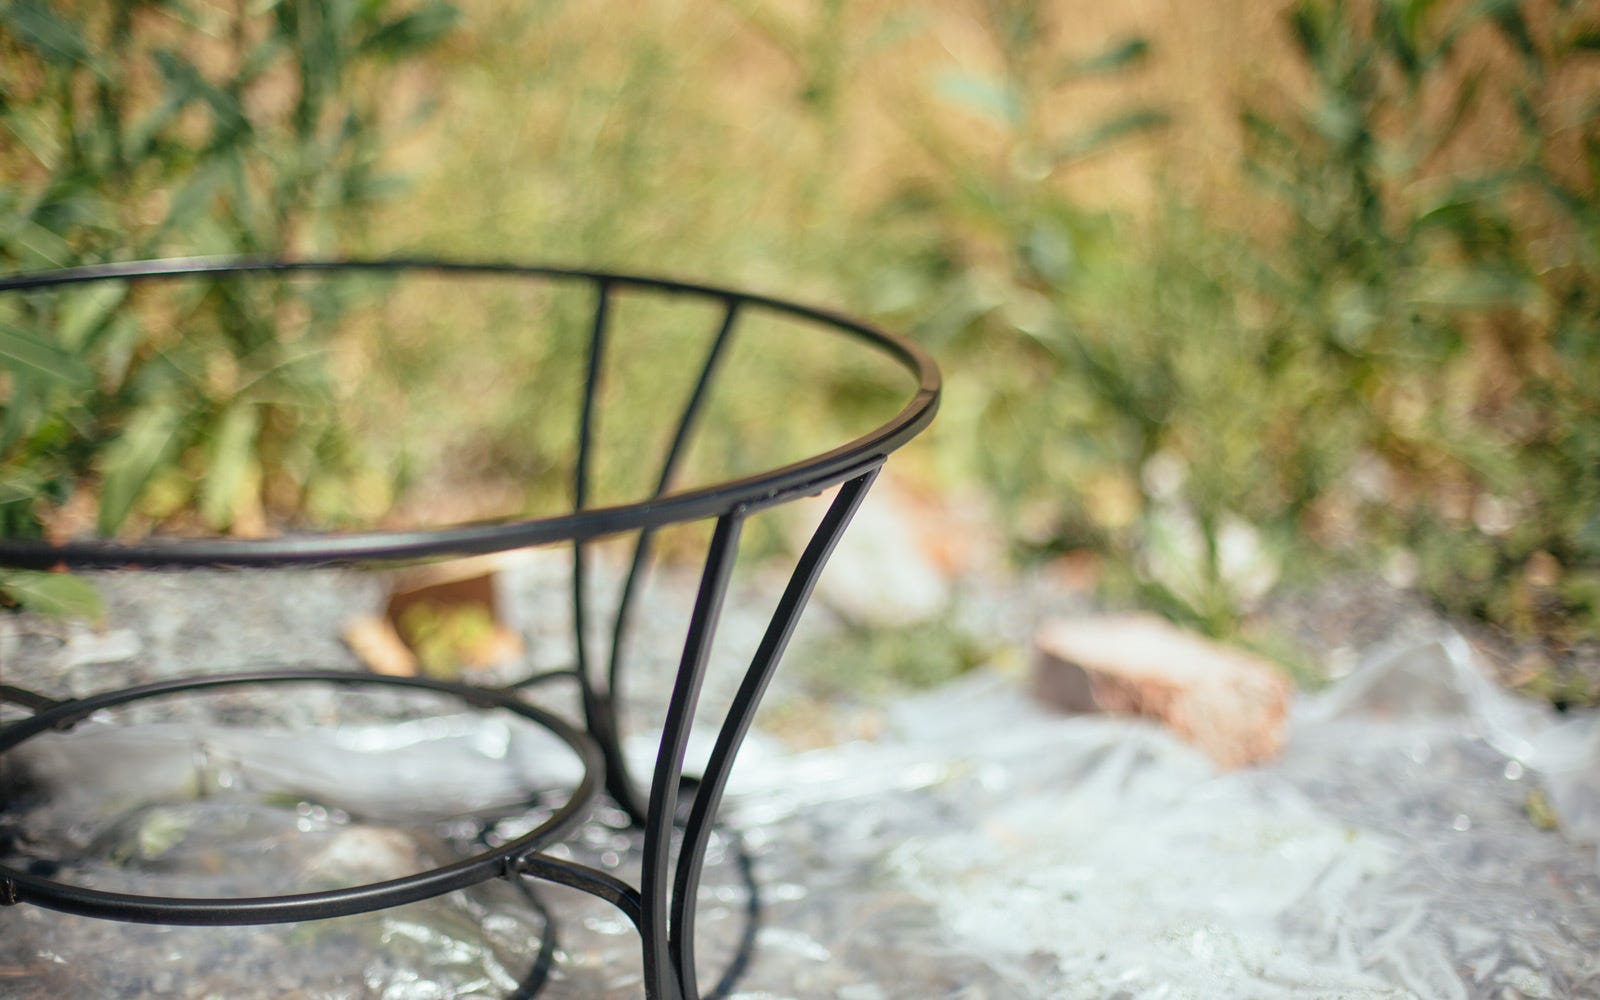
Spread out your plastic drop cloth, place each piece on the plastic (with enough space so you won't cross contaminate colors), and start. Shake each paint can for 1-2 minutes. Then spray back and fourth 12-16 inches away from the surface, or as directed on the can. Alternate between the pit, the wire top, and the base. Allow a few minutes of drying time between each coat. We did three coats, but you can do more or less depending on your preference. Allow your pit to dry for a couple hours before using it.
Step 5: Enjoy!
It's time to get back to evenings of roasting marshmallows, sunset watching, and crackling fires. Enjoy!

