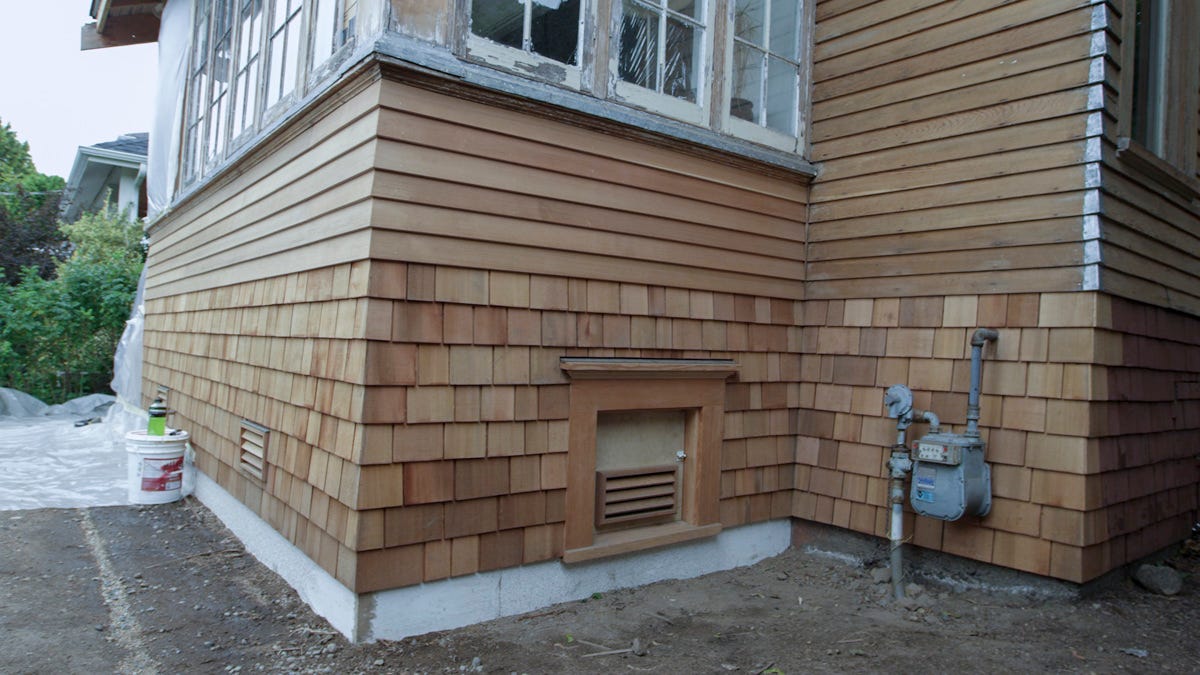

When I’m working on a historic home, I’m always interested to learn about the initial construction and modifications over the years. In this instance, the original porch began open, with windows looking out onto it. The front door and access steps were located as they are now. At some early point in the home’s life, the living room wall was removed, and windows were installed around the perimeter of the porch to expand the living room.
Although this porch has settled over time, we chose not to raise the structure. Doing so was unnecessary—an additional expense for the owner, and undue stress on the interior walls, windows, and joinery. Instead, we decided to shore up the structure in order to prevent further settling and future damage.
Here are a few tips to keep in mind if you’re repairing the structural support and footing on a historic porch:
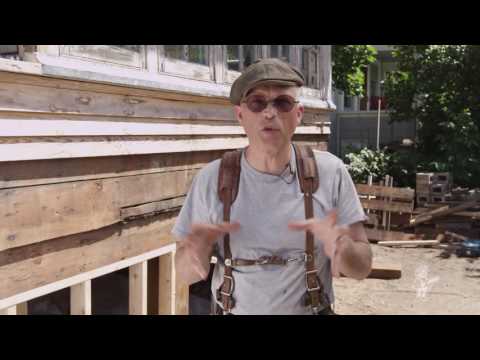
Tip 1. Be responsible for your own work
While I’m sharing some components of this repair with you, every single project is different. I’m not advocating one technique over another or saying there is one right way to build. The craftsperson is ultimately responsible for their own projects.
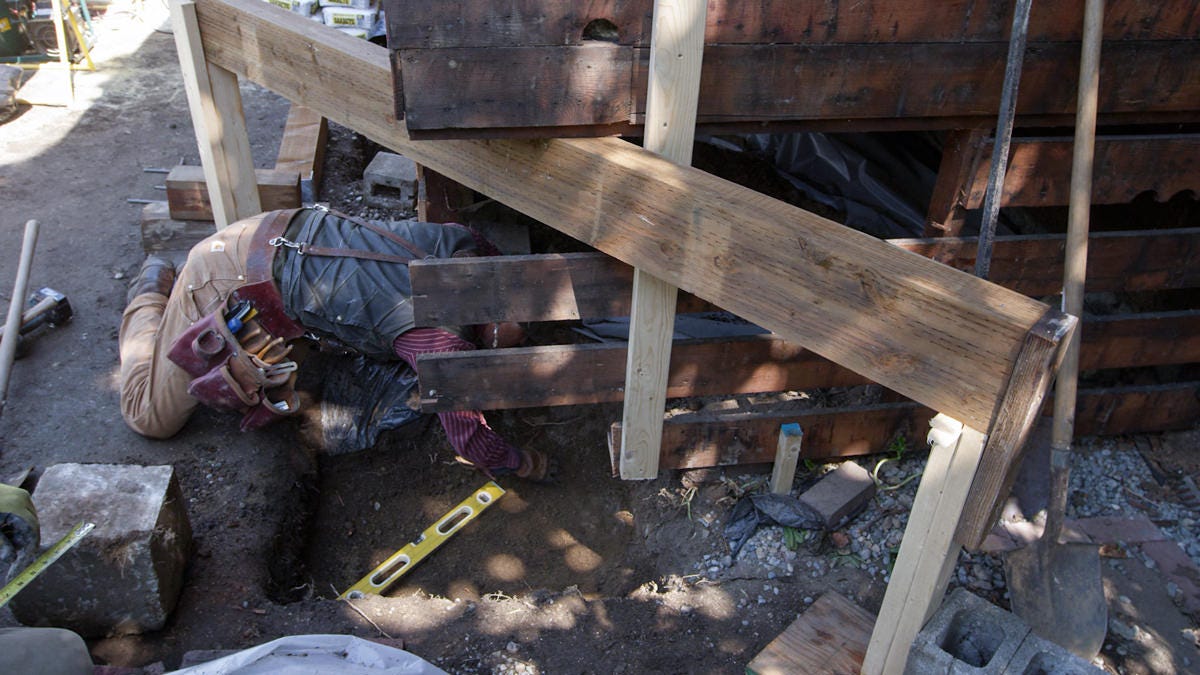
Tip 2. Shore up the structure
When looking at a structure and footing project, the first thing I think about is how I’m going to build support while work is being performed. It’s not just for the safety of the craftspeople; shoring up the structure keeps the historic home protected against settling and agitation.
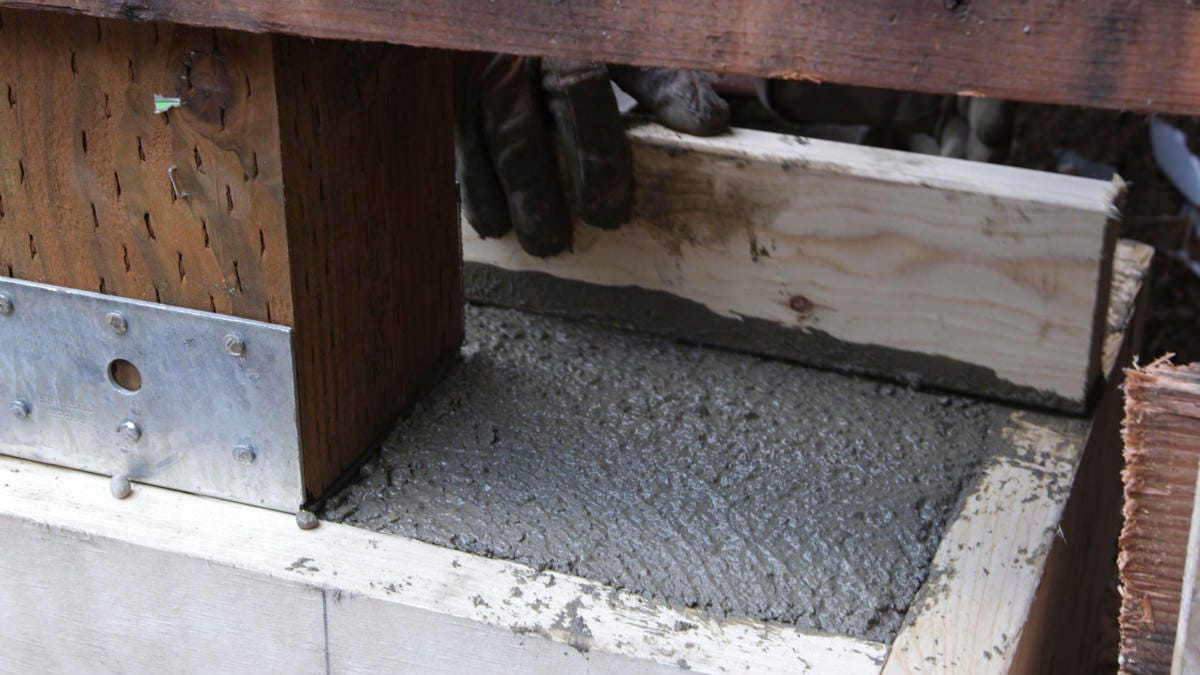
Tip 3. Rethink forms and concrete
“Concrete is not poured, it’s placed!” I can still hear those words from my engineering professor, and they remain correct to this day. Use forms to place the concrete where it’s needed. I like to install the support posts with the saddles attached before placing the concrete. This method allows the concrete to dry with the posts exactly in place. No added fuss!
Tip 4. Be mindful of fit during skirt framing
Installing header support beams, plates, and studs is a simple process. The main thing here is to ensure there isn’t any uplift on the structure, so install snug—but not extremely tight.
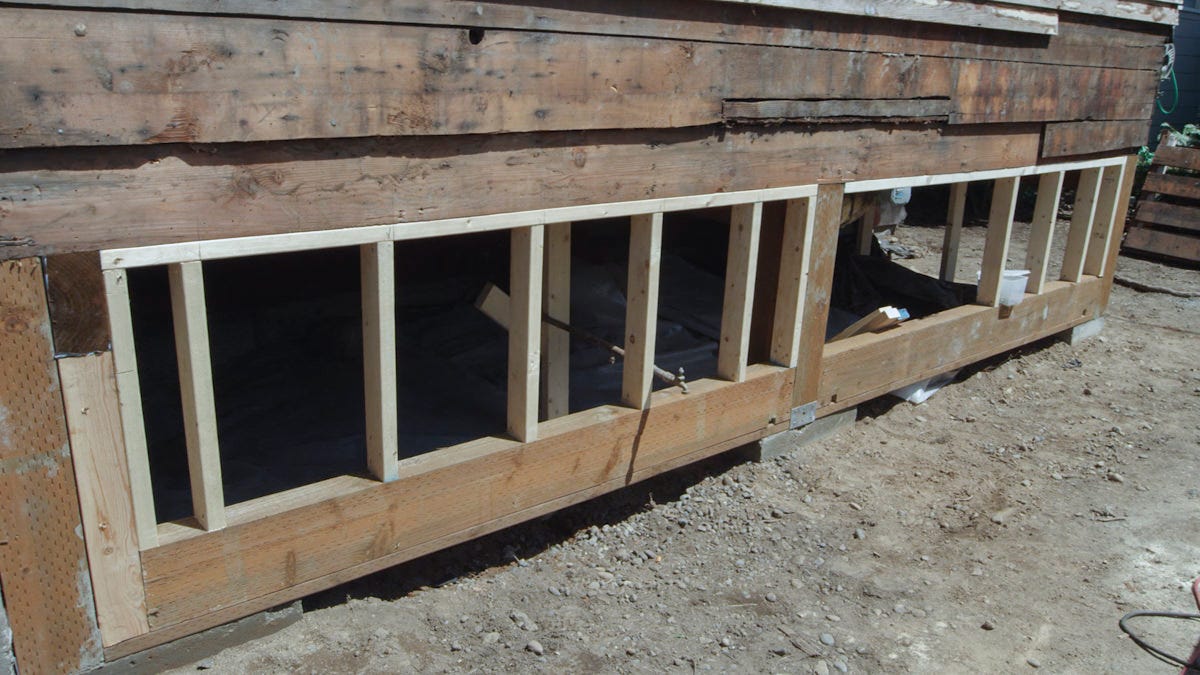
Tip 5. Try AZEK Trim for ground contact
AZEK Trim is PVC material that won’t rot or decay. When building a skirting wall like this, I prefer to keep all wood away from the soil—even pressure-treated lumber. To do that, I used an AZEK 1x12 that extends down into the ground so that the beams are just above the soil in the crawl space. We installed AZEK Trim before the ¾” plywood, so that it would hang below the top edge of the trim once the siding is installed, and eliminate the need for flashing.
Performing a structural repair of support walls and footing requires experience, and some free-form technique. The best craftspeople I know think outside the box to achieve high quality, cost-effective results, and a repair on a historic home is no place to make exceptions.