

"Add a DIY touch to your outdoor Christmas decor with this wood Christmas tree that lights up."
Materials
We love handmade holiday decorations and always have a never-ending list of DIY projects designed to dress up the season. Today, friend and Dunn Lumber employee Rosie is walking us through the steps for how to make an outdoor Christmas tree.
For this design, Rosie drew inspiration from Halloween decorations that used wood panels and stakes to make gravestones. She made it her own by swapping the gravestone shape for a tree, adding lights and green paint, and using steel construction stakes (which are more durable and come with pre-drilled holes) to anchor it into the ground.
The result is a sturdy outdoor Christmas tree that’s sure to spread some holiday cheer around your neighborhood!
A few things to keep in mind before you begin:
- Your project will last for years (instead of just a couple of seasons) if you use the proper exterior-rated plywood, primer, paint, and finish.
- Dunn Lumber will cut a large piece of plywood down to the size you need to use. We used a 2’ x 4’ piece.
- When it comes to cutting, a jig saw works best for curved lines (as we did with ours) and is less expensive than a circular saw. A handsaw will be your cheapest option—you’ll just want to use a tree design with straight instead of curved lines. Using a circular saw for straight cuts is easier and faster, but it is the most expensive option if you don’t have one available.
- If you don’t want to wash your paint brush between uses, buy an extra brush or two!
Step 1: Draw tree outline
For this project, you need to start with a sheet of plywood. We chose CDX plywood, which has rougher sides than some other types of plywood but is less expensive. The rough texture adds to the look of the tree!
Choose which side of your plywood has a better face—this will be your “front”—and place that side down on the table or floor.
Use a pencil to draw your tree outline on the side facing up—the “back.” You want to draw and cut on the back side of your plywood because a jig saw cuts on the upstroke, meaning the wood will splinter on the side facing up. This way, any splintering will be on the “back” side more than the “front.”
You can freehand your tree drawing, use a tape measure, or reference an outline.


Step 2: Clamp and cut plywood
Remember: safety first! It’s a good idea to wear protective eyewear, and be careful of wrapping your fingers under the plywood where you can’t see where your fingers are.
Clamp the plywood to your work surface with the front side facing down. Clamps will make things easier here, but a friend can help hold the plywood in place, too.
Trace your lines with the saw and cut out your tree. Reposition the tree as needed to avoid sawing your work surface.
Note: If using a power saw of any kind, start the saw before making contact with the wood. Once the saw has fully accelerated, slowly push the moving blade up to the plywood and begin your cut. 

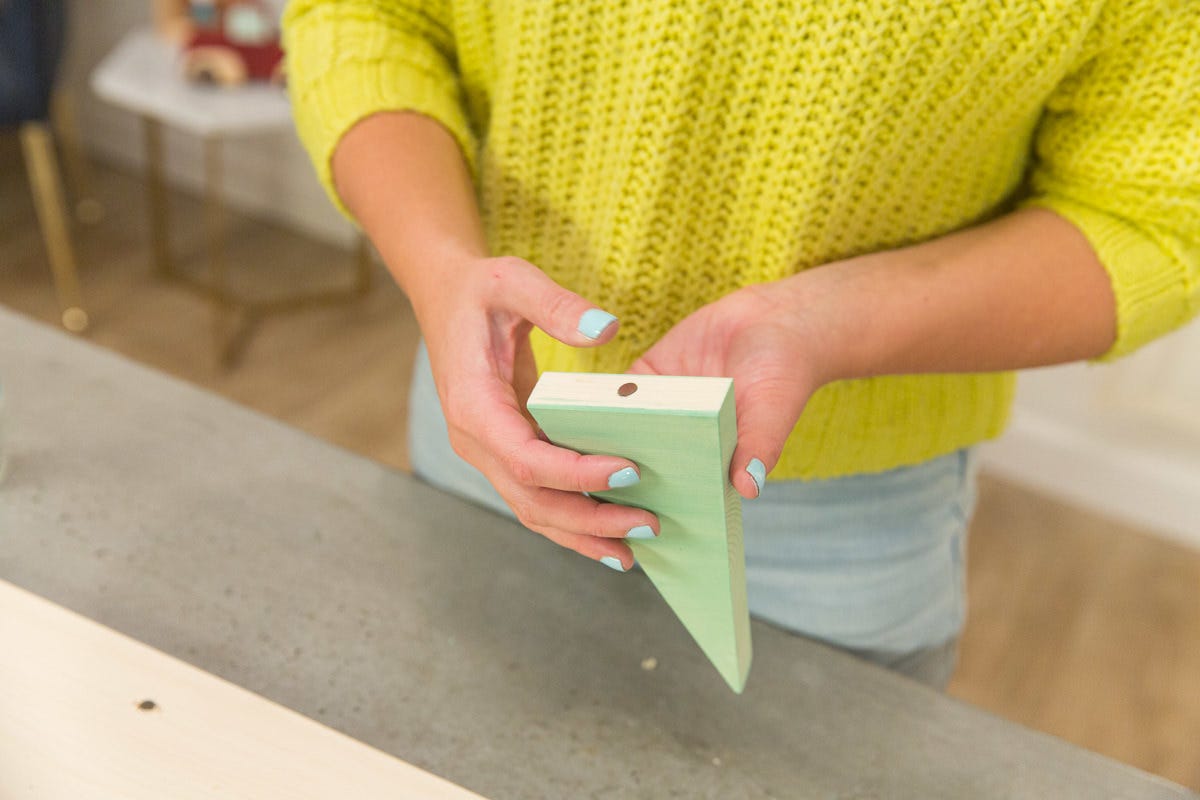
Step 3: Mark for light holes and stake
Turn your tree over so the front side is facing up.
Making note of where your construction stake will be screwed in later, mark where to drill holes for the string lights. You can do this freehand or place your string lights in a pattern across the tree to get a visual aid.
It’s helpful to draw lines where the string lights might be draped on a real Christmas tree, then mark X’s along the drawn line for each spot where you plan to drill a hole for the individual bulbs.
The string lights we used had 25 bulbs, but we only marked spots for 20 bulbs. Extra bulbs can be hidden and fastened to the back of the tree.
Step 4: Drill holes
For this step, you want to drill holes that are the same size or slightly larger than your bulbs if they are not removable, or the same size as the base of your bulbs if they are removable. Our bulbs are removable, so we measured the base of our bulbs at 5/8” wide and used a slightly larger ¾” spade bit with a power drill.
With the front side still facing up, clamp your tree to your work surface, and start drilling holes for the string lights. (Here, we want the front side facing up because splintering can occur on the side where the drill bit comes out.)
Make sure to keep the drill spinning at high speed as you’re drilling, and move the tree as needed to avoid drilling into your work surface.
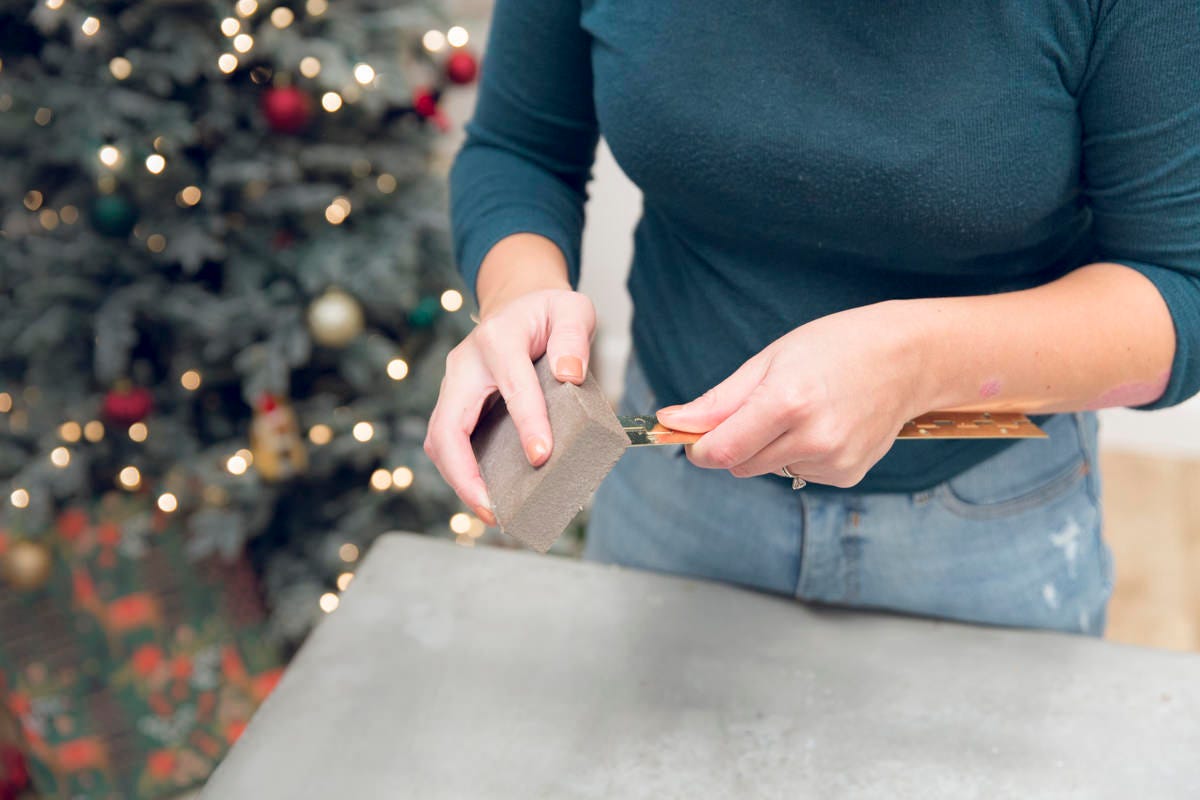
Step 5: Sand plywood as needed
Sand the faces, edges, and drilled holes of the tree.
Start with coarse-grit sandpaper (a lower number) and then make a pass with a finer grit. If you have a power sander, the job will go much faster, but a sanding block or just the sanding sheets will work as well. We used 80-grit sandpaper and followed with 220-grit.
The goal of sanding here isn’t to get a perfectly smooth surface. You just want to remove any splinters caused by the drilling and sawing to give primer paint a good surface to adhere to.
Note: Sandpaper comes in different grit sizes (80, 120, 220, etc.) and grades (coarse, medium, fine, etc.):
- Coarse = 60-80 grit
- Medium = 100-150 grit
- Fine = 180-400 grit
Step 6: Prime tree
Lay your tree on a drop cloth. Use primer and a synthetic brush to prime the tree’s faces and edges. You don’t need to prime or paint the insides of the holes—they won’t show once the bulb sockets are in place.
Then let the primer dry per the instructions on the can.
Wash your paint brush with warm water and dish soap if you intend to reuse it for the next step.
Step 7: Apply two coats of green paint
Grab your green paint and apply one coat to the tree’s faces and edges and let dry. Follow with a second coat for better color and durability. We used exterior latex paint in hunter green.
Between coats, wrap your paint brush in plastic wrap or a plastic bag, and store it in the fridge. You can keep paint brushes wet for weeks by doing this!
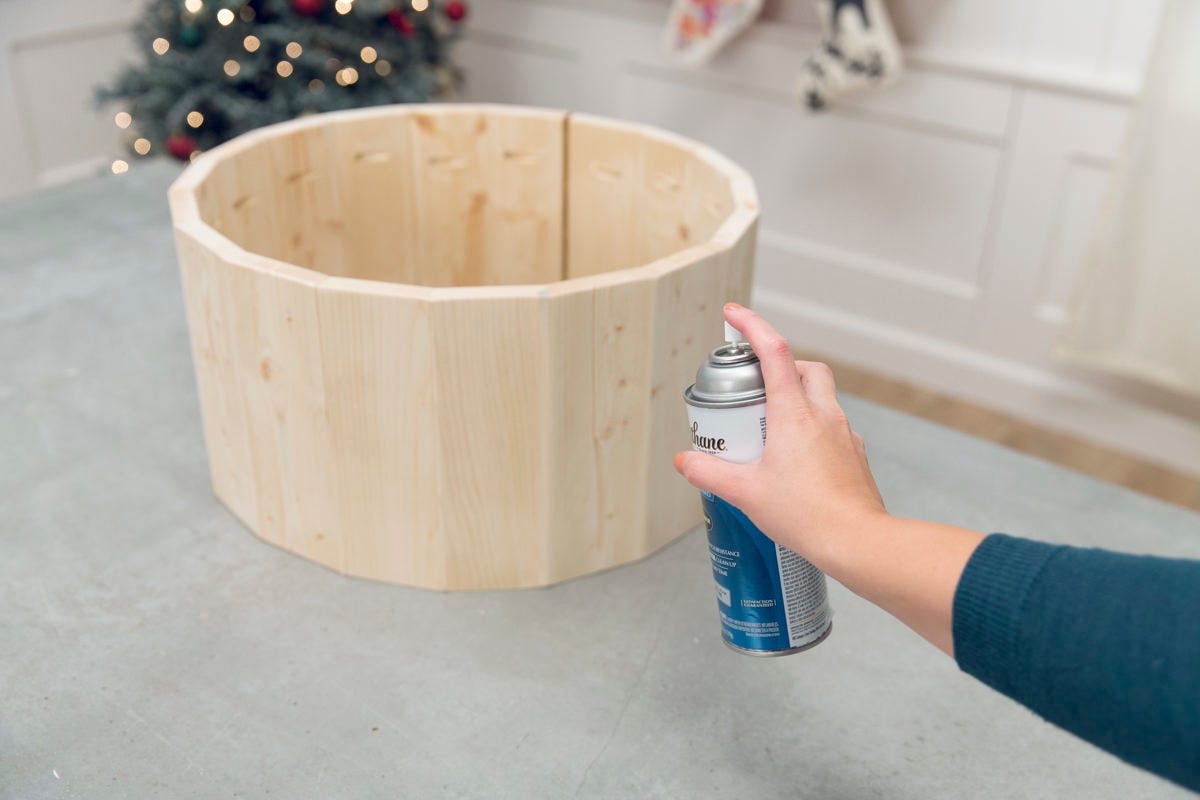
Step 8: Apply finish coat
Once the paint is dry, apply finish over the faces, edges, and drilled holes of the tree. We used an exterior spray finish from Varathane that had a gloss sheen. The spray fully coats the drilled holes; no need to use a smaller paint brush.
Apply following the can’s instructions and let dry.
Step 9: Install string lights
Now it’s time to install your string lights. Put a couple of blocks on your work surface, then place your tree face down on top of them. You can also lean your tree up against something—you just want to be able to reach both sides of the tree.
Position your string lights so that the plug is located at the base of the tree. From the back of the tree, poke individual lights through the drilled holes (remove the bulbs if they are removable), and secure the wire with a ½” staple on either side of the bulb base to keep the light socket in place. Hold the staple gun so the staple will straddle the wire and not shoot into it.
Repeat for all drilled holes.
If you have leftover bulbs, tuck the extra ones in the back and tidy up the wire—you can secure the loose wire down the back of your tree with staples. If you don’t want light showing from behind the tree, mask the bulbs with tape.
Note: Instead of using a staple gun, you can use insulated cable staples, which you pound in with a hammer. 
Step 10: Stake your tree
Now it’s time to take your tree outside and stake it into the ground. (Since we built this in our studio, we used a bucket filled with dirt to demonstrate how you’d stake it in your yard.)
Choose where you want to display your tree and hammer the pre-drilled metal stake at least 15” into the ground. (We used a 36” stake and hammered about a third of it into the ground, leaving two-thirds visible to secure it to the backside of the tree.)
Align the center backside of the tree with the stake, and drill three pilot holes (at the top, center, and bottom of the construction stake) by inserting the drill bit through the hole in the stake first and then through the plywood.
Then, insert a 2" machine screw through the front of the tree in the top hole and fasten it with a wing nut from the back. Repeat for the remaining two holes.
Note: We used #8-gauge machine screws and wing nuts because they are the largest gauge that would thread through our construction stake. 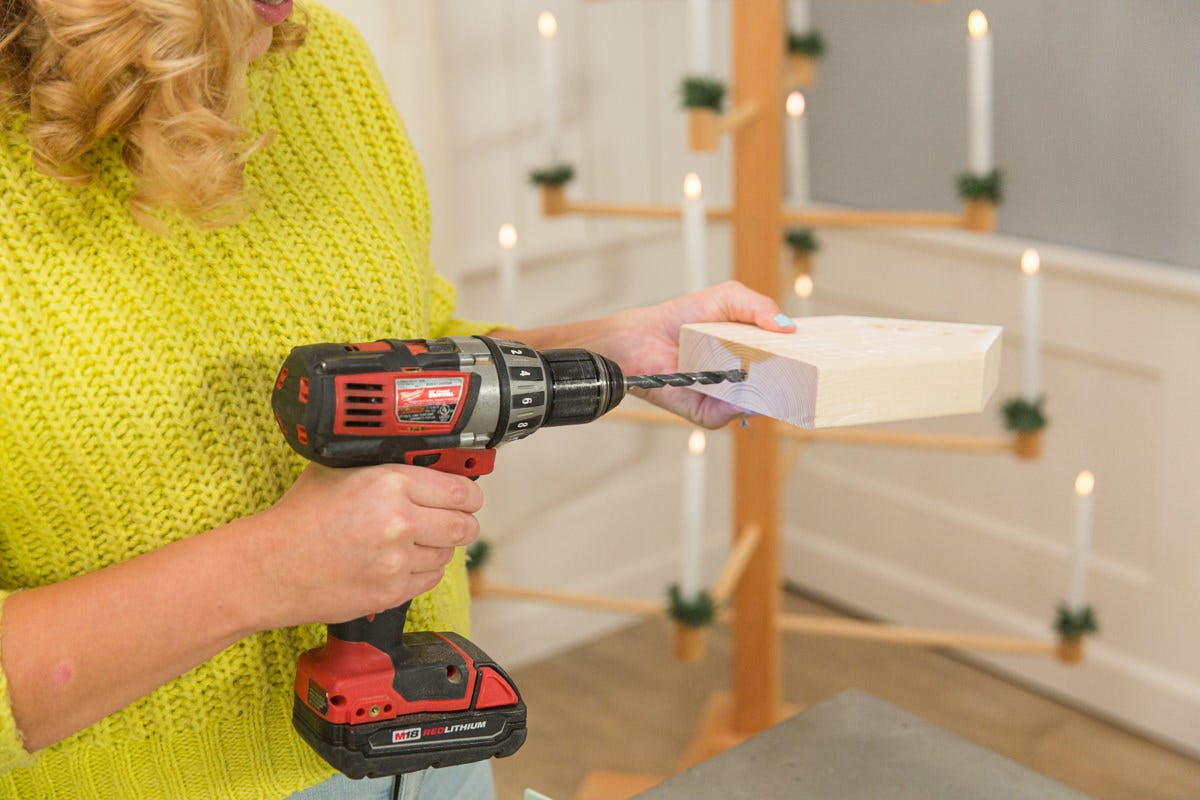
Step 11: Light it up!
You’re now ready to plug in the string lights and enjoy the glow of your illuminated tree. Happy holidays!
For more holiday DIY inspiration, check out this DIY Christmas village or see how to make a wooden block nativity set.