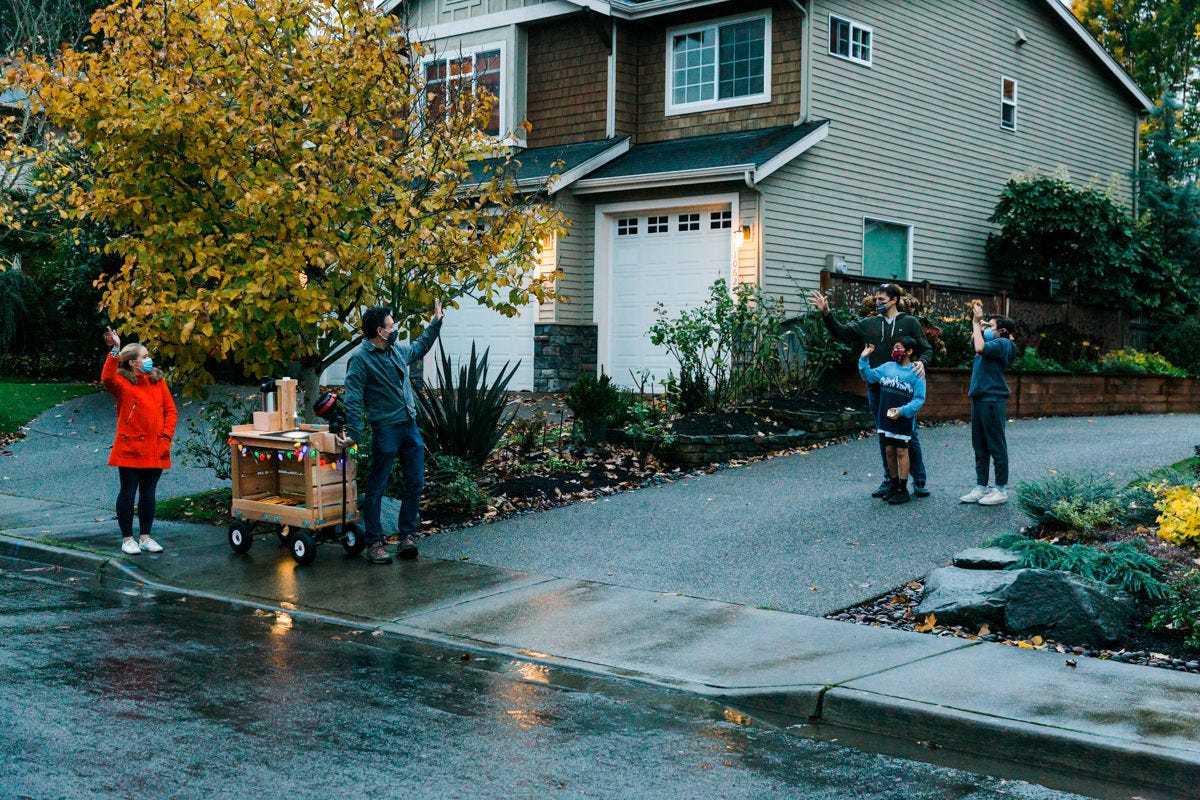

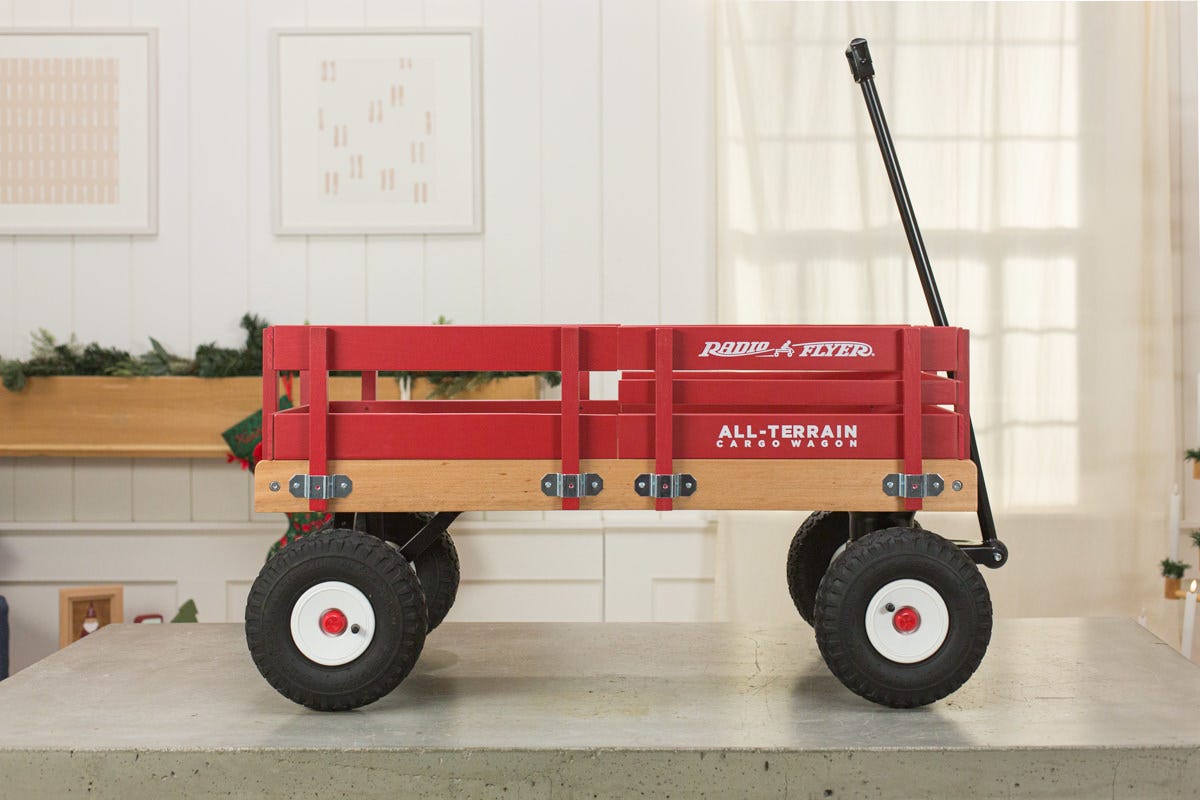
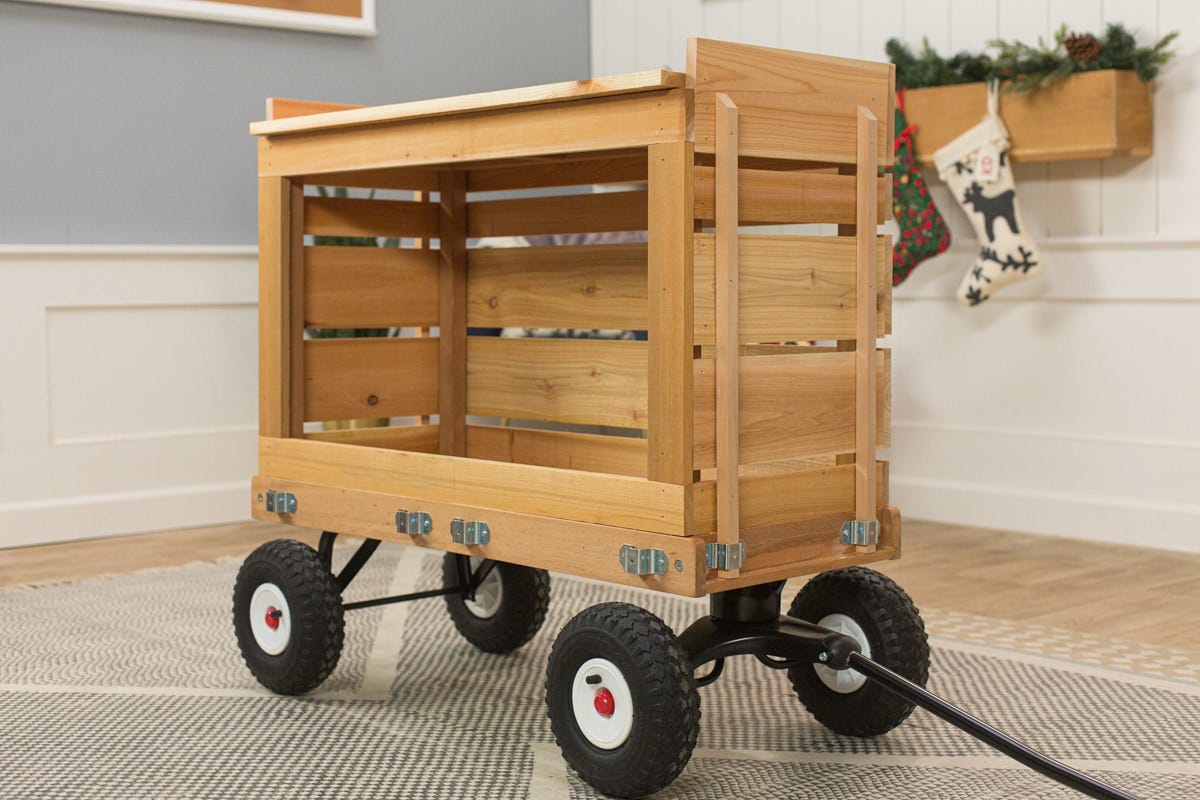
"2020 has been anything but ordinary, and we're constantly looking for creative ways to enjoy the outdoors, even in the cold winter months. This clever beverage cart is made from a repurposed wagon and can be towed out on the back lawn for a wintry gathering, down the street for a driveway get-together, or wherever else you might want to serve hot drinks to friends, family, and neighbors."
Materials
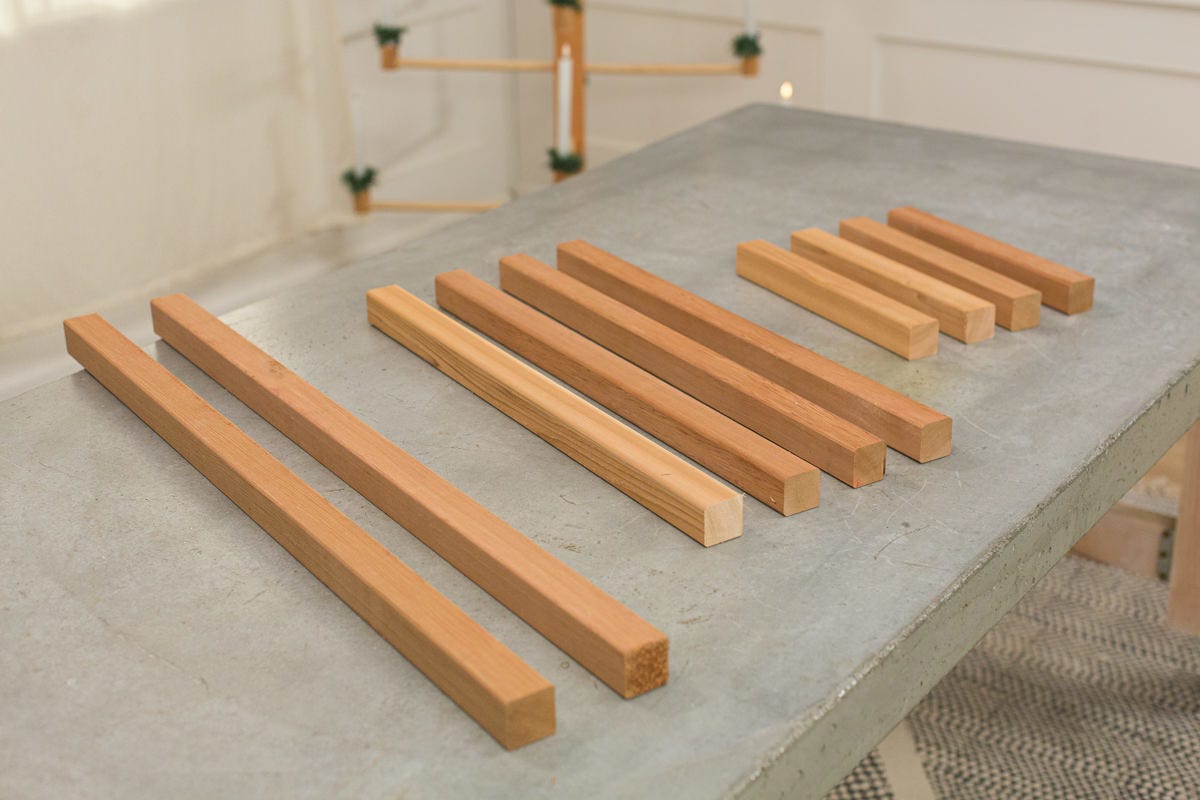
- 2 x 2 - 10’ Cedar
- 2 x 2 - 8’ Cedar
- 1 x 8 - 8’ Cedar
- 1 x 2 - 8’ Cedar
- 1 x 6 - 8’ Cedar
- 1 x 6 - 10’ Cedar
- 1 x 6 - 4’ Cedar
- 1 x 3 - 8’ Cedar (3)
- 1 x 4 - 4’ Cedar
- ¾” - 8’ Square Moulding
- 2 ½” Screws
- 1 1/2” Screws (3)
- 1 ¼” Collated Nails
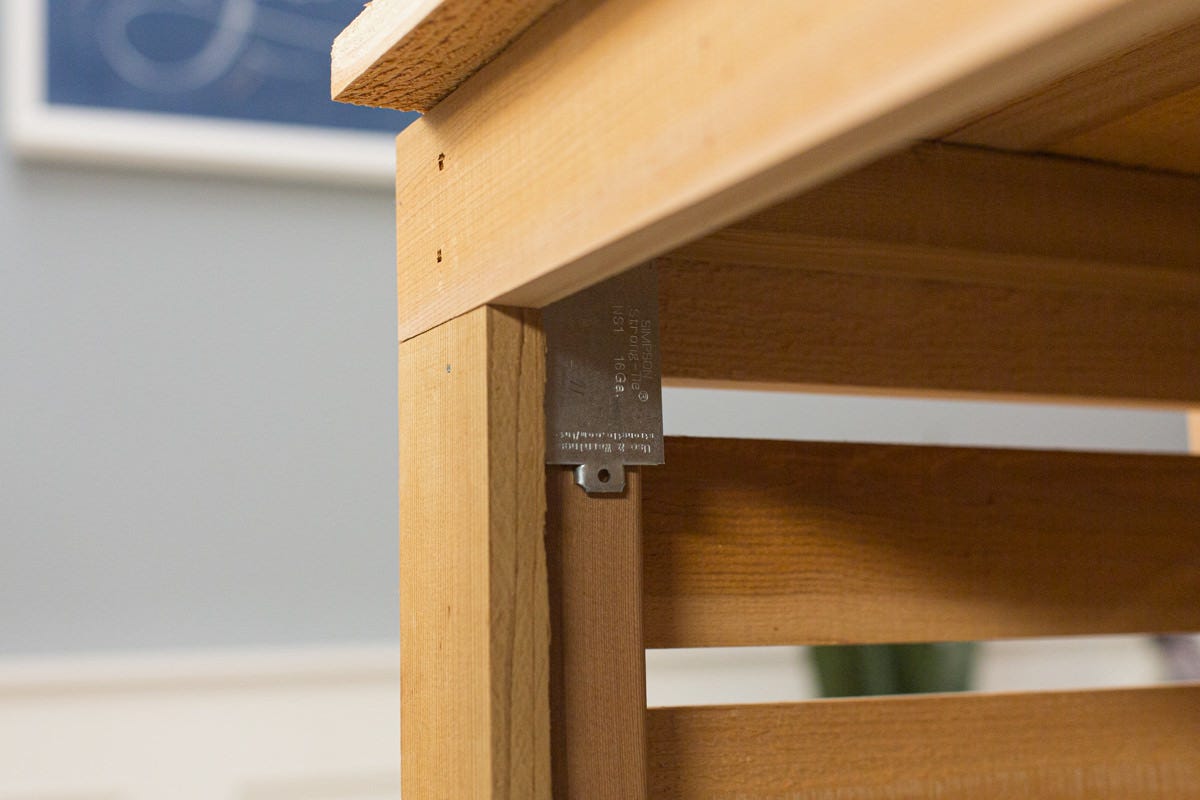
- Metal Plate
- 1” Hinge
- Magnet
- Spray-On Finish
- Vinyl Bumper
- BBQ Lights
- Tap Light
- Battery-Powered Christmas Lights
- Propane Heater
- Propane Tank
- Warming Tray
- Drink Dispenser
- Silicone Mat
- Garbage Bin
- Wagon
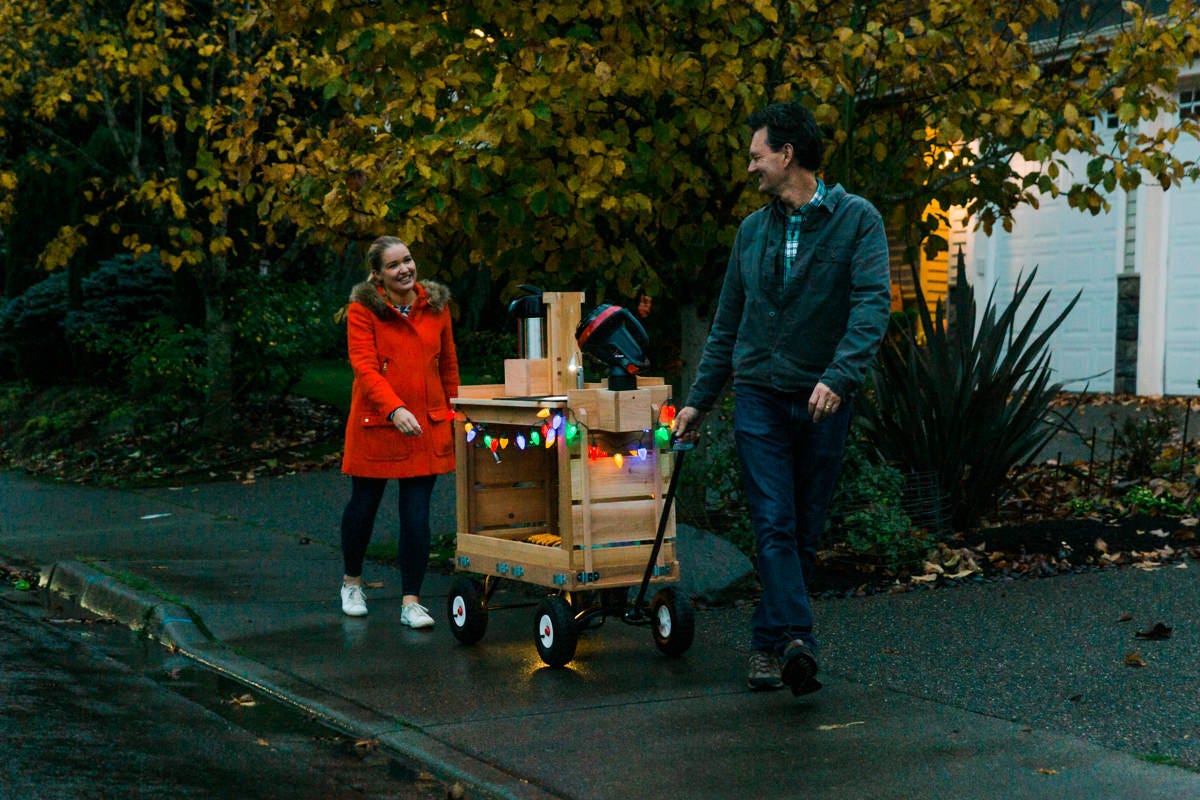
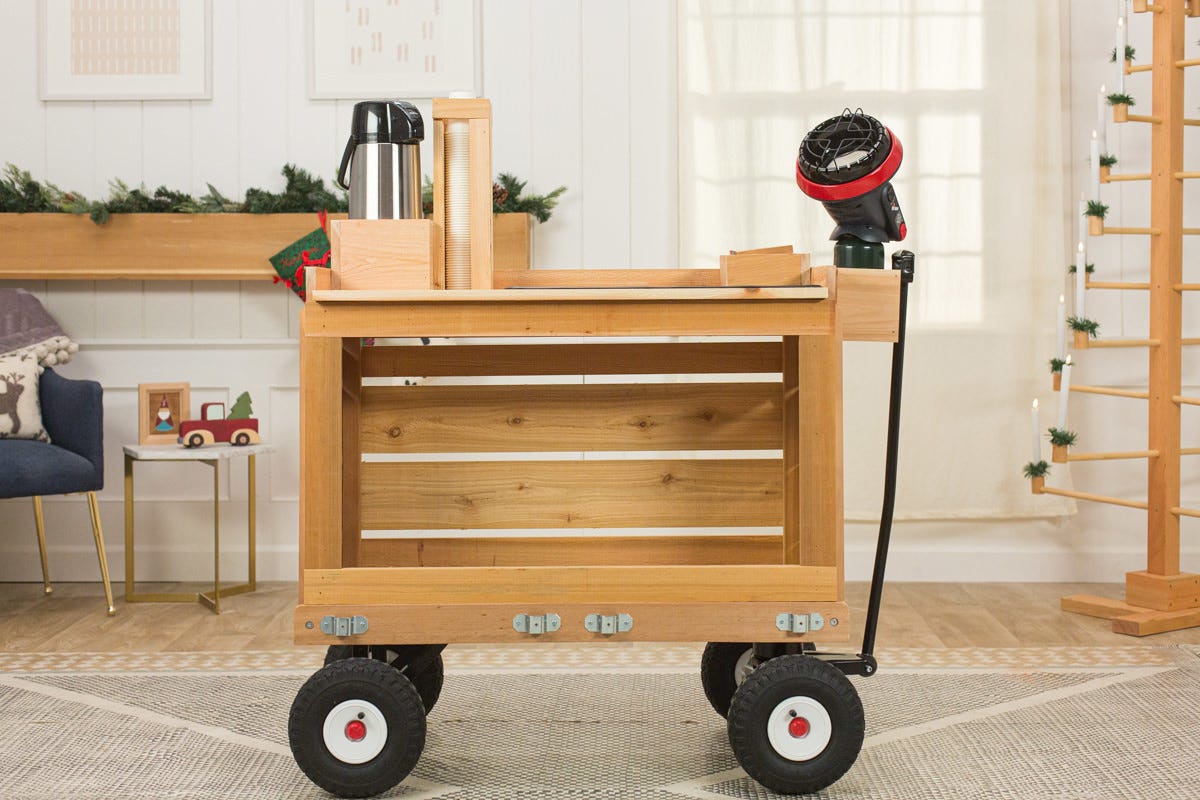
Back in 2018, we built a beverage cart that was very popular with our readers. So we decided to do a 2.0 version of sorts and build it on top of a wagon just like we did with the Halloween dump truck last year. A beverage cart adds to outdoor gatherings and this wagon can be towed out on the back lawn for a gathering, down the street for a driveway get-together, or wherever else you choose. The cart itself is fun to build and either repurposes a wagon or leaves it convertible for double duty. The really fun part comes with accessorizing your build. We added lighting, heating, a warming tray, a pump-thermos, a cup dispenser, a napkin holder, and more!
A note about wagons: We used a wagon with a wooden bed and detachable sides. We removed the sides, but the "superstructure" we built just sits in place and can be removed so the wagon can easily return to its original form to be used for other duties.
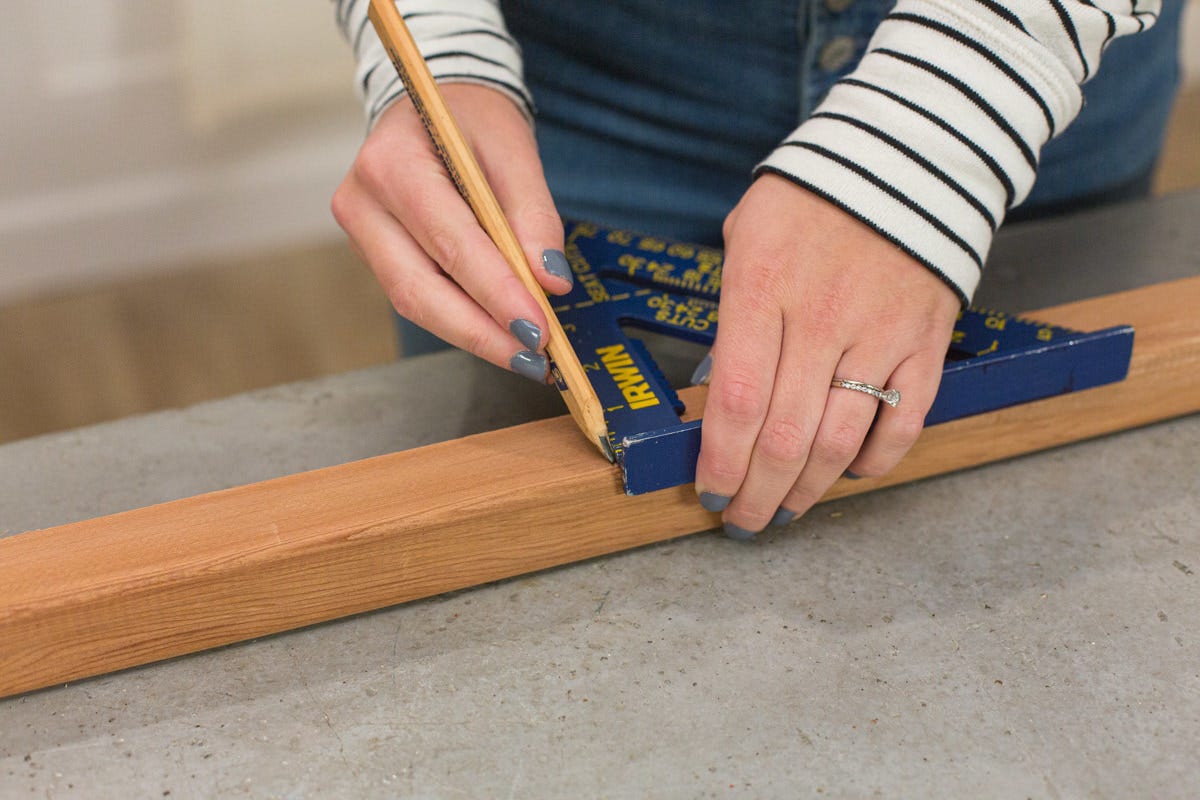
Step 1: Measure
The first step is to measure the inside of the bed of the wagon. Ours measured 15” wide by 37-1/4” long, so the measurements listed in this article for cut boards reflect that—your wagon may have different dimensions. Refer to the diagram below to size for your own wagon.
Our inner framework fits just inside the bed of the wagon with the uprights of the frame in the corners of the wagon bed. The siding boards on the ends are the same length as the overall width of the uprights. The longer pieces of “siding” overlap the uprights by ¾” on both ends, covering the ends of the short siding pieces. Lastly, the siding starts directly on top of the wagon bed—essentially extending the wagon walls upward.
Our wagon had external brackets, which we used to affix the superstructure. If using a traditional wagon with a metal bed, you may want to drill some holes and bolt the superstructure in place.

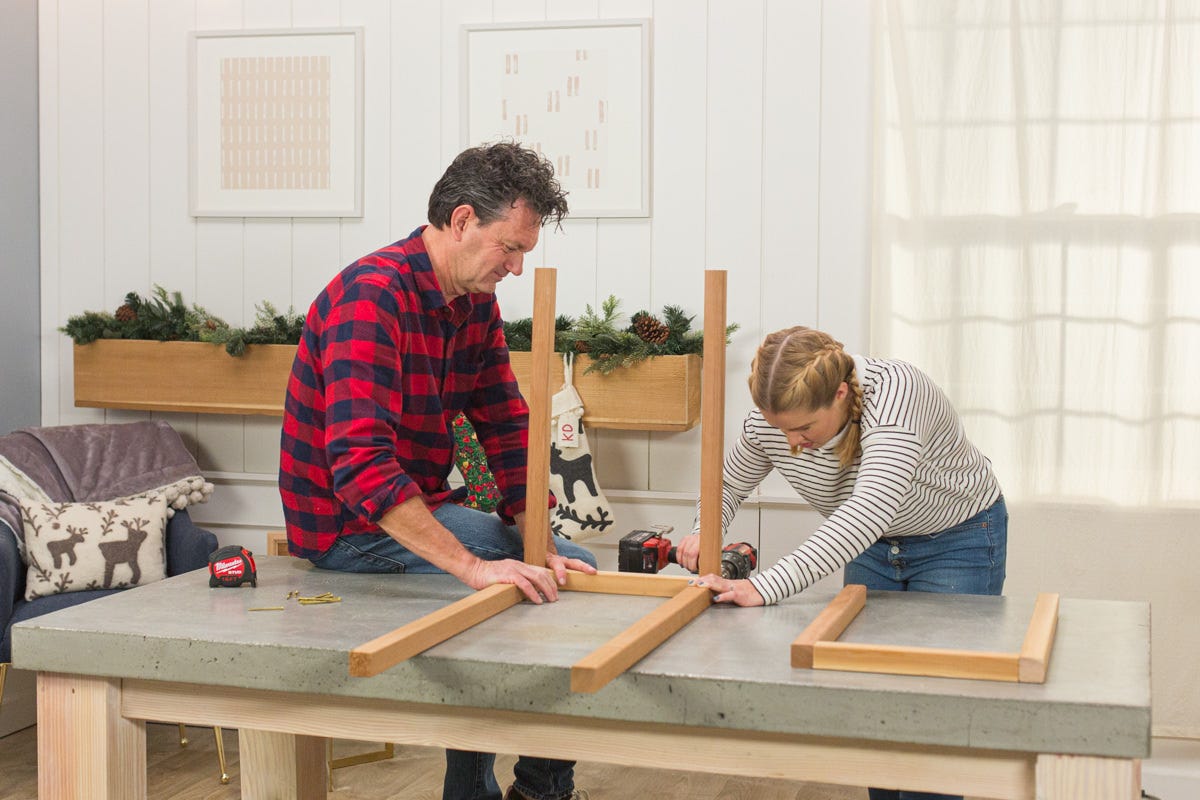
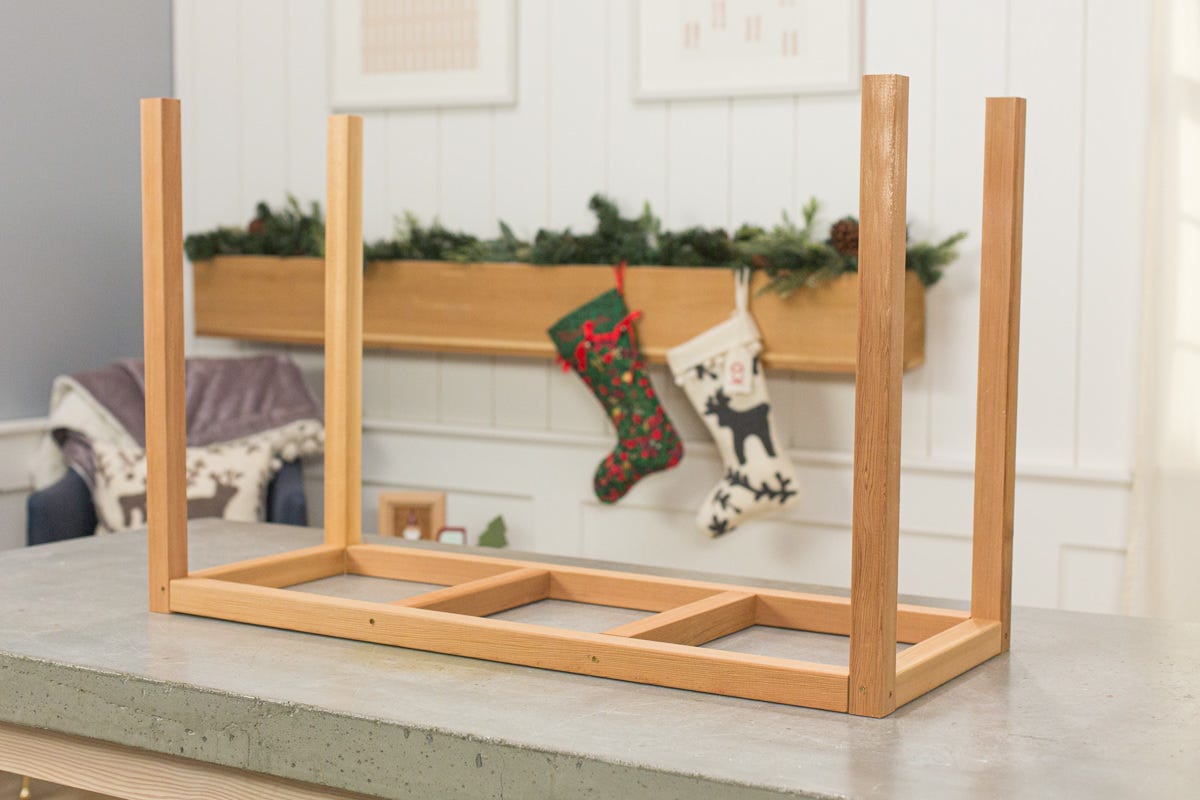
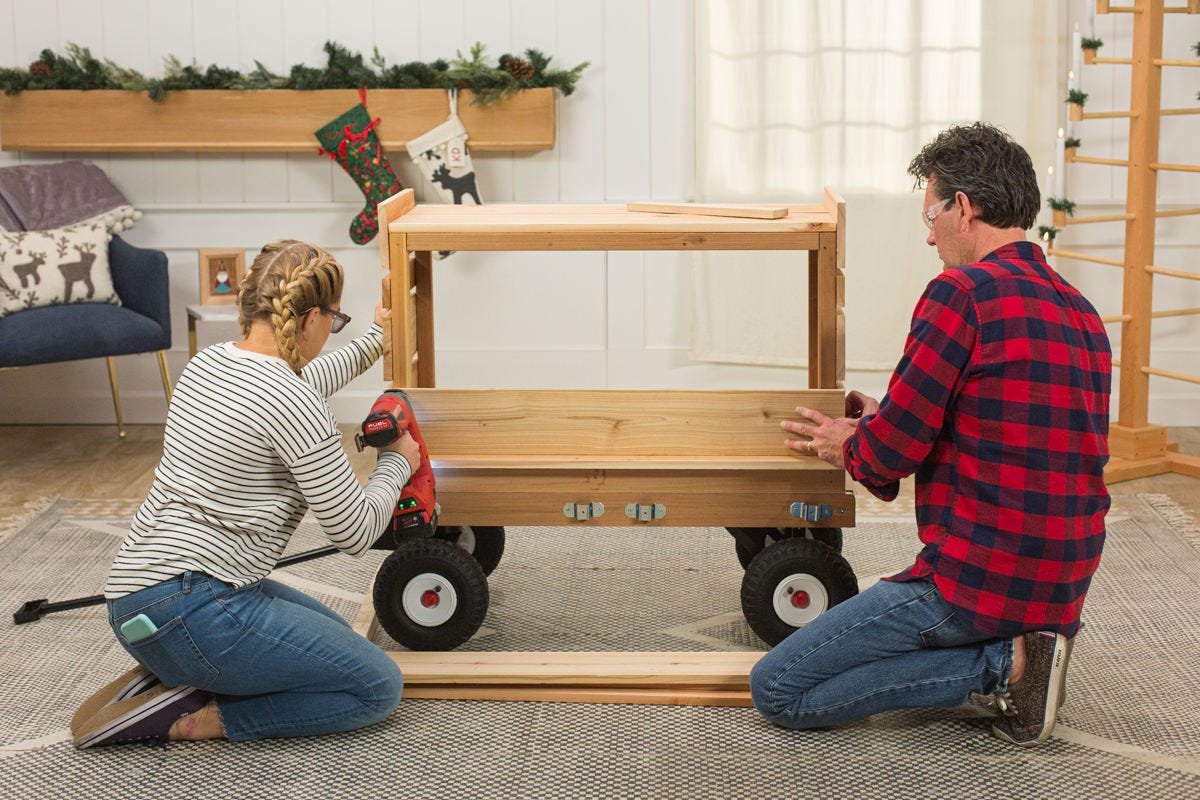
Step 2: Build a box frame
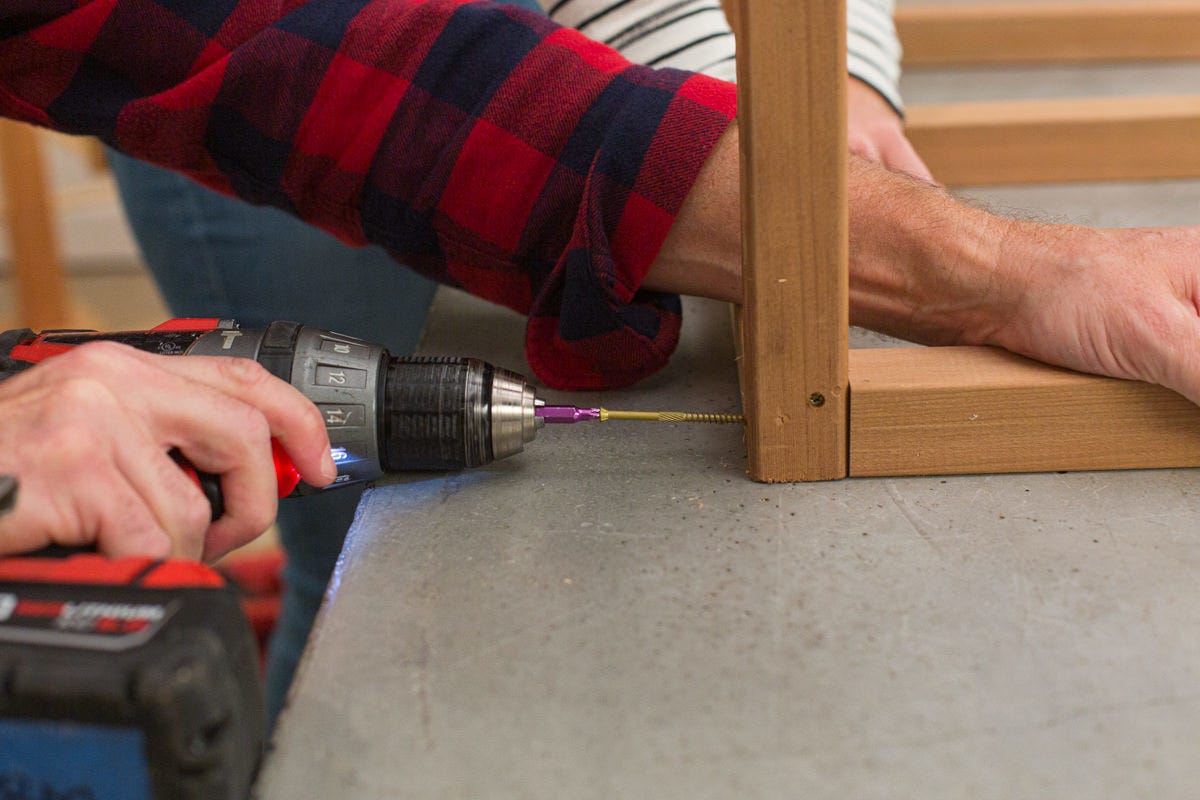
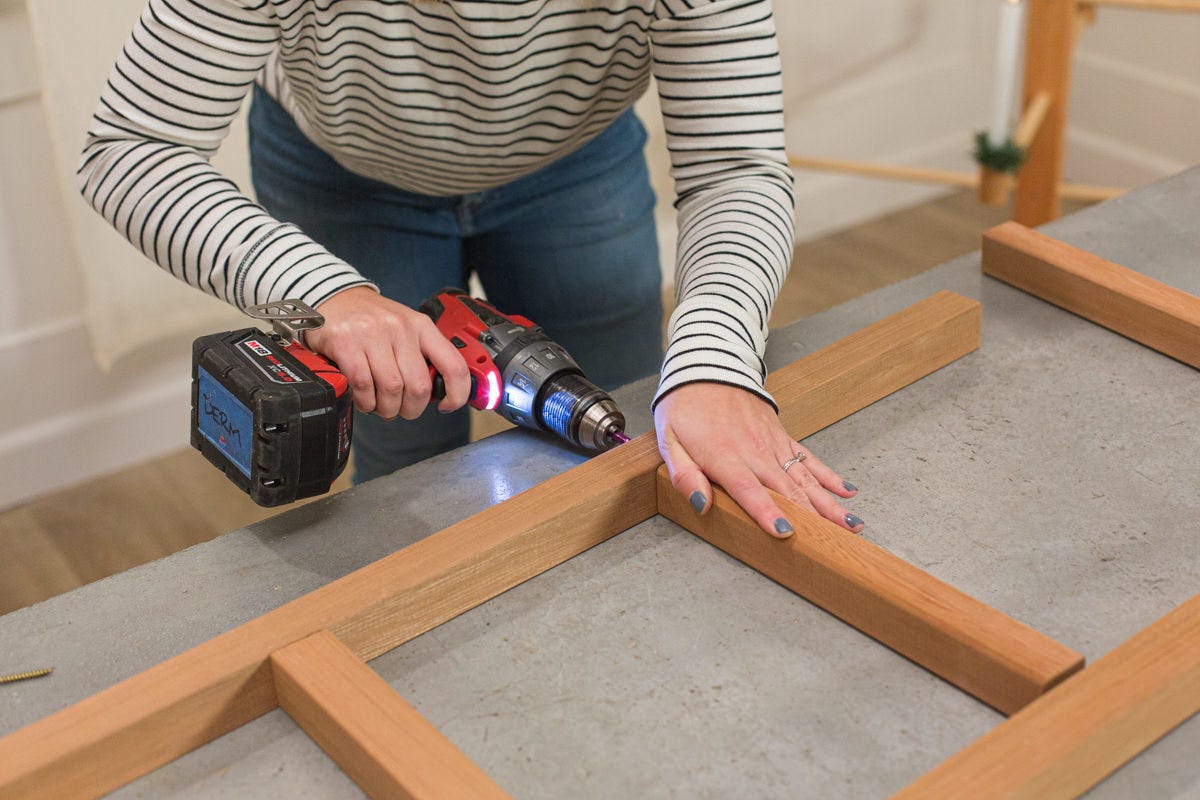
We wanted our “countertop” to be 36” off the ground, so 24” uprights were cut for the four corner uprights since the bed of the wagon is already 12” off the ground. Next, we fastened these four uprights to other two-by-two braces using 2-1/2” screws. Stagger the placement of the screws because you’ll have two screws going into each upright and you don’t want them to hit each other. The braces fasten into the sides of the uprights with 2-1/2” screws: Two braces run the long way and four shorter braces (two at the ends and two in the middle) span across the width of the wagon. Once this superstructure is assembled, set the box frame into the wagon bed. Temporarily brace the bottoms of the uprights if needed so that they are pushed into the corners of the wagon bed.

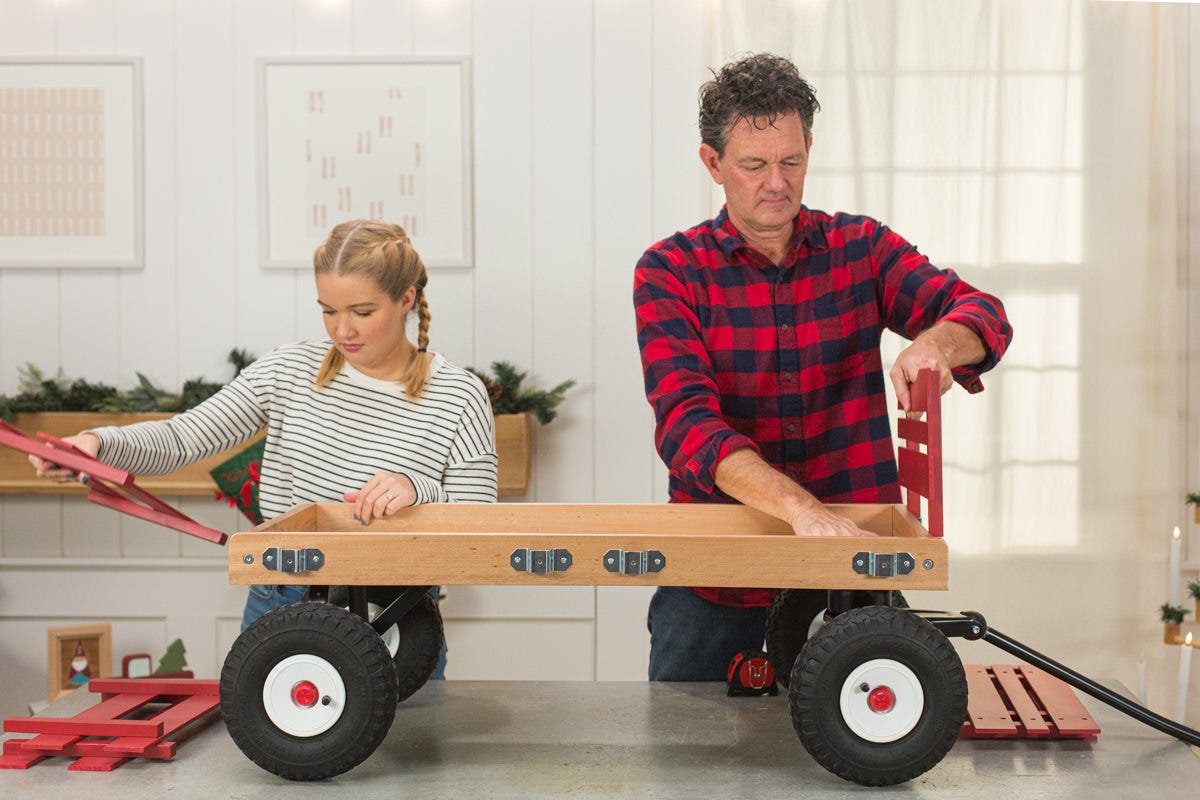


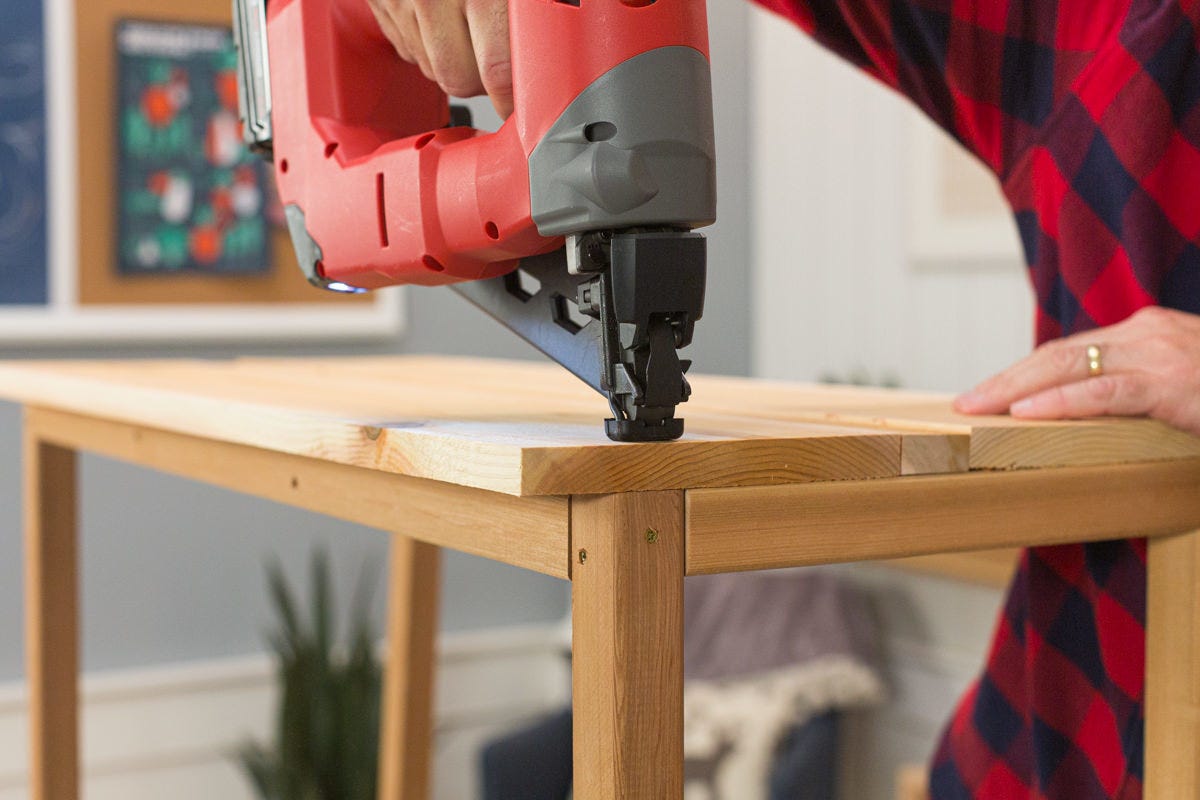
Step 3: Place countertop boards
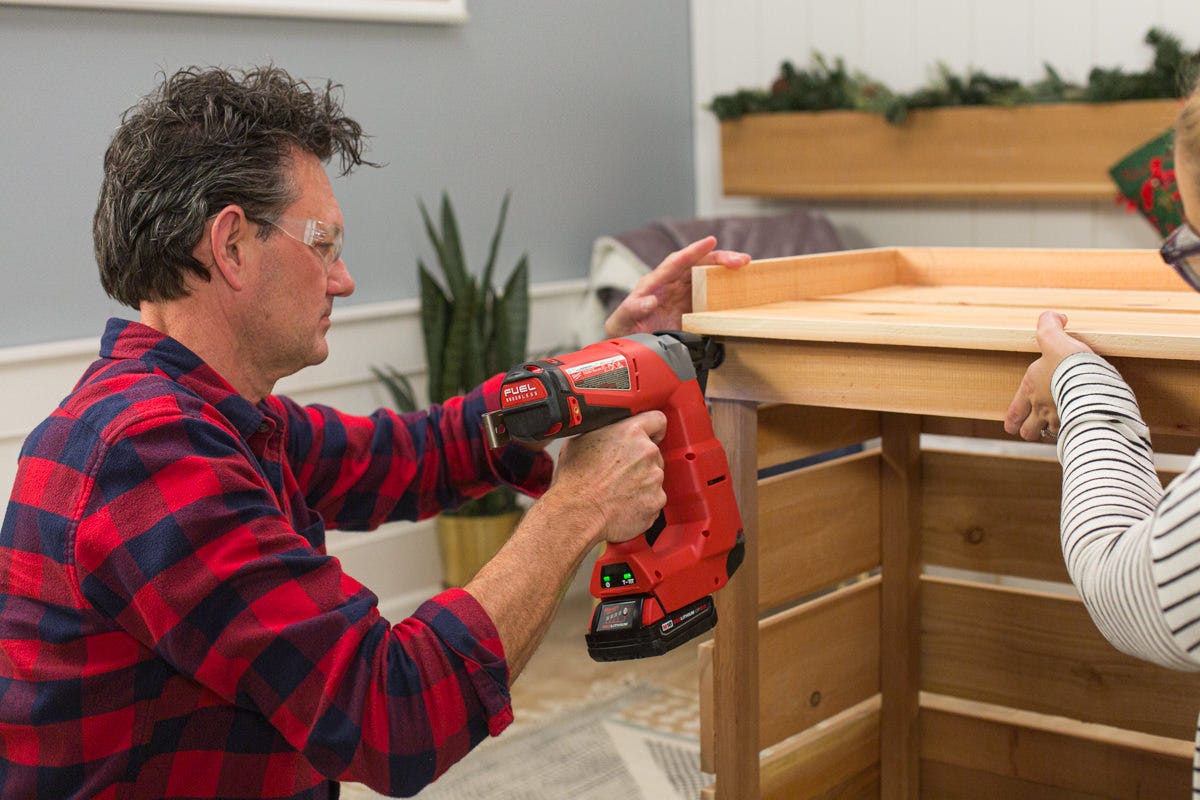
For the countertop of the beverage cart, we fastened a one-by-eight, then a one-by-two, then another one-by-eight, lengthwise on top of the box frame. The first one-by-eight will be flush with the vertical edge of the uprights, and the other one-by-eight will overhang the other long edge of the box frame. This overhang will be on the “working side” of the cart.
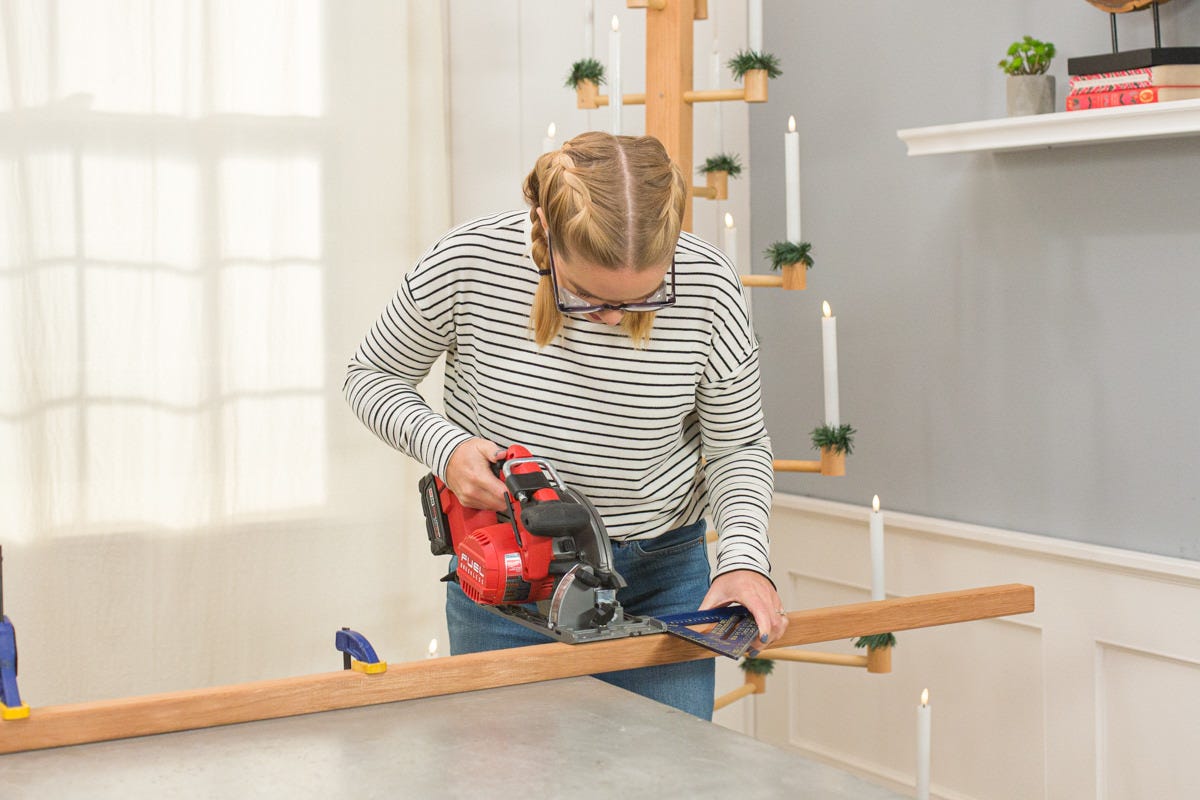
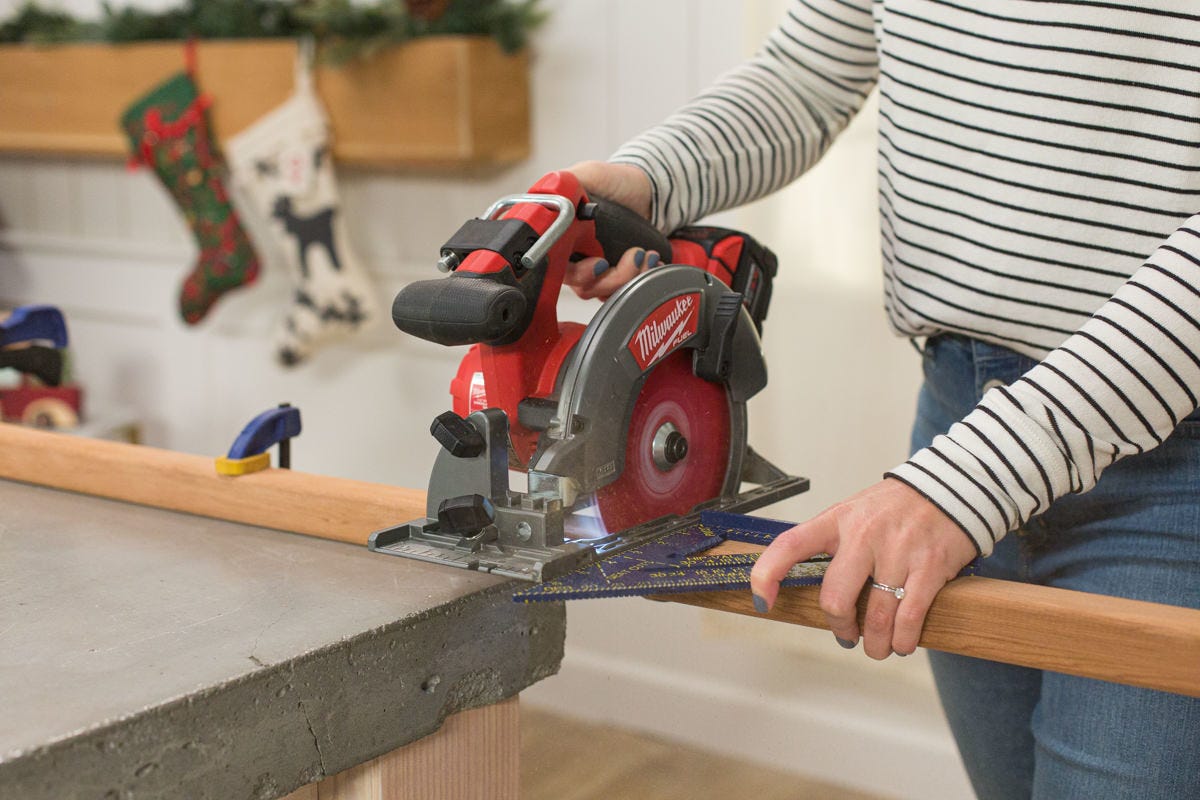
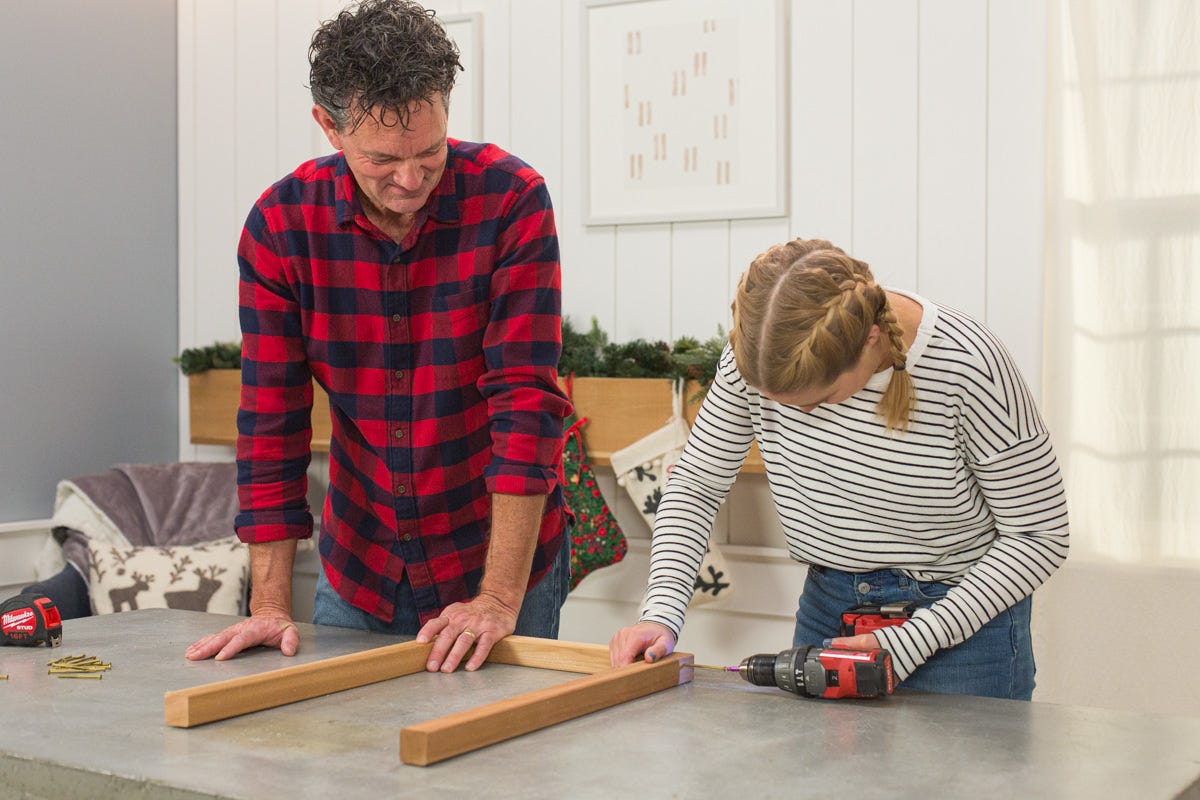
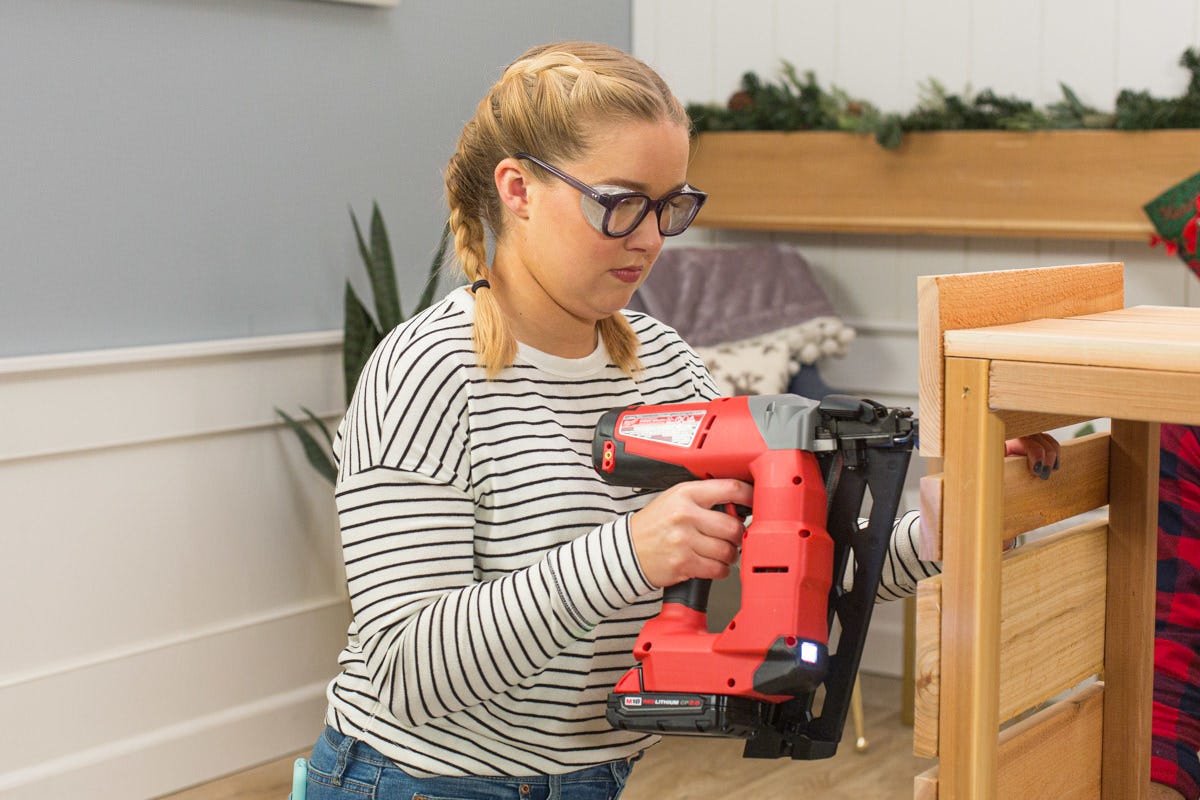
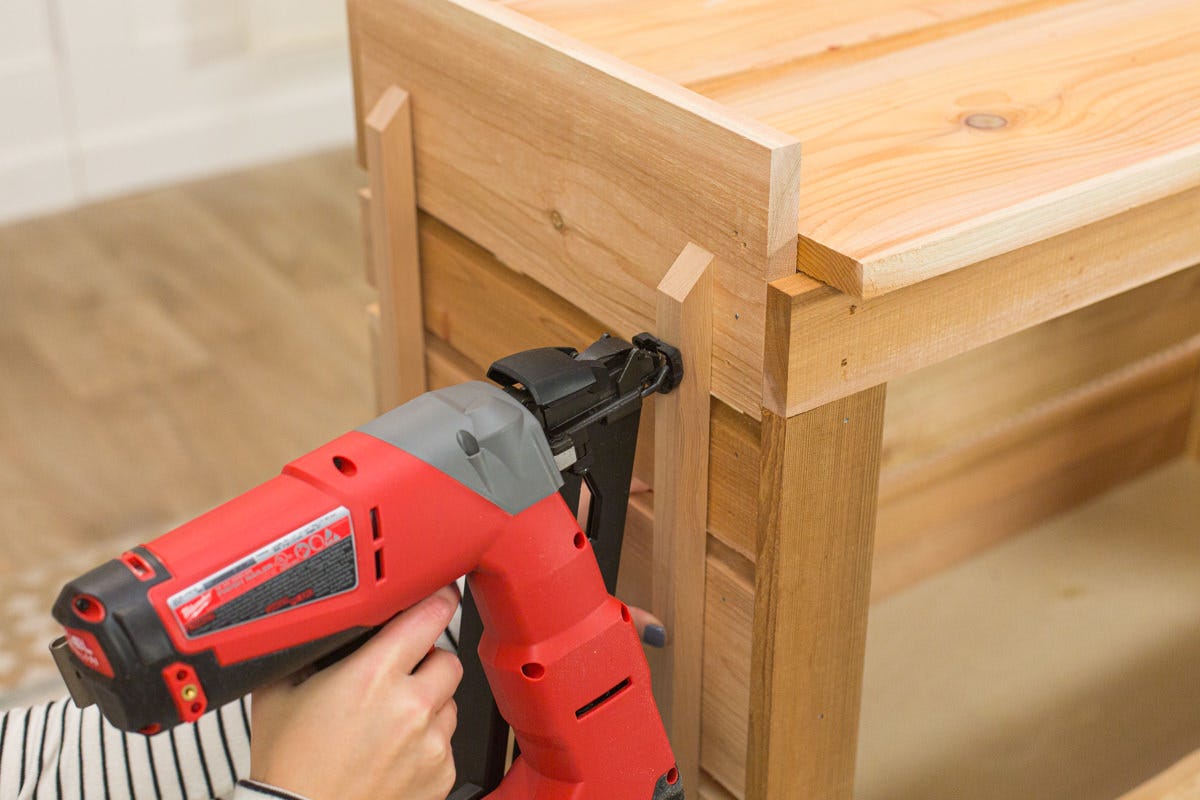
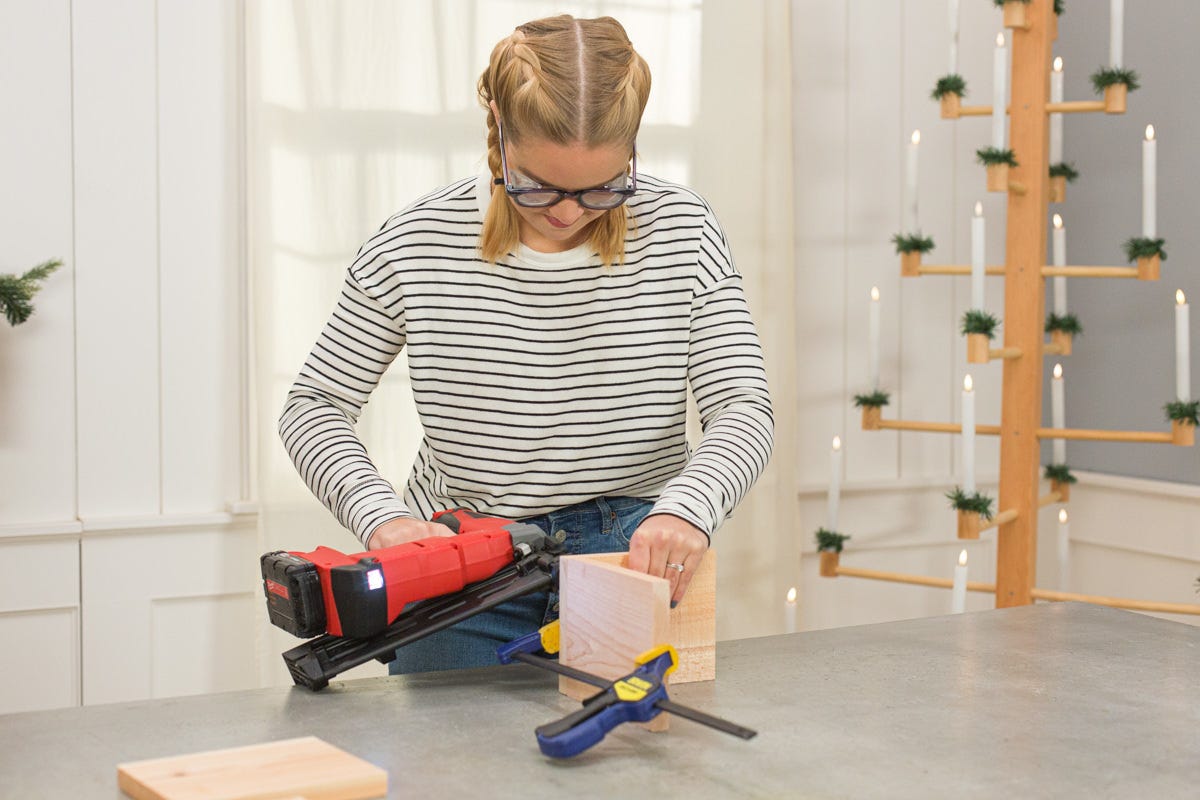
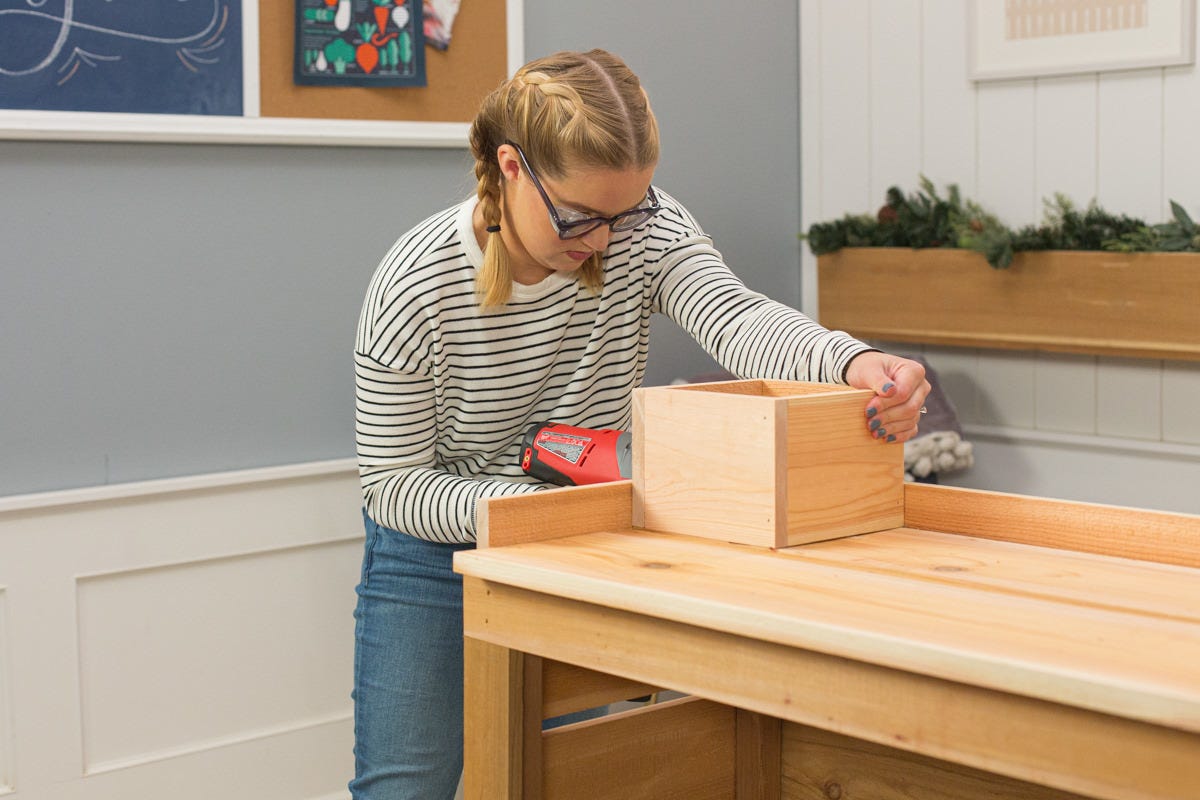
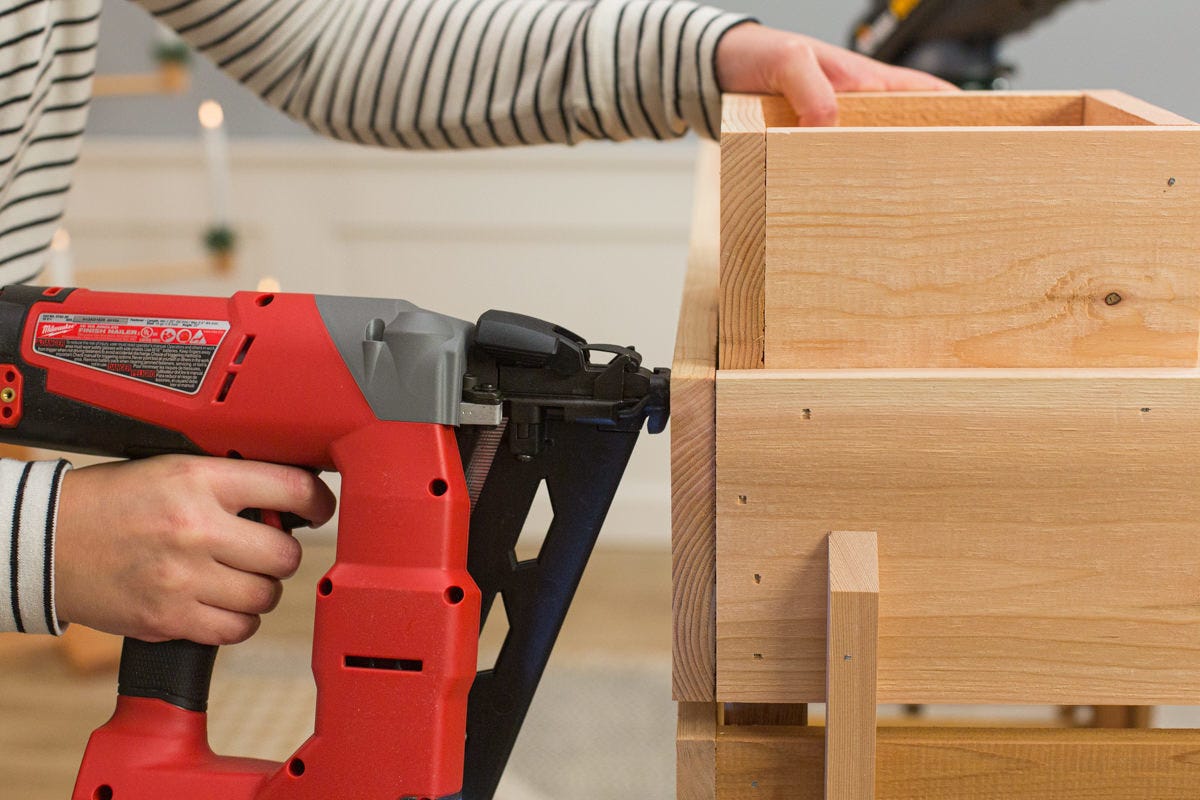
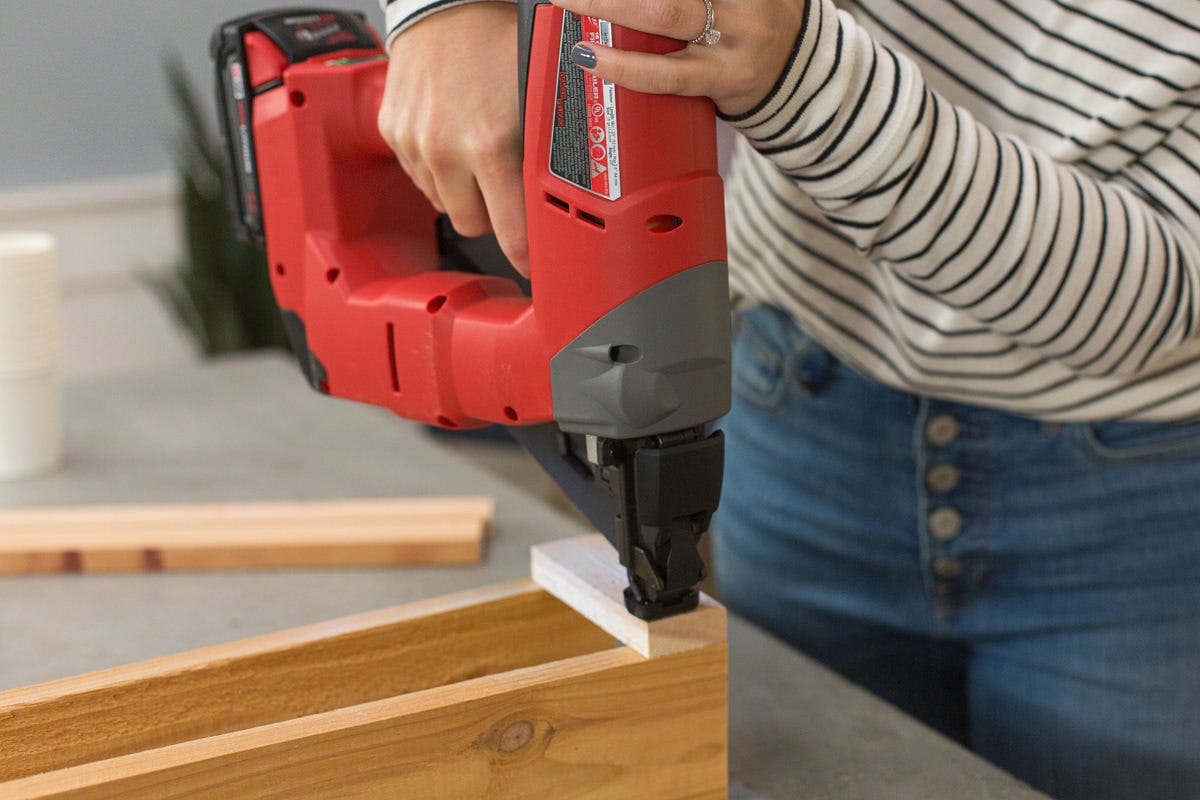
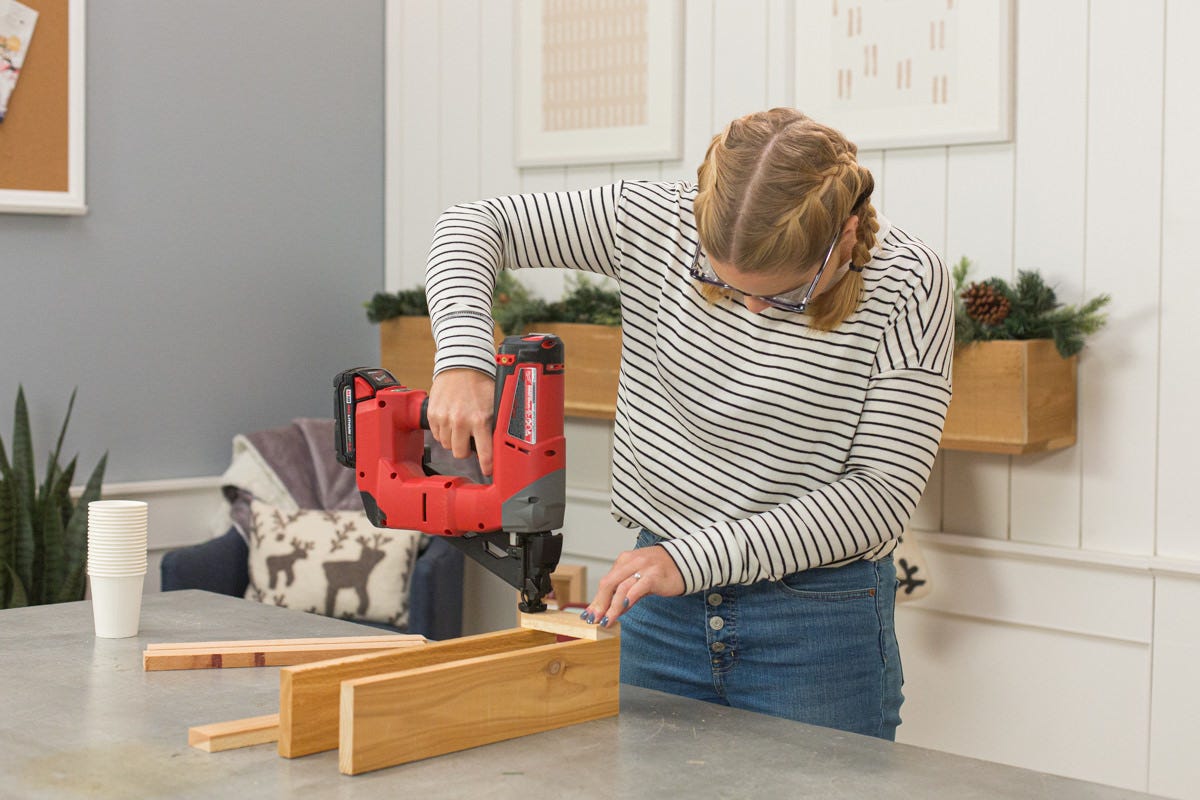
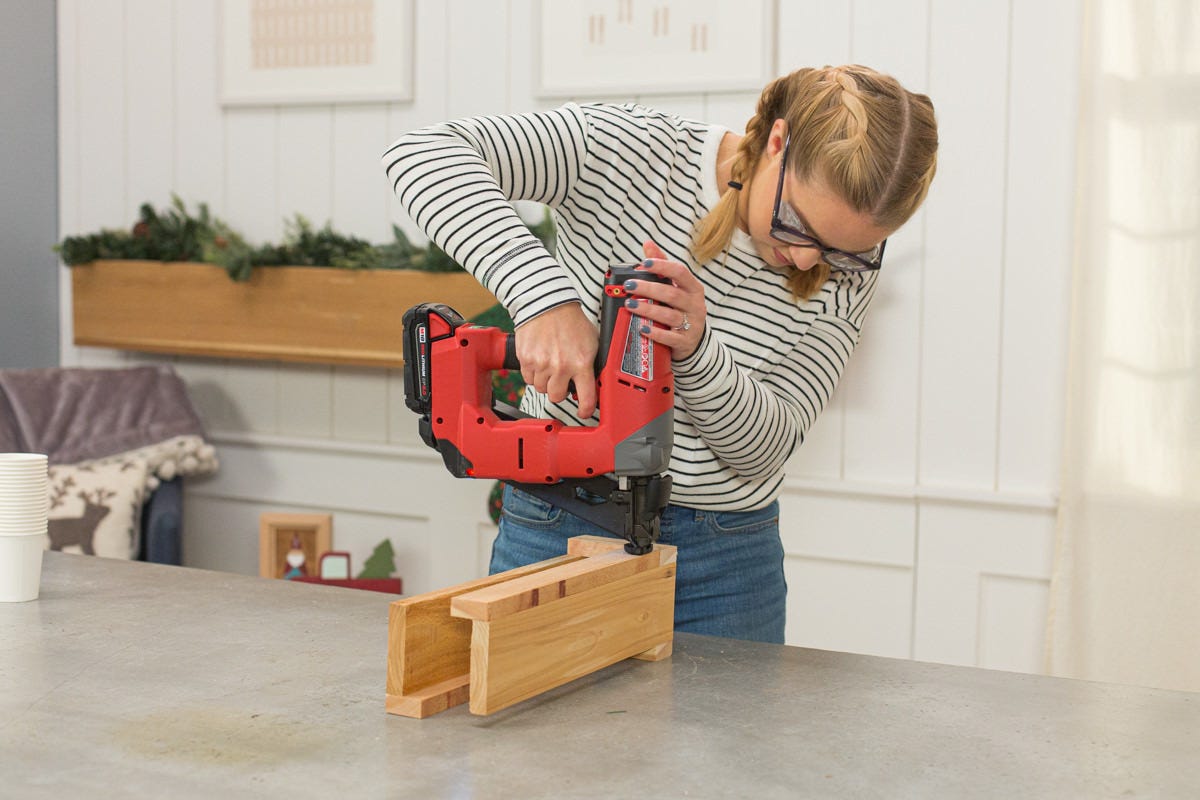
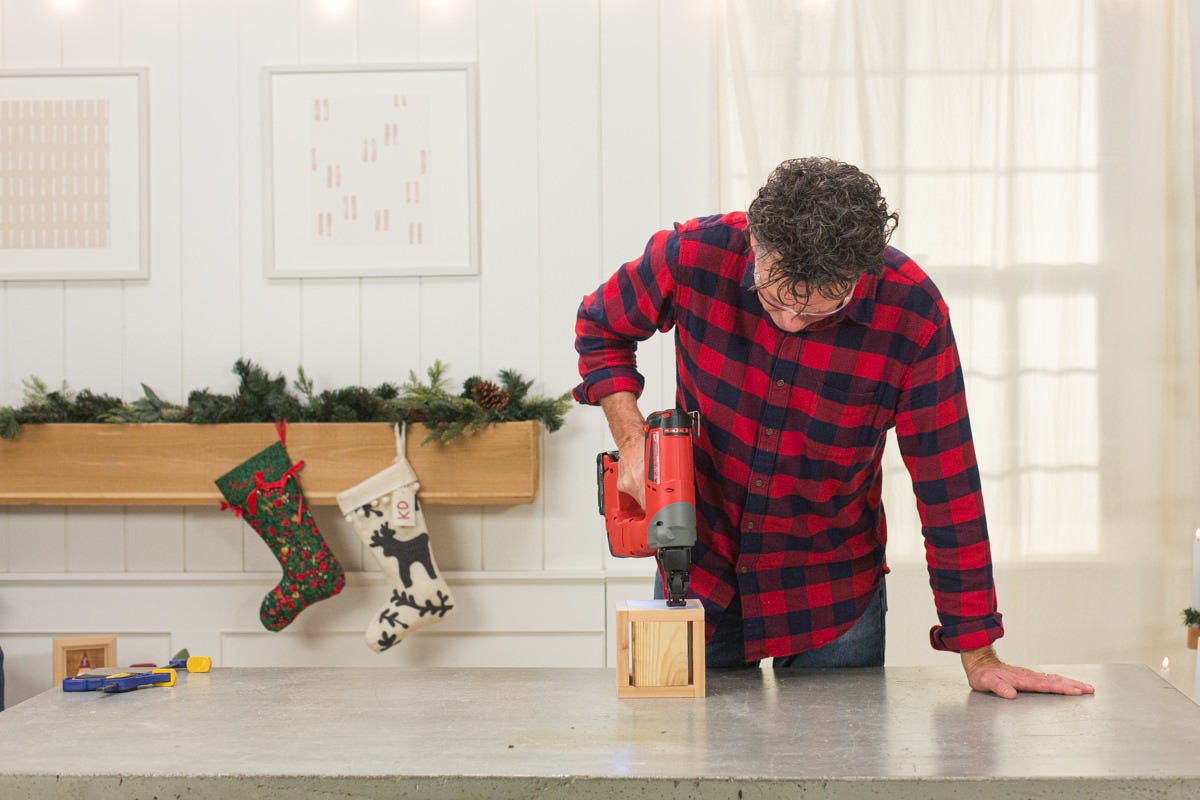
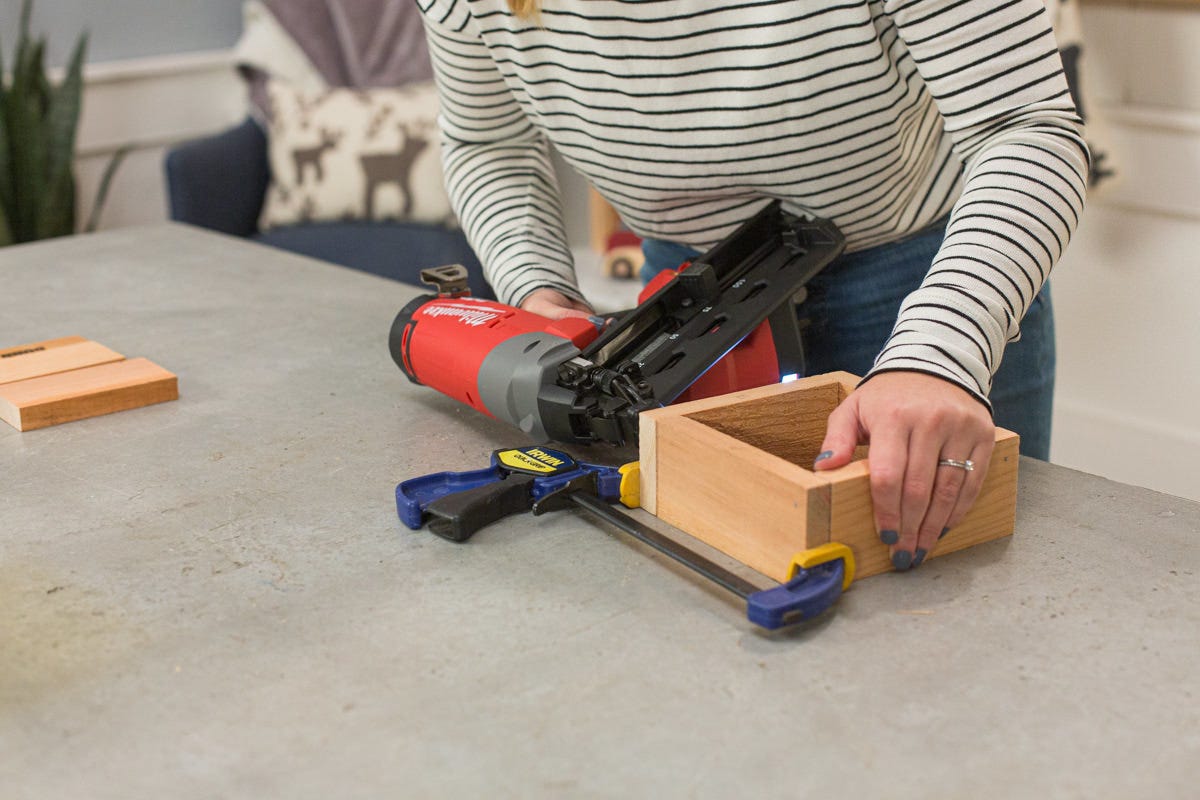
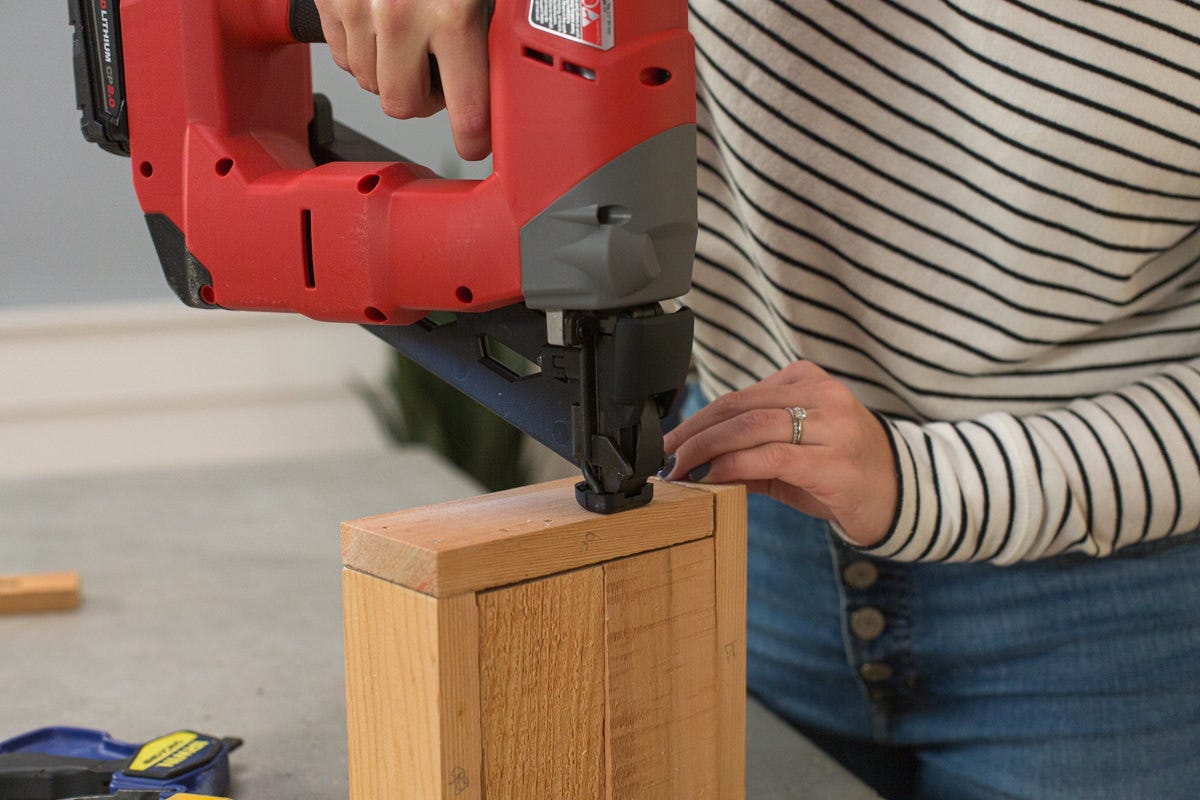
Note: From this step forward, we fastened virtually all of the remaining boards with a power nail gun. It's surprisingly easy to work with and after testing it on scrap lumber, we had enough confidence to go ahead and use it on this project. If you have access to a power nailer, it makes the job go very quickly. Of course you can use screws, or a hammer and nails and achieve the same result.

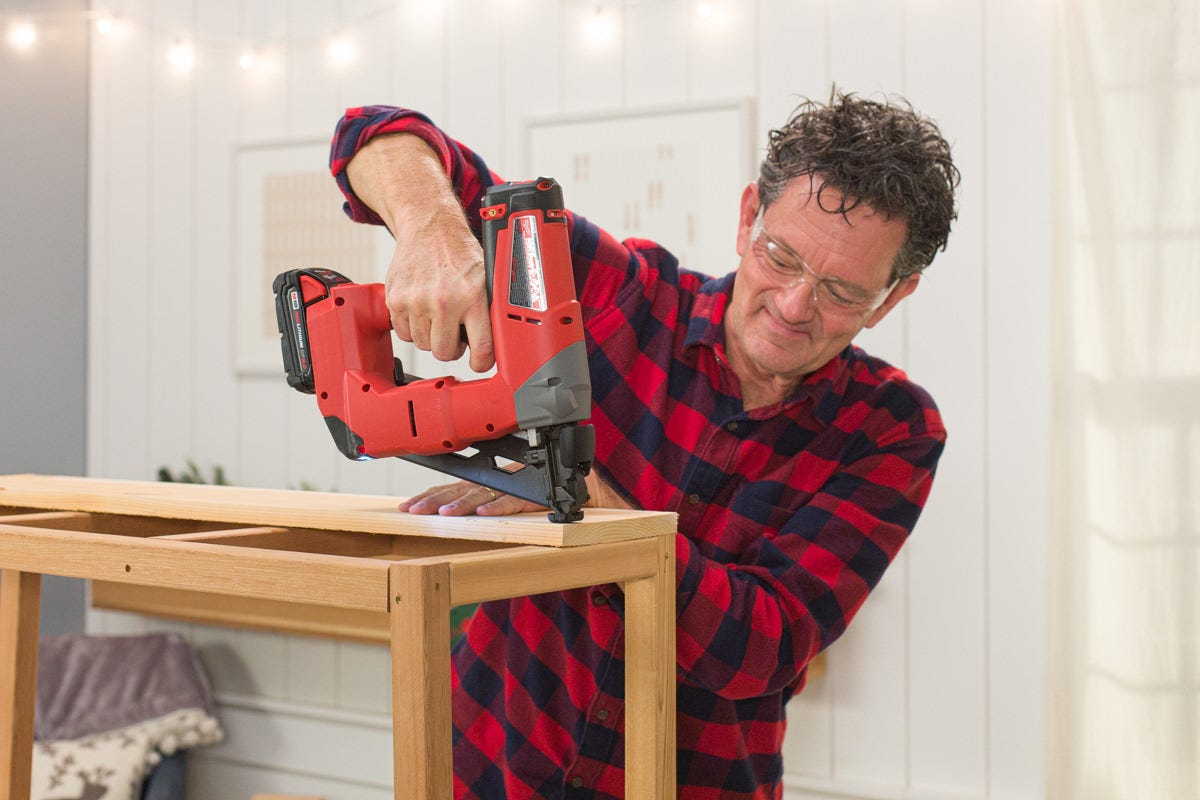


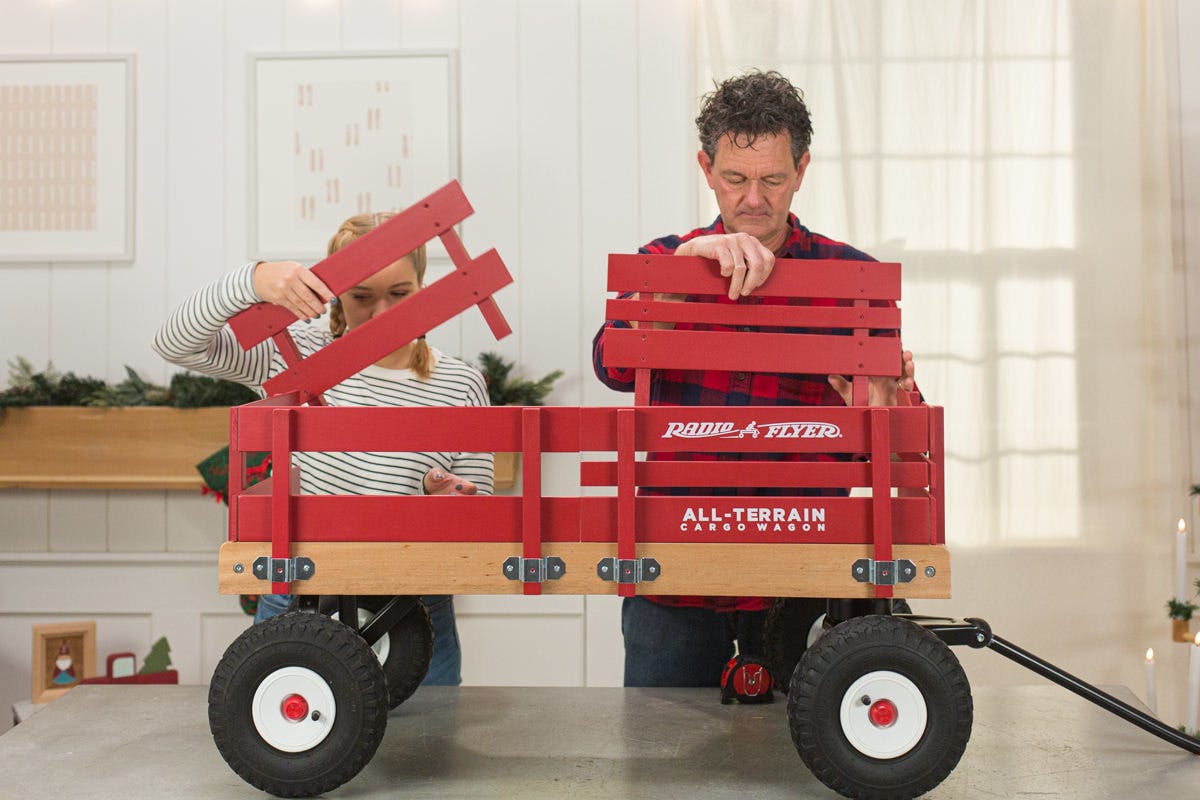
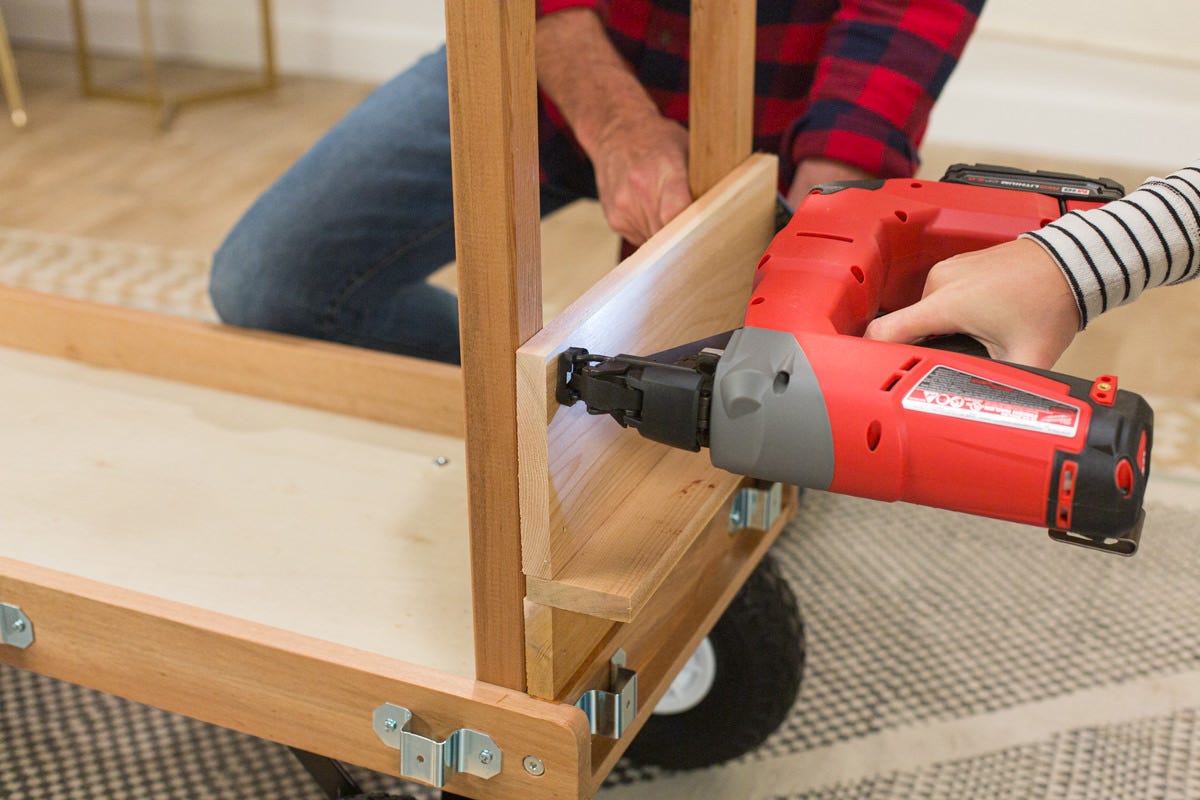
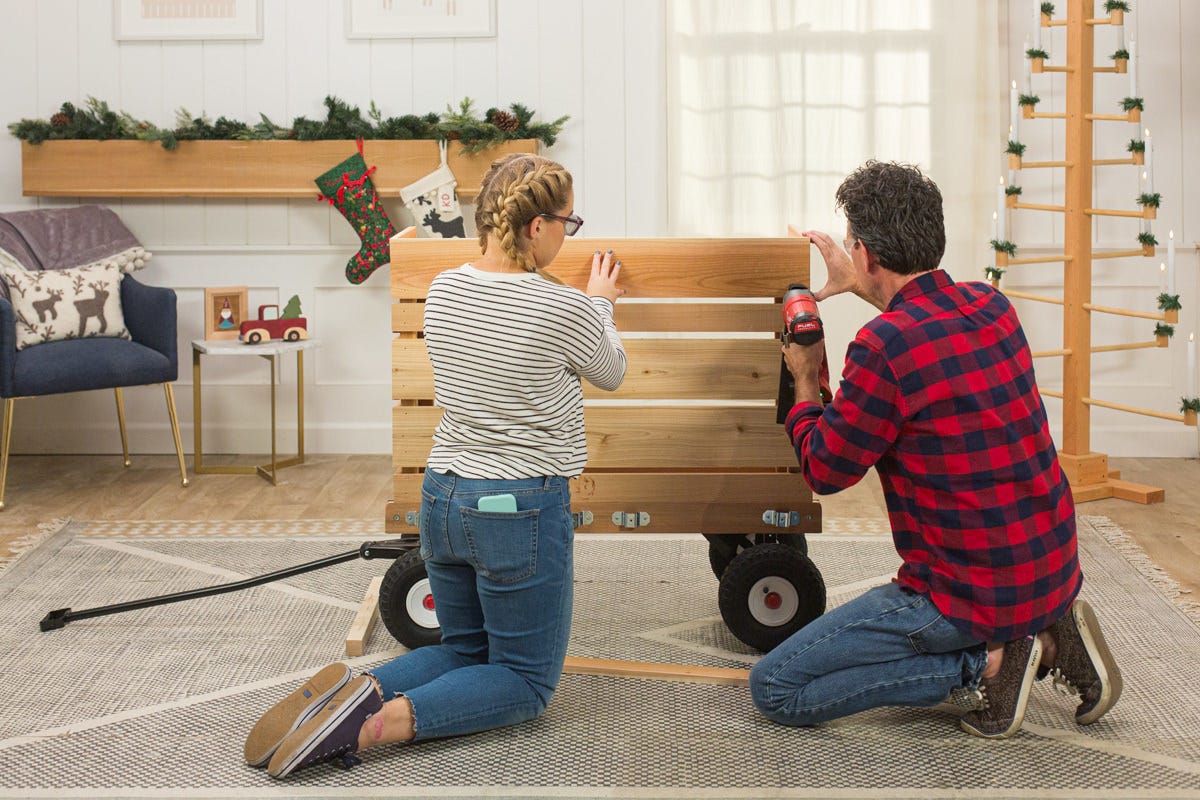
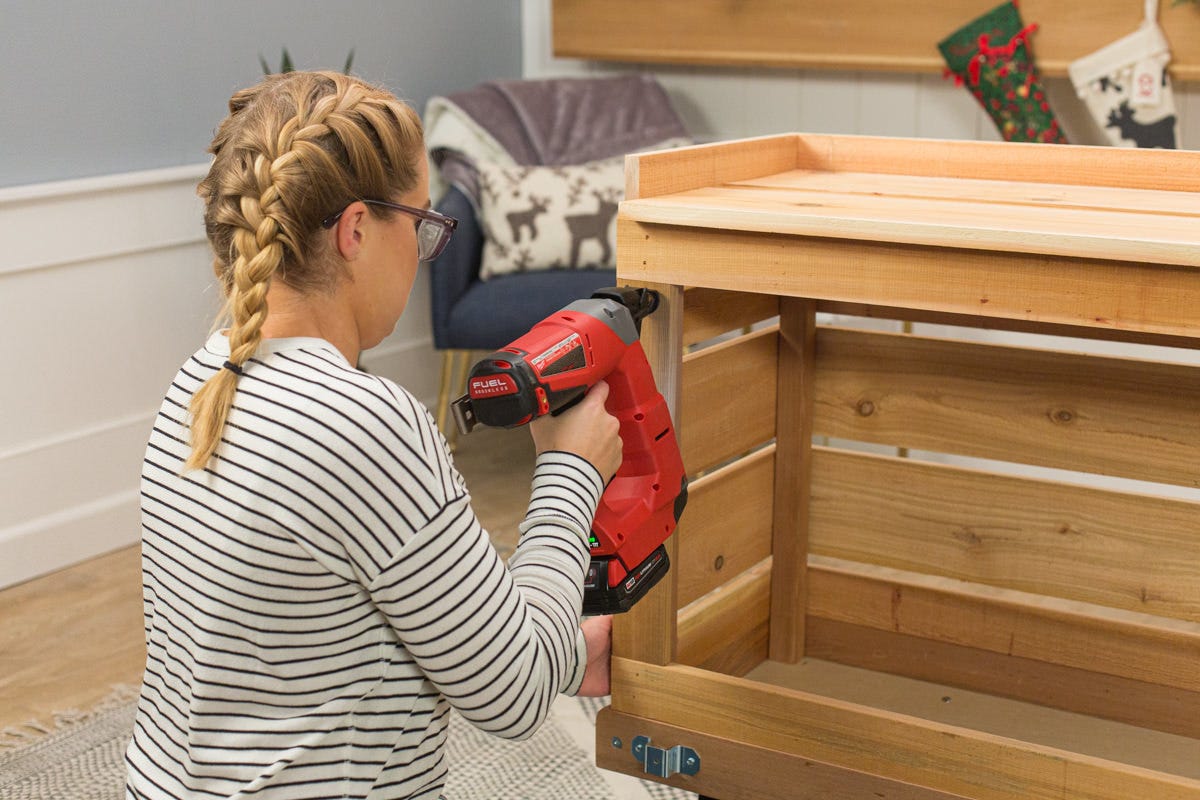
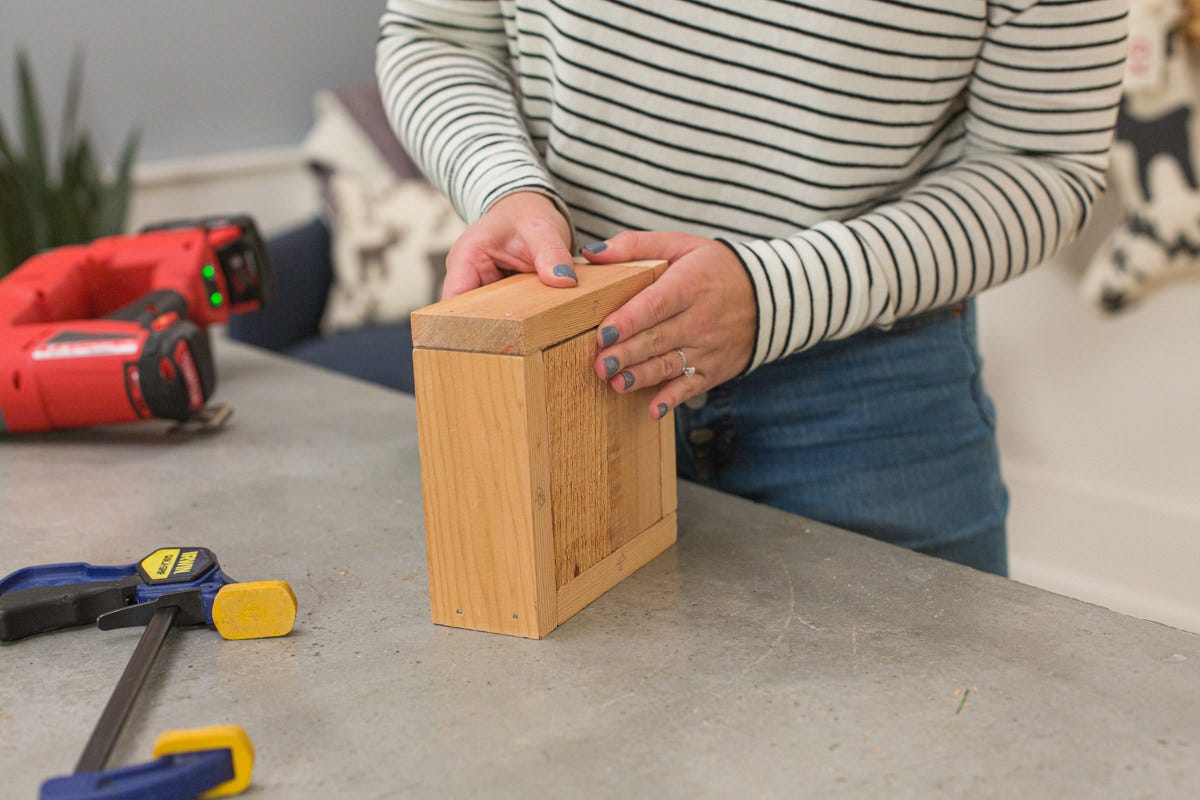
Step 4: Enclose three sides
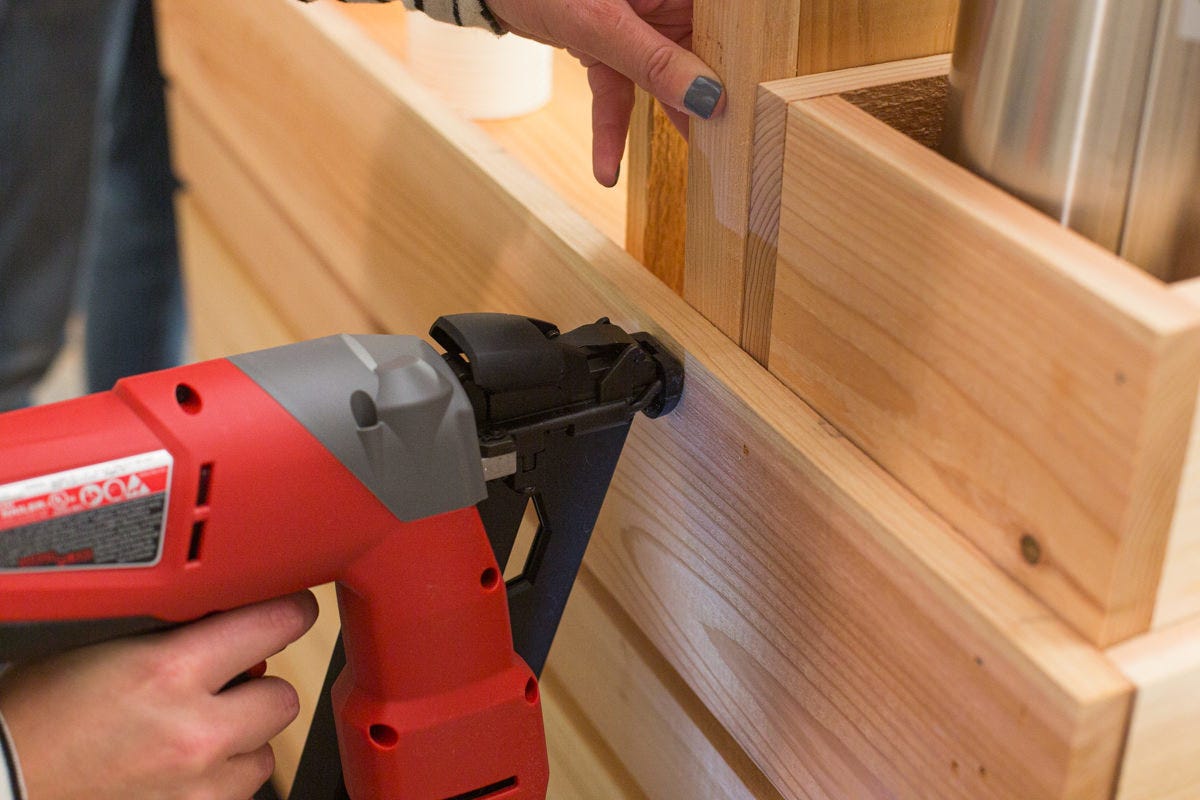
This cart will have three enclosed sides and one side left open. The open side will allow access to the wagon bed. We fastened boards to the ends first, then one long side. We used a pattern of one-by-three and one-by-six boards to enclose the sides with a ¾” gap between these boards—you can follow our lead, or come up with your own design. Our bottom board (a one-by-three) fit right on top of the wagon bed (no gap). Then our pattern continued: one-by-six, gap, one-by-six, gap, one-by-three, gap, and one more one-by-six. Note that the uppermost one-by-six will rise above the worktop and create a lip. A ¾” thick piece of scrap lumber can help to gap the end boards consistently. Then, line up the long, side boards with the boards at either end for the cleanest look.


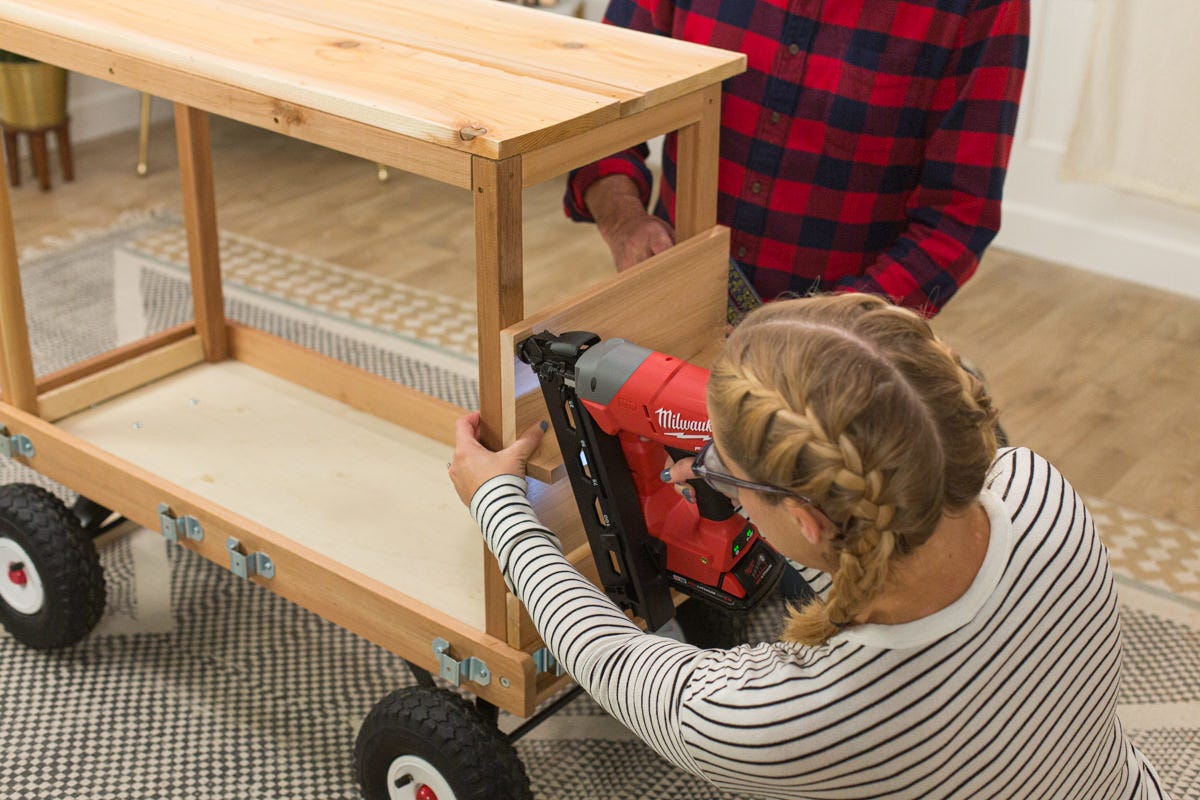
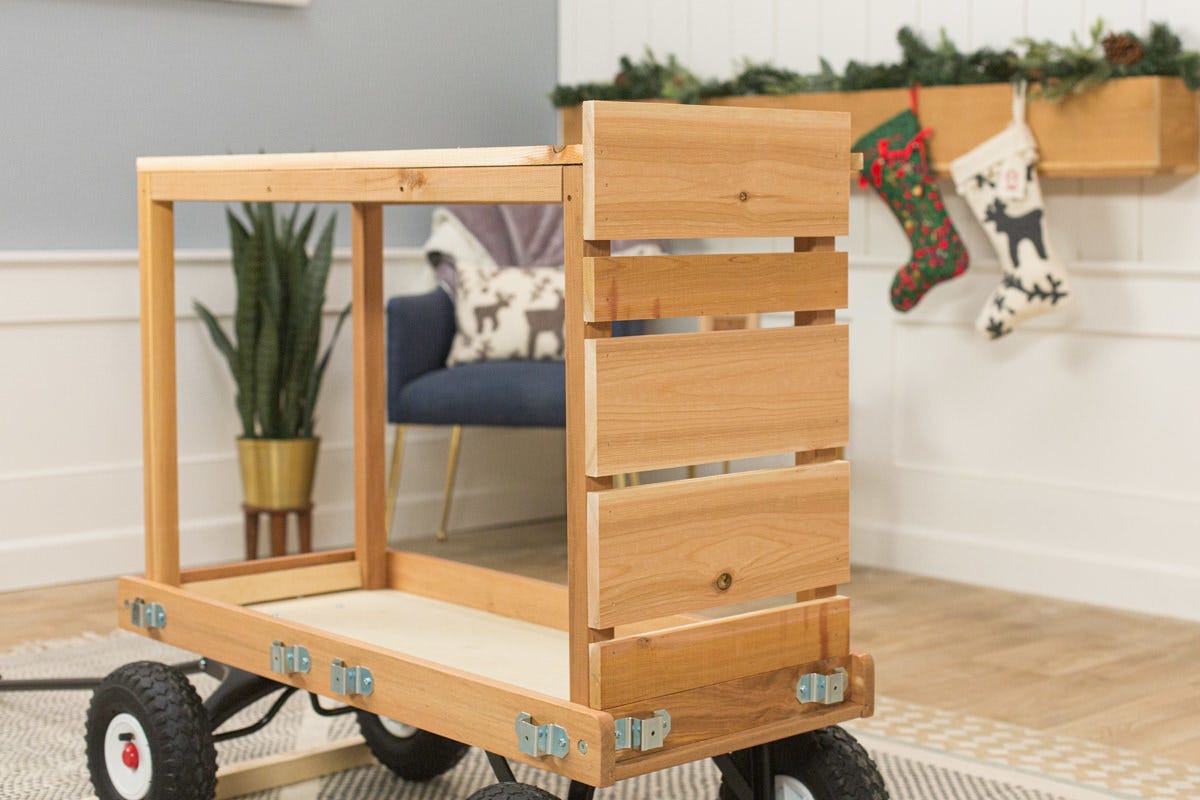


Step 5: Frame the open side
We framed the opening of the cart with four one-by-threes. This is optional, but gives a clean look. Using two pieces 38-½” long, attach one piece horizontally just above the wagon’s bed, and the other one just underneath the overhang of the work surface. Now, cut two shorter pieces to 16 3/4" so they fit at the left and right sides and complete the framed opening.

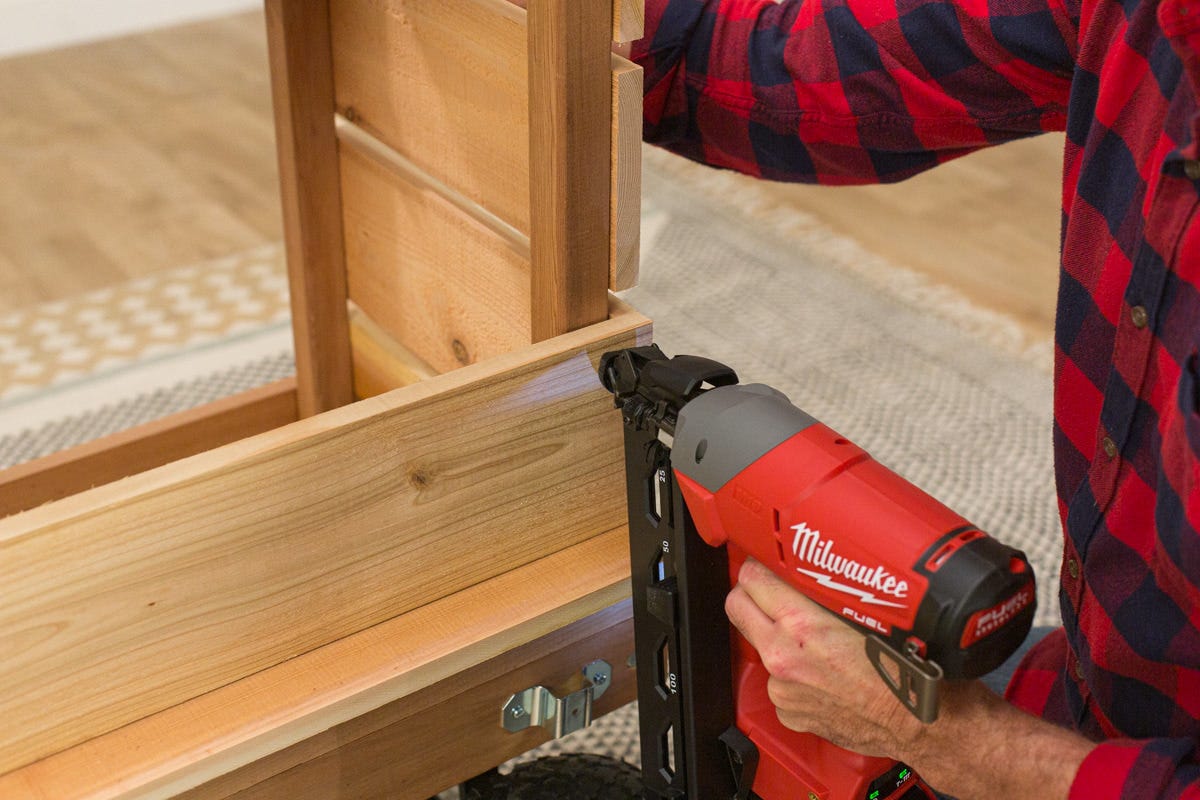
Step 6: Secure superstructure to wagon
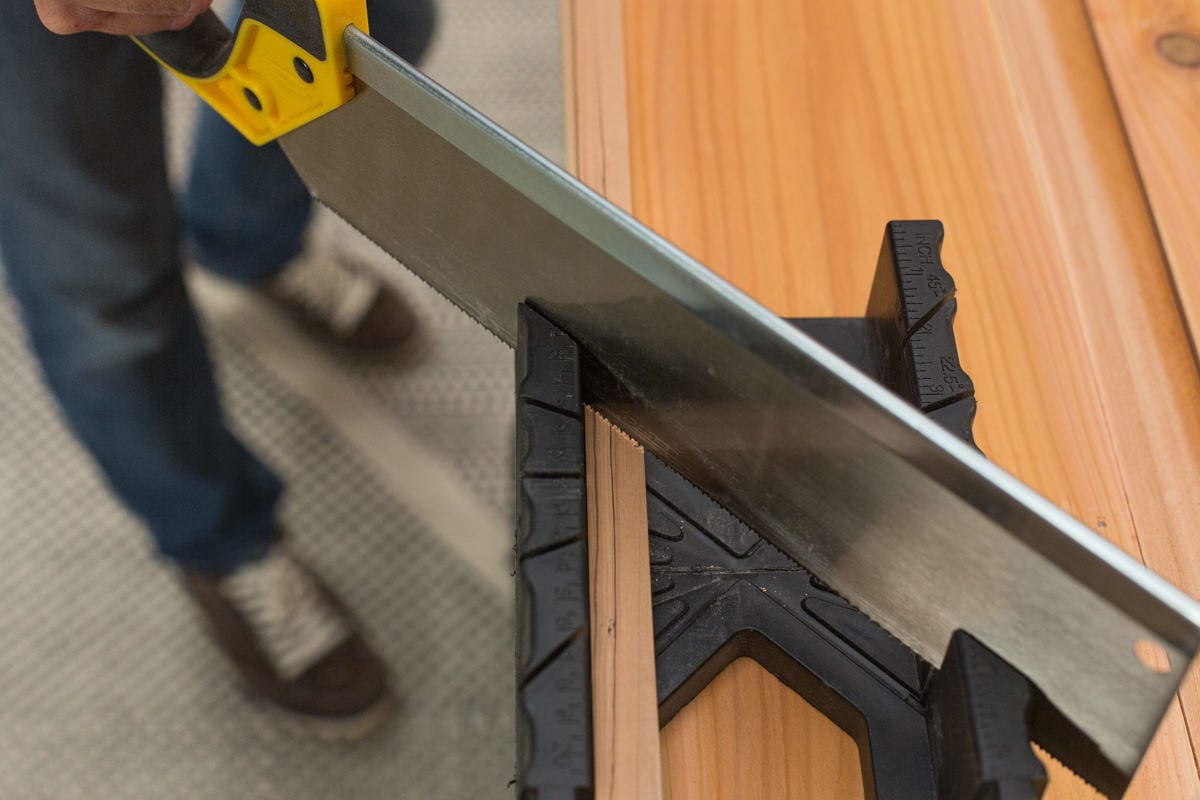
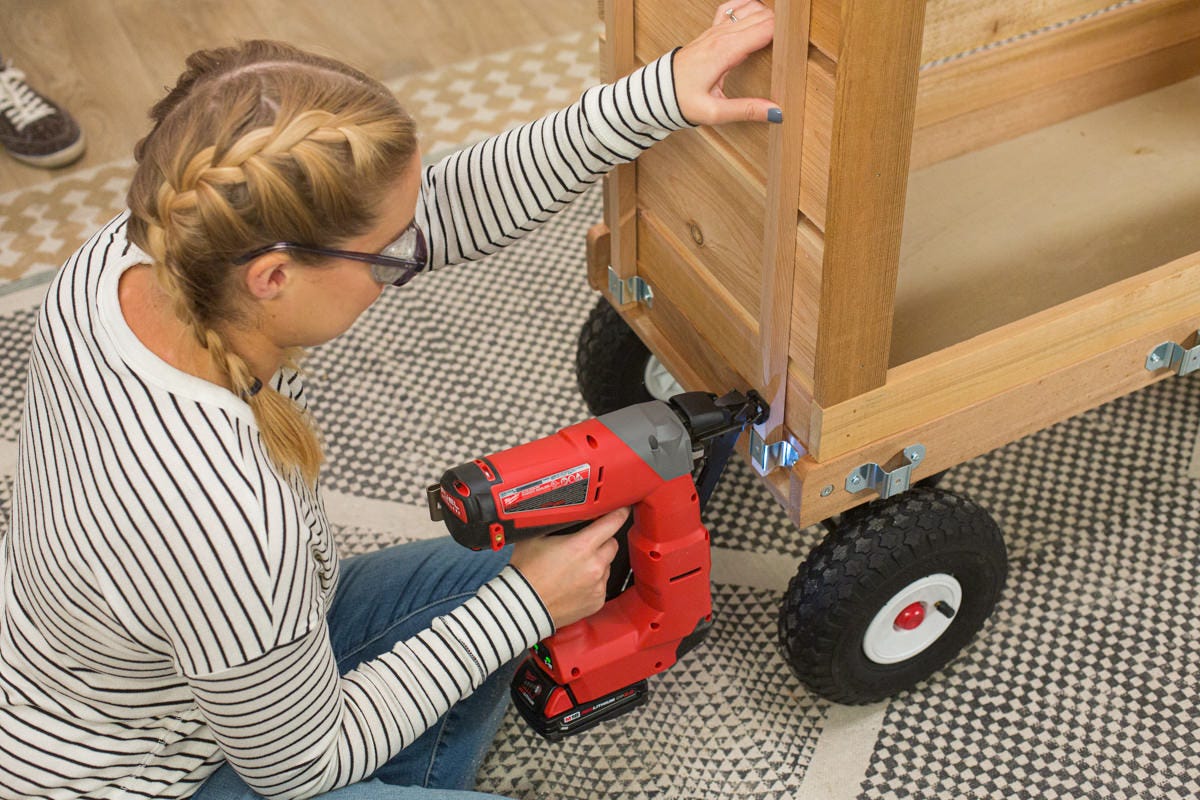
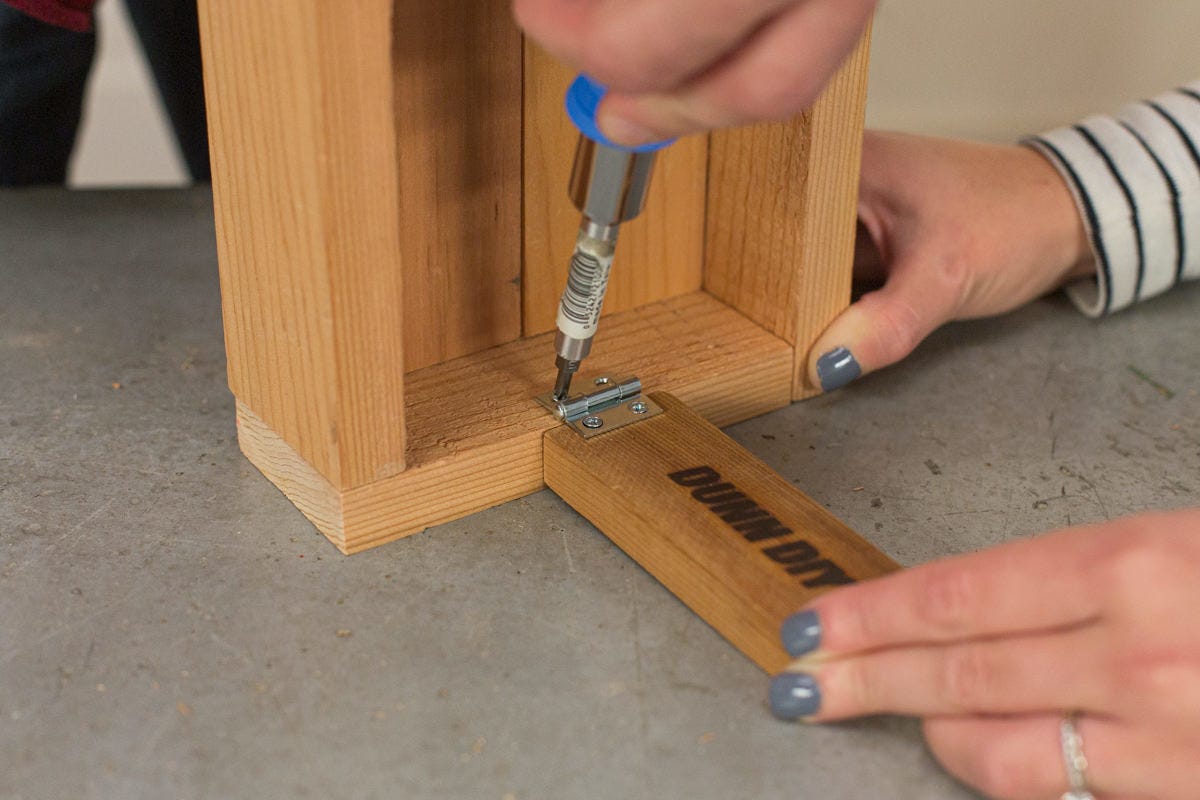
The superstructure you’ve built is likely pretty secure in the wagon, but for extra measure we anchored the short ends to the wagon bed. We cut four 24” long pieces of ¾” square moulding. Using a miter box, we put a 45-degree angle on the top end to add visual interest. The square moulding slips into the brackets on the outside of the ends of the wagon and runs up the sides. We put the moulding in the bracket first, then fastened the upper part of the moulding to the boards that enclose the ends of the wagon.

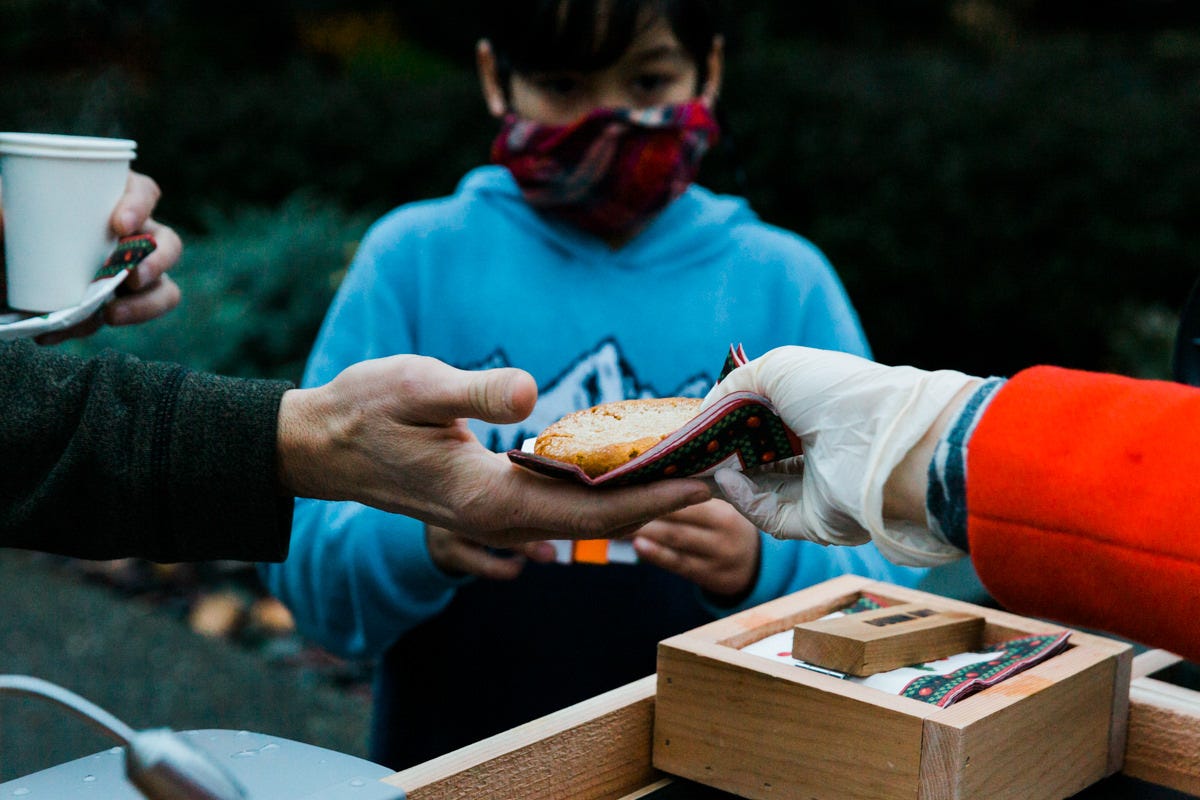
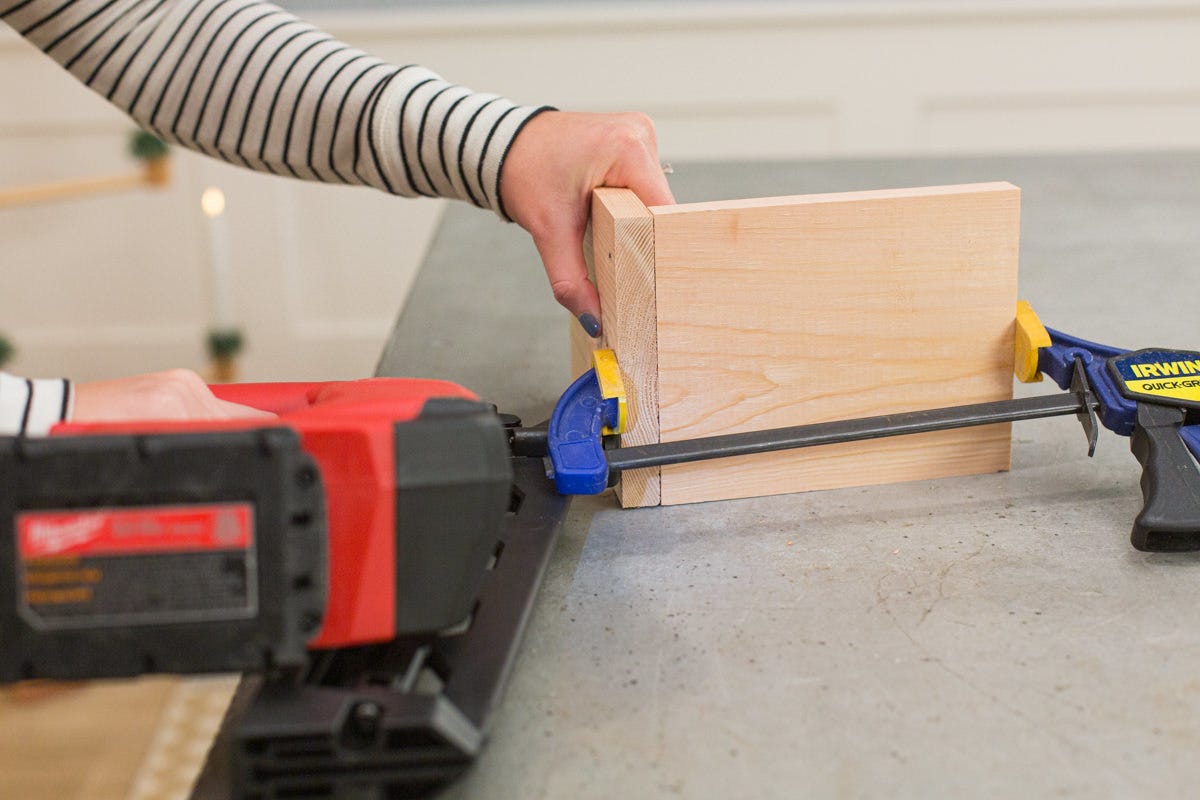
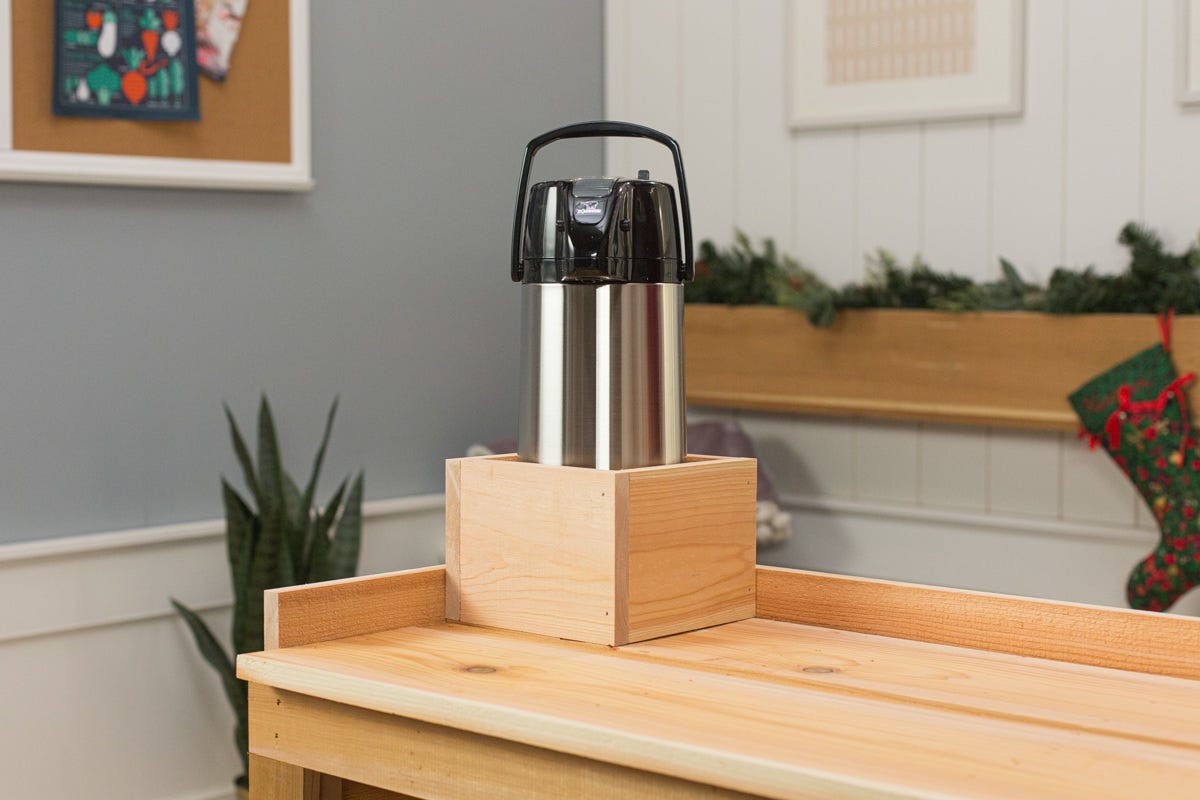
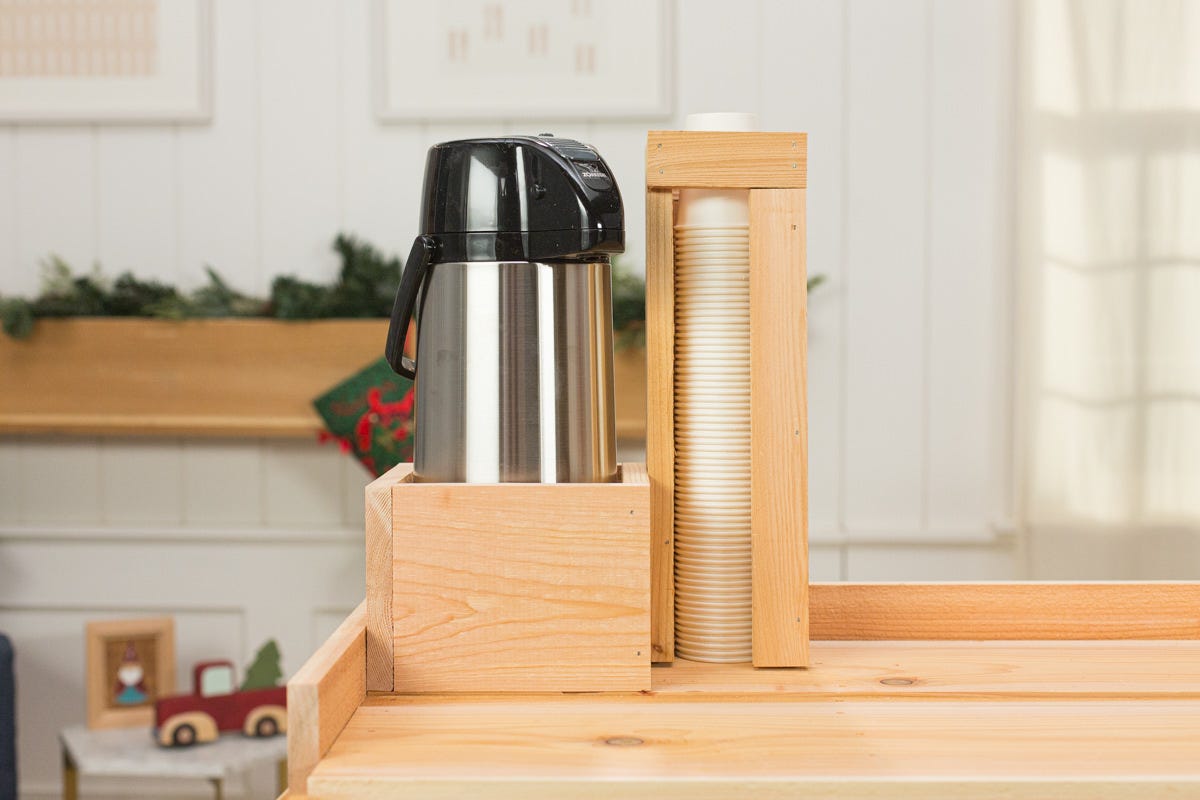
Step 7: Add a drink dispenser
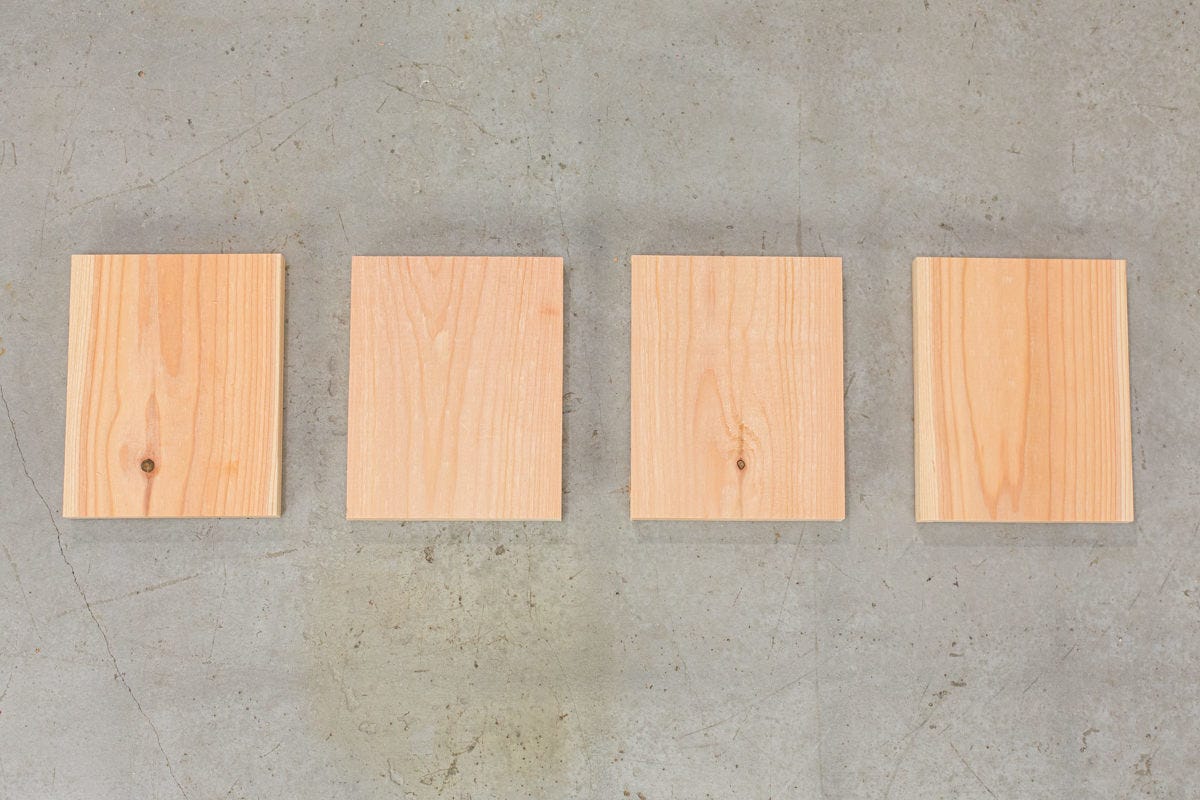
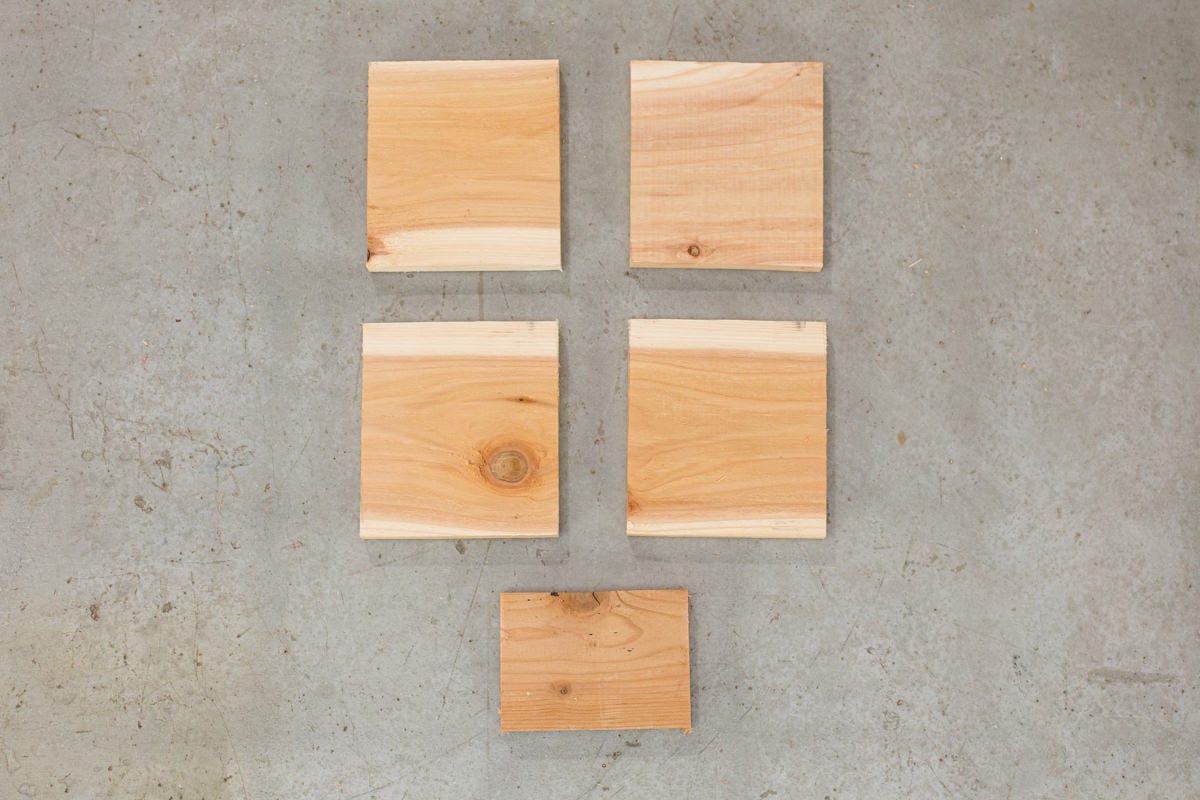
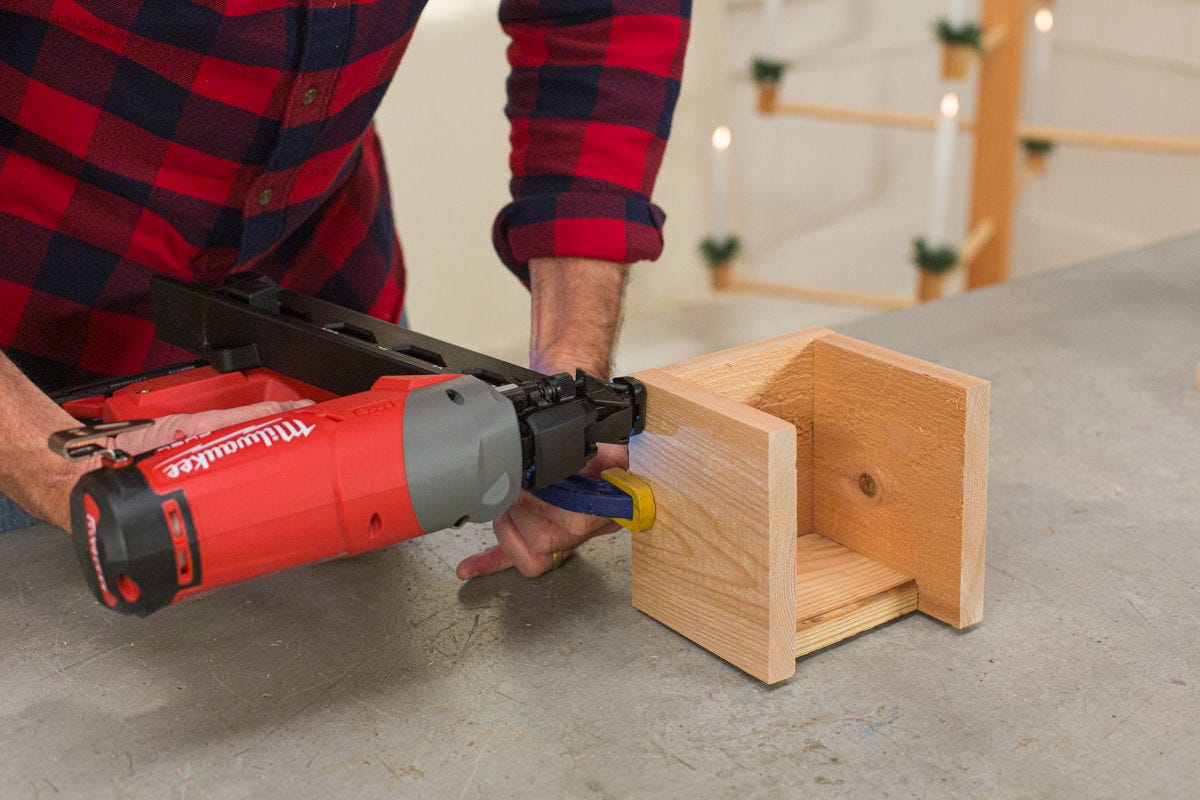
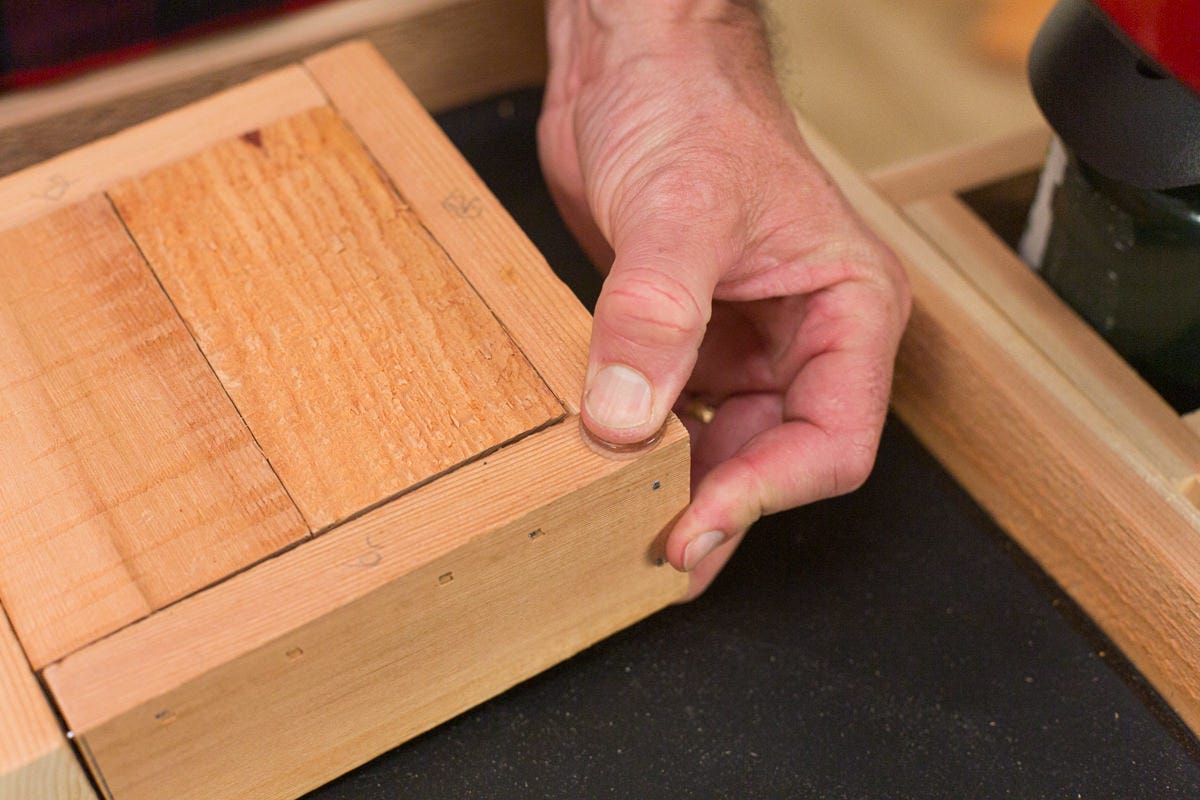
A drink dispenser is a great addition to your outdoor serving cart to keep beverages hot for your friends, your neighbors, and yourself. To make sure the drink dispenser doesn’t end up falling off your cart when you’re going up a steep driveway, it’s important to have a secure holder. This build is super simple. If you’re working with the same dispenser we are, feel free to copy our measurements. Otherwise, you’ll want to measure your drink dispenser and adjust accordingly. We’re trying to get as snug a fit as possible. We cut a one-by-six into four pieces that are 6 ⅞” long. These pieces then get secured together in an overlapping spiral pattern to form a square. We secured our pieces with a nail gun, but you can use a hammer and nails, screws, or even glue.
We then secured the box in the corner of the cart by driving nails in through the backsplash. Now you’re all set to serve hot drinks to friends and family!


Step 8: Make a cup holder
Now that you have a drink dispenser, you need a place to store cups! Instead of buying a plastic cup holder on the internet, we decided to design our own custom wood version. To make for a less bulky design, we opted to use one-by-fours instead of one-by-sixes. This means that the cup holder is a little narrow, designed specifically to house these 6-ounce cups.
Cut two 15” lengths out of a one-by-four board. Using the leftover one-by-two from the countertop, cut two pieces to 13 ⅜”, and two pieces to 4 ½”. Lay out the one-by-four pieces next to each other on edge. Position the short one-by-two pieces across the top edges and secure in place on either side. Then place one longer one-by-two down the length of the right one-by-four and secure. Flip the drink holder over and repeat with the remaining one-by-two. These pieces will act as guards to hold the cups in place, while still leaving an opening to access the cups at the bottom of the stack. Secure the cup holder on the cart next to the drink holder so that the openings face the “bartender” and the guests.


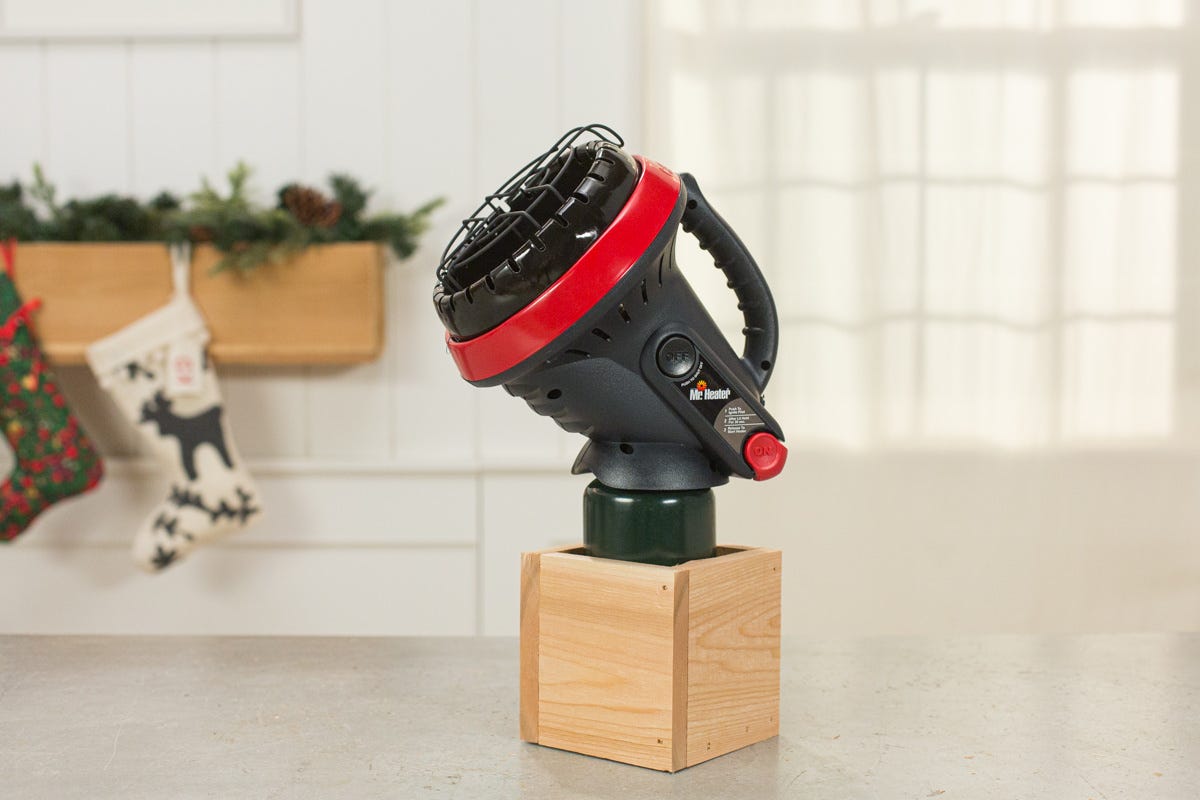
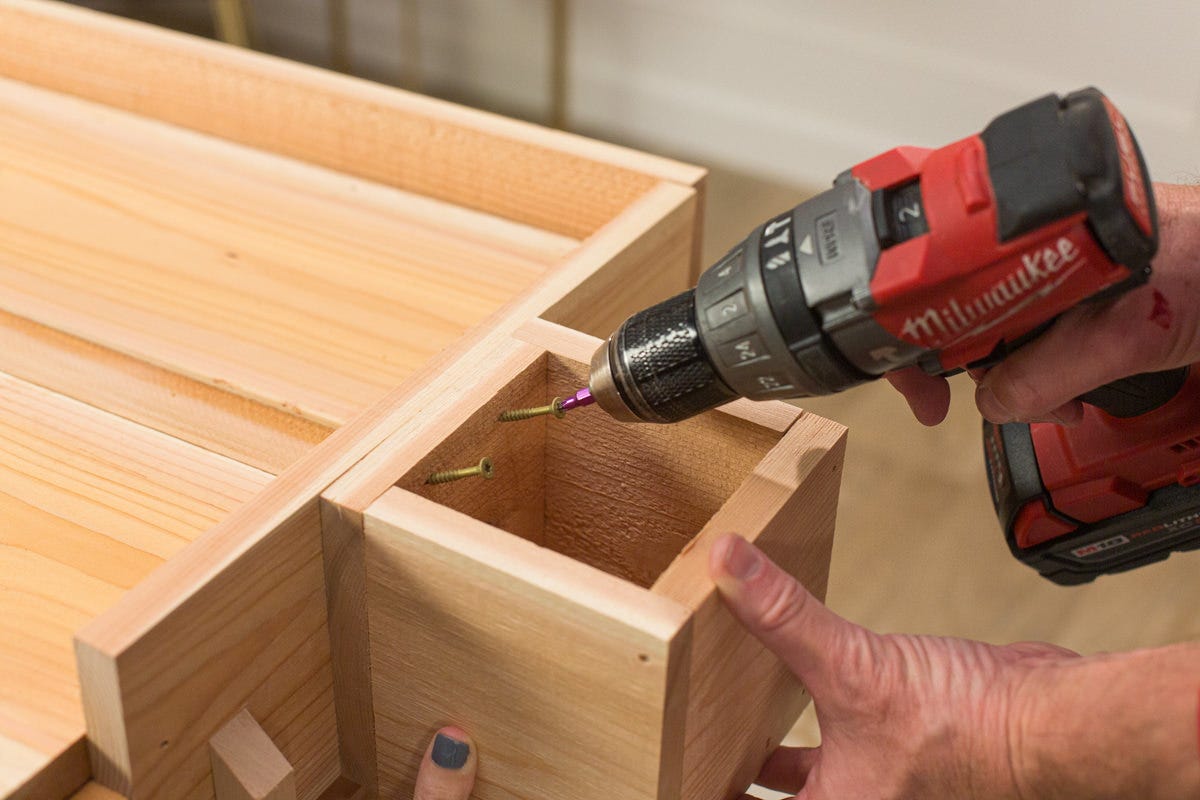
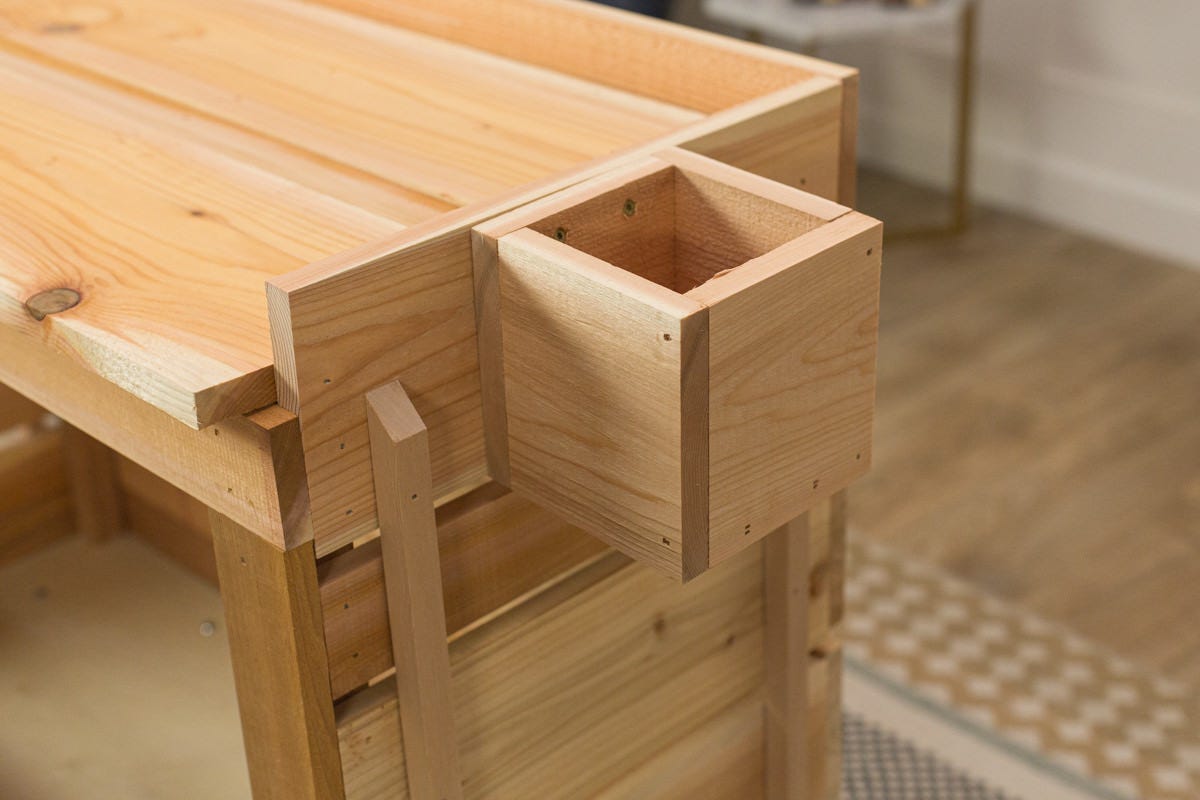
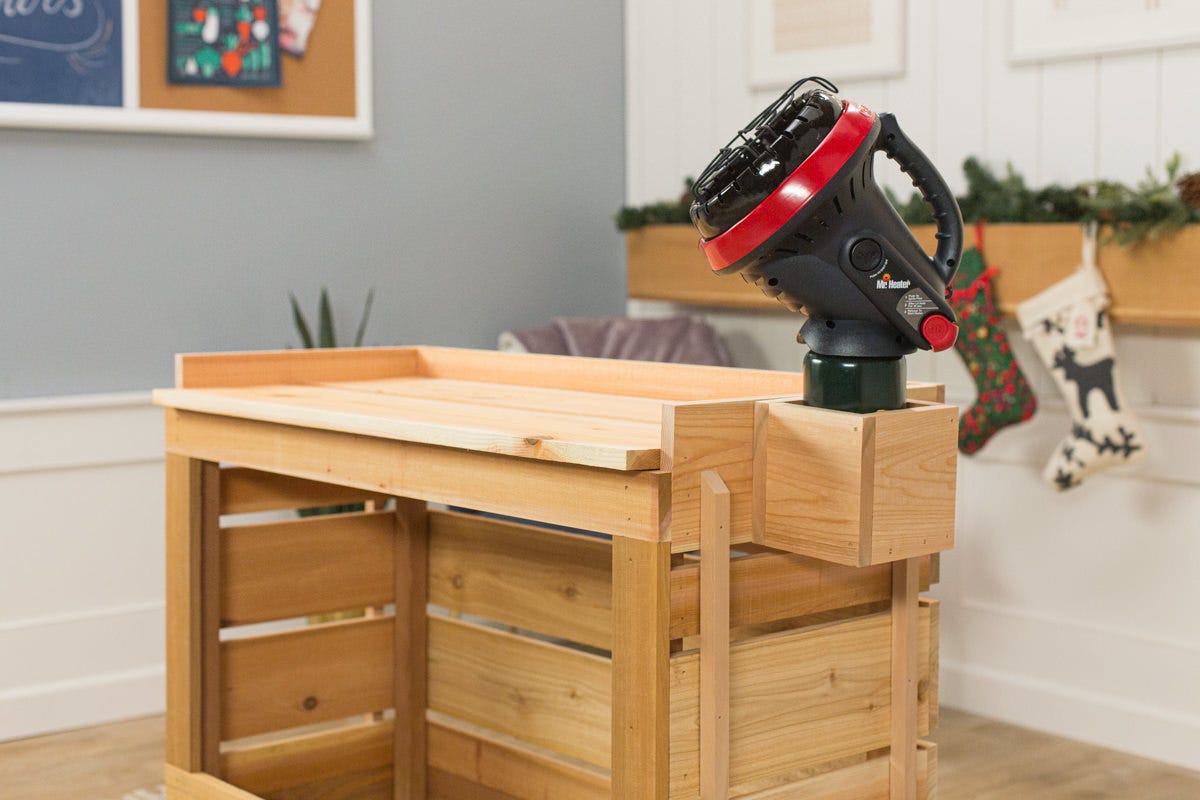
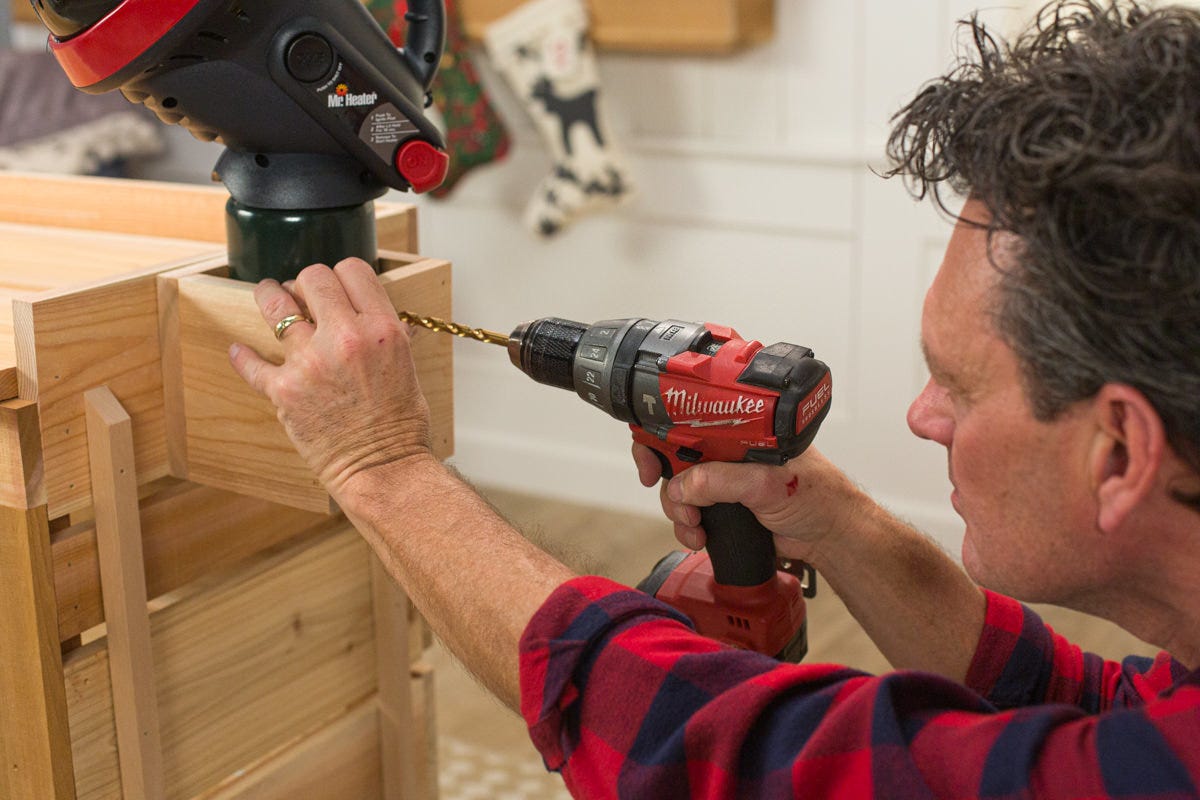
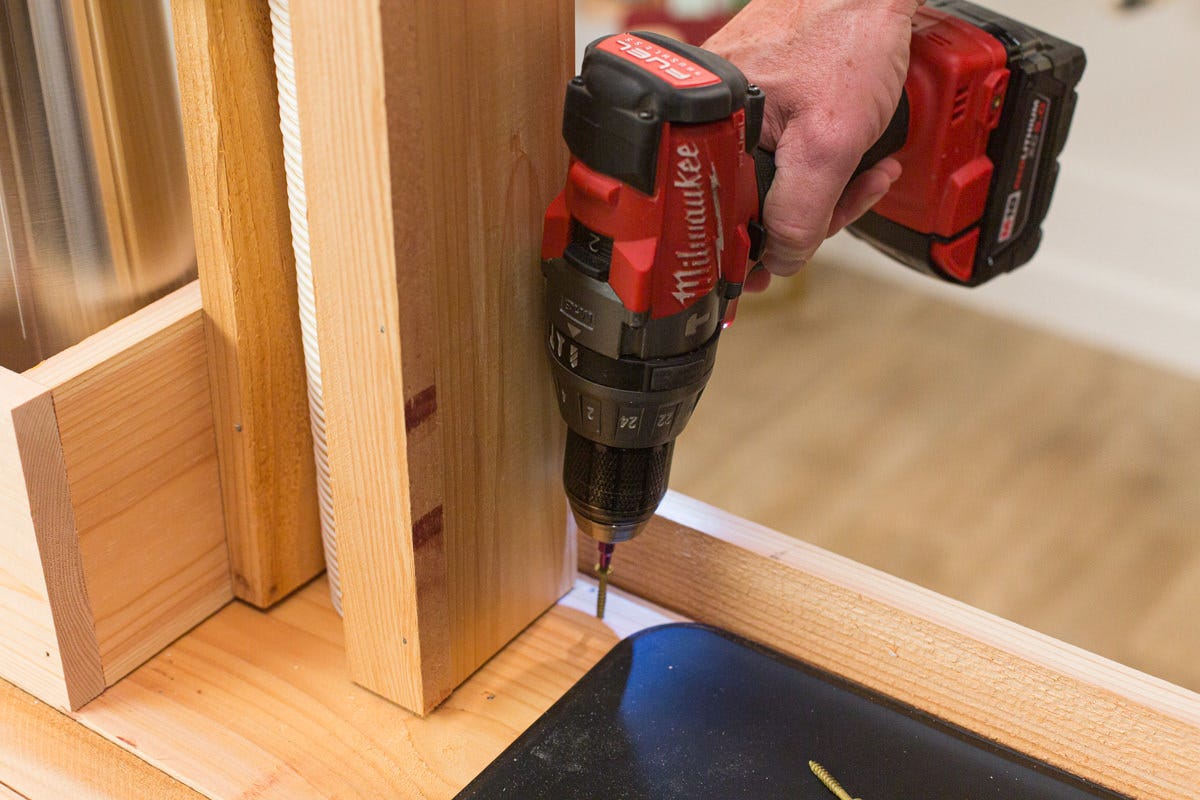
Step 9: Build a secure holder for a heater
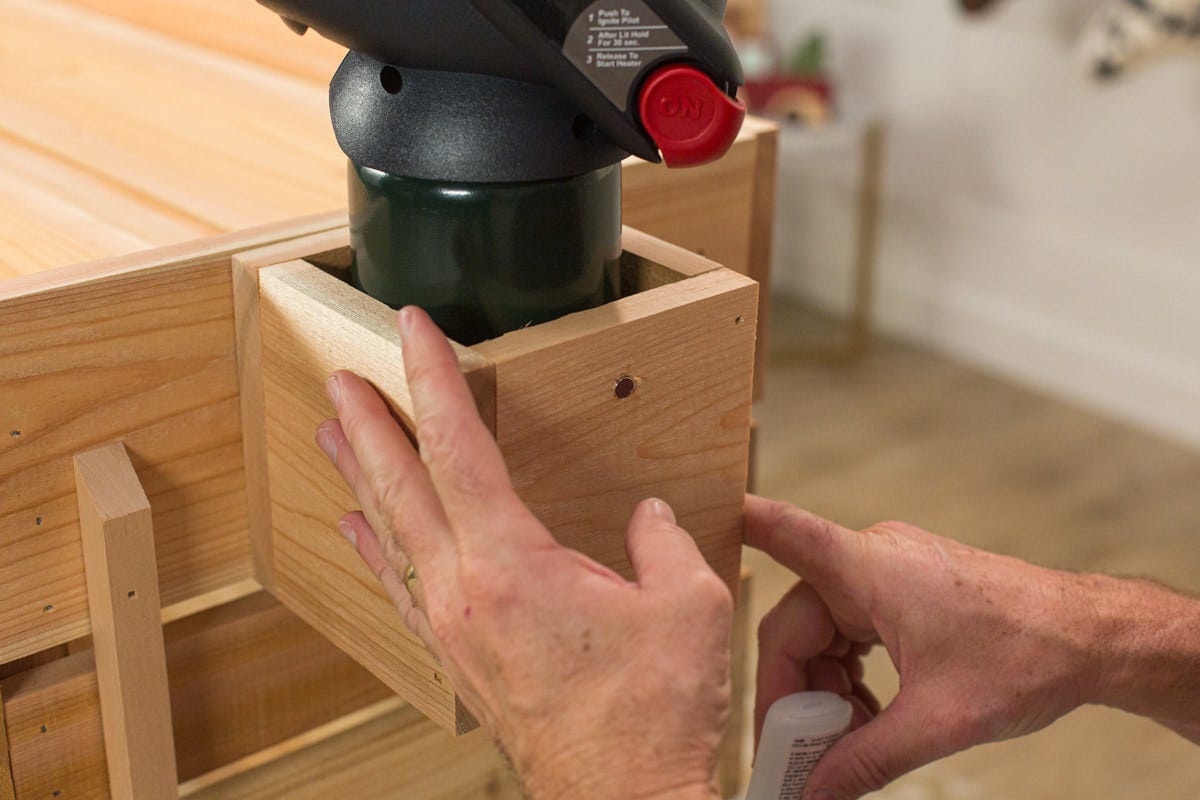
Small propane heaters that attach to the top of a fuel canister are great for keeping you warm. We built a simple box out of a one-by-six (with an inside dimension of 4”), which is the perfect size to fit a propane canister. Cut four pieces 4 ¾” long and screw or nail together. Then fasten a 4” long piece of one-by-four between the sides at the bottom. We mounted this to the outside of the towing end of the wagon with two 1 ½” screws at the top and another screw fastened from inside the cart into the lower side of the holder. A propane heater fits in the square holder to keep those around the wagon warm.
Bonus: On the front of this box, we glued a magnet in place to keep the wagon’s handle upright when not in use. To do this, drill a shallow hole with a 5/16” drill bit. Add glue into the hole and press in a magnet. Use a scrap piece of wood and a hammer to get the magnet flush with the wood (using the hammer head by itself will just pull the magnet out of the hole).


Step 10: Make a napkin holder
Using one-by-threes, we built a simple box with an inside dimension of 5”, the perfect size to fit cocktail napkins. Cut four pieces of one-by-three to 5-¾” and build a simple square. Then, cut and fasten two 5” lengths inside the square at the bottom. To keep napkins from blowing away, we attached a short length of one-by-two with a small hinge to the top of the box frame to weigh them down.
Because napkins can get wet and soggy in the rain, we decided not to secure this to the top of the cart, but instead added rubber feet to keep it from sliding around. This, on top of the rubber mat we used, worked great!


Step 11: Extra accessories take your serving cart above and beyond!
Stay clean. A silicone mat on top of the cart will protect the wood from spills and keep things from sliding around.

Keep things toasty. A cordless hot plate fits nicely into the bed of the wagon to keep cookies and other best-when-warm goodies heated. This warming tray heats up in eight minutes and stays warm for up to an hour!

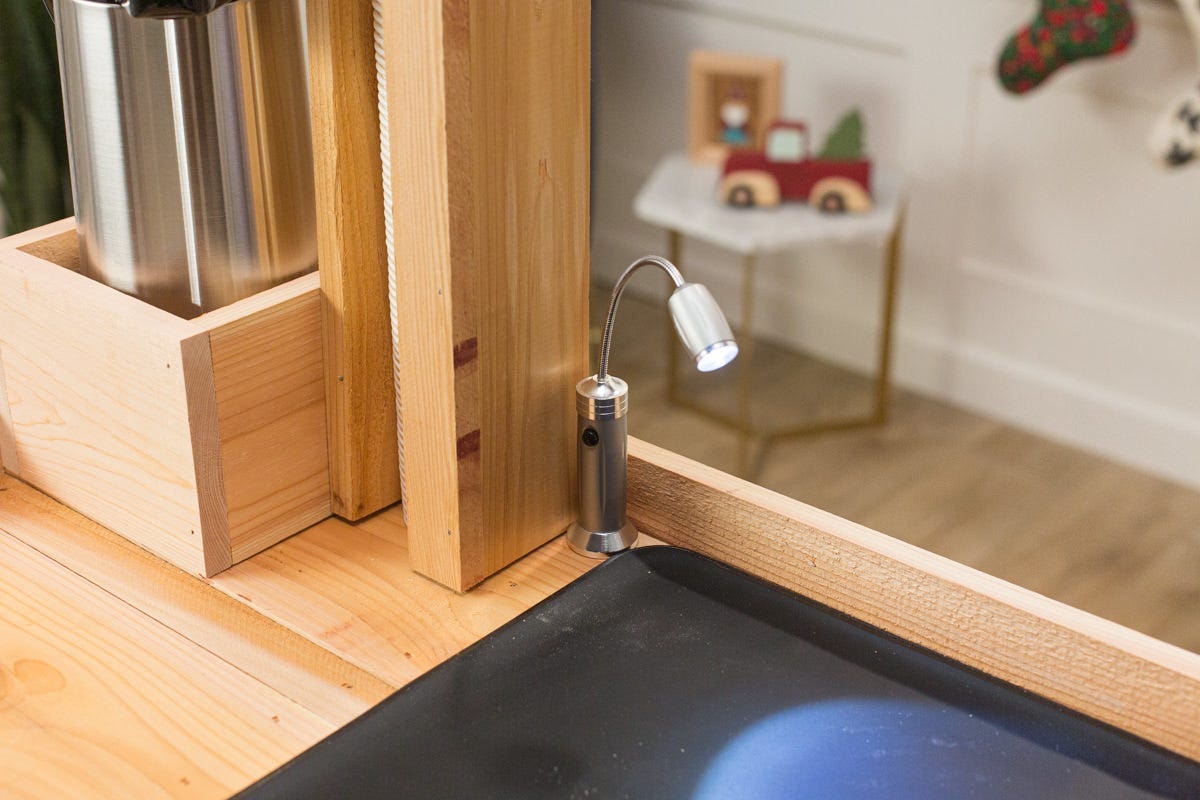
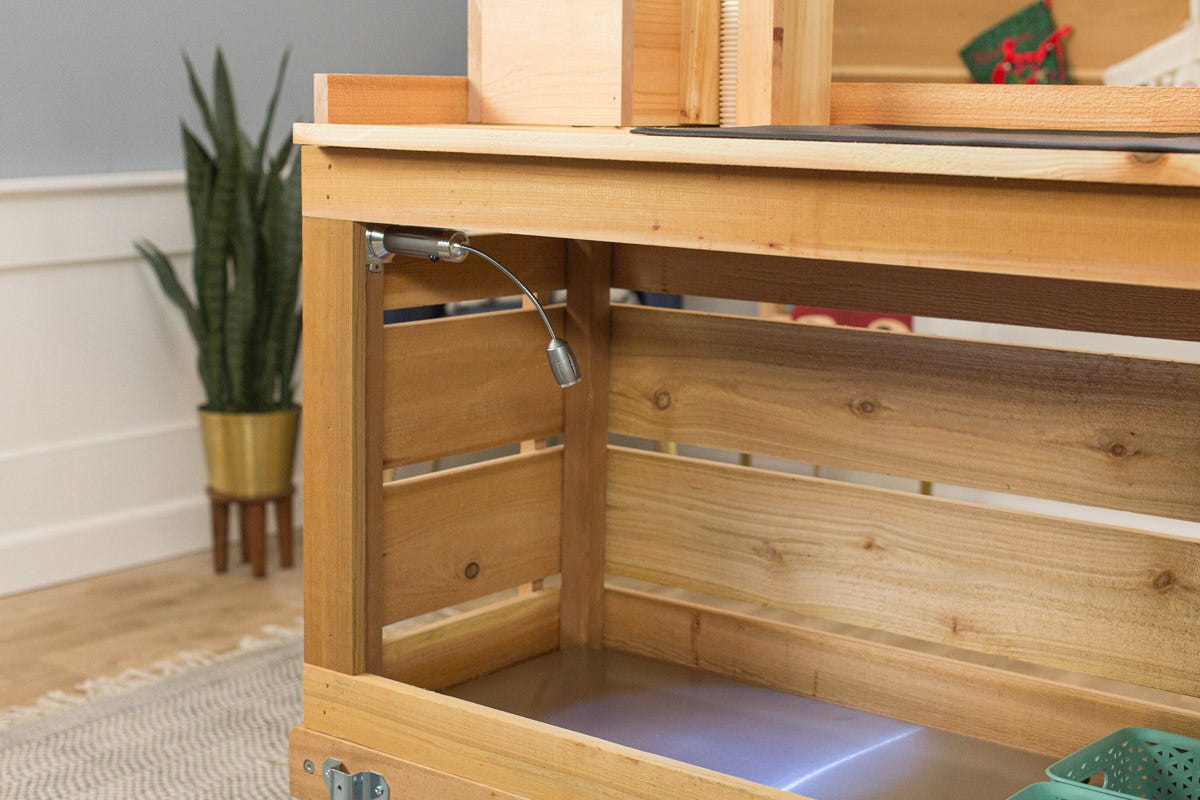
Add lights. For nighttime use, a couple of battery-powered gooseneck BBQ lights with magnetic bases light the countertop and the storage area underneath. A “nail plate” hammered into the wood of the cart creates a spot for the magnetic light to attach. Alternatively, you can sink some screws in one spot and the magnet can cling to the heads of the screws.
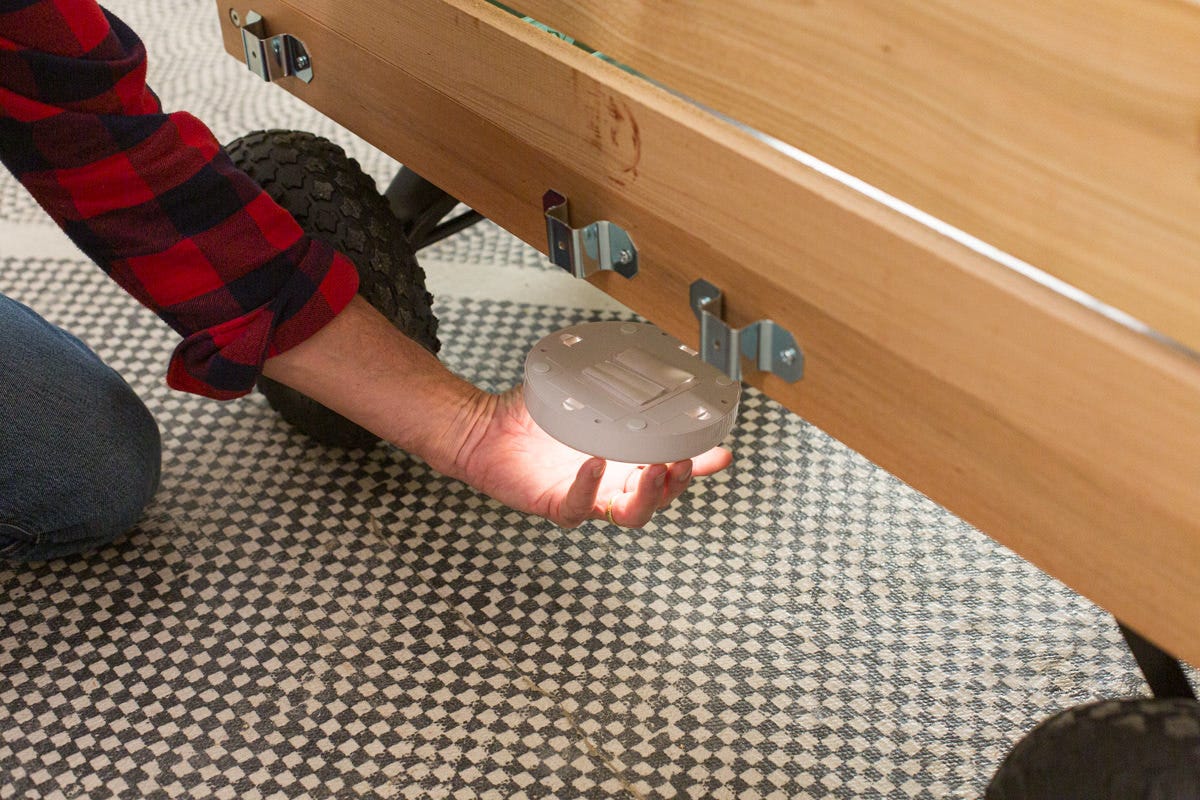
Tap on, tap off. We lit the underside of the wagon to help light the way to the beverage cart at night. This was a simple matter of slapping a battery-powered tap light to the bottom of the wagon with double-stick tape—easy!
Sing along. You can’t hear it here on the blog, but we added a wind-up music box that plays Greensleeves and beckons thirsty guests to the beverage cart.
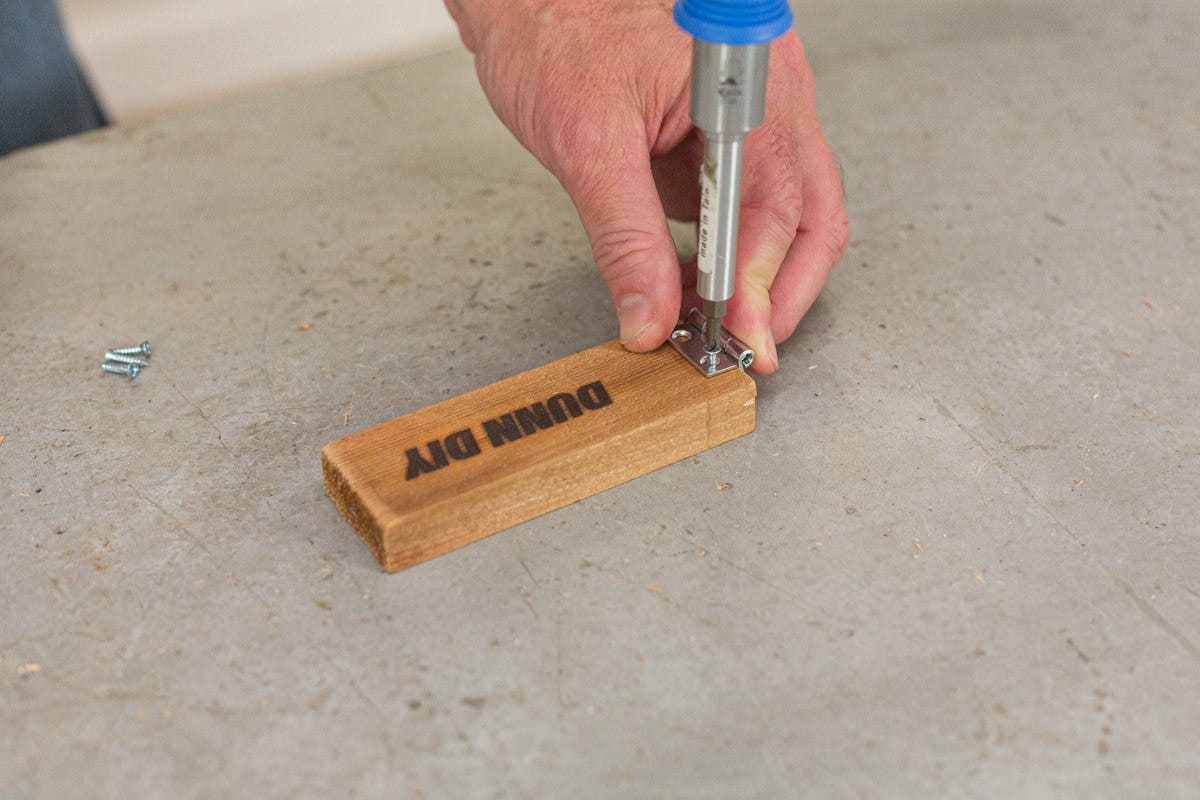
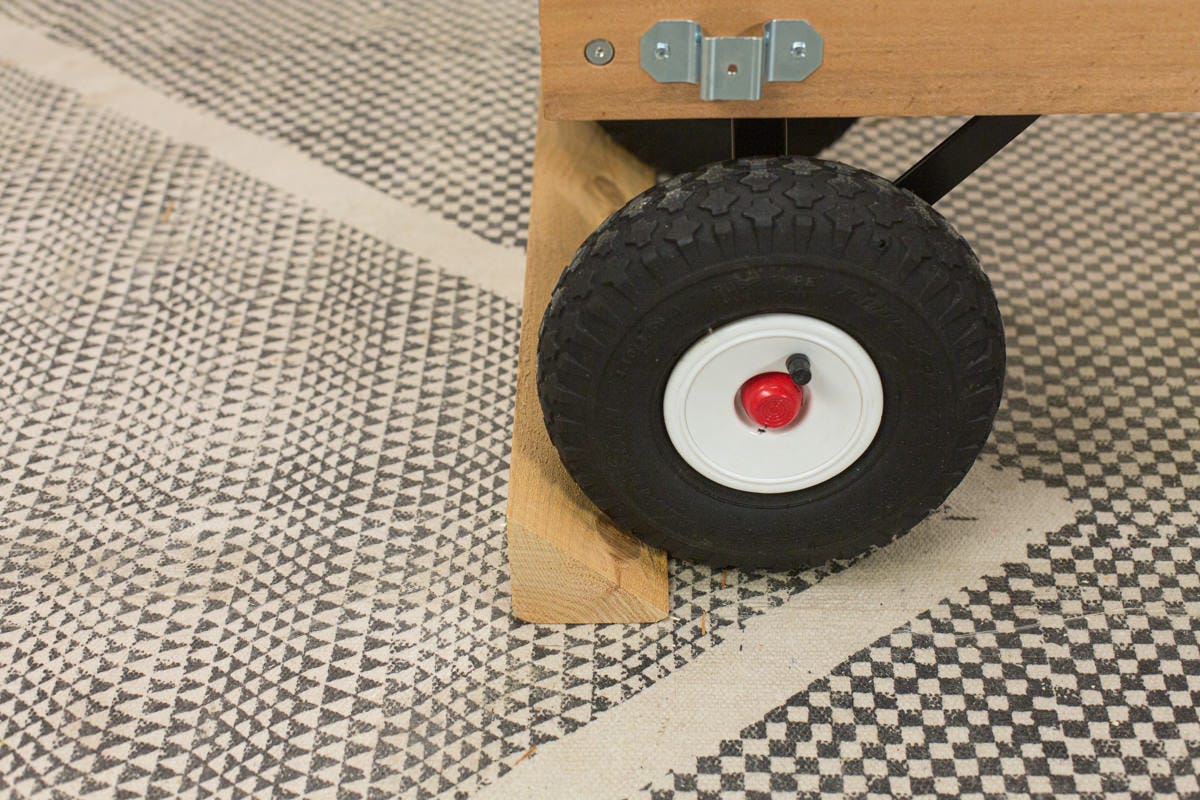
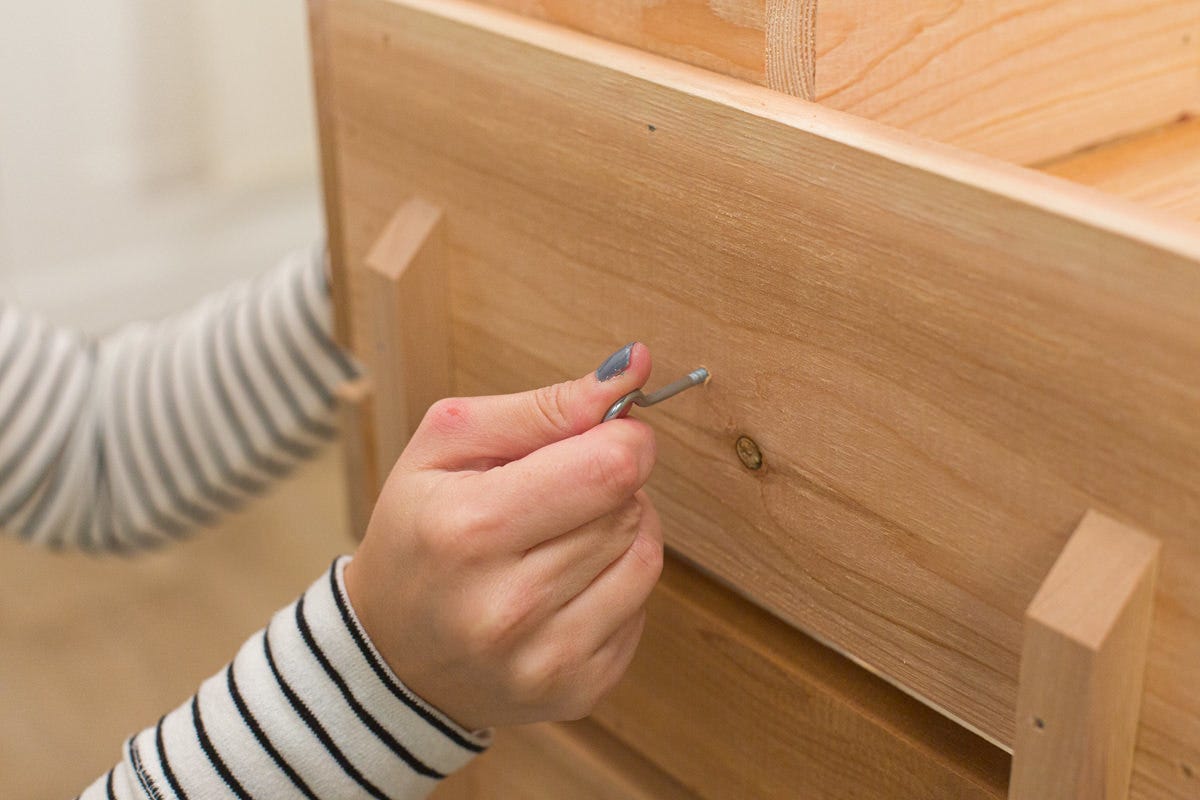
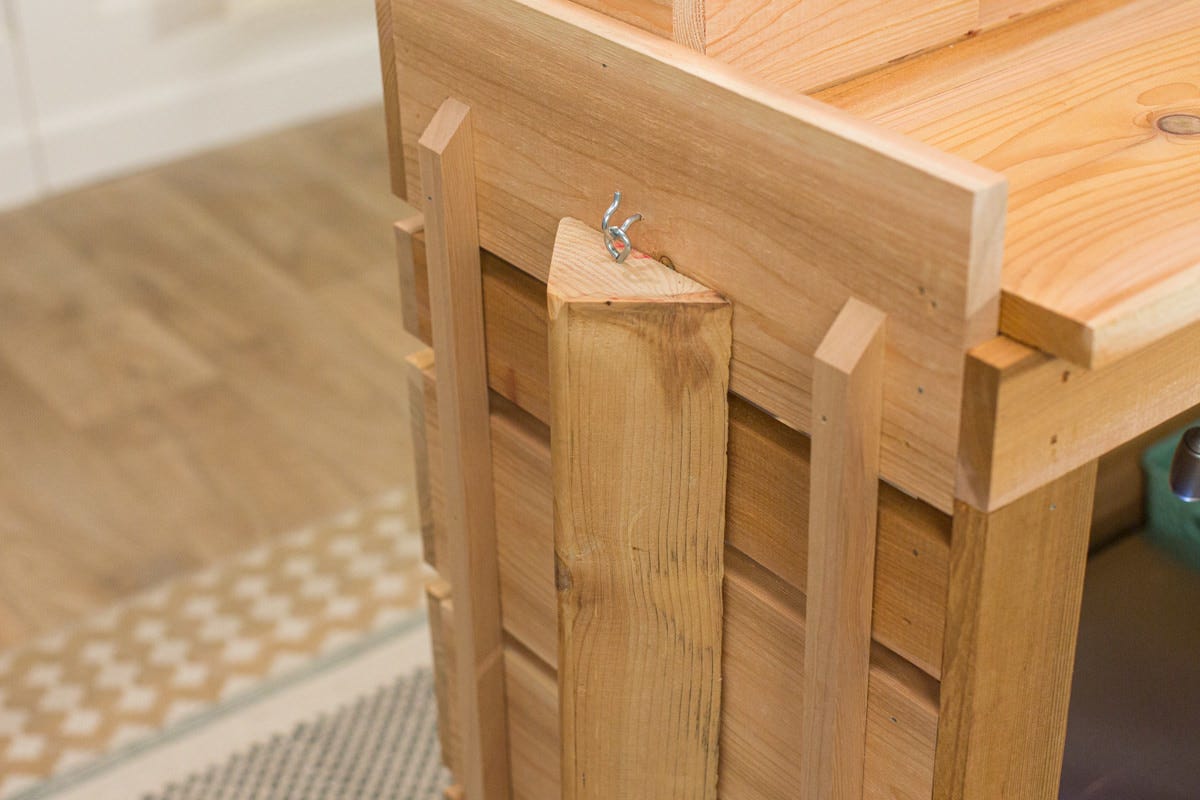
Stick around. A piece of lumber can be cut to block the wheels of the wagon and keep it from careening through the streets playing Greensleeves to unsuspecting neighbors. We had a scrap piece of cant strip that worked perfectly, but another piece of lumber can do the trick. When not in use, the block hangs on the side using a screw hook and a screw eye. Some rubber bumpers on the side of the cart keep the block from banging around.
Stay organized. Some baskets fit nicely in the wagon bed next to the warming tray. This is a great place to store things like hand sanitizer, gloves, extra masks, hand warmers, umbrellas, rain ponchos, etc.
Get festive. To get into the Christmas spirit, we strung battery-powered LED lights around the cart. ‘Tis the season!

Step 12: Add a protective clear finish
As a final step, use a spray-on exterior grade clear finish to protect your cart from the elements—and apple cider spills.