

"We’re always looking for more ways to add both beauty and function to our home. Enter: This unique wall rack."
Materials
We’re always looking for more ways to add beauty and function to our home. That means furniture or storage solutions that both look good and serve an important function.
Two areas that often need help are our entryway or closet. Enter: This unique piano key coat rack.
This week we’re joined in the DIY studio by Dunn Lumber employee (and friend of the blog), John. John works in our Shoreline store, has been with the company for 20 years, and is a self-professed DIYer.
He recently came across a coat rack online and was drawn to the aesthetic and functionality of the piece—but not the hefty price tag. So, he decided to design a budget-friendly variation. John’s version of the wooden piano coat rack has “keys” that fold out to hang coats, hats, bags, dog leashes—anything you need to keep right by the front door!
Step 1: Measure and mark wood
Gather all your materials. Measure and mark the two-by-twos following the cutting diagram below. We used a yardstick (you can also use a straight edge or tape measure) to mark cut lines, and then used a tri square to make sure the angles were 90º. You can also use tape instead of pencil to mark your pieces.
Step 2: Clamp wood and cut
Clamp the wood and make your cuts. We used a circular saw, but you can also use a miter saw or a miter box for this step if you’d like. To ensure straight cuts, use a speed square.
Step 3: Angle cut 6 ½” pieces of wood
The 6 ½" pieces of wood will be the piano’s “keys” that hang forward. You can use a miter box and handsaw or a clamp and handsaw to make your cuts. Use whichever is easier for you!
First, mark and cut 35º and 45º angles on the remaining wood—as shown on the first cutting diagram below.
Then, square of the ends by measuring, marking, and cutting ¼” from each end of the 6 ½” piece—as shown in the second diagram—making the total length 6".
Repeat four more times to make five pieces total. Use your first finished 6” piece to measure the cuts and angles for the other four pieces.
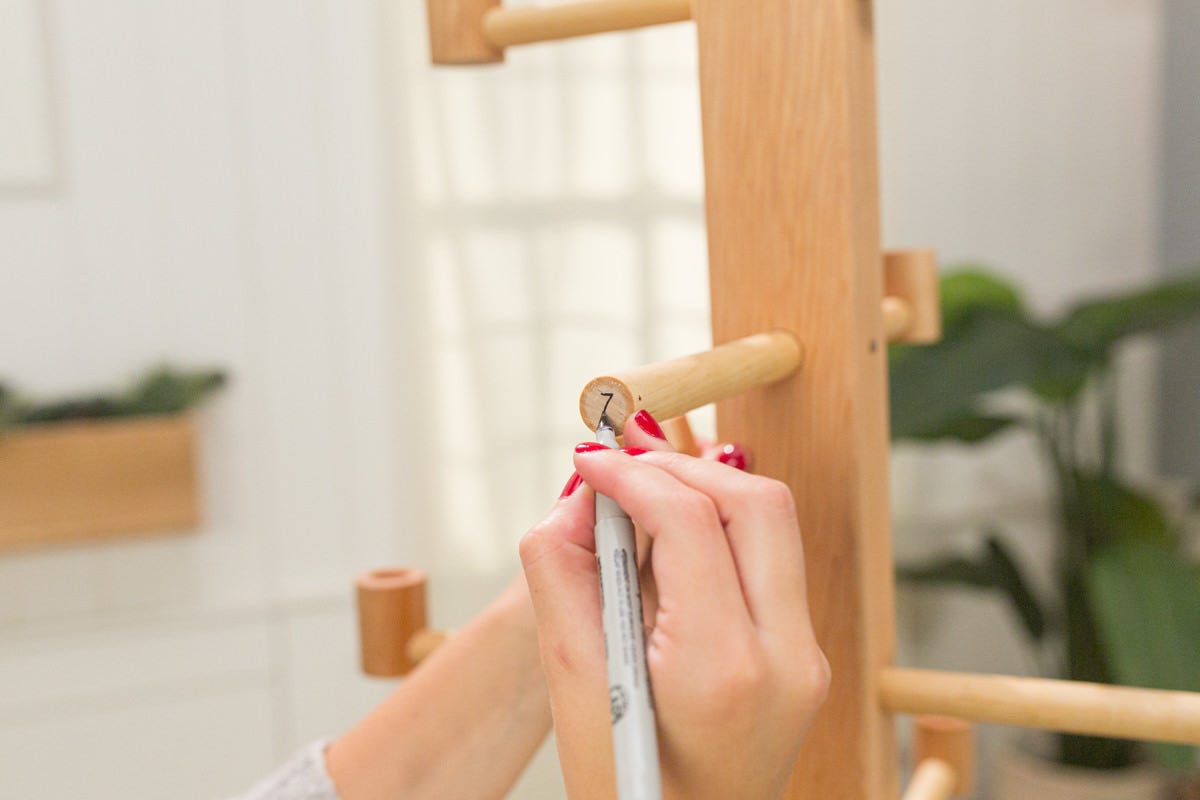
Step 6: Mark 6” pieces
Turn the 6” pieces on their sides. Using a tri square, mark across the side of each piece at the shoulder of the chamfer (the 35°angled cut). Find the vertical center (it should be at ¾”) and mark the center along the length of each piece.
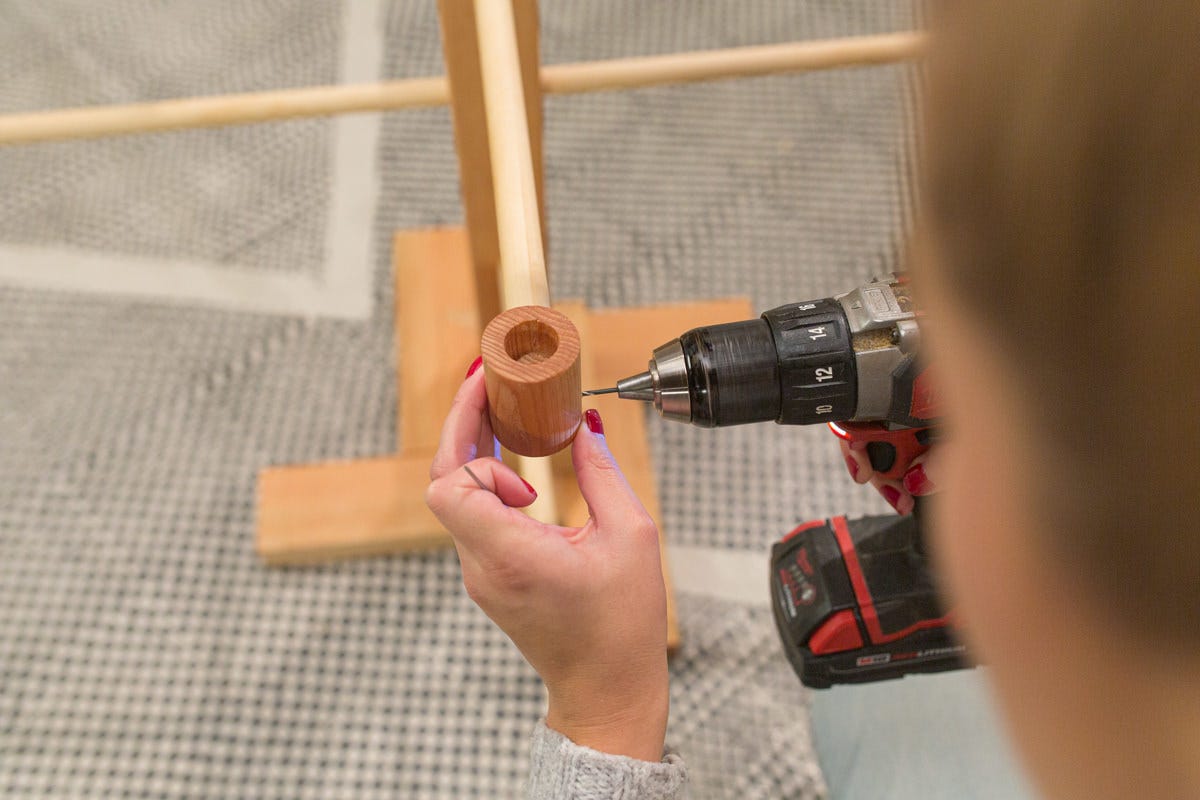
Step 7: Drill 6” pieces
Clamp each 6” piece to a neighboring piece, making sure to line up the face center marks you made in Step 6. Position the ¼” drill bit on the ¾” centerline of the side of the 6” piece, with the edge of the diameter of the bit on the shoulder line (do not drill into the shoulder line). Drill 1 ¾” into the 6” piece, just barely penetrating the neighboring piece. Repeat for the other four 6” pieces.
Step 8: Drill holes in neighboring pieces
Find the center of the side of each neighboring (non-moving) piece. Using a ¼” drill bit, drill ⅞” into the side of each piece.
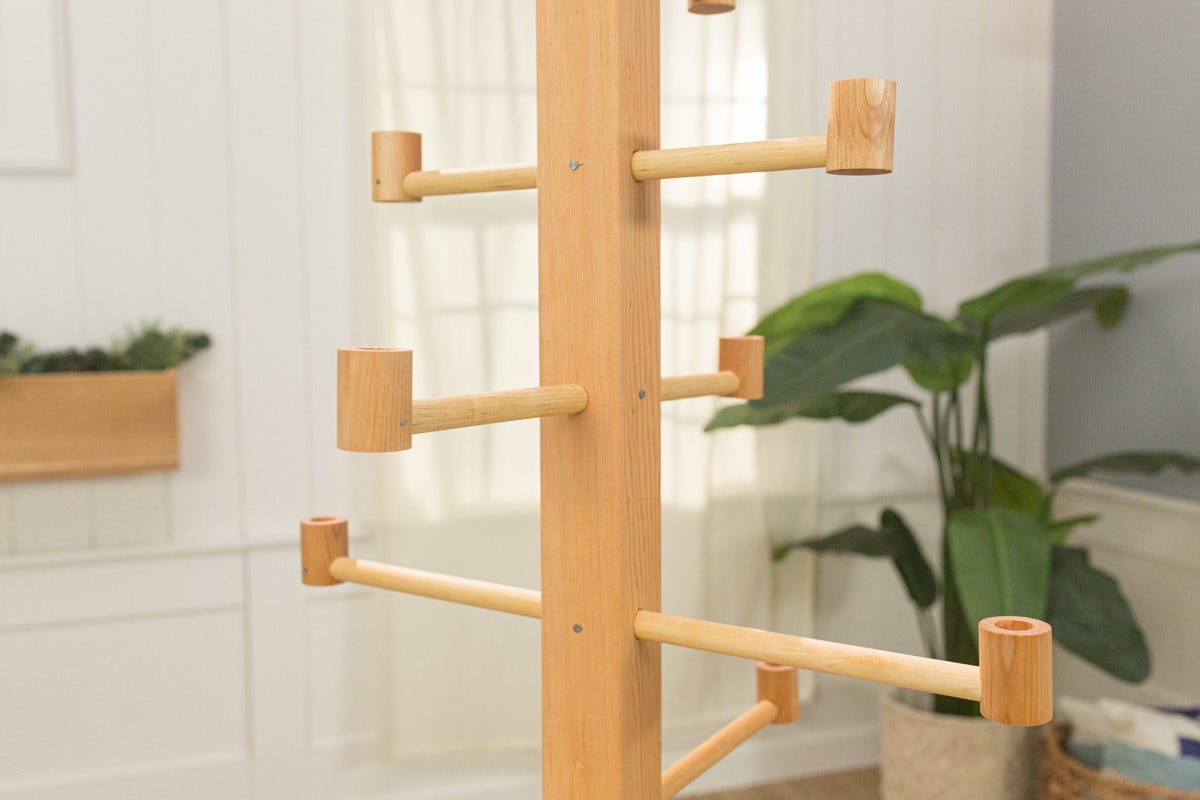
Step 9: Assemble moving pieces
Assemble the moving pieces by putting a dab of glue in the bottom of each drilled hole in the neighbor pieces, inserting the dowel into the hole, and tapping with a hammer. Then put each 6” piece over its respective dowel (do not glue) and place the opposite adjoining piece on top of this, tapping with a hammer.
Step 10: Assemble stationary pieces
Assemble the non-moving pieces with wood glue on each side. Use clamps if needed.
Step 11: Cut backer board
Flip the entire project over. Now it’s time to make the backboard that you’ll connect the piano keys to.
Cut the ½ x 4 board to span 24” to between the 4” Piece B and 4” Piece S. Then lay the cut board across the back of the assembly, and square it up using a tri square.
Step 12: Mark and drill pilot holes in backer board
Draw a line at the vertical center of where each 6" piano key will rest on the backer board. Next, draw an additional line on the horizontal center of the key at approximately 1 ¾”.
Using a 1/8" drill bit, drill pilot holes where these lines cross—1/8" will be large enough for the 1 ½" screws that will be used to attach the board to the wall where you want the rack. You want the pilot holes to go a bit into the back of the keys, as this will give you the mark for where the magnets will be installed.
Step 13: Drill pilot holes and insert magnets
In each of the 6" piano keys, look for the pilot hole from drilling the backer board in Step 12. Using a 5/16" drill bit, drill holes for the magnets at 1/8" deep. Put a dab of glue into each hole and insert a magnet into each. Next, put another a dab of glue on each magnet and place a cork pad into each magnet. Note: The cork pads are slightly larger than the holes. You can cut them down to fit or leave them as is, but the keys will stick out a tiny bit.

Step 14: Attach backer board
Apply glue to the non-moving piano keys (all pieces except for the 6" keys). Then lay the backer board on top. Use 1 ½" screws to attach the backer in place, one screw per non-moving piano key, for a total of 11 screws. Start by drilling pilot holes through the backer board for the screws. John recommends using a countersink bit, so the flathead screws sit flush on the back.
Step 15: Install piano coat rack
With the moving pieces and backer board facing down, use a #8 countersink bit to drill into the pilot holes. Using a countersink bit will ensure the flathead screws sit flush on the back when screwed in.
With the moving pieces still down, place the finished project where you want to hang it on a wall and mark the location using the pilot holes on the back board. Check to make sure it’s level, then use a suitable wall anchor and 1 ½ screw to attach the rack.
And there you have it—a DIY wooden piano coat rack that’s super functional while looking fun and different.
When do you paint or finish the wood?
We waited until the entire rack was connected to sand everything again, but it was a little difficult to do. In hindsight, it's best to paint or finish the wood right after Step 4 and sanding the individual pieces. Of course, you'll need to let everything completely dry before moving onto Step 5!
Want even more DIY projects that both beautify your home and add extra storage or organization? Learn how to build these underbed storage boxes or this narrow entryway table.