
"This project was a great excuse to practice my cutting skills, and I got an adorable toy truck out of it that’ll be a holiday staple for years to come."
Materials
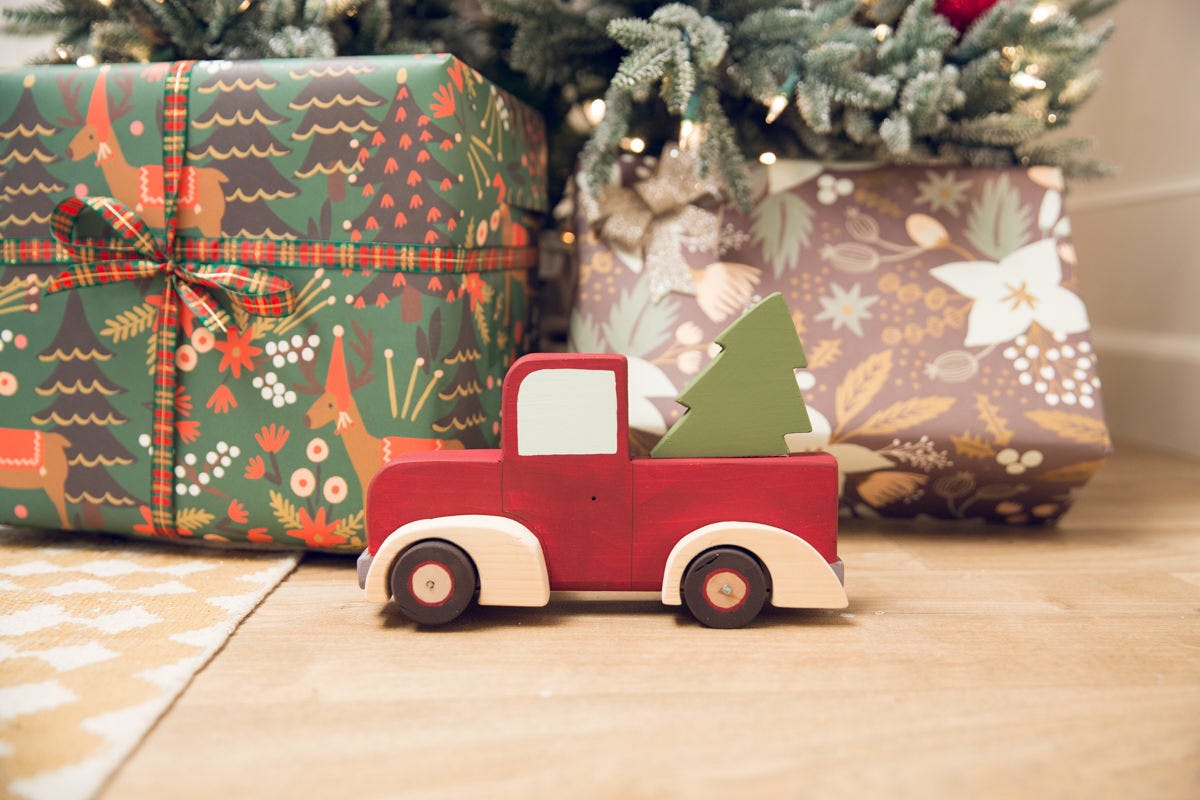
There’s something so classically Christmas about a red pickup truck with a freshly cut evergreen tree in its bed—the image seems to appear in everything, from Christmas cards of years past to Lifetime movie scenes. What I like about this DIY toy truck is that it pulls double-duty: it works well sitting on a decked-out mantle or as a toy. It reminds me of the wooden duck on wheels I’d pull around as a kid—when my nieces get older (and when there are more nieces and nephews around!), I want them to be able to come over for the holidays and play. I love our DIY hobby horse for this same reason!
Today, I’m showing you how to build a truck toy of your own—let’s get to it!
Step 1: Cut Wooden Truck Pieces
To start, cut out the pieces from the diagram and trace them onto your wood.

We’re using two-by white wood material for the truck body. Once you’ve traced the outline, cut out the piece with a jigsaw. Your jigsaw likely came with a little plastic cover that goes over the saw blade—pop it off for this step and it’ll become much easier to see where your saw blade is so you can make your corner cuts clean and sharp.
Another note: A lot of these curved “corners” are curved too sharply for the jigsaw to handle in one cut, so you’ll have to go back over them or take them in stages. It helps to cut a notch off to the side to make some more room for the saw blade so you can then turn that corner and come in at a sharper angle.
From the one-by-four, cut out the fenders and the tree. For the fenders, first drill a hole with a hole saw. Then, line up the diagram around that hole and cut it out—the hole saw is essentially your wheel well. The tree is simple!
From the round, cut out four 3/4"-thick wheels. A round is just moulding—it’s basically a large dowel. You can make these cuts with a handsaw and a miter box.


Step 2: Sand and Round Edges
Once all your pieces are cut out, smooth and round the edges with an electric sander. With the idea of this being a toy, I wanted all the edges to be really soft—no sharp corners here. It adds to the charm and playfulness of the pieces, and makes it safer for young children to play with. My Festool sander has a foam insert that you can add beneath the sandpaper which makes sanding curved edges even easier—if you can do something like this, I highly recommend it. If not, that’s OK—it’ll still work. For the wheel well and other tight areas, use sandpaper.


Step 3: Drill Holes for Wheels
Next, we’re drilling holes in the wheels. For this step, it’s important to not only drill straight and all the way through, but to drill exactly in the middle of the wheels. To drill straight and all the way through, use a speed square, someone else’s eyes, or a couple pieces of wood to keep the drill perpendicular. If you don’t drill straight, your wheels won’t roll—and that’s no fun! Place a scrap of wood underneath so you can drill all the way through without running into your work station. To drill in the exact middle, use a guide. For my guide, I used a paper circle I folded in half a few different ways to get the exact center. Then, I used an awl to mark it (a pointy tool you can press or hammer into the wood)—this stops the drill bit from walking away from center as you start drilling.
Drill your hole in the wheel with a 9/64” bit. Then, drill a hole through the body of the car with a slightly larger 5/32" bit. Be sure to line up your fenders on the truck to figure out where you want the wheels to be placed—the center of the wheel needs to be far enough up that you’re drilling through the body of the truck. I like to use the fender as a guide, then glue it on only after the wheels are attached—otherwise you run the risk of putting them so close together that the wheels won’t move.


Step 4: Attach Wheels
Note: After looking back on this project and thinking about what I would have done differently the second time around, I realized this is the best time to paint or stain all the pieces. As you’ll see, I didn’t do that here. Paint everything with acrylic paint now, then let dry. You can save the painted details for later. There’s no right or wrong color palette to use for this—I went with red for the body, but you could go with blue or white or whatever color you like best. Same for the other pieces—a snowy white tree could be fun! You can also leave some spaces bare. I colored in the diagram to get a sense of how it would look—that may help you before you commit fully.
Once your painted pieces have dried, attach the wheels to the body of the truck. Put glue into the pre-drilled holes in the wheels and hammer a nail all the way through one of the wheels. Wipe off any excess glue. Then, push the nail through the body of the truck and through the other wheel. The point of the nail should push through the wheel slightly—use a hammer to dull the point. Make sure there’s enough space between the wheels and the body of the truck so they can roll freely.


Step 5: Attach Fenders and Tree
Now that the wheels are attached, glue on the fenders and the tree. I’m using one of my favorite hacks—hot glue sticks for hardwood flooring in my regular craft glue gun. You can also use regular wood glue or fast-drying all-purpose glue for this step. Rotate the wheels a few times to make sure they’re centered and the fender is out of the way, then glue it down. The fender shouldn’t touch the wheels—there should be a bit of space so the wheels can roll freely. Then, glue the tree to the bed of the truck.


Step 6: Paint Details
At this point, all of your pieces should be painted. If you opted not to paint above, paint the pieces now.
Then, add the details. Use acrylic paint and fine-tip sharpies for windows, bumpers, and other details. I used coins to trace the tires. Get creative!


That’s it! Beyond the lesson learned from after assembling vs. before assembling, this project was a smooth one. It was a great excuse to practice my cutting skills, and I got an adorable toy truck out of it that’ll be a holiday decorating staple in my home for years to come. I hope you enjoy customizing this toy truck to your personal style. Consider adding some additional accessories, like cup washers on the wheels to mimic the moon hubcaps of vintage cars.
Now I'm going to make a cup of my favorite hot chocolate, kick my feet up, and enjoy the start of the holiday season. Interested in more DIY holiday projects? Check these ones out: How to Make a Gingerbread House, How to Make a Wooden Advent Calendar, and How to Make a DIY Christmas Tree Collar.
