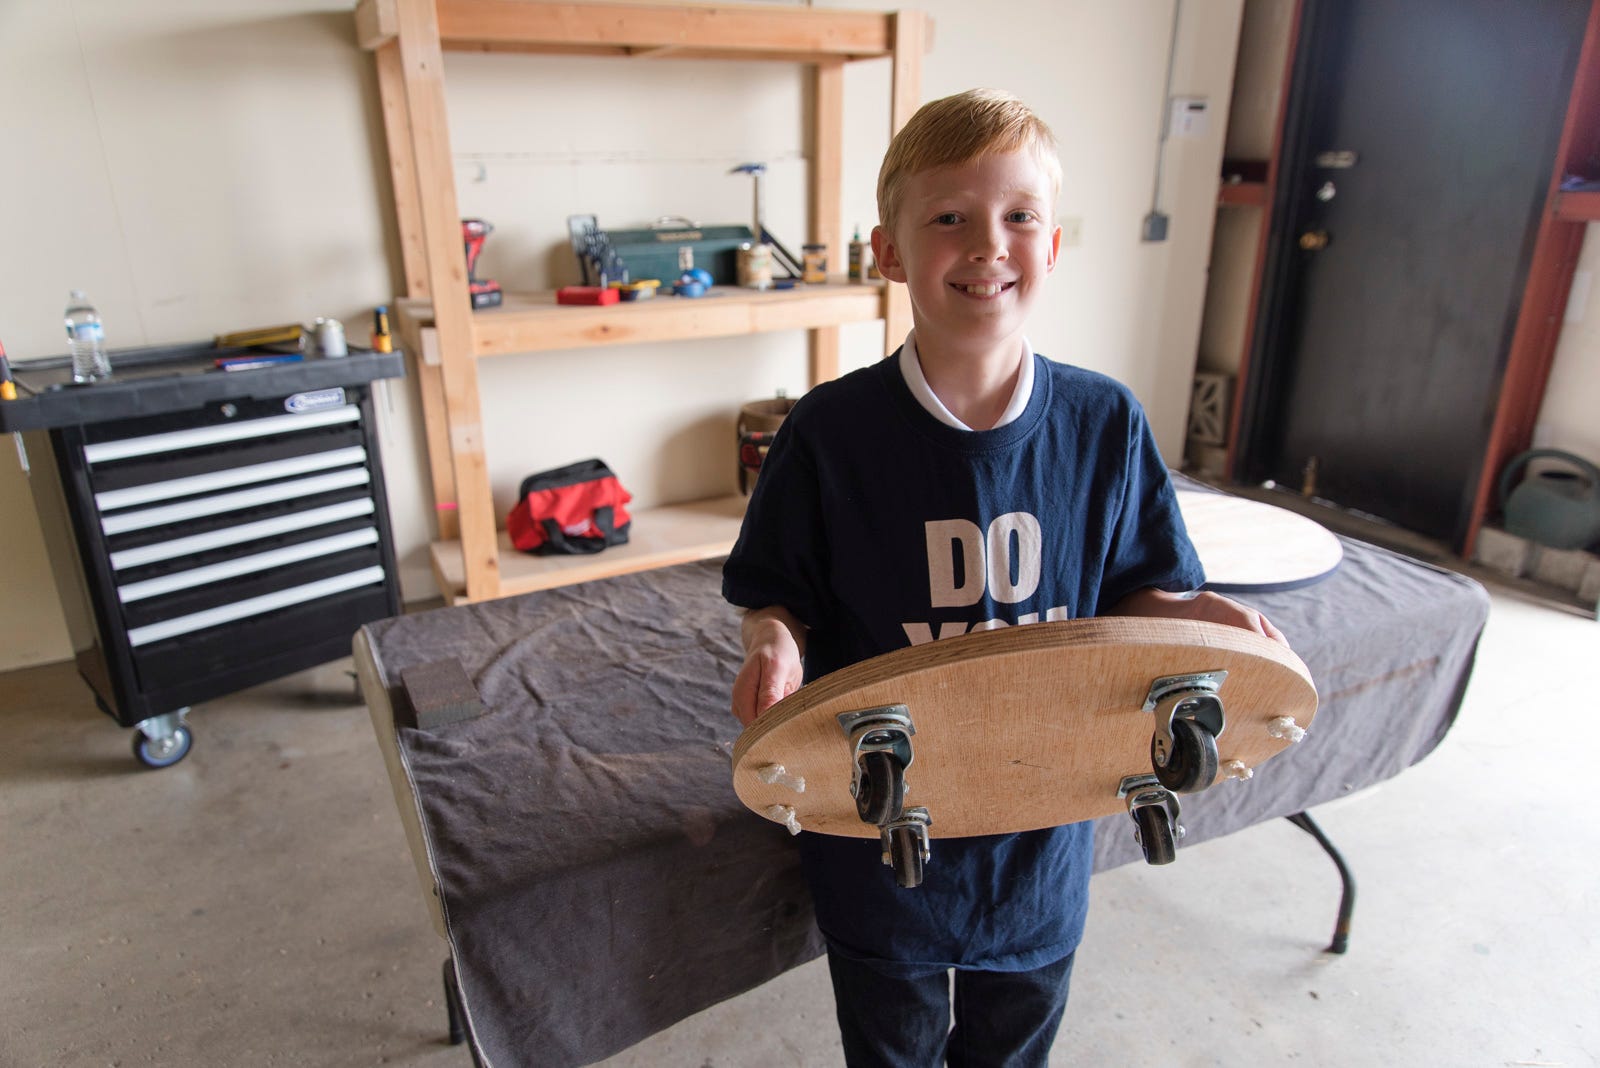

"Rotating casters are key, so that the scooter can move in any direction."
Materials
 Today we got to do a project with our friend Logan, who has been on Dunn DIY a number of times to help us out. If you haven't heard of Logan, be sure to check out this interview to hear about his passion for woodworking and his relationship with Dunn Lumber.

The simplicity of this project means a lot of freedom for creativity and different techniques. We made two scooters with slightly different techniques to see which we liked best. We'll offer our insight as we walk through the steps, but remember—there are endless options for what you can do to make your scooter unique.
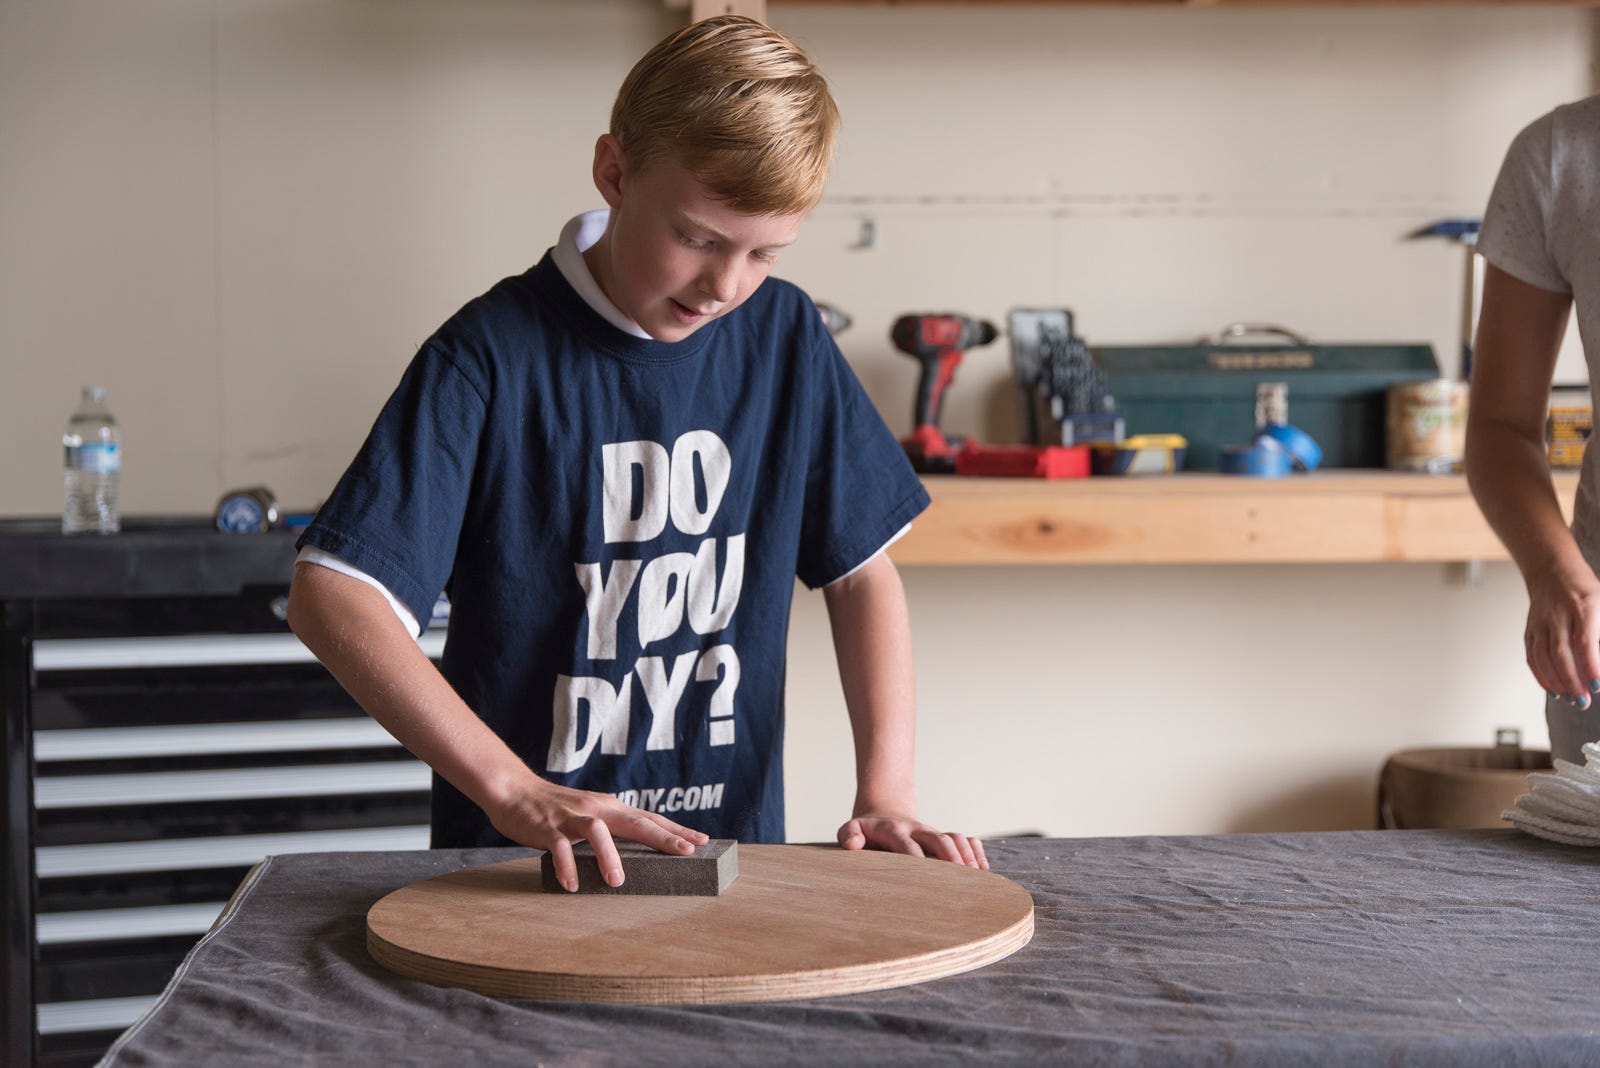
Step 1: Sand the Round
Grab a sanding sponge or a sander and go over the plywood round. Remove any splinters and round out the sharp edges to protect little hands. We picked an 18" plywood round because we thought it was a good "one kid" size, but a 24" round or a 30" round are also options to play with.
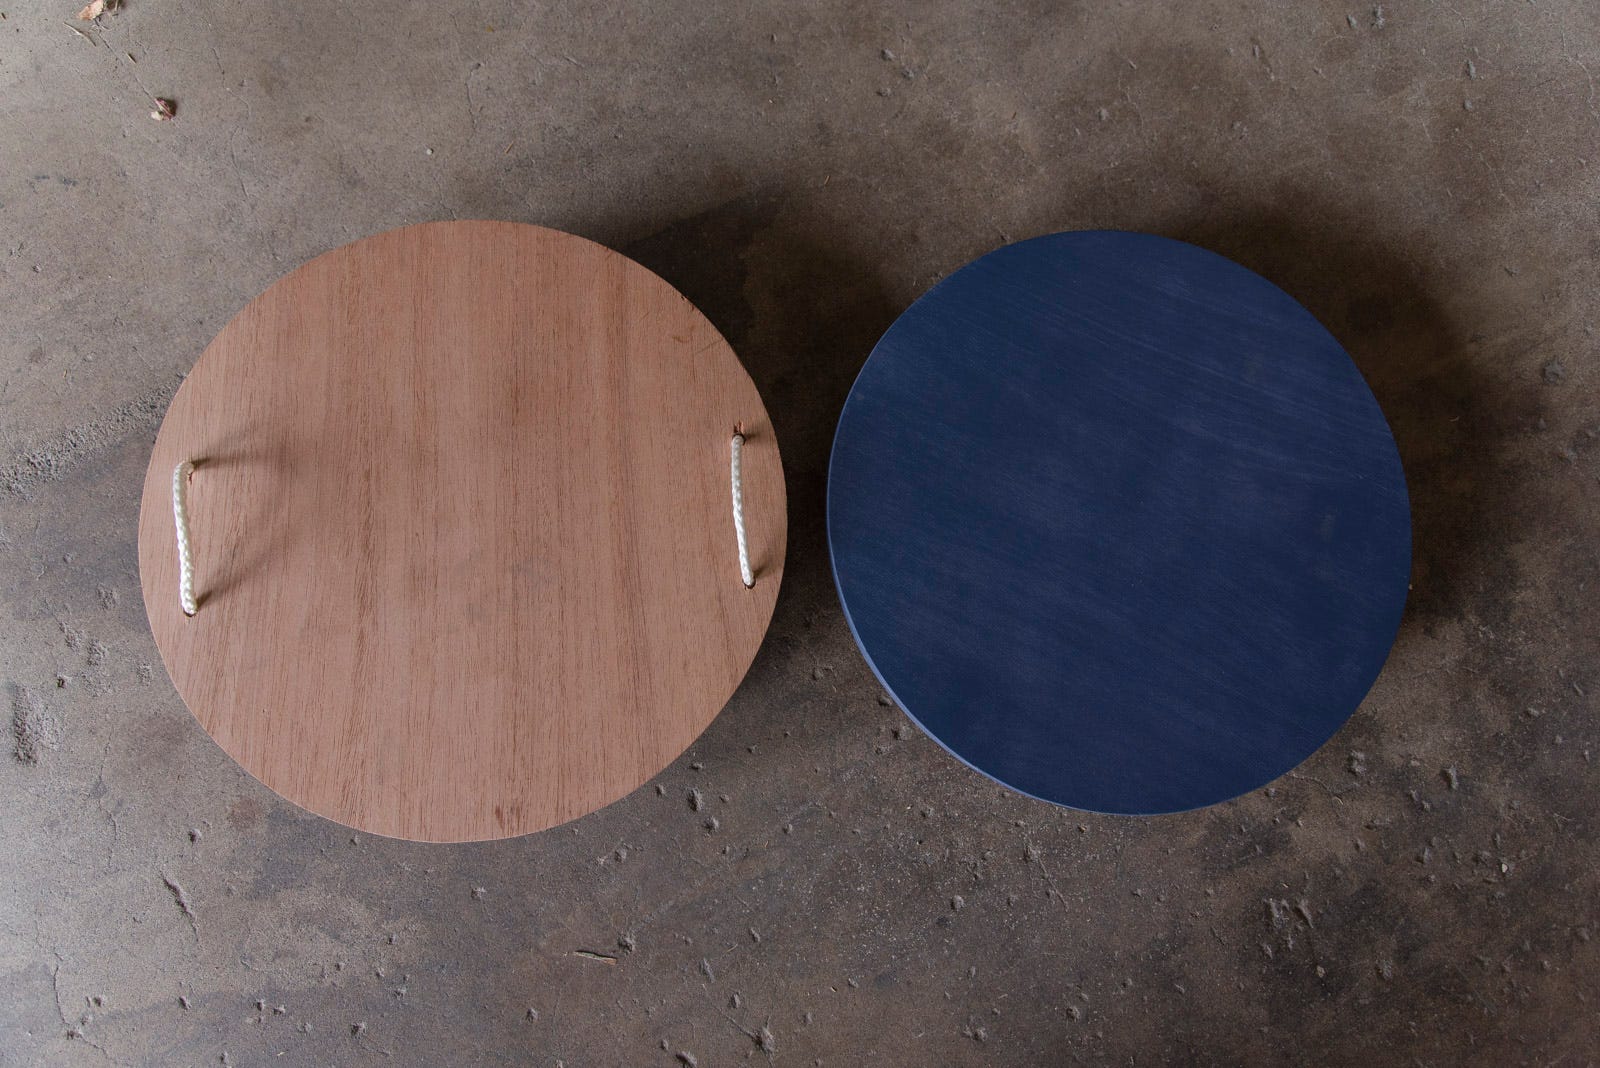
Step 2: Add Some Color
Painting isn't necessary, but it can be a fun way to customize your scooter. We left one scooter natural and painted the other with dark blue spray paint. Try using multiple colors to create stripes or a tie-dye effect, or you can sit your child down with some acrylics and let them decorate themselves.
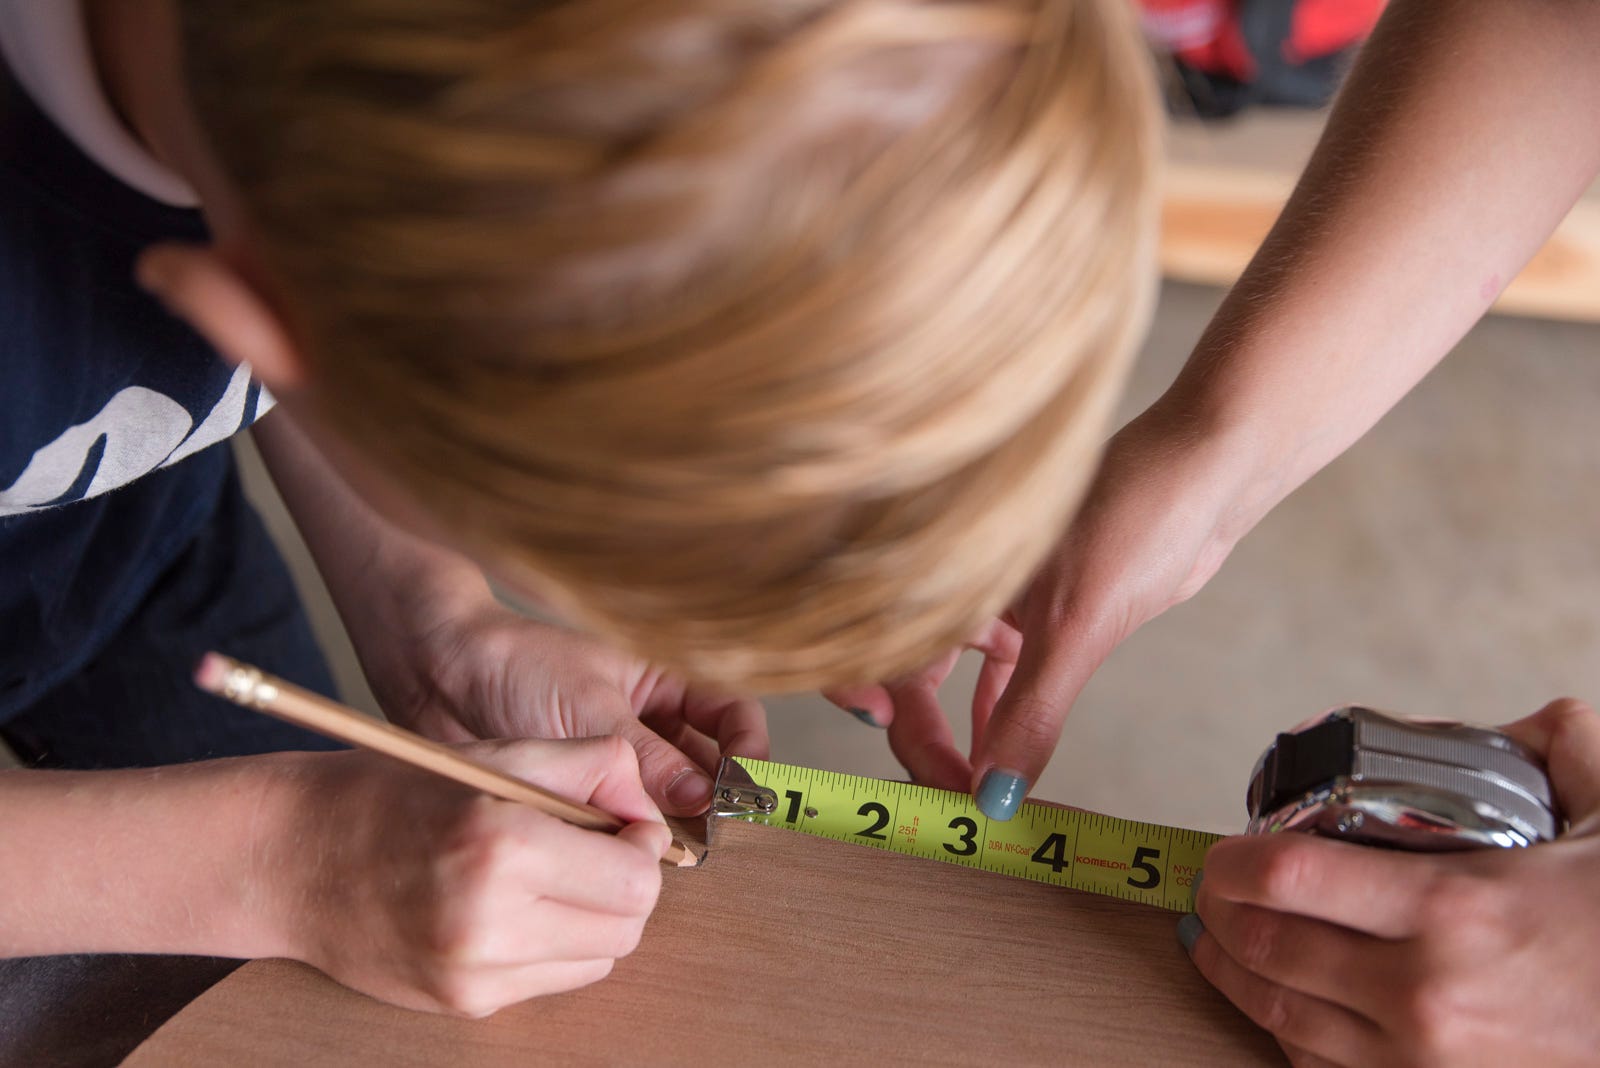
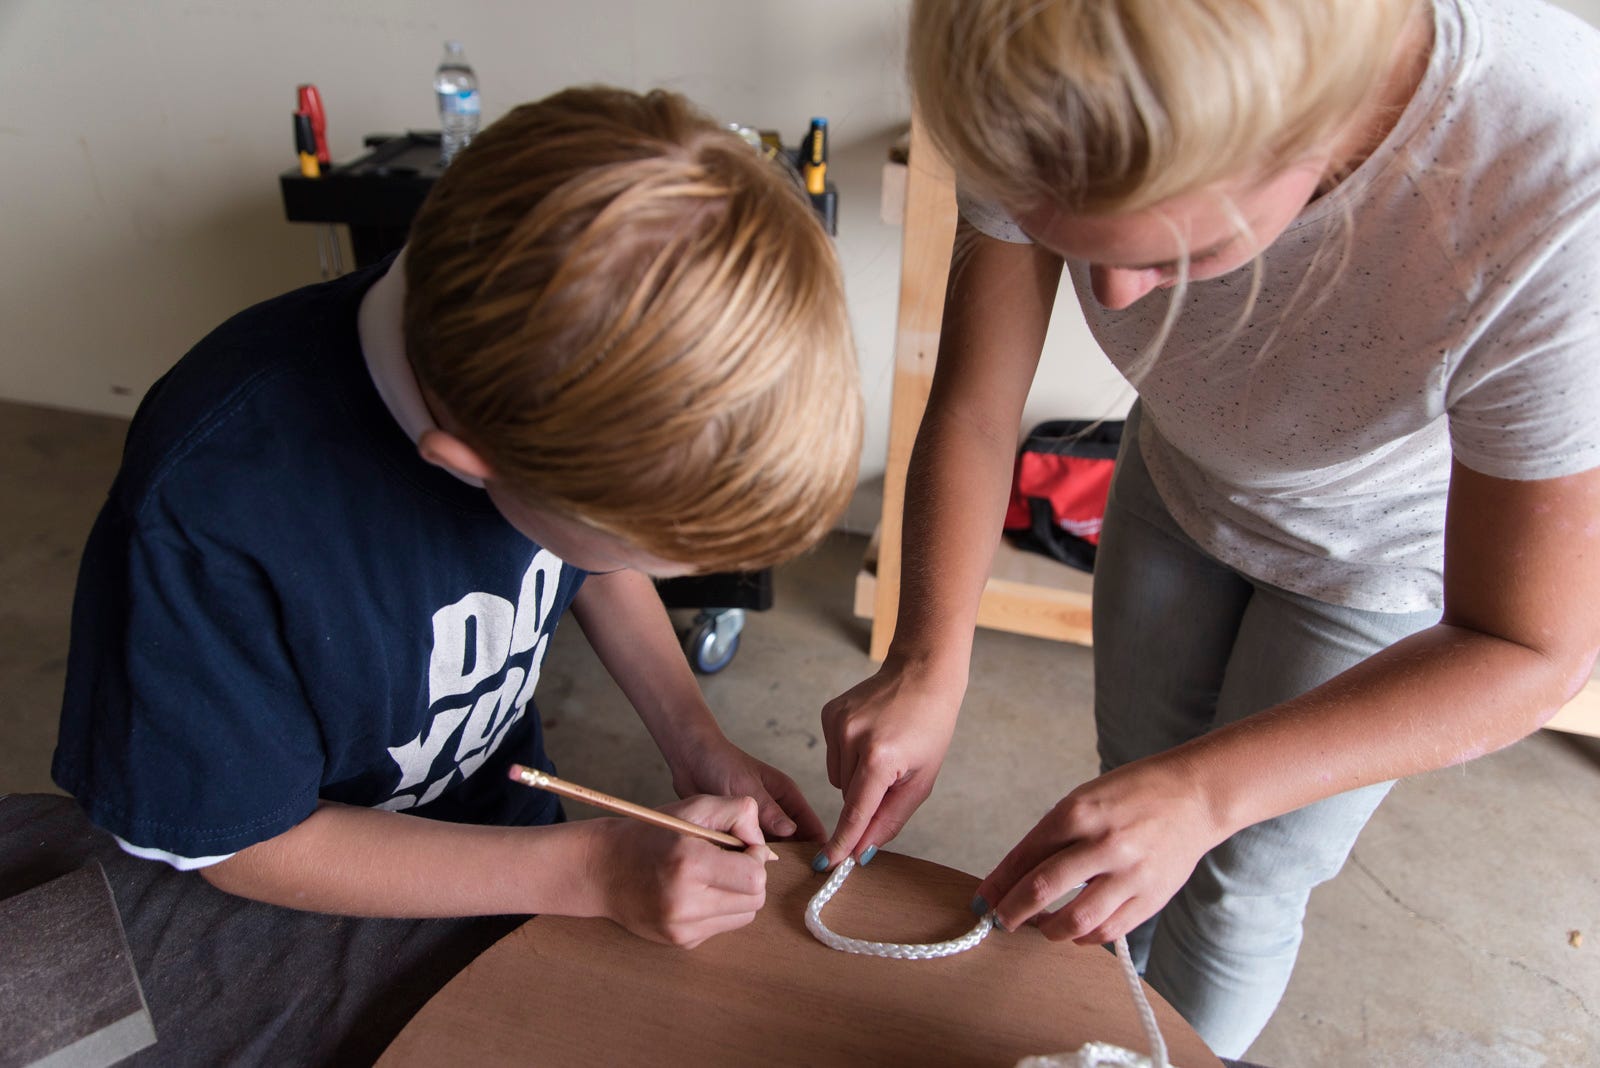
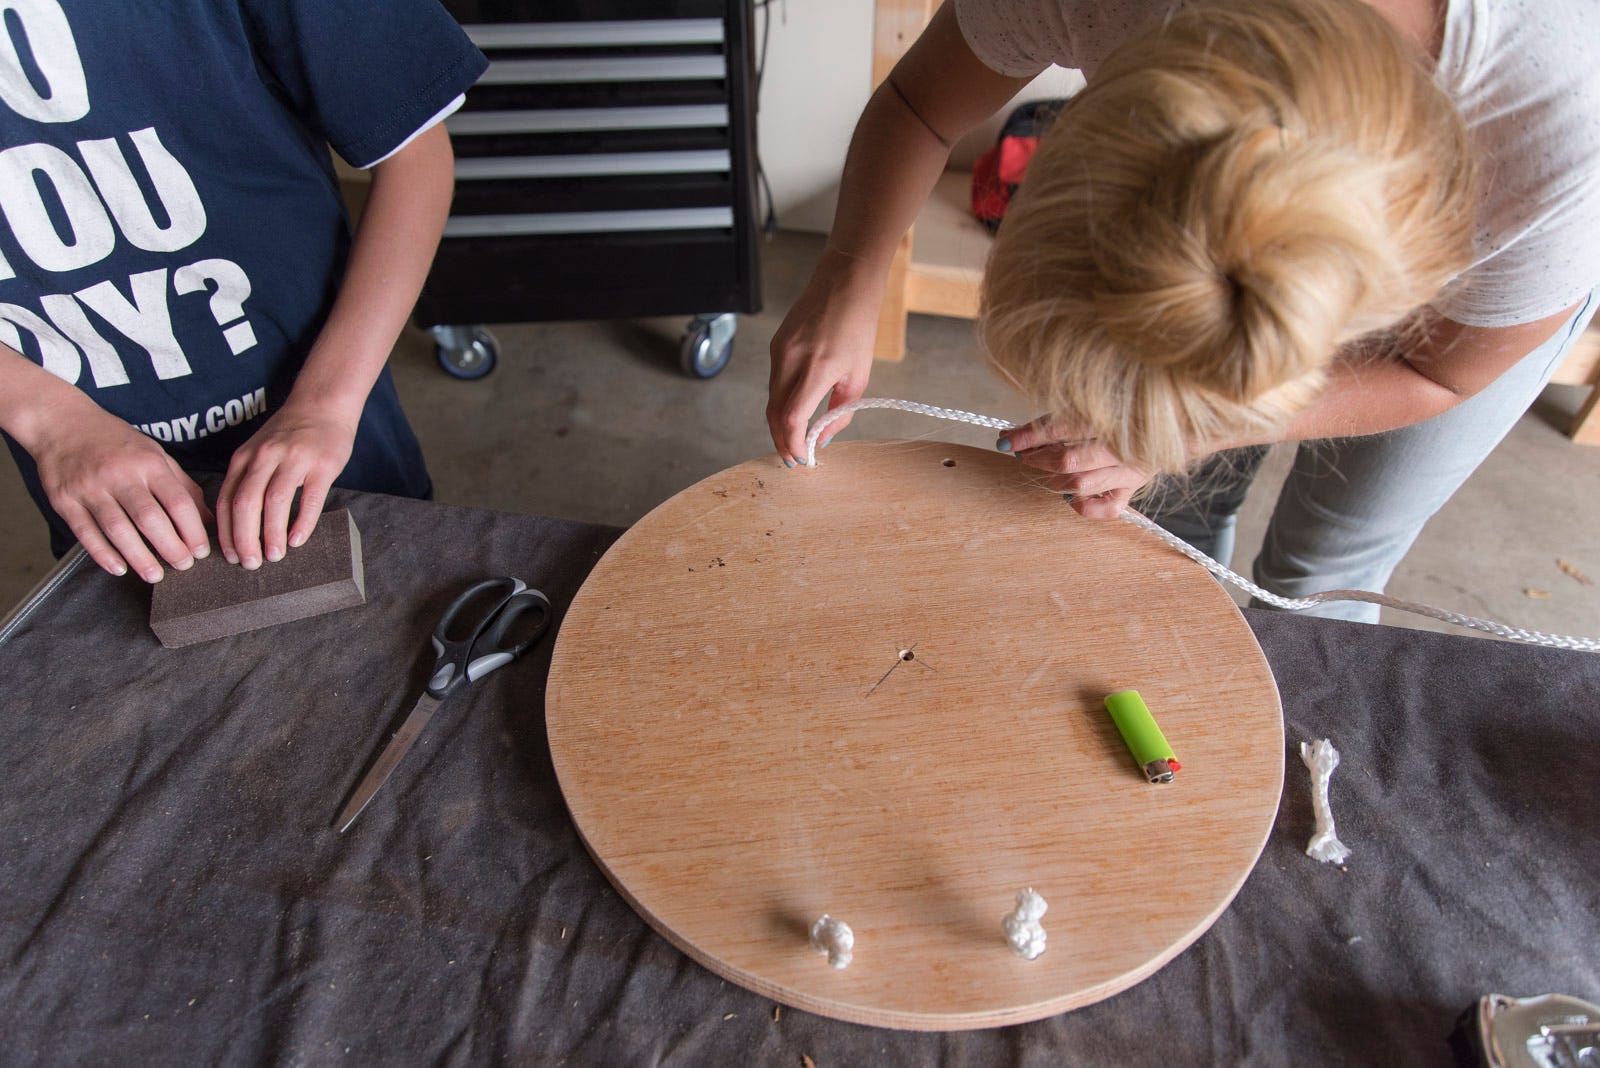
Step 3: Measure and Mark for Handles
If you want your scooter to have handles, measure and mark the top of the plywood round. This isn't an exact science, just so long as they're big enough and look relatively even. We eyeballed the location on either side, but made sure that length of each handle was the same (4"). Drill holes for rope with a 3/8" drill bit.
Step 4: Place the Handles
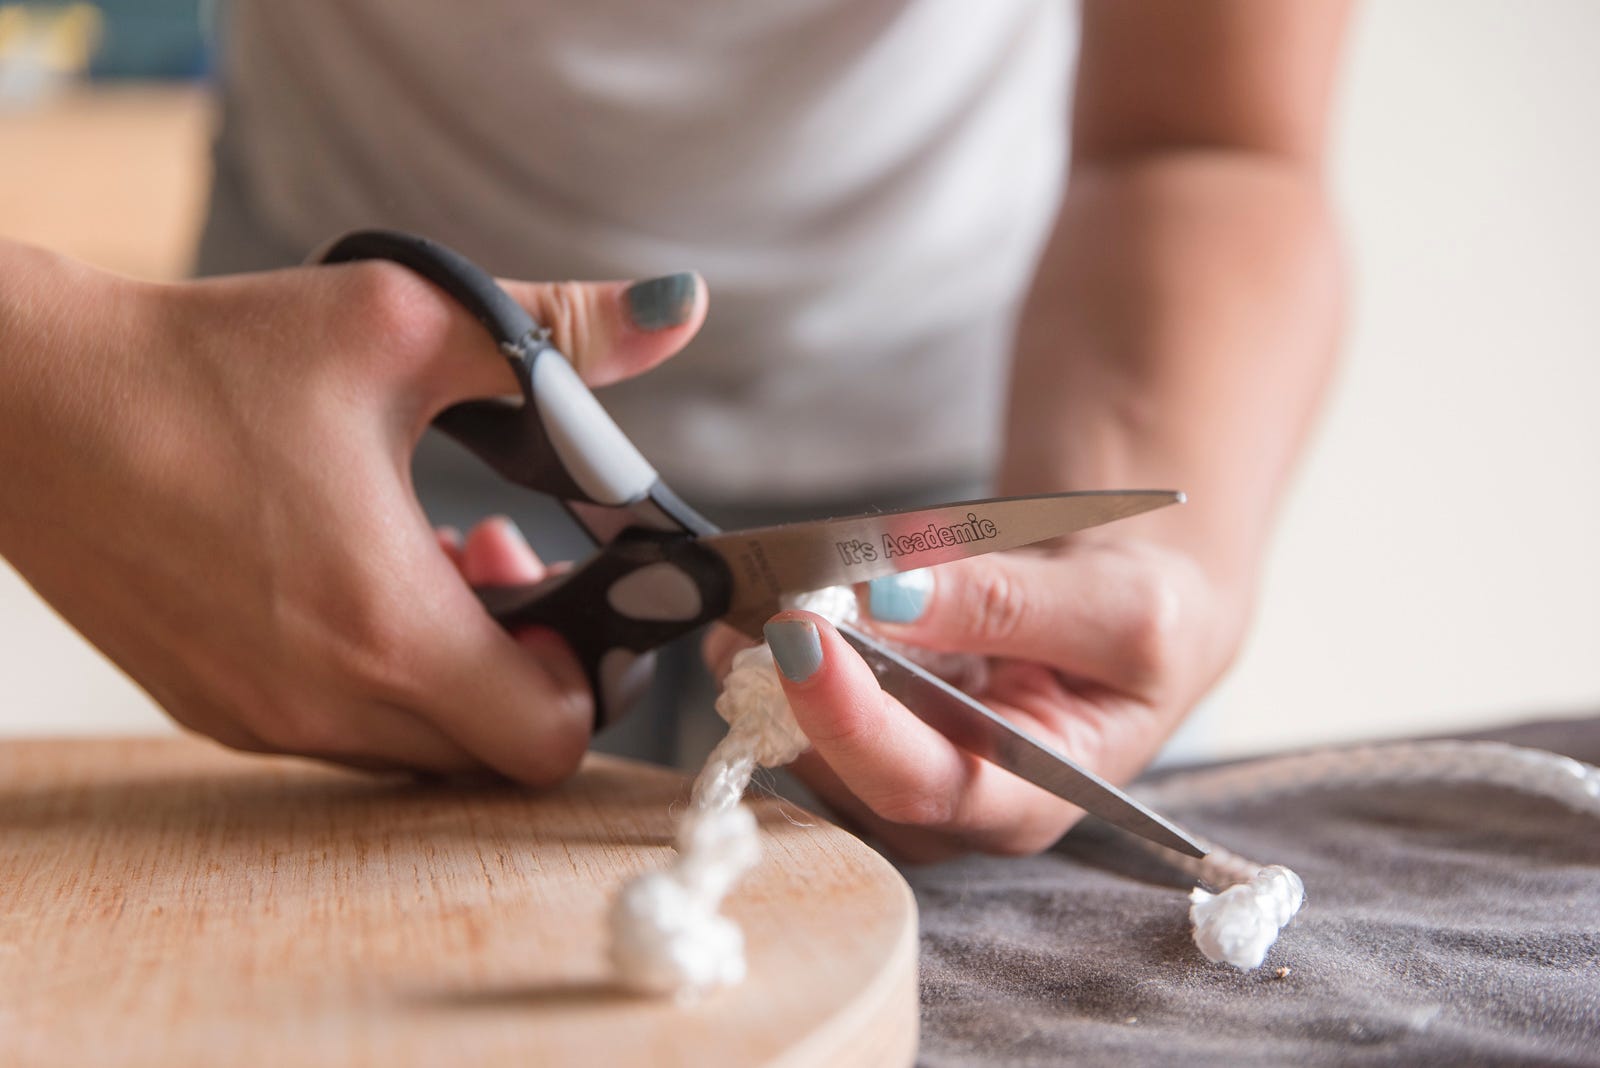
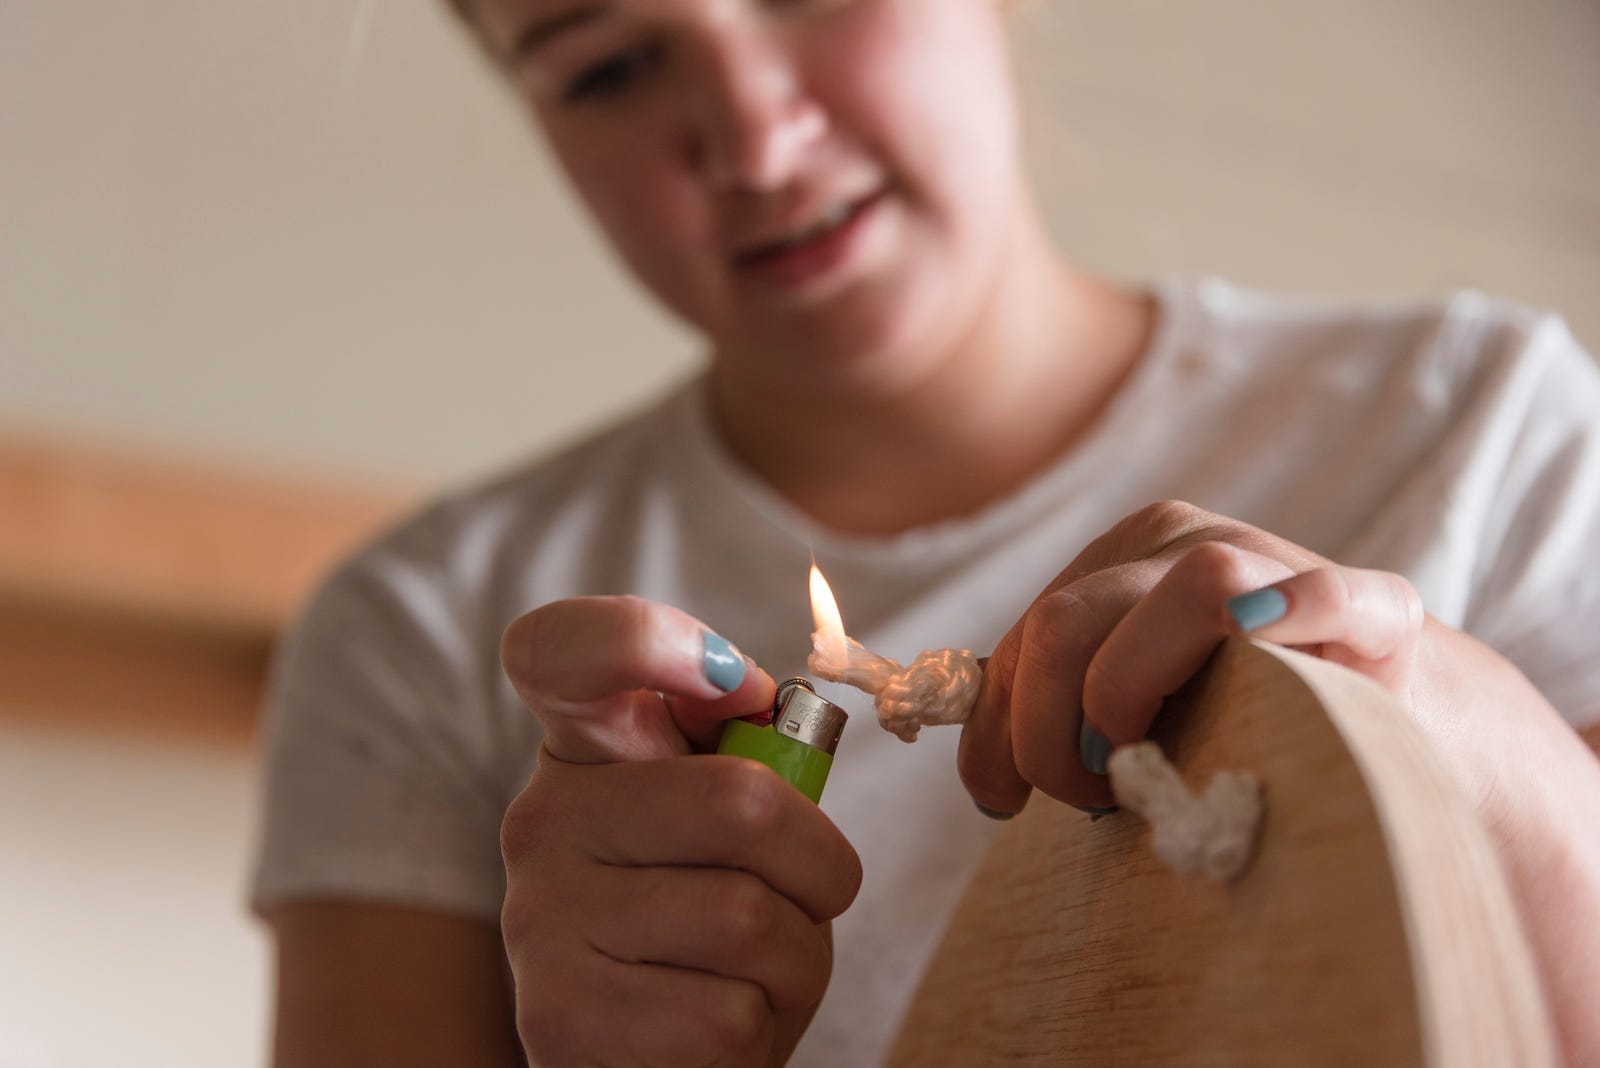
Next, thread the rope through the holes. Start from the bottom and go up and then down into the other hole. Tie off and cut the ends of the rope. Be sure to burn the ends with a lighter to keep it from fraying.
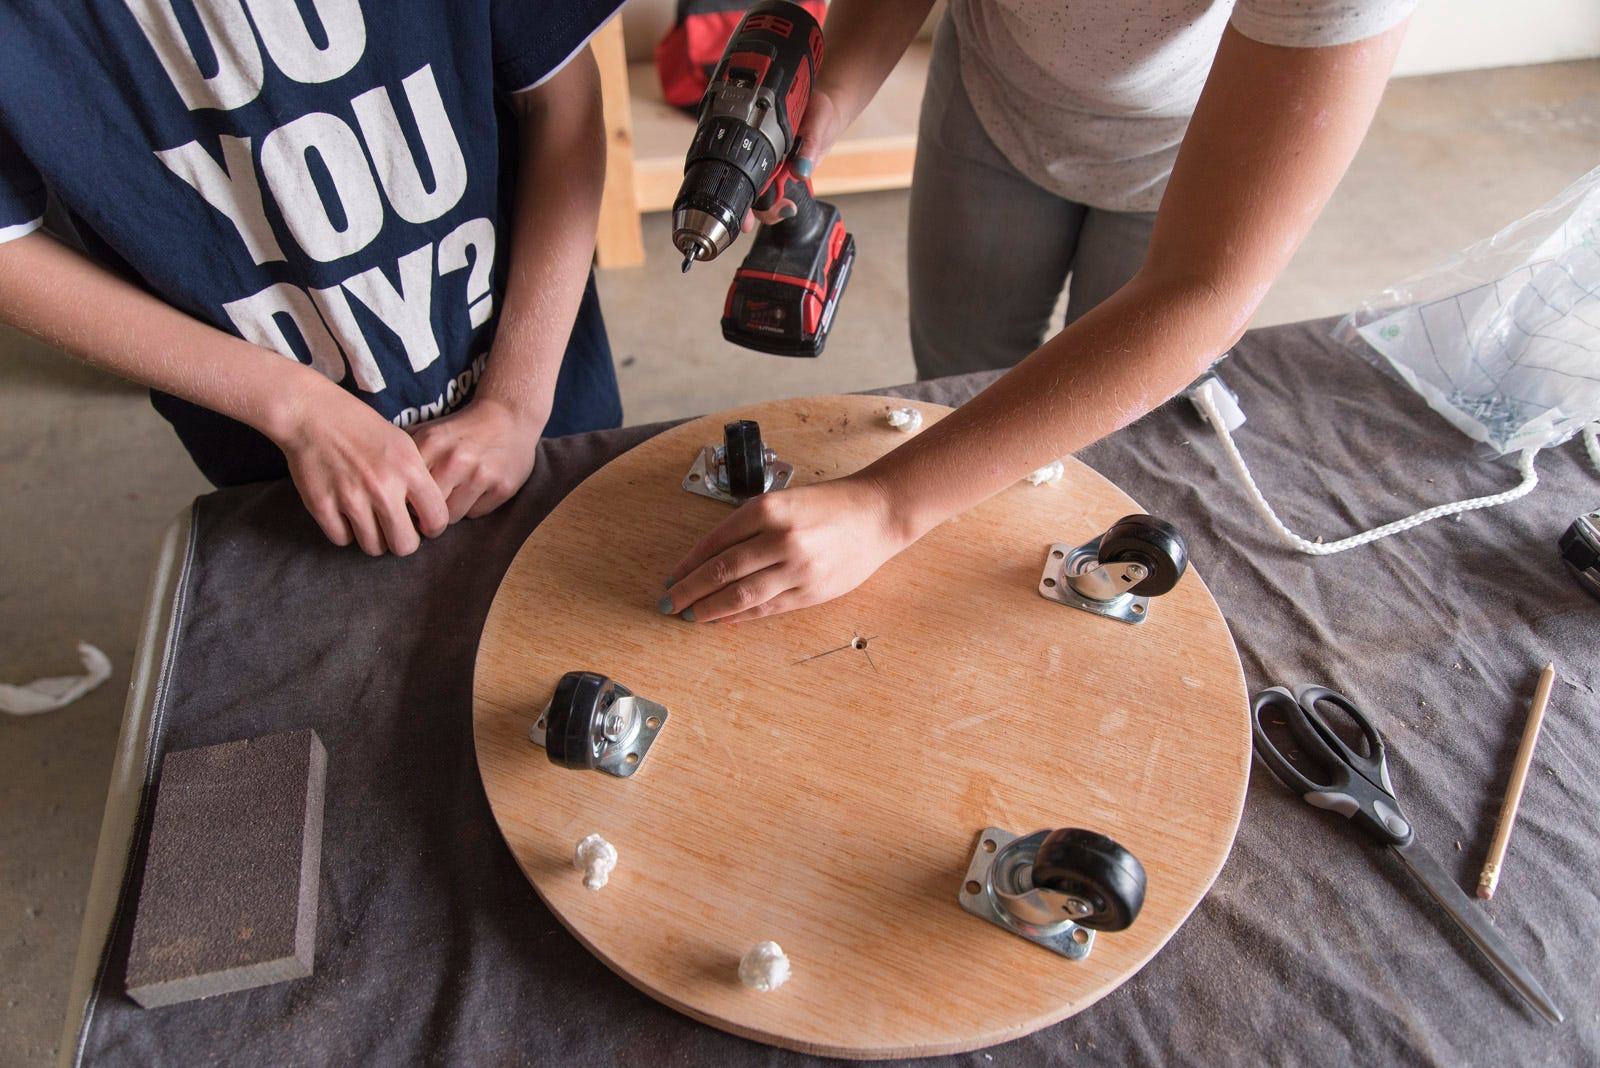
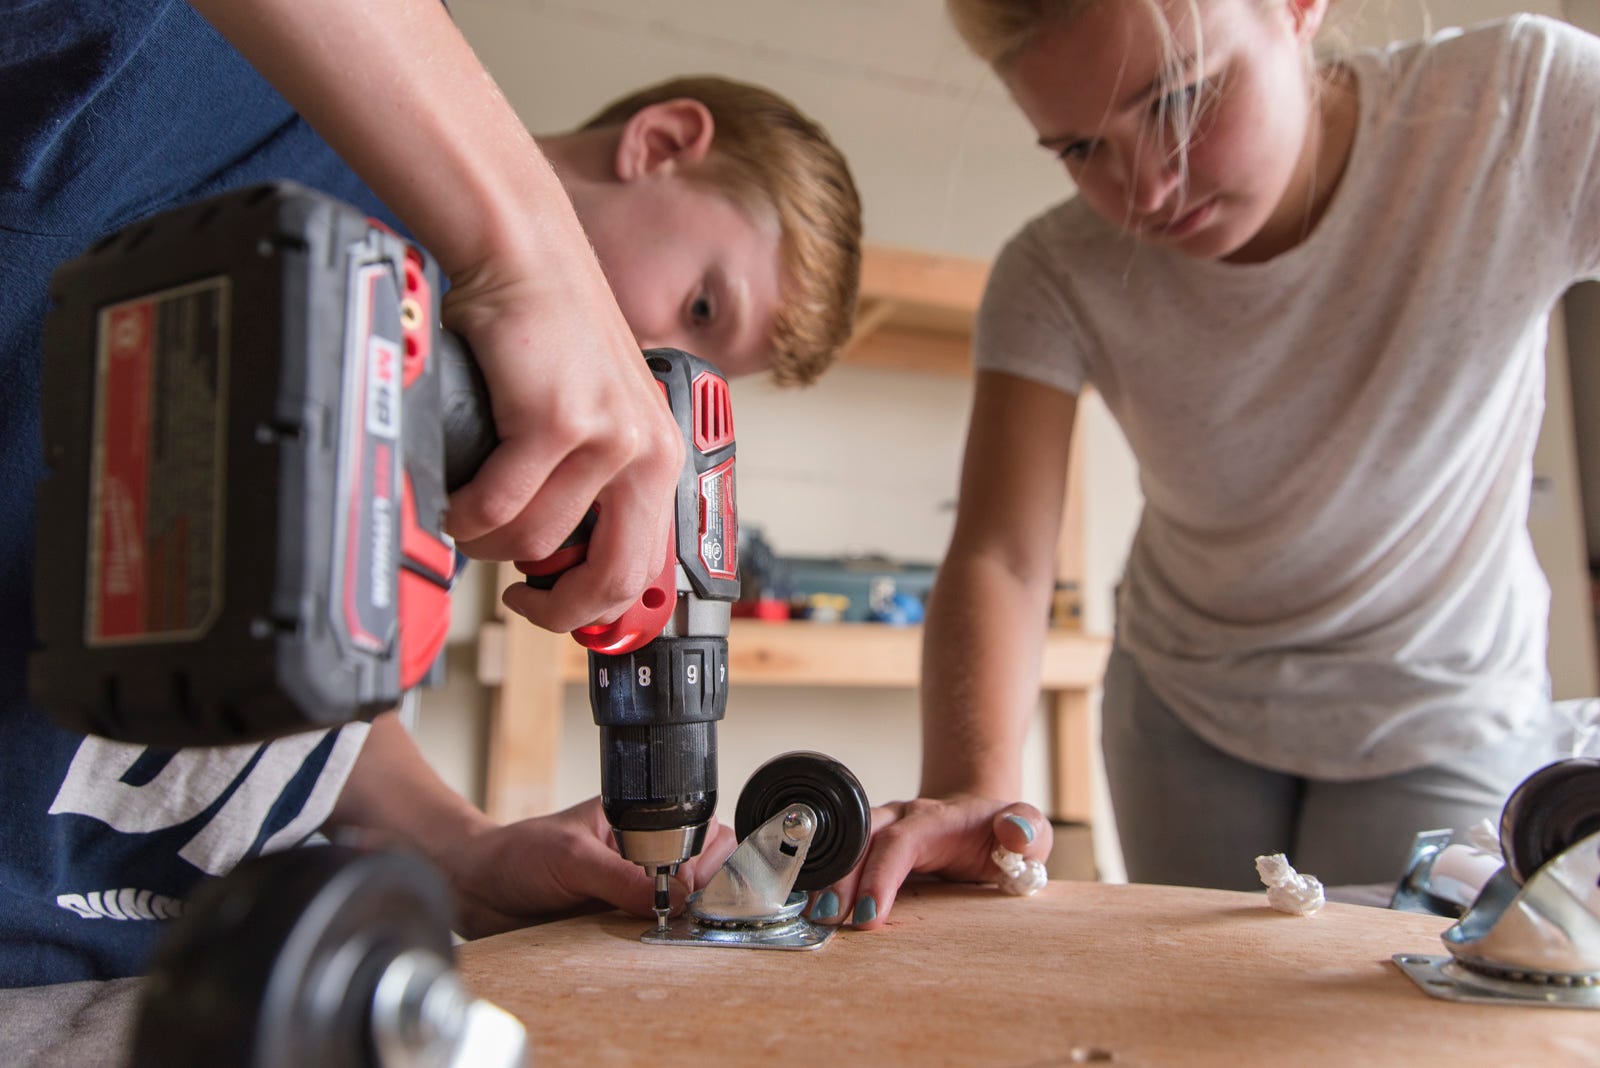
Step 5: Attach the Wheels
Position the casters on the bottom of the scooter. Again, we just eyeballed their positioning. Pre-drill with a 3/32" drill bit (being careful not to drill through to the top side of the scooter). Screw in place with 3/4" screws.
Step 6: Check Out Your New Creation
The scooters are complete! As you can see, we tried out two different types of rotating casters. The rotating part is key, so that the scooter can move in any direction. The casters on the left performed phenomenally and the scooter could spin in place like a Lazy Susan. The white casters on the right did not do half as well, and also didn't support as much weight. So it was an outstanding vote for the casters on the left.

Step 7: Have Fun!
