
"We’re using the Deckorators Lighting Kit because it contains nearly everything you need—from the transformer and photocell to the string of eight lights and the paddle bit to install them with."
Materials
Tools
Adding deck lighting is a simple and easy way to upgrade your backyard. Today, we’re showing you how easy it is to install low-voltage lighting to a deck area. We’re using the Deckorators Lighting Kit because it contains nearly everything you need—from the transformer and photocell to the string of eight lights and the paddle bit to install them with. While other brands follow the same basic steps, the Deckorators kit is particularly easy to use. There's no stripping of wires or worry of getting the fittings right—everything connects easily by hand with plugs that screw snugly together. Let’s get started!
Step 1: Open kit
First, unpack the kit and familiarize yourself with the different pieces. It’s a good idea to connect the components temporarily so you know what you’re working with. This kit’s string has a transformer that plugs into an outlet, followed by a photo sensor, and then individual lights in the same string.

Step 2: Set up transformer and photo sensor
Now, determine where you’ll plug in your transformer and where you’ll mount the photo sensor. The transformer needs to be plugged into a proper exterior electrical outlet, and the photo sensor needs to be mounted in a spot unobscured from daylight—its job is to sense ambient light and turn the lights on at dusk and off at dawn, so it needs to be in a place where it sees daylight.

Step 3: Plan layout
It’s time to plan your layout and mark where your lights will be. In this kit, the cord length between lights is five feet, and the length of cord between the photocell and the first light is 16 feet, so plan accordingly.
This is the step that will take the most time, but it's not difficult. Plan the exact location for your lights and make sure the five-foot wire between lights is long enough to run to the next location. Keep in mind the wiring will run under the deck and may need to go around joists or other framing that will take up part of that five-foot length.
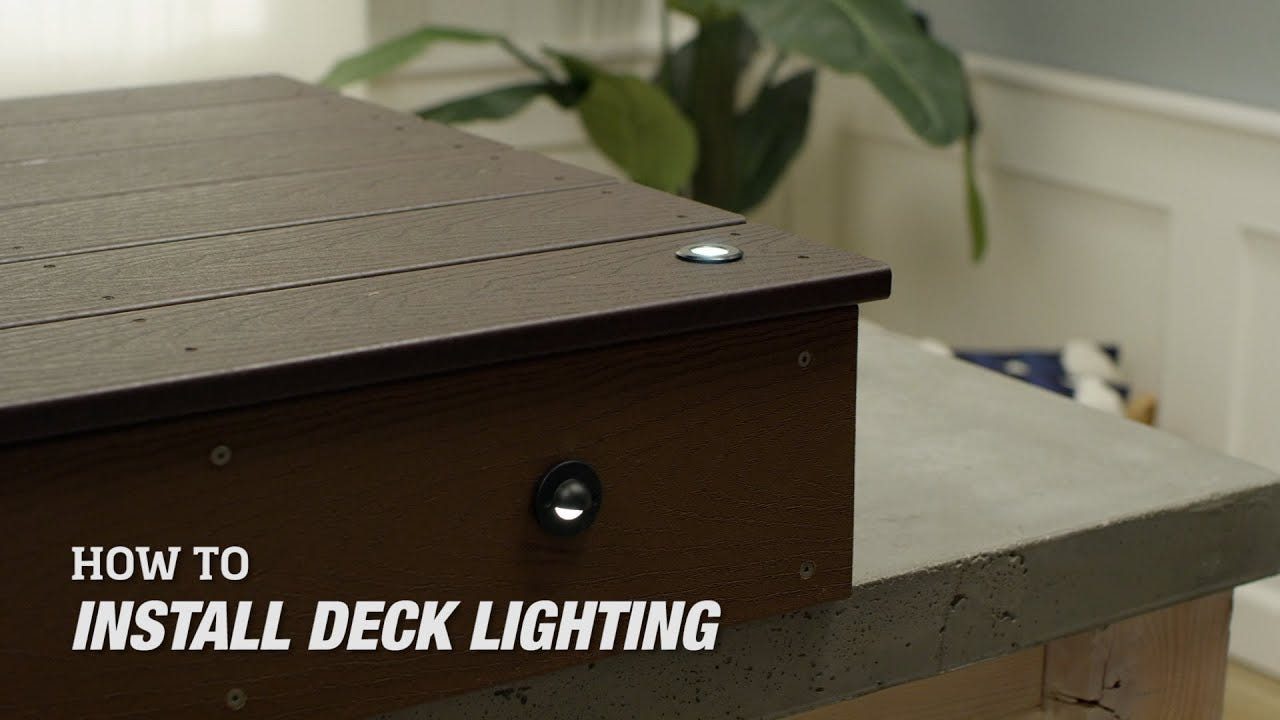
The most common light placement is on the riser of a stair. If you go this route, choose a hooded light that directs the light downward onto the stair tread. Another common placement is on the deck surface itself, which creates accent lighting (usually around the perimeter of the deck). It’s a good idea to place these under a railing or in another place where they won’t get stepped on. Mark where you’d like to place your lights with a marker or pencil.
Remember, the path the wiring takes from the photocell to the first light needs to be less than 16 feet, and the distance the wires travel between lights need to be less than five feet.


Step 4: Mount photo sensor
Disconnect the individual lights from the long string that connects them with the photo sensor. With the transformer next to your outlet, mount the photo sensor away from other lights, foliage, or extreme shade, so the photo sensor can sense ambient light properly. Be sure to leave the transformer unplugged until you’ve installed the lights.


Step 5: Install lights
Before drilling holes in your deck, double-check the marked locations and that there's enough cord to stretch between all components. In this easy-to-install, pre-wired kit, your first light needs to be within 16 feet of the photocell, and each light thereafter needs to be within 5 feet of the previous light in the string. These measurements are the path the wiring takes, not the actual distance between the components themselves.
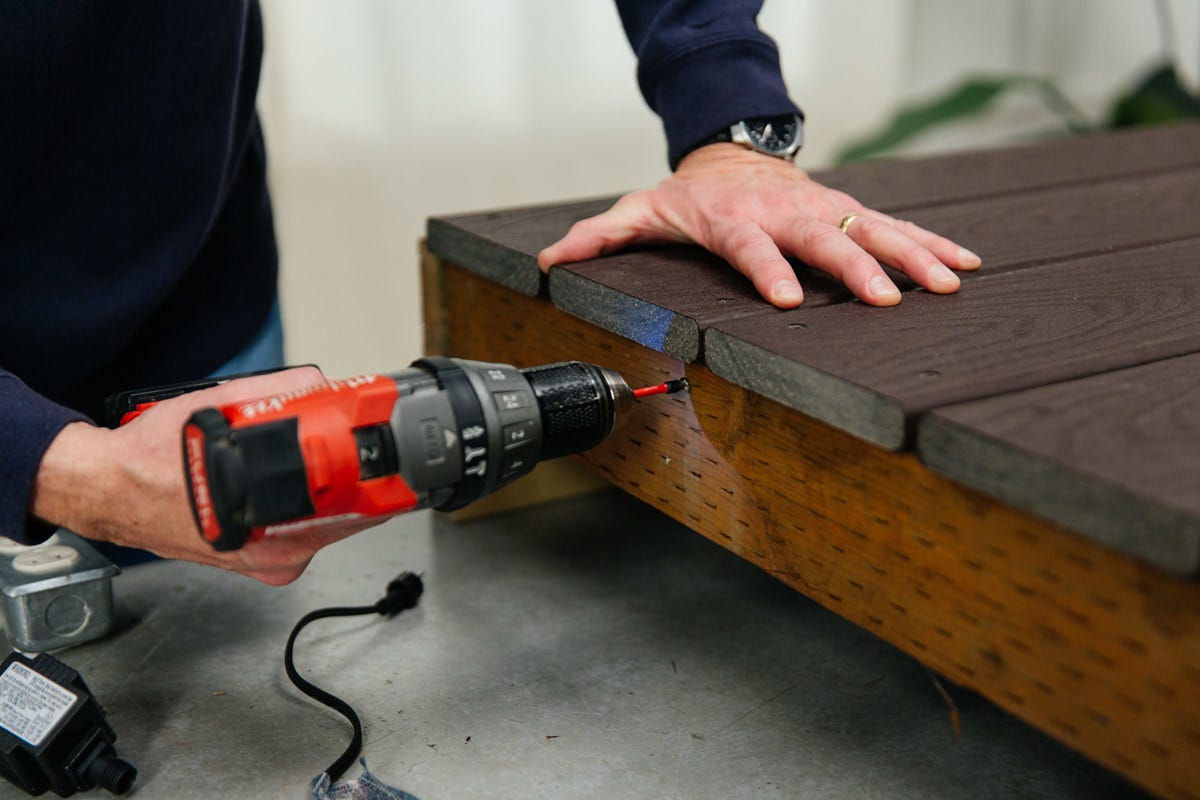
Find the mark you made earlier for the first light’s location. Before you install the light, ensure there’s no obstruction behind that spot. Using the paddle bit included with the kit, drill a hole all the way through the deck or riser material. Make sure to keep the drill bit perpendicular to the surface—otherwise, the light may not seat properly.
Once your hole is drilled, feed the wires of the first light through the hole, and press the light snugly into place.
Repeat this same process for the other lights until your string is complete.


Step 6: Connect lights
When all your lights are in place, connect the transformer to the photocell and the photocell to the first light using the extension cord. Then, connect the lights to each other by screwing the hand fittings together (screw them snugly together, but don't over-tighten).
Plug in your transformer and cover the photocell to test the lights—covering it with your hand or a piece of tape will simulate darkness, and the lights should turn on within 30 seconds.


And you’re ready to go enjoy your new lighted deck! For more ways to care for your deck, take a look at our posts about how to refinish a deck, how to create a dry space under your deck, and our overall decking guide.