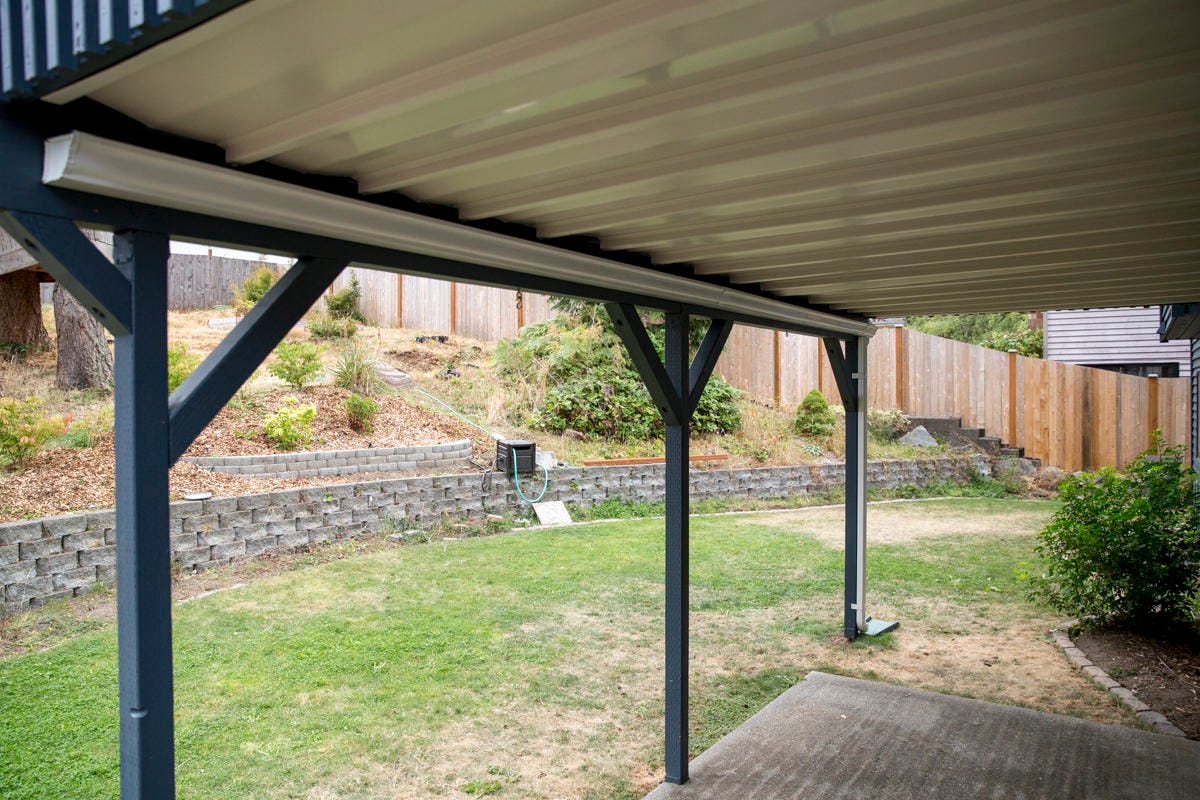

"This aluminum gutter was an easy install, and holds all the water collected by the TimberTech DrySpace under-deck system."
Materials
- 5" Aluminum 'K' Gutter
- Gutter Slip Connectors
- Gutter Endcap (left side)
- Gutter Endcap (right side)
- Gutter Drop Outlet
- Hidden Gutter Hangers
- White Aluminum Gutter Downspout Pipe
- Downspout Elbow (style 'B', or 'side elbow')
- Downspout Straps
- 2" Screws for Gutter Hangers
- Gutter Lap Sealant
- Downspout Splash Block
Last week we installed TimberTech’s DrySpace product, which captures and diverts water from the deck above. This week, we’re installing a gutter and downspout for that diverted water.
DrySpace’s installation instructions mention a gutter as optional, but given the Seattle rain—we knew a gutter was necessary (unless we wanted to be looking at the backside of a waterfall every time it rained). We decided to install our run of gutter and the downspout along the deck's beam. There are many options for gutters: vinyl gutter, aluminum gutter, galvanized steel gutter—the list goes on. All of these options have their pros and cons, but we chose to use aluminum gutter components. And since this is Dunn DIY, we chose to do it ourselves.
If you’d prefer not to DIY this one, you can call a gutter company to come out to your home and install a continuous gutter for you.

Step 1: Make a Plan
We measured the length of gutter we needed, which was a bit shy of 20’, and figured out how many components it would take to get the rest of the job done. For us, this meant two 10’ lengths of gutter, gutter hangers, end caps, slip connectors, a downspout, and a drop outlet section for the water to drain out. The hidden gutter hangers come attached, as you can see in the photo below. These are easy to separate by hand.

Step 2: Mark the Position of the Gutter on the Beam
You'll want to position the gutter where it will collect the runoff water from the DrySpace panels. You will also need a gap above the gutter for access, and a drill or driver as you mount the gutter to the beam. Consider how much clearance you will need above the gutter. Once you know where the gutter will mount, mark one end. Then mark another spot at the other end of your run, building in ½” of slope for every 10’ of run. Using a chalk line, snap a line to mark where the upper edge of your gutter will be.

Step 3: Assemble Your Gutter Pieces
We chose to assemble our gutter run on the ground. It’s an easier place to work (and it’s safer), but you can work up on a ladder if you prefer. If you work on the ground, you’re going to need helpers to lift the assembled gutter section into place. Either way, you're going to be thankful if you wear gloves. While not razor sharp, the edges of metal gutter can cut you. This is especially true when fitting the pieces together.
Gutters: Cut gutters to fit your dimensions. We used a hacksaw to shorten one length of gutter needed for our beam. Place a wood block in the gutter as you cut it to help hold its shape.
Gutter hangers: Choose your preferred gutter hanger. We used hidden hangers for this project, which were placed every 2’ in our gutter section while it was still on the ground (there won't be enough room to fit them in once the gutter in mounted).
End caps: Apply a bead of gutter and lap sealant to the caps before slipping them onto the gutter. Secure the end cap with a crimping tool, then apply a second bead of sealant along the joint (on the inside of the gutter). Luckily none of the sealant will be seen in this, so it doesn't matter how messy it looks—just so long as it does the job.
Slip connectors: These join two lengths of gutter together, or are used between gutters and drop outlets. Similar to the end cap, we caulked the slip connector before assembly and applied caulk inside the gutter once the parts were joined too. These connectors proved to take patience and some manipulation to attach securely. On one particularly challenging connector, we used a pair of needle nose pliers to make a little more room for the gutter to slip into the connector.
Drop outlets: Position drop outlets—a small section of gutter with a scupper built in—near walls or posts, so the downspout can be secured to something solid. Water will drain out through the scupper into the vertically mounted downspout.


Step 4: Hang the Gutter Assembly
We started by pre-drilling a few holes in the gutter so we could tack it to the house. Once the pieces were assembled, we lifted the gutter up and tacked it into roughly the correct spot by driving a few screws through the back of the gutter and into the beam. Once the assembly wasn’t hanging precariously, we attached it permanently by aligning the top edge of the gutter with our previously marked chalk line, and drove screws through the hidden gutter hangers into the beam.


Step 5: Cut and Install Downspout
We wanted to have an elbow at the bottom of our downspout that diverted water to one side and onto a splash block. This requires a bit of space, so we figured that into our length and shortened the downspout by cutting it with a hacksaw. Next, we attached the elbow at the bottom, slipped the top of the downspout around the gutter's scupper, and secured the downspout to the post with a strap near the top and bottom. It often helps to shape the straps before attaching them. Finally, we tucked a splash block under the elbow at the bottom of the downspout, to diffuse any gushing torrents of water collected by our DrySpace and gutter.


With these simple steps and materials, we've created a channel to carry the water away from our deck and patio—making the DrySpace even more enjoyable in every season.
