
"While fencing might not seem like the most obvious area to customize, a framed-panel fence adds a nice, distinctive touch to your yard."
Materials
For more on how to building DIY fences, visit our tutorials on How to Set a Fence Post, How to Build a Vertical Fence, and How to Build a Horizontal Fence—and prolong your fence with LifeTime Wood Treatment.
In the final installment of our “How to Build a Fence” series, we’re tackling a more advanced design: how to make a framed-panel fence. While fencing might not seem like the most obvious area to customize, a framed-panel fence adds a nice, distinctive touch to your yard.
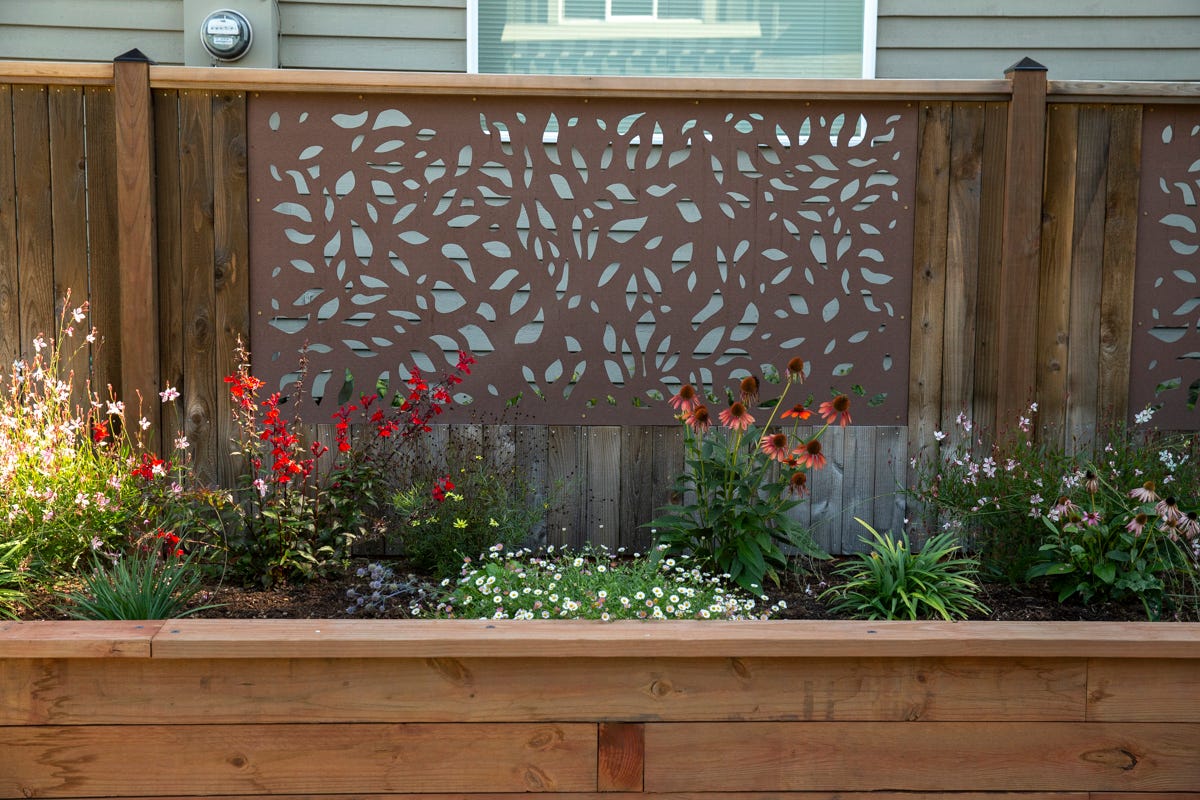
Our custom-design fence section uses a decorative panel from Modinex that will screw onto the frame we build and be bordered by one-by-four cedar fence boards. (You can also make DIY fence panels, if you want.) The decorative panel we chose is a quarter-inch thick and measures 3’ by 6’. We’re centering it side-to-side within the fence section, but pushing it toward the top of the section because short plants will eventually be placed in front of the fence. We’ll work from top to bottom, so once you have your fence posts in place, it’s time to get started.

Step 1: Position top rail
Start by determining the height of your top rail and, using a level, marking that height on both fence posts. For more on top and bottom rails, check out the other blogs in this series. Screw a two-by-two to the two-by-four rail—this will be what you screw the top of the panel into. Mount the top rail between the posts with the two-by-two on the bottom and at the back.


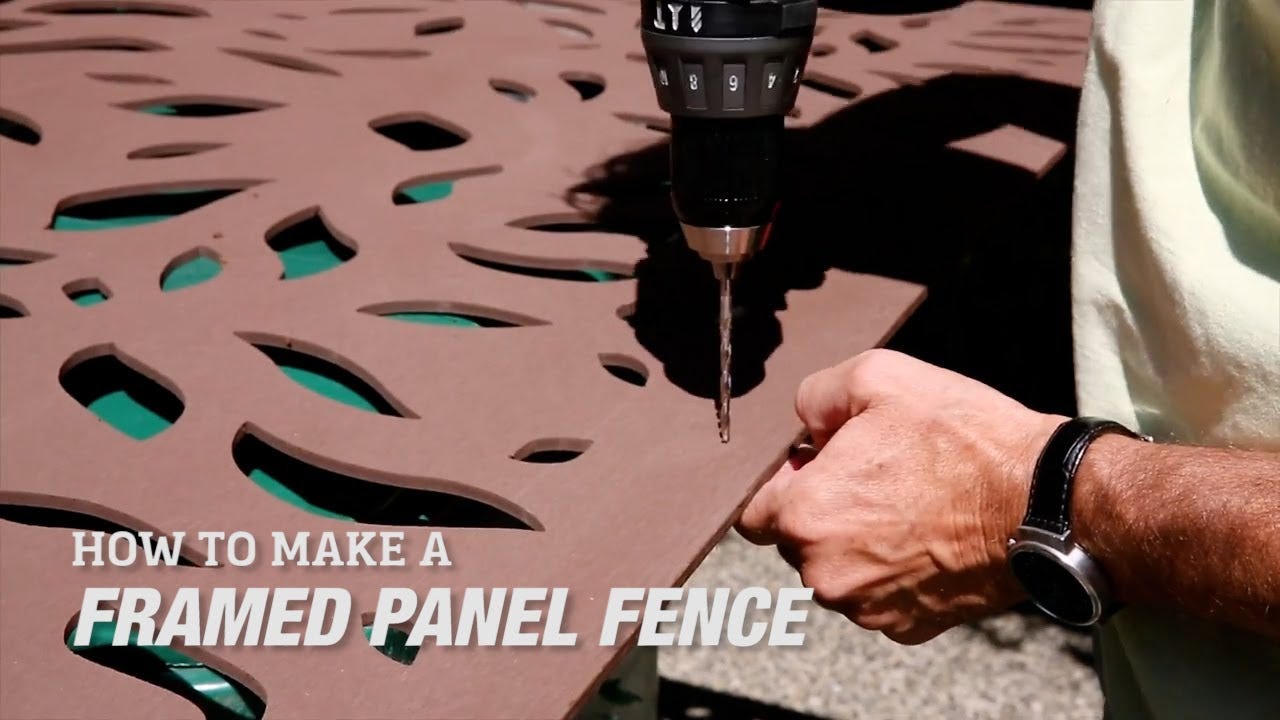
Step 2: Pre-drill panel
Modinex fence panels are made of a durable, sustainable wood-poly composite that has a natural timber look and feel (and is easy to drill into). We’ll be mounting our panel with exterior screws and drilling a hole slightly larger than the shank of the screw. The point of drilling an oversized hole is to allow the panel to expand and contract in weather without buckling. Following Modinex instructions, pre-drill holes every 12” to 18” along all four sides of the panel.

Step 3: Mount top side of panel
Position the panel equidistant from each fence post, then screw it into the two-by-two that’s fastened below your top rail.


Step 4: Position middle rail
Using a two-by-four for the middle rail, attach it (on-edge this time) so you have about one inch above the bottom of the panel—this is what you’ll screw into.


Step 5: Attach vertical framing pieces
Then, cut two two-by-fours to fit between the upper rail and the middle rail. Position them so as to give you something to screw the panel into, with the rest outward from the panel.


Step 6: Install bottom rail
Once that’s finished, place a bottom rail. Short pieces of fence boards will nail to the bottom of the middle rail and to this bottom rail. Our fence design uses a two-by-six piece of pressure-treated lumber as the bottom rail, and we’ve positioned it right down into the soil. Regular lumber shouldn’t touch the soil (it’ll rot and decay over time), but pressure-treated lumber is OK for ground contact.


Step 7: Fasten panel in place
Using screws in your pre-drilled holes, fasten the whole perimeter of the Modinex panel in place.

Step 8: Attach fence boards
We have full-height boards to the right and left of our panel that run from the bottom of the top rail down to just above ground level. Beneath our panel, we have shorter boards. For the long boards, determine the needed height and length of the boards, cut them to size, then fasten them to the top, middle, and bottom rails. For the short boards, determine the height you need, cut them to size, then fasten them in place below the panel so they stretch down to just above the ground.
Rip boards to a narrower width as needed. You’ll notice we worked from the outside in and used a narrow board at the center point of our short boards.


Step 9: Add fence post cap
Choose a fence post cap that fits your style—there are tons of options to pick from—then step back and admire your handiwork.