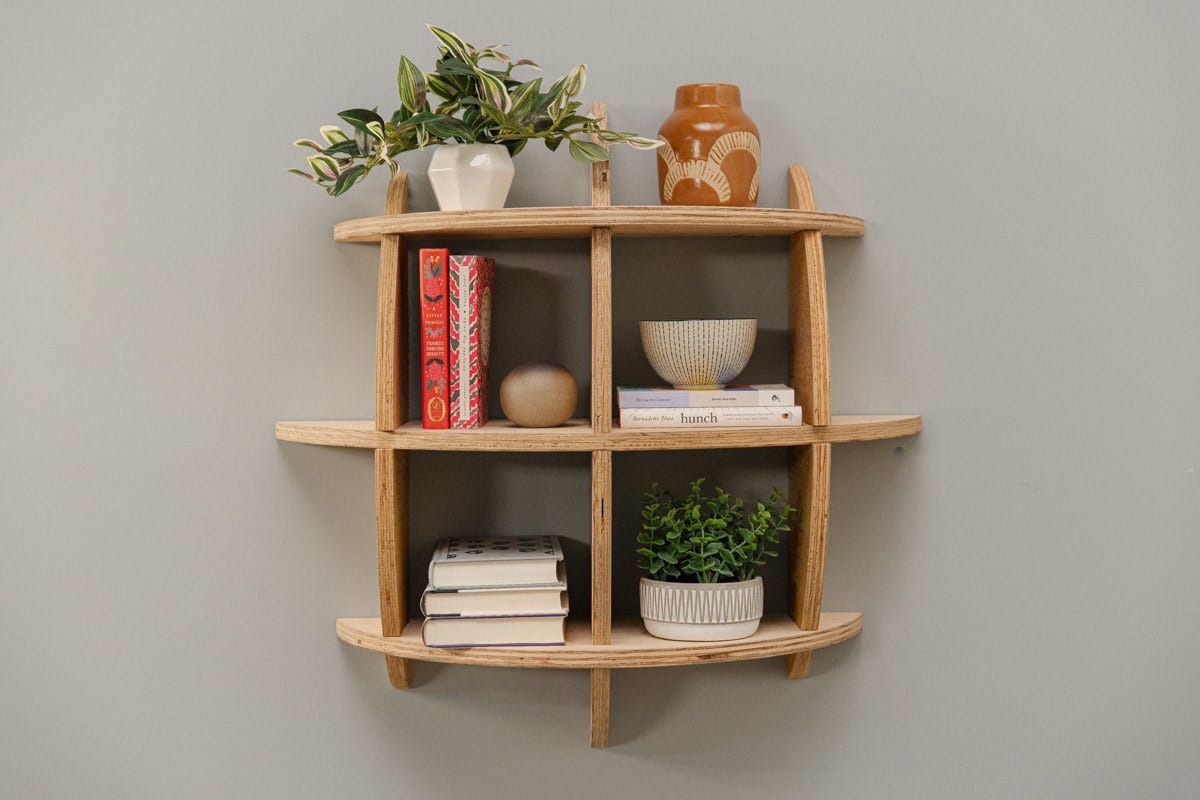

"This eye-catching geometric bookshelf comes together with just three pieces of wood."
This week we’re joined in the DIY studio by friend and Dunn Lumber employee Jason. Jason works in our Lake Union store, not too far from the boatyard he grew up in.
As a kid, Jason spent his time at his family’s boatyard learning the boat-building process and helping his grandfather build model boats. He’s an avid DIYer today, and isn’t afraid to take on a challenging project!
Jason was inspired to build this spherical wall-mounted bookshelf after seeing several photos on Pinterest (the design is sometimes called a Massaroni sphere). Buying a shelf like this pre-built is quite expensive, so Jason decided to take on the challenge himself.
This bookshelf takes well to any kind of stain or paint, so you can easily match it to your home interior.
Let’s get into it!
Step 1: Measure and cut semicircles
This project is constructed using only six pieces of wood and no fasteners. We’ll cut two identical semicircles from our large 30” plywood circle, and four identical pieces from our two small 24” plywood circles.
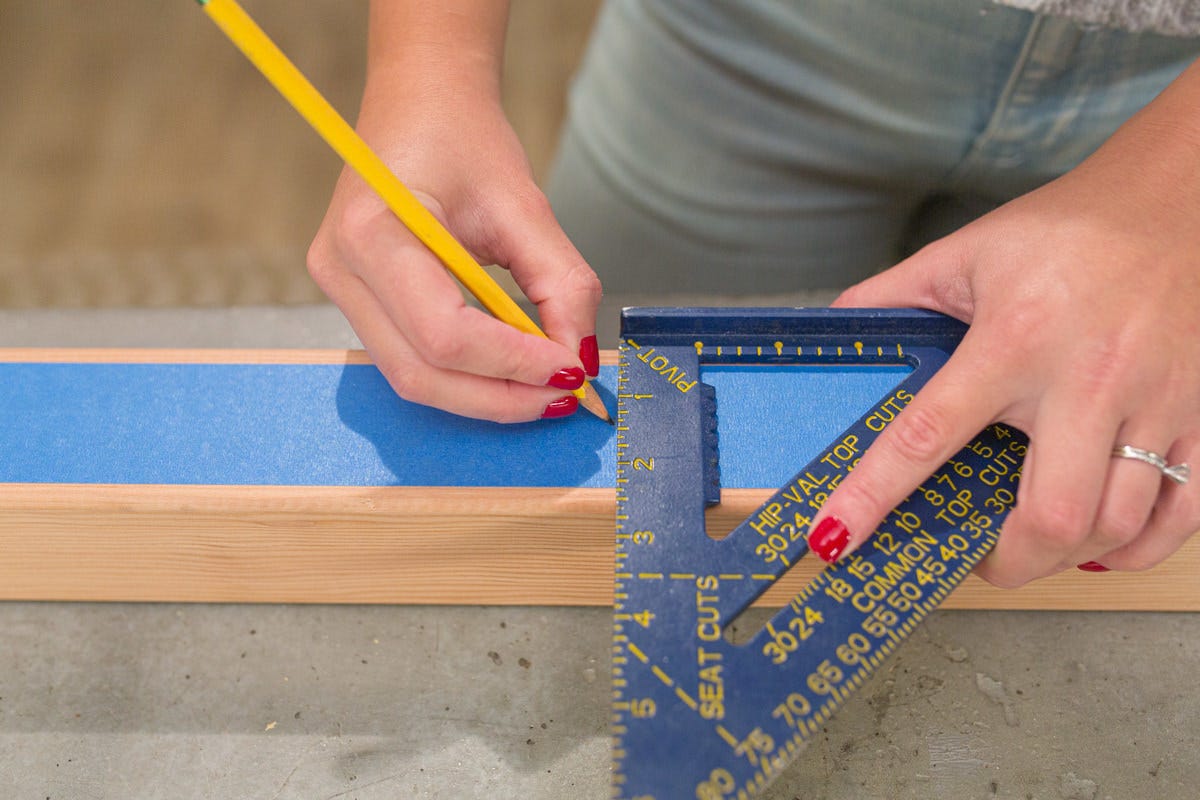
Start with the 30” piece. First, find the center of the circle: Use a square to find the central point where the radius is the same measurement on each leg of the square. Use this mark to make a diameter line across the circle.
Next, we’ll find the actual cutting lines. Measure 3 ½” to the left of your diameter line and draw a parallel line. Measure and mark another parallel line 3 ½” to the right of your vertical diameter line. These two lines outside of the central diameter line are your cutting lines.
Now find your cutting lines on the 24” circles using the same method: Find the center using a square, then measure 2” to the left of the center and make a line, and do the same to the right of the diameter.
Double-check your measurements before cutting your semicircles. Your 30” round should create two semicircles leaving a 7”-wide strip in the center. Your 24” rounds should each leave a strip 3 ⅞” wide.**
To cut, we used a circular saw with a 40-tooth blade and clamped a straightedge of wood to the round plywood along the cut line. Our saw foot was set to 0º (about 1 ⅛” away from the edge of the shoe).
After you’ve cut all of your semicircles, stack them (aligned along the straight edge) and check the arc edges to make sure they're identical. Often, round plywood pieces aren’t perfect circles, so you may need to trim down the arc edges to get them to be perfectly identical.
Step 2a: Mark 30” pieces
Measure and mark center notches
We’re going to cut three notches in each of our semicircles:
- One (1) 30” semicircle will have three (3) notches in the arc edge
- One (1) 30” semicircle will have three (3) notches in the straight edge
Measure the distance between the straight and arced edges at the widest point of the semicircle. Ours measured 11”, but yours may be a bit different, depending on how much trimming you did in the previous step.
To find the depth of the notch, divide that distance in half (i.e., our notches were 5 ½” deep).
From the center of the arc edge of one semicircle, mark two 5 ½” lines that are ¾” wide, creating a “U” shape where you’ll make your cuts.
Do the same on the other 30” semicircle, but measure 5 ½” from the straight edge.
Measure and mark outer notches
Mark two more notches on either side of the center notch: Measure 8” from each edge of the center notch and mark a ¾” width for each outer notch. To find the depth of these notches, calculate half of the available depth (i.e., our available width was 8” so our notches were about 4” deep).
Step 2b: Cut 30” pieces
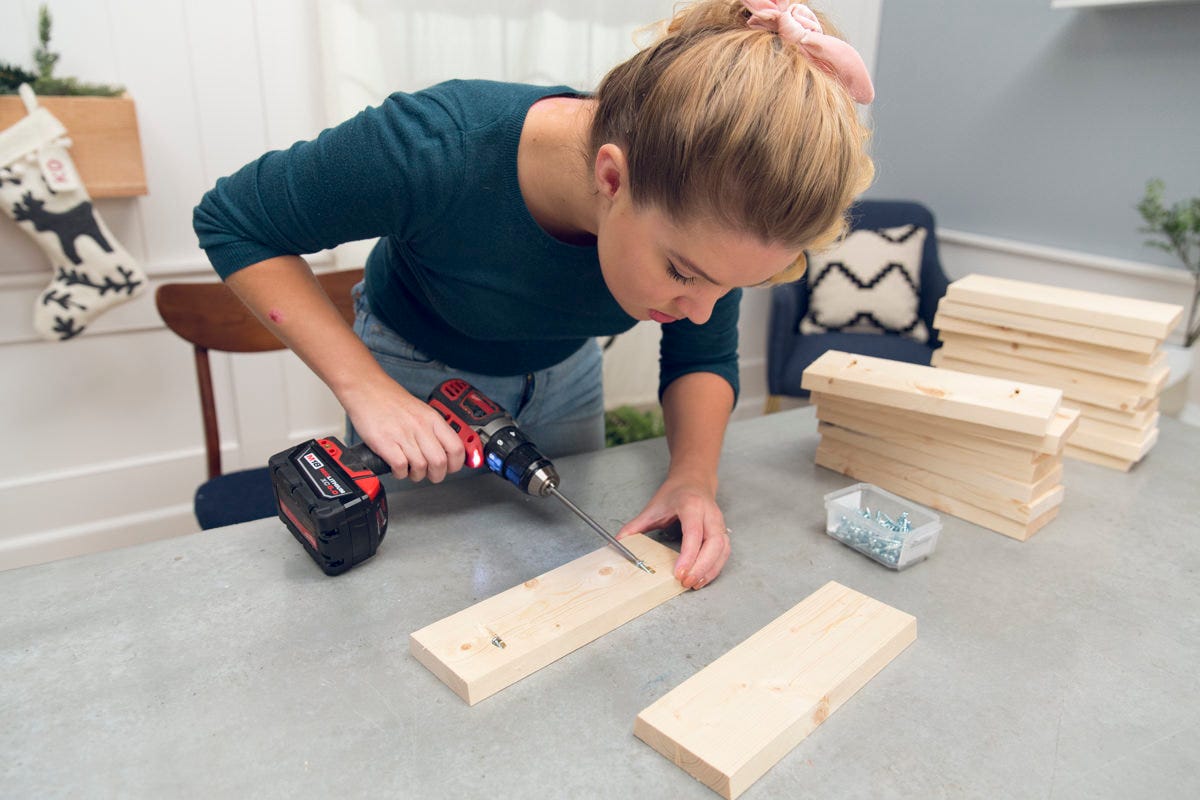
Use a jig saw to cut out the notches, cutting along the inside of your marks (this helps protect you from cutting out too much—you can always cut more out later).
Make two long cuts along the inside edge of your notch lines; then, to get the short cut across the back of the notch, angle your saw toward the corner from the other side.
Shave the cuts using a blade to get a square end. Next, measure 8” sideways from the outside wall of the slot. Mark with a pencil and draw a line, then another parallel line ¾” away toward the outside. Repeat this process on the other side.
Do a dry fit to ensure the pieces fit together and adjust if necessary.
Tip: Use masking tape along the inside edge of your notch marks to help prevent the wood from splintering as you cut.

Step 3a: Mark 24” pieces
Measure and mark center notches
We’re going to cut three notches in each of our semicircles:
- Two (2) 24” semicircles will have three (3) notches in the arc edge
- Two (2) 24” semicircles will have three (3) notches in the straight edge
Use the same method as we did with the 30” pieces to measure and cut the notches in the 24” pieces.
Measure the distance between the straight and arced edges at the widest point of the semicircle. Ours measured 8”, but yours may be a bit different, depending on how much trimming you did in the previous step.
To find the depth of the notch, divide the available width in half (our center notches were 4 ⅞" deep).
From the arc edge of one semicircle, mark two 4” lines that are ¾” wide, creating a “U” shape where you’ll make your cuts.
Do the same on another 24” semicircle, but measure 4” from the straight edge.
Measure and mark outer notches
Mark two more notches on either side of the center notch: Measure 8” from each edge of the center notch and mark a ¾” width for each outer notch. To find the depth of these notches, calculate half of the available depth (i.e., our available width was 6” so our notches were about 3” deep).
Replicate the outer notch lines on the other pieces by mirroring the lines from this first piece.

Step 3b: Cut 24" pieces
Use a jig saw to cut out the notches, cutting along the inside of your marks (this helps protect you from cutting out too much—you can always cut more out later).
Make two long cuts along the inside edge of your notch lines; then, to get the short cut across the back of the notch, angle your saw toward the corner from the other side.
Tip: Use masking tape along the inside edge of your notch marks to help prevent the wood from splintering as you cut.
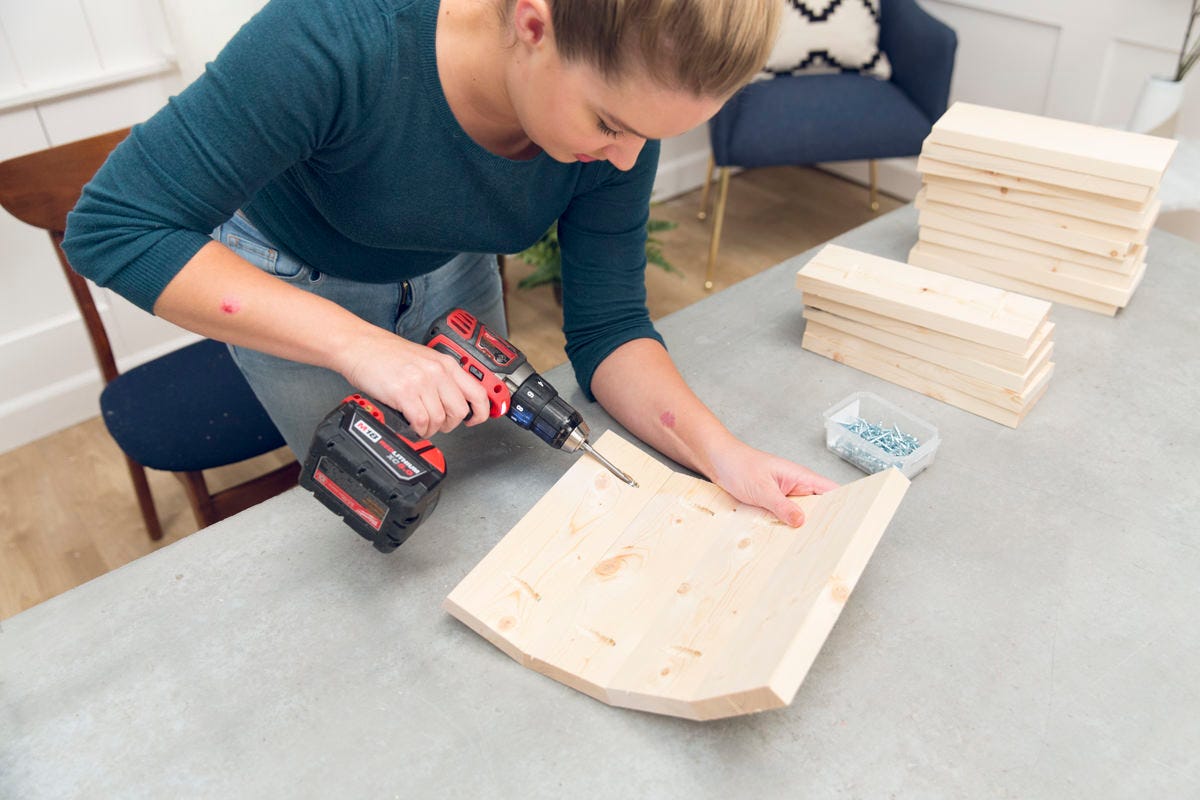
Step 4: Dry fit and fine-tune
Once you’ve cut all of your notches, assemble everything to ensure a snug fit, and adjust as necessary. Since we cut a little inside our notch cut lines, we had to trim a little here and there and sand down the insides of the notches to get everything to fit well.
Use a hammer and a piece of wood to tap the pieces snugly into place.
Step 5: Mount
Since this bookshelf doesn’t use any fasteners, you’re all done with construction! Now, all you need to do is mount it on the wall.
Measure 1 ½” down from the top of both vertical sides and screw two hangers in place. Measure a spot on the wall to match up with the hangers and hang in place.
We hope you enjoy this clever take on a bookshelf! For more DIY shelf projects, check out our DIY display case and hanging shelf.