

"Getting a special side dish from your kitchen to a friend's gathering can be stressful and messy—unless you have a sturdy food transport system like this one."
Whether it’s for the approaching holidays or warm-weather picnics, sometimes you need a sturdy, visually appealing way to transport food from your kitchen to another location.
We created these inexpensive and easy-to-build trays to help transport anything from a casserole to a pie (and to look good while doing it!). Bringing more than one dish? No problem—these trays stack and latch together so you can show up with the baked brie, pumpkin bread, and French toast all in an easy-to-carry tower of deliciousness. The handles on the ends and the latches make it easy to carry all three as a single unit to your gathering.
Let's get cutting (and cooking)!
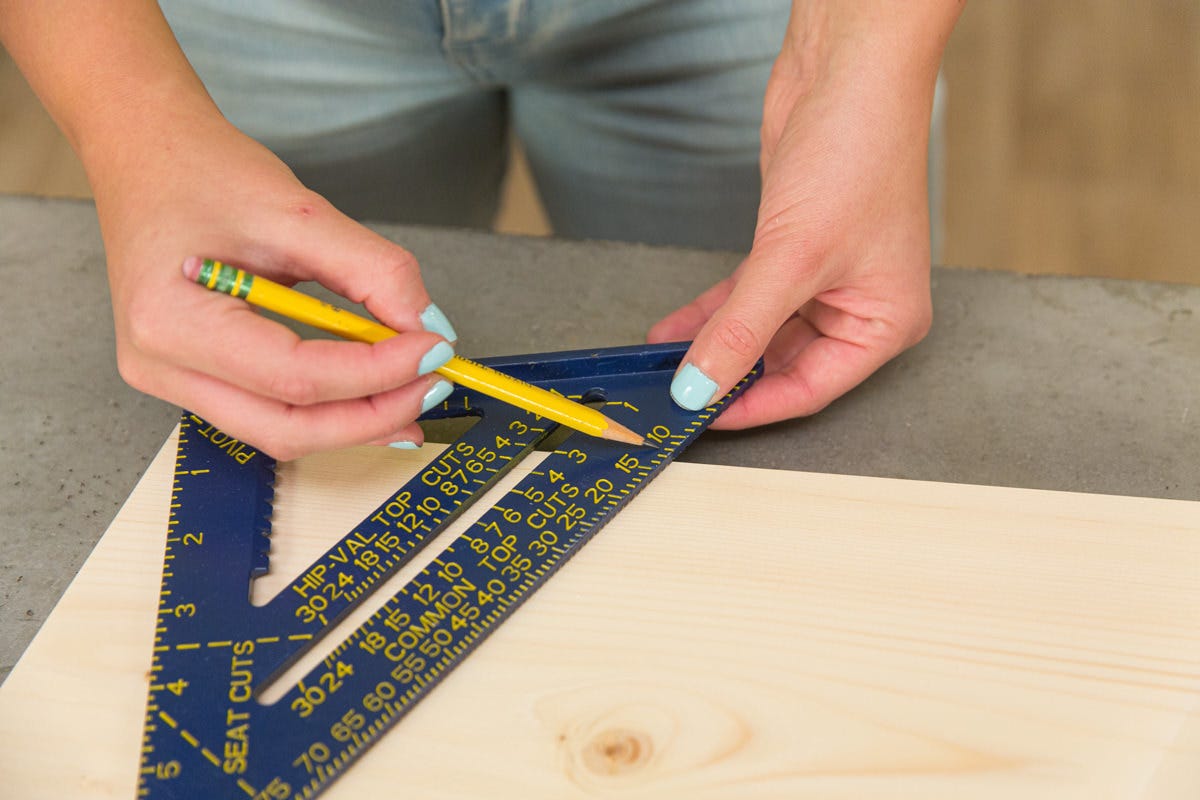
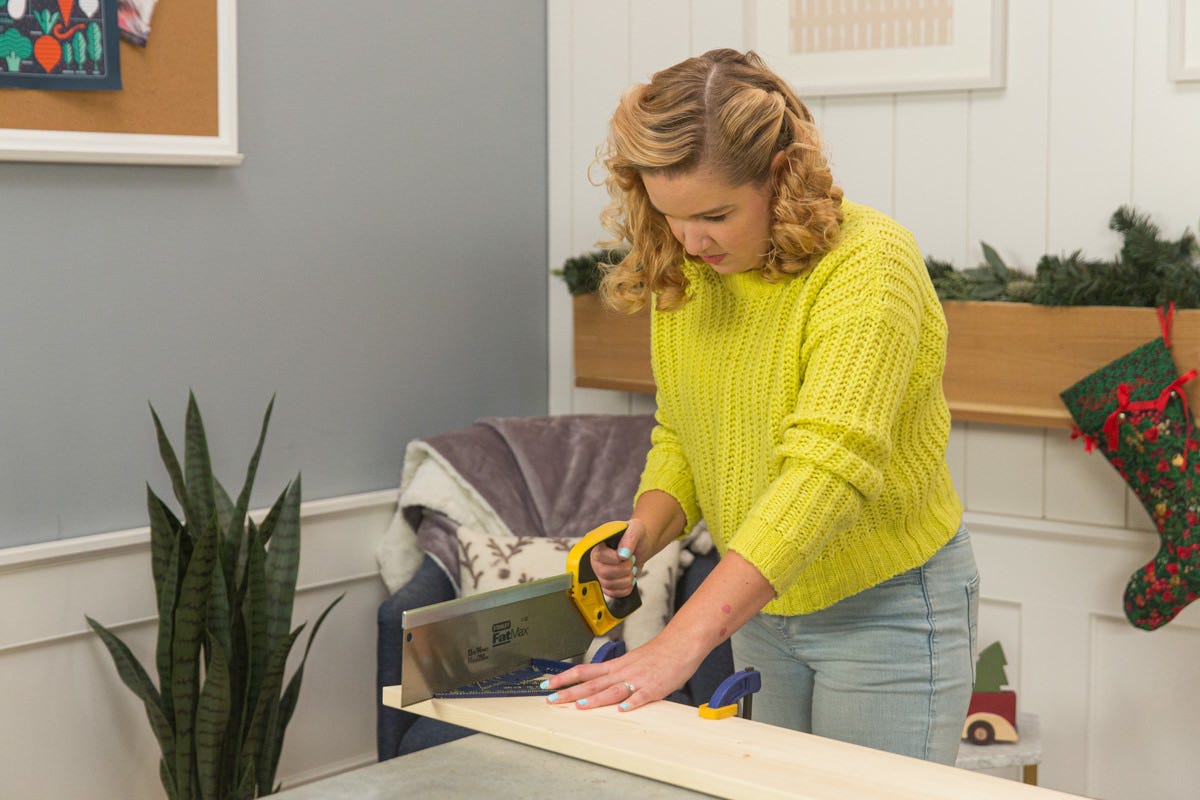
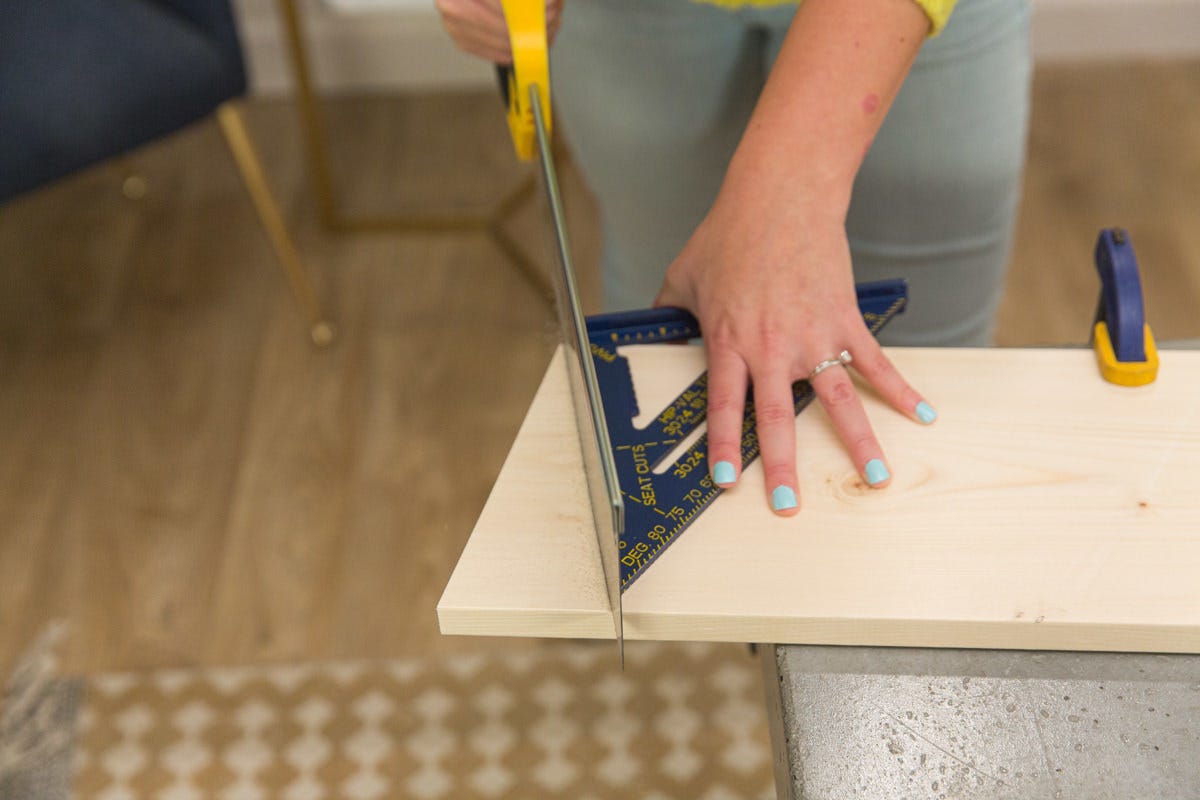
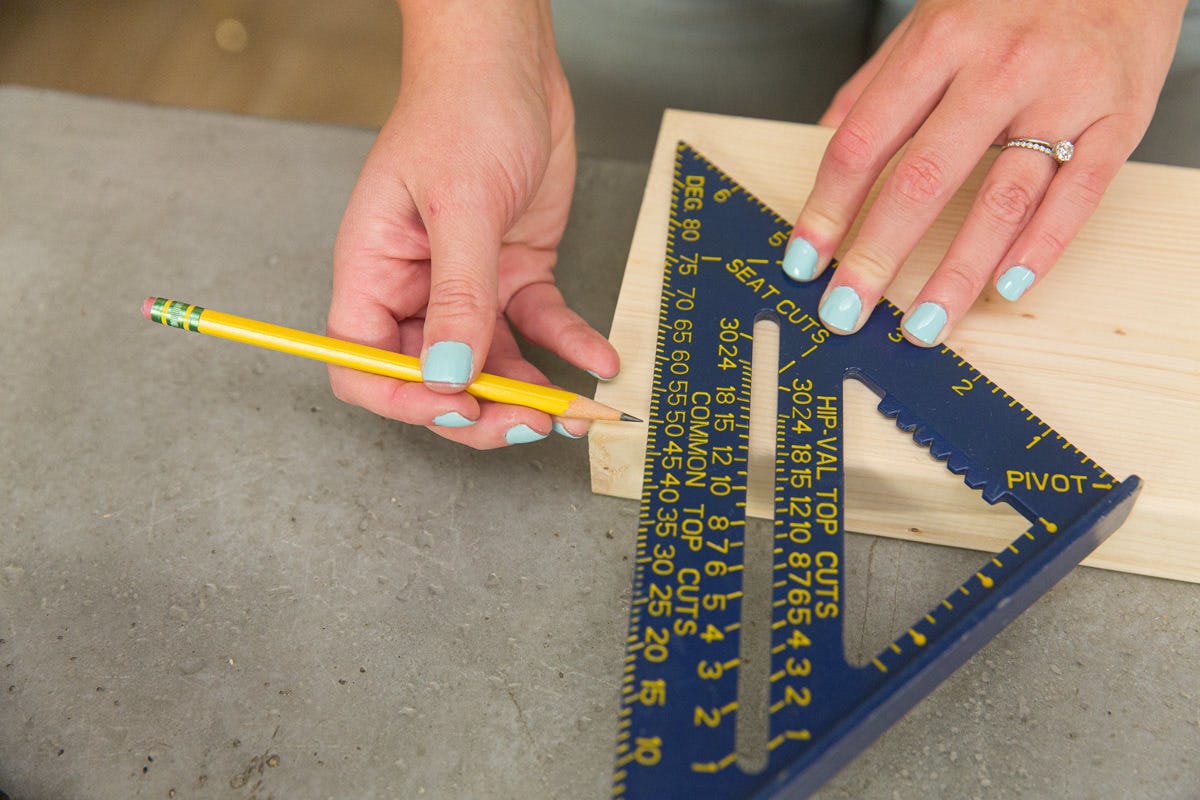
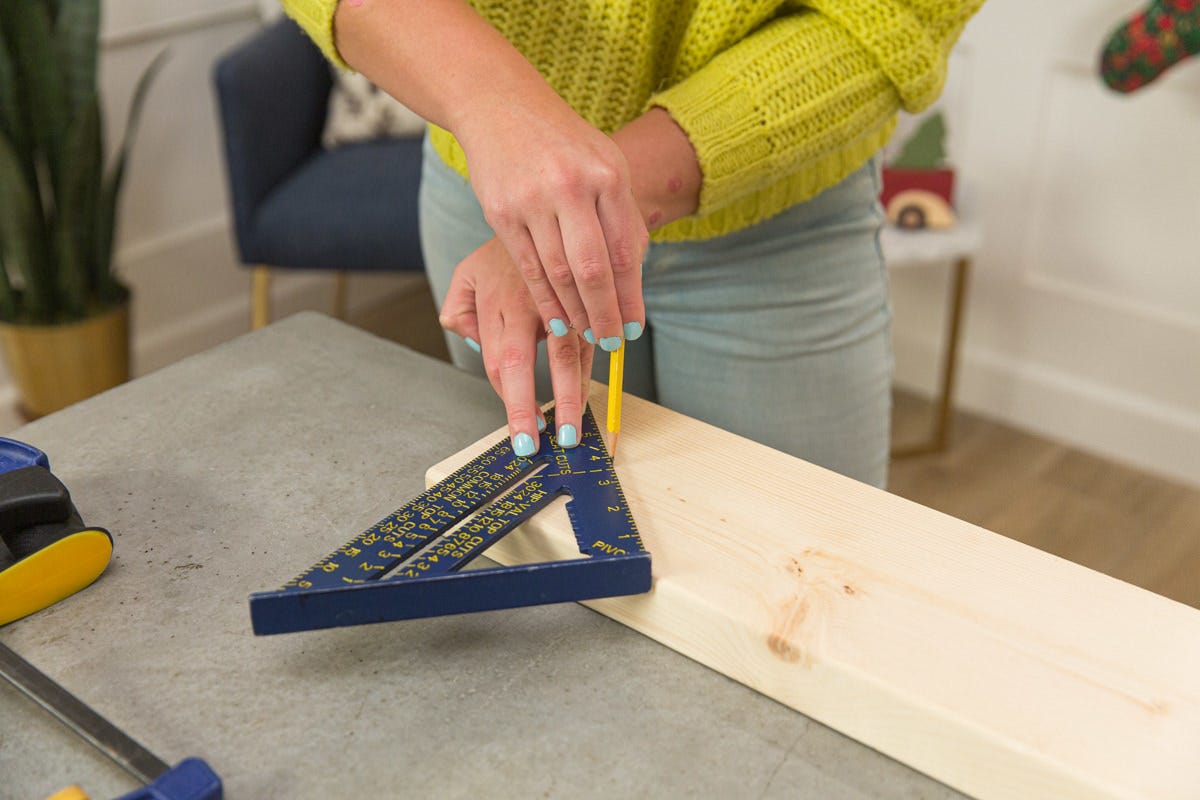
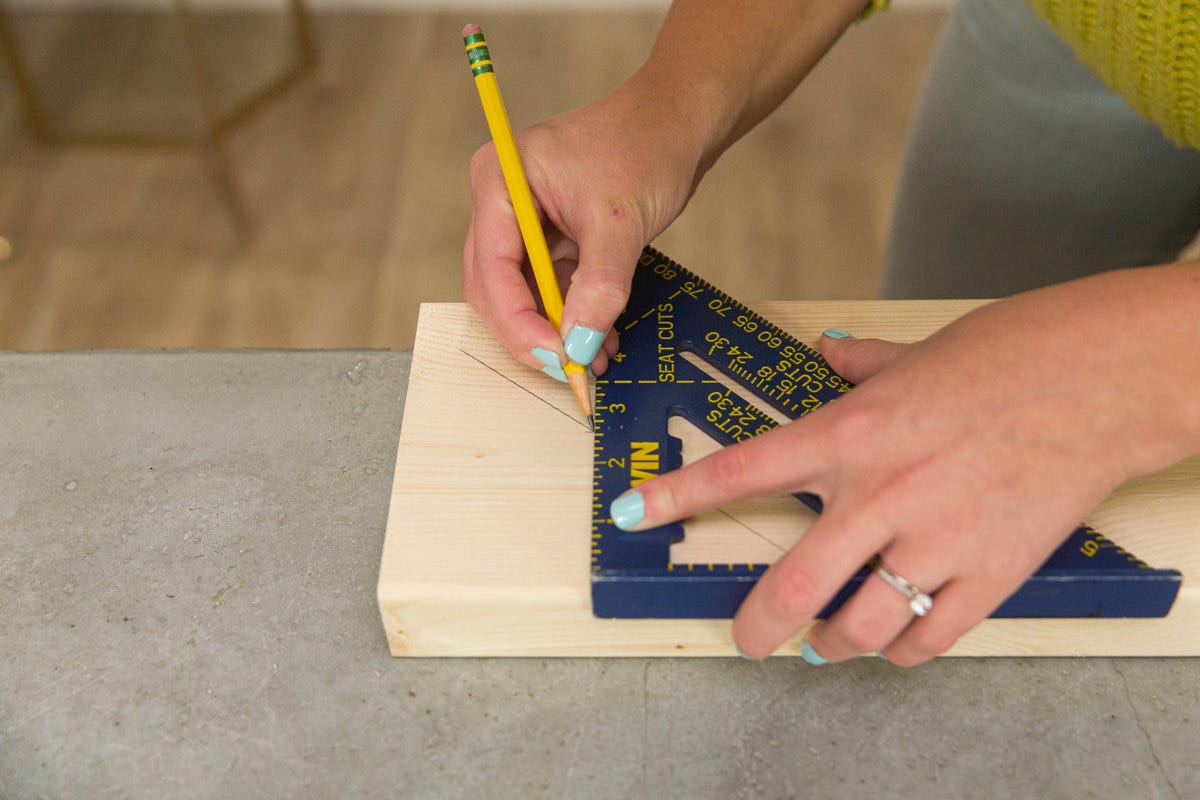
Step 1: Cut lumber
We used one-by-four whitewood lumber for this project—it’s inexpensive, lightweight, and easy to stain, if desired. A single 10-foot-long board makes one tray with a little extra, which is nice because you can cut around defects in the wood and still have enough lumber to make the complete tray.
For each tray, cut the following pieces:
- Two pieces at 14 ½” long
- Two pieces at 17 ½” long
- Three pieces at 16” long
These measurements will make a tray with an inside dimension of 10 ½” by 16”. If your favorite dish or platter is larger than that, you can extend the width and/or length of the tray to your liking—just be aware that extending the width will mean you’ll either have some gaps between the floorboards or will need to cut a board down in width to fit.

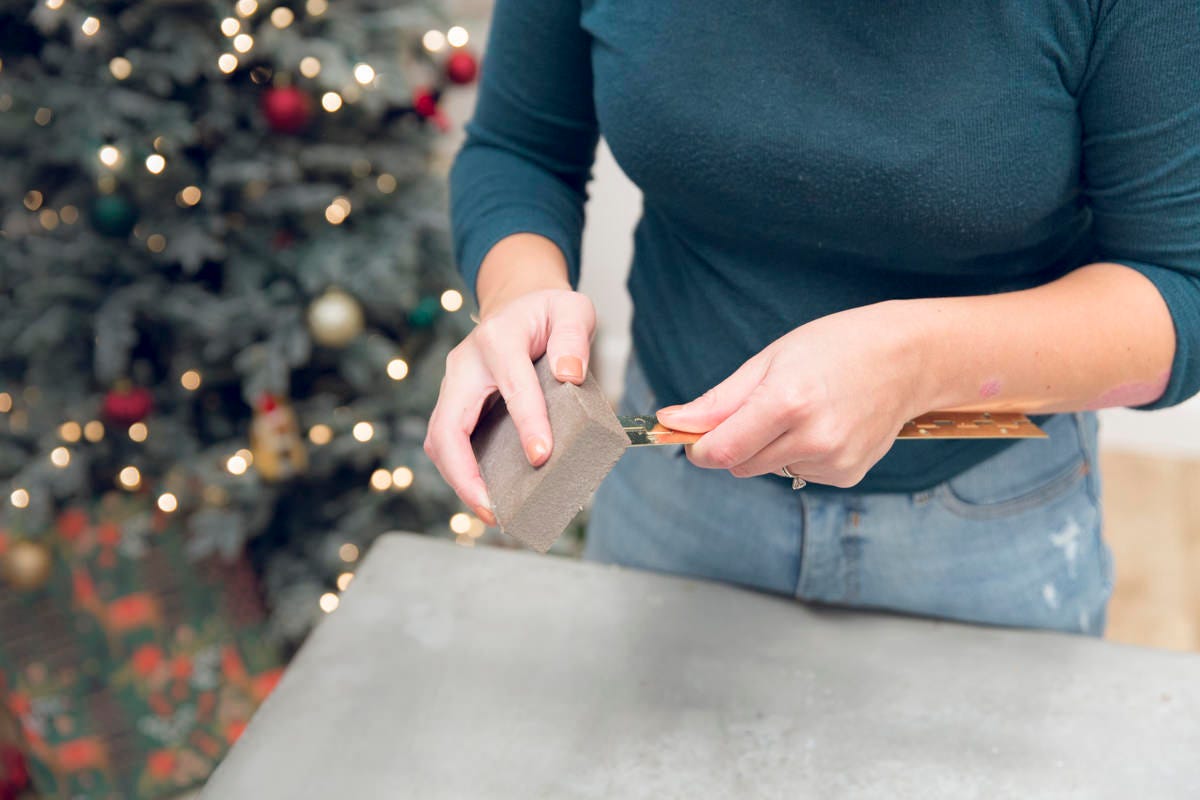
Step 2A: Sand
Using sandpaper or a sanding sponge, sand the cut ends of your boards and any other rough spots you see.
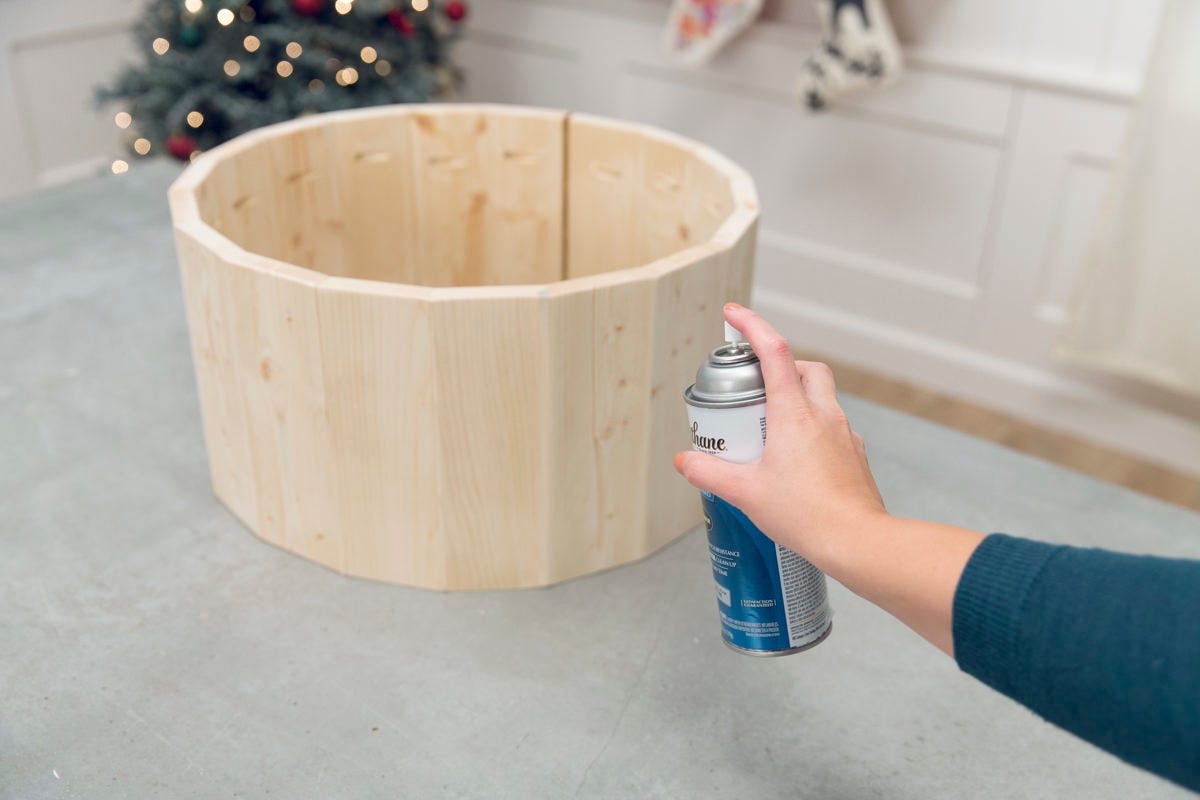
Step 2B: Stain
We chose to stop here and stain the sides and ends of each of our boards. Staining isn’t necessary, but we like the way it brings out the wood grain and makes a piece look more finished. We used a fast-drying stain. One coat is all that’s needed and only takes an hour to dry.
If you opt to stain, simply paint the stain on, wait a few minutes, then wipe off the excess to achieve the look you want. We decided to go with a palette of ebony, carbon gray, and weathered gray—one color for each of our three trays.
Step 3: Build box frame
It’s time to start assembling! Start with the four sides. Fasten a 17 ½” board and a 10 ½” board together in a manner where the shorter board’s end attaches to the longer board’s side. The box will be 17 ½” long. Finish nails and glue work great here (if you have access to one, a finish nailer makes this part quick and easy).
Next, attach another short board at the other end of the 17 ½” board. We used 1 ¼” finish nails and wood glue.
Lastly, attach the remaining 17 ½” board as your fourth side.
Note: We pre-drilled all of the holes and then used a nail set to sink the nails below the surface.
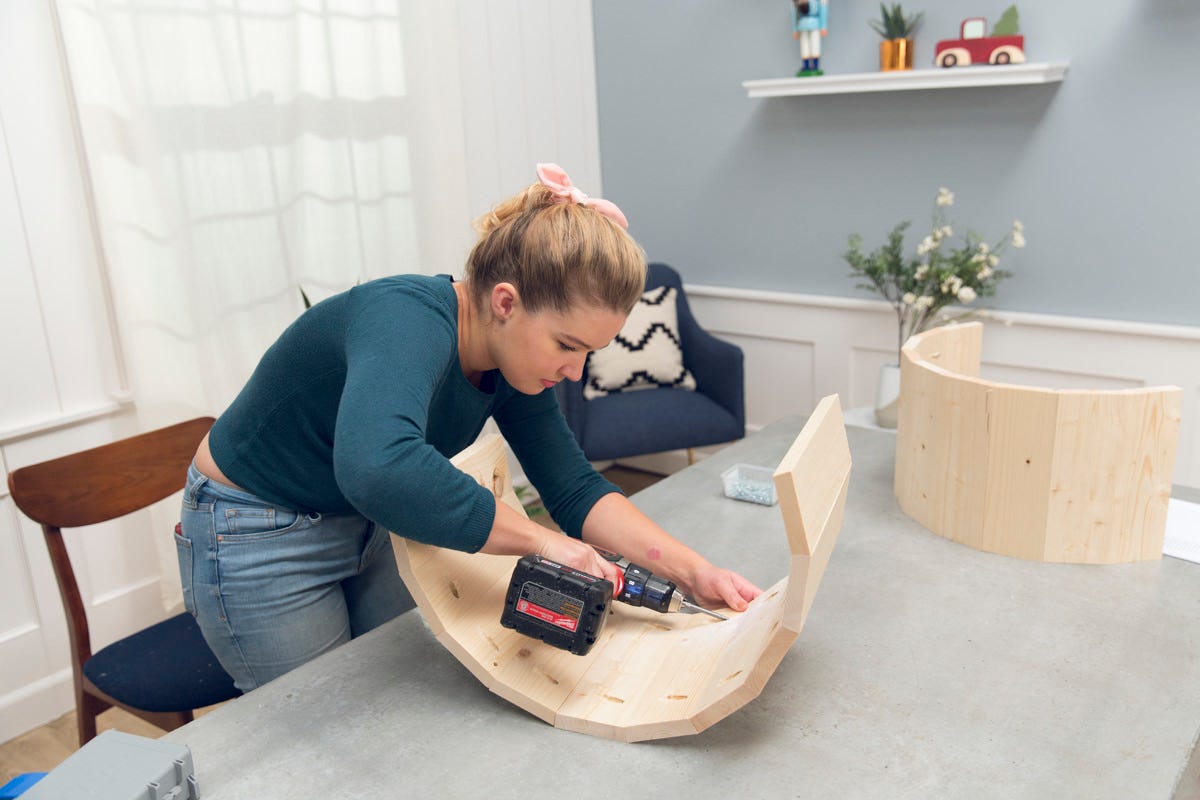
Step 4: Install floorboards
Lay the three 16” boards in the bottom of your box frame and drive nails through the 10 ½” boards into the ends of each of the 16” boards.
Note: Similar to the last step, we pre-drilled these holes and used a nail set to sink.
Step 5: Attach handles
To make the tray easier to carry, attach a handle to each end. Choose a handle style that fits your aesthetic: You can use simple pull handles like you might see on a screen door, beefier handles like the ones used for chests, cabinet drawer pulls, or even rope!
Step 6: Repeat to build more trays
If you’re the kind of person who likes to bring a side and a dessert, or can’t decide between brussels sprouts or glazed carrots and want to bring both, then you’re going to need more than one tray.
Repeat steps one through five to build as many trays as you wish, using the same dimensions for each to build virtually identical trays that will stack.
Note: To help make things go more quickly, we used a nail gun to build the additional trays.
Step 7: Install draw catches
To latch your stacked trays together you’ll need some latches. We tried a few different types and found we liked these “draw catches” best. As their name implies, they draw two things together as you throw the latch closed.
Line the larger part of the catch up at the midpoint of one long side of your tray so the top lines up with the upper edge of the tray. Mark the places for the screws with an awl, then screw into place. Now put the two trays together on their sides and find the right position for the small side of the catch on the upper tray. Place the small side inside the bail of the lower catch and position for a snug fit. Mark the placement of the screws, separate the latch and install the screws. Repeat for the other side.
Step 8: Repeat to install more draw catches
To attach a third tray, install draw catches to latch the second and third trays together, just like the previous step.
Step 9: Add non-skid accessories
To keep your dishes from sliding around in your tray during transport, you can use push pins around the edges of the dish or cut non-skid drawer liner to fit the bottom of the tray.
And that's all there is to it! Now you have the perfect set of transportable trays to get your favorite side dishes safely to holiday gatherings all season long. For yummy dish ideas, check out some of our favorite family recipes: cranberry-pecan baked brie, cardamom baked french toast, and gingerbread pumpkin bread.