

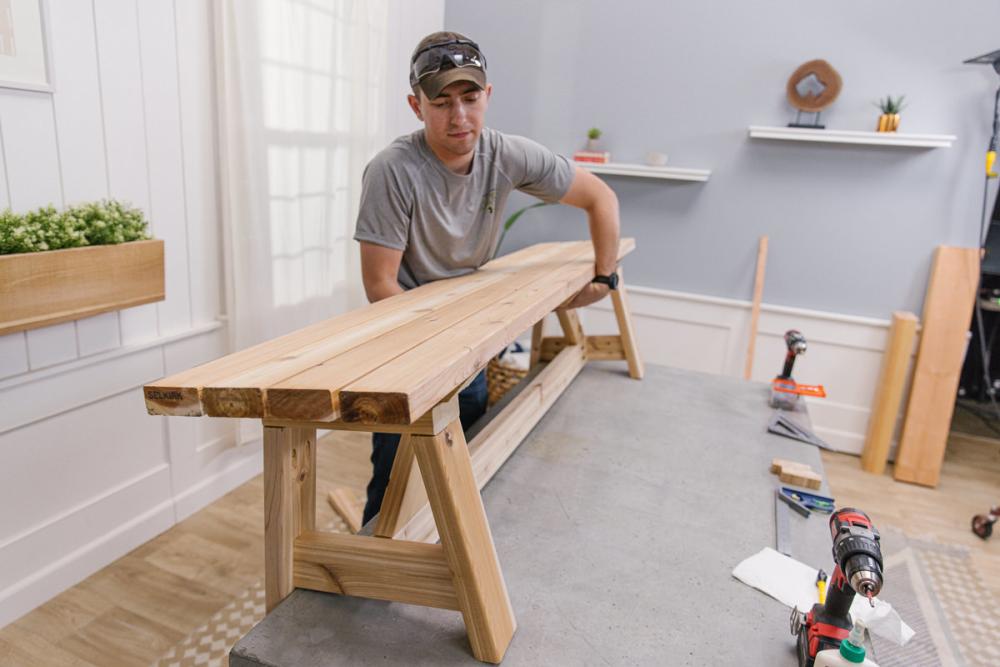
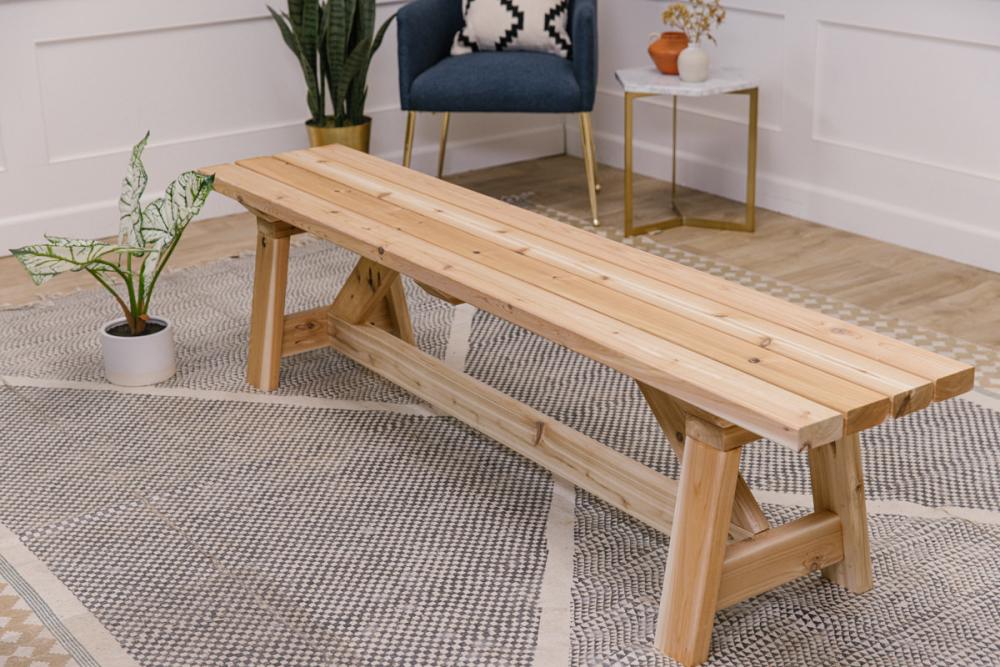
"With a few thoughtful tweaks, we made this DIY dining bench patio-friendly."
Materials
Our friend Cole, an employee at our Green Lake store, is back this week to add a bench to the DIY outdoor dining table he built for us a few weeks back!
He drew inspiration for his design from a fellow DIYer’s (The Creative Mom), but made it his own by adding rigidity and making it suitable for outdoor use.
The original design had all the seat top boards butted up and fastened together with pocket hole screws. To make it outdoor-friendly, he widened the gap between each seat board to ¼”, replaced the pocket hole screws with face fastening, and added a third seat support underneath to make the long bench more durable.
Grab your tools and let's get started!
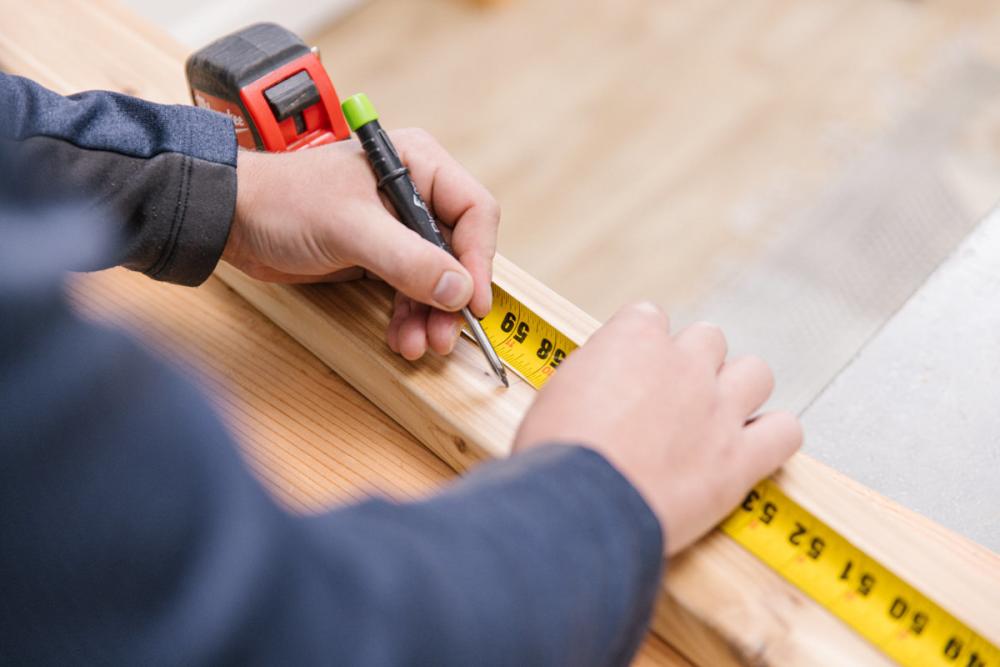
Step 1: Cut wood for bench
For this project, you will be making two sets of each leg assembly. The instructions are written for a single assembly, but the cut list below includes all required cuts for both.
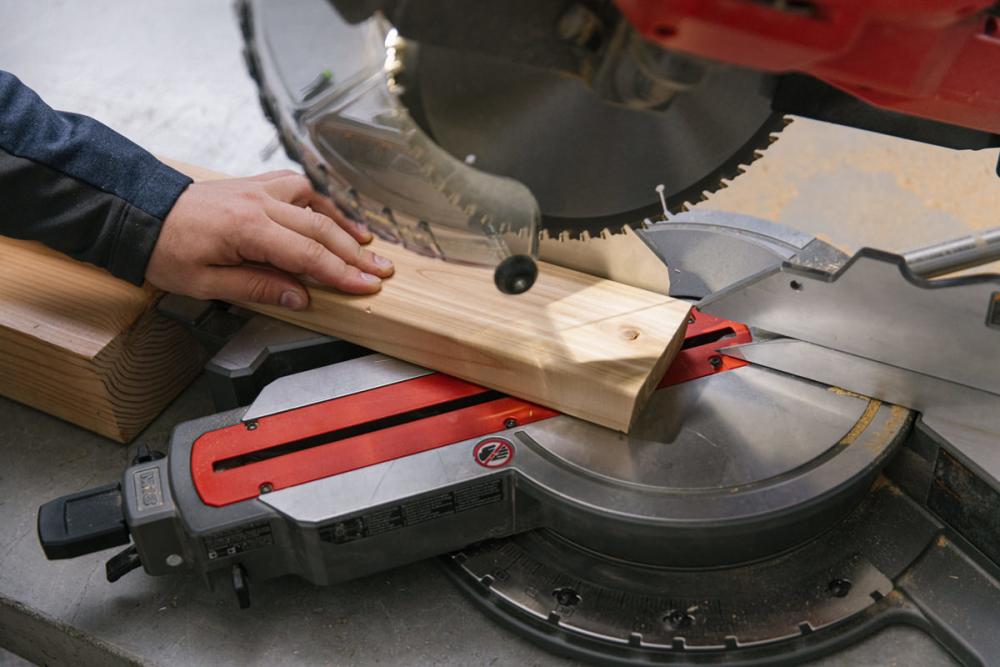
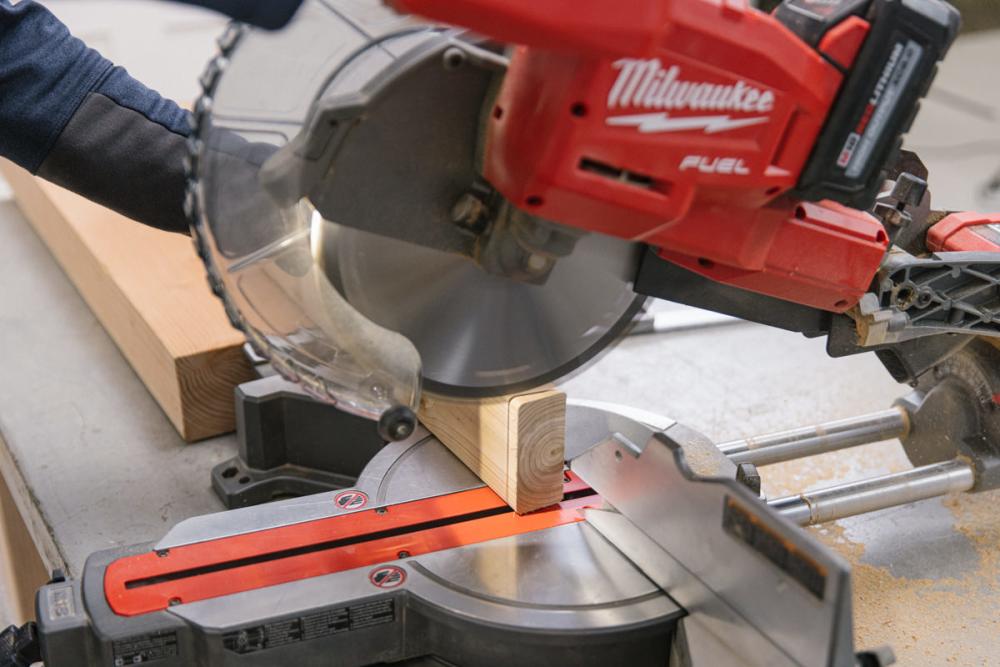
When cutting the legs, use a 10º bevel (not a miter). A bevel has the angled cut along the short side of the board as opposed to a miter which has the angled cut along the wide face. These are the only pieces that are cut with a bevel. The rest of the pieces are cut with miters.
For the rest of the pieces, you can either lean your miter saw over or set a miter and cut the piece on edge if your saw has enough capacity. The same principle applies if you are using a handheld circular saw.
Note: Cole suggests cutting all the pieces for the bench top first, then using the leftovers to cut the remaining pieces for the legs.
For the bench top:
- Four (4) pieces to 76”
- Three (3) pieces to 14 ¾”
For the bench legs:
- Two (2) pieces to 14” with parallel 10º bevels on each side
- One (1) piece to 11 ½”
- One (1) piece to 12 ½” with opposite 10º miters on each end
- One (1) piece to 54”
- One (1) piece to 56”
- Two (2) pieces to 12” with parallel 45º miters on each end
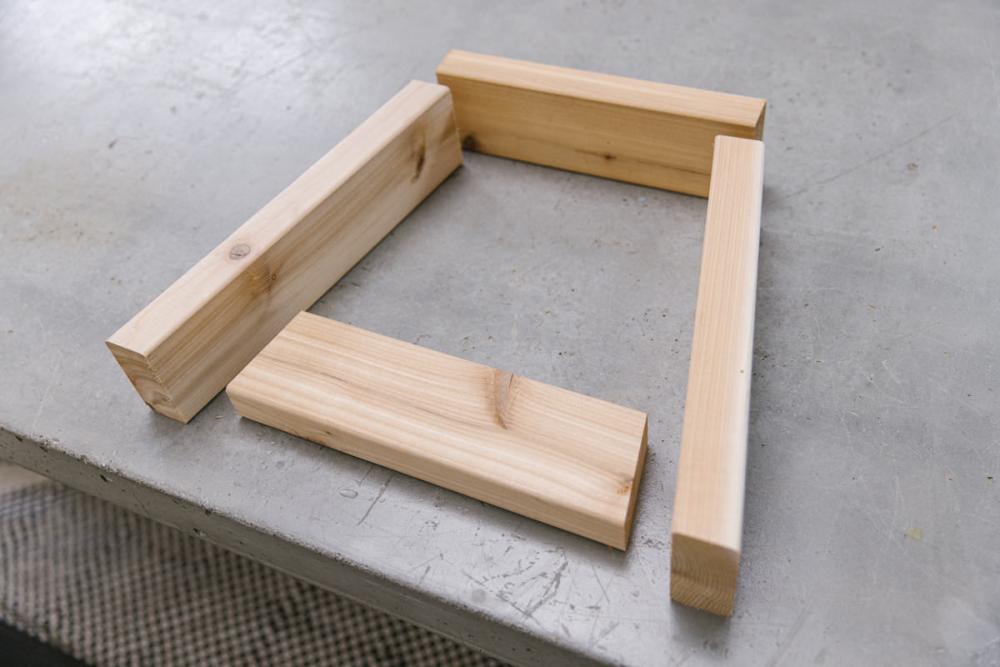
Step 2: Create leg assemblies
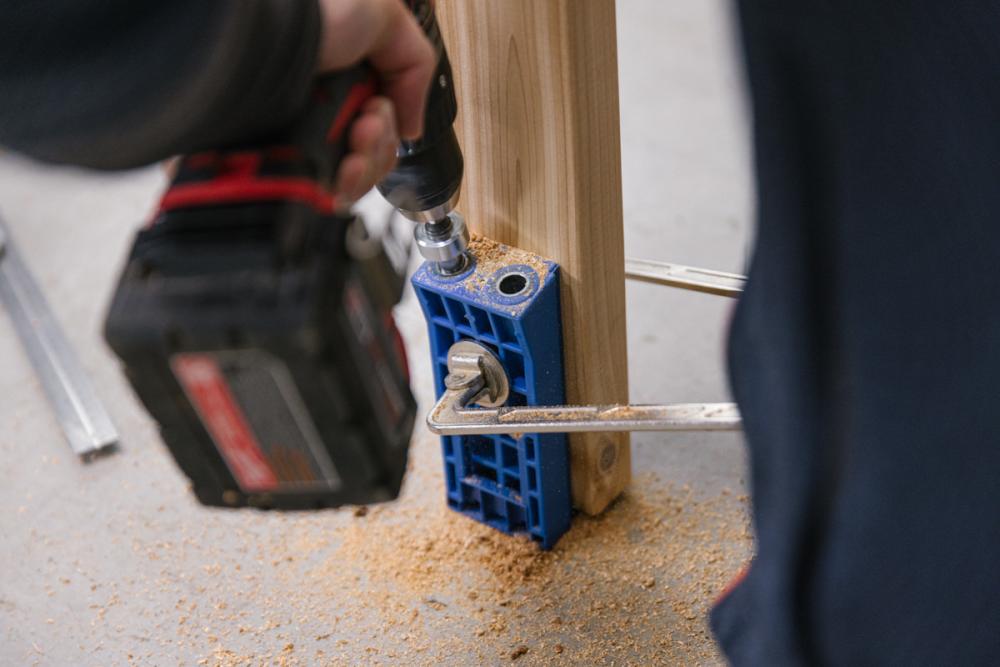
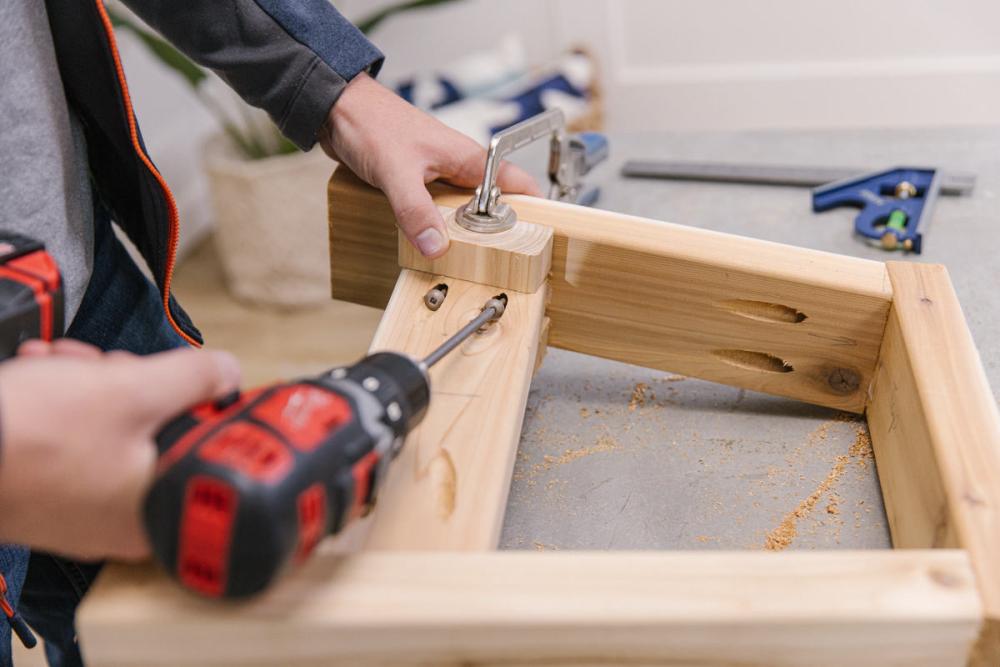
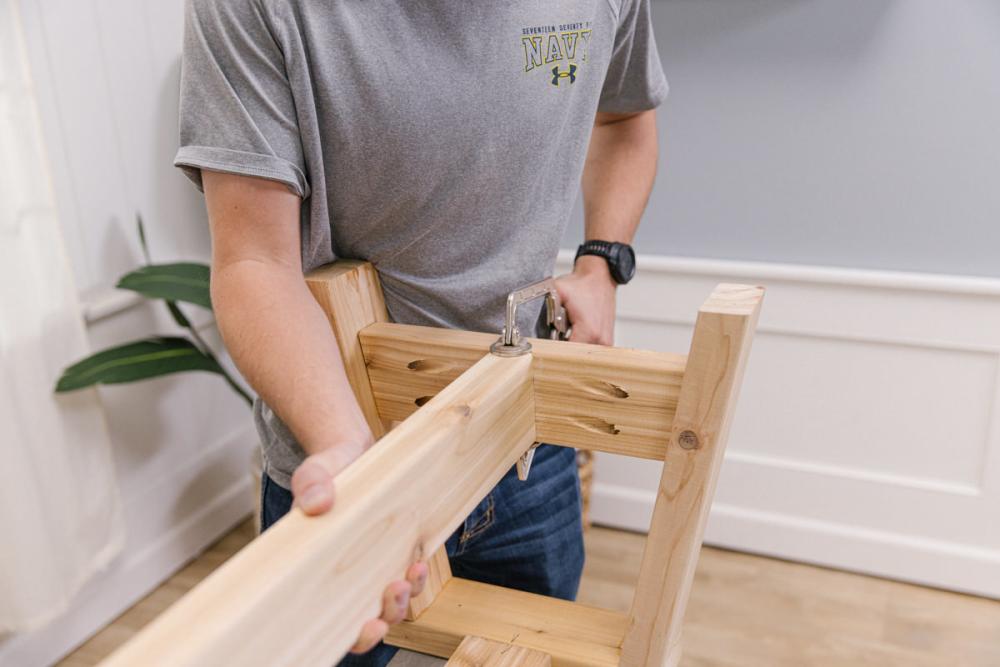
Grab two (2) pieces of your 14” decking board with parallel 10º bevels on each side. Drill pocket holes on one side on the long face of that end of the board, so that the holes end up on the inside of the final assembly.
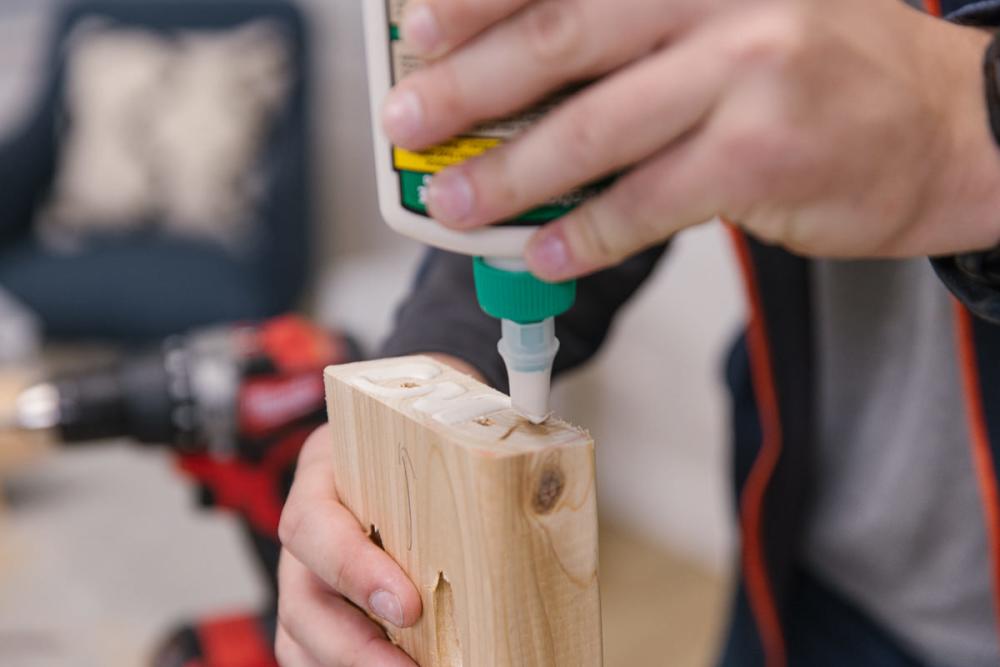
Attach the legs to the top support with wood glue and pocket hole screws. If you are using the Kreg HD or comparable 2 ½” HD pocket hole screws, the tips of the screws will poke out of the surface of the top plate. Don’t worry about this right now—we’ll detail how to navigate this when we connect the top to the base.
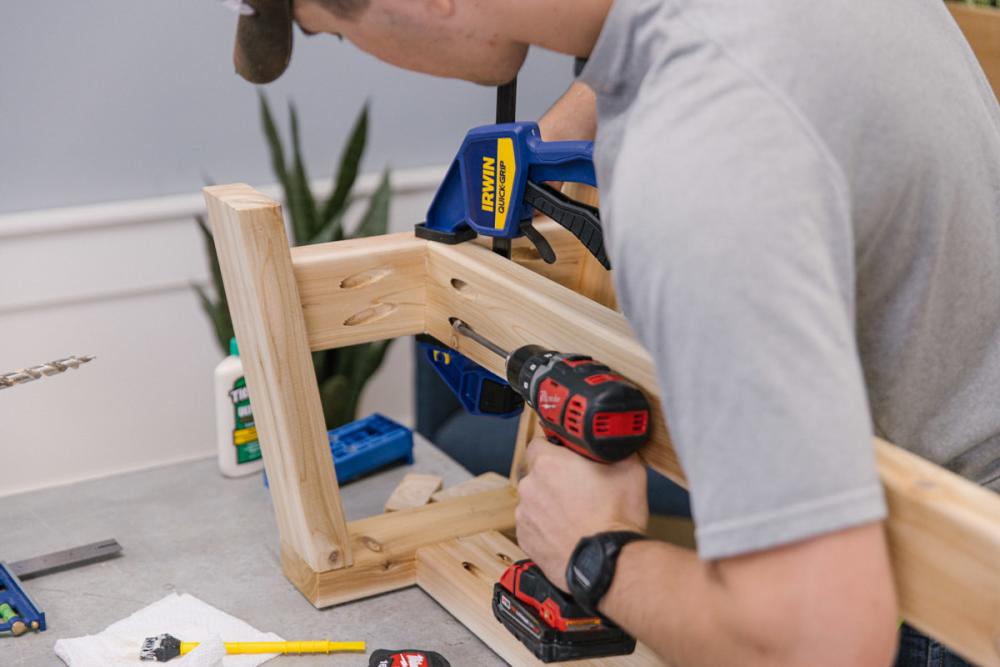
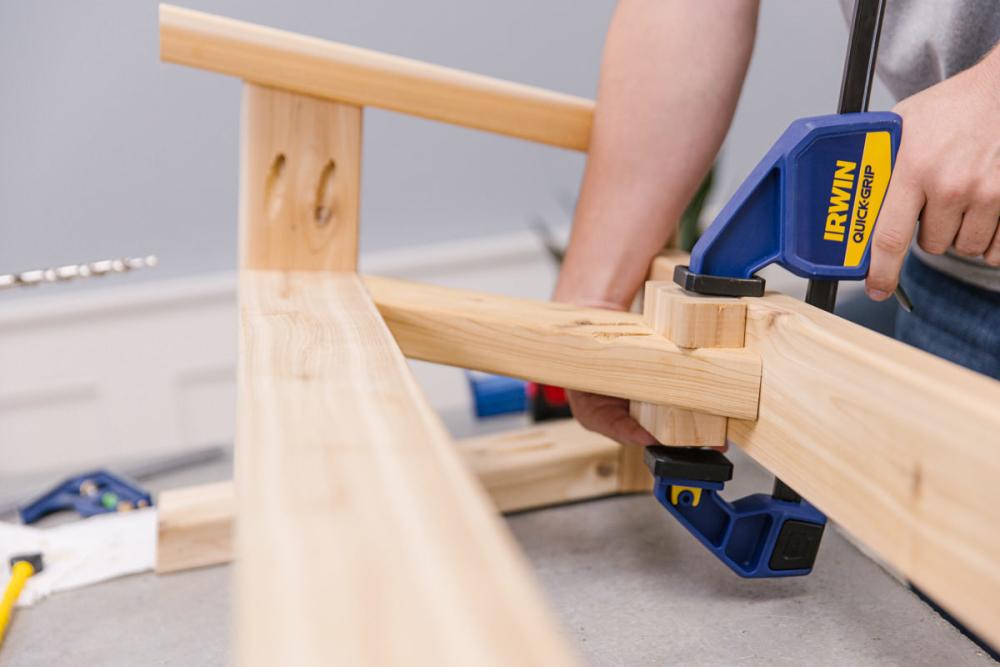
Clamp the wood pieces down when driving pocket hole screws—this prevents the pieces from twisting when torque is applied. For best results, use a pocket hole clamp (such as the Kreg clamp) to hold the pieces together while fastening.
(If the pieces slide around while gluing them together, try sprinkling a little salt over the glue to add friction. You could also omit gluing altogether and only use fasteners, but the bench won’t be quite as solid.)
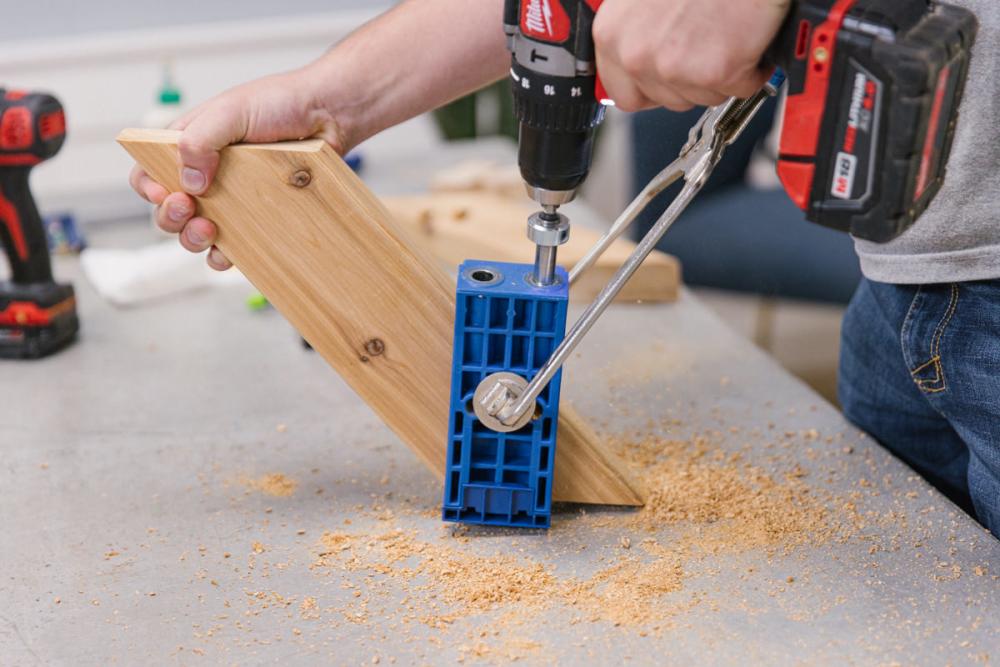
Grab your 12 ½” board with opposite 10º miters on each end and drill pocket holes in both ends. The pocket holes should be aligned to the angled end of the board, not to the length of the board.
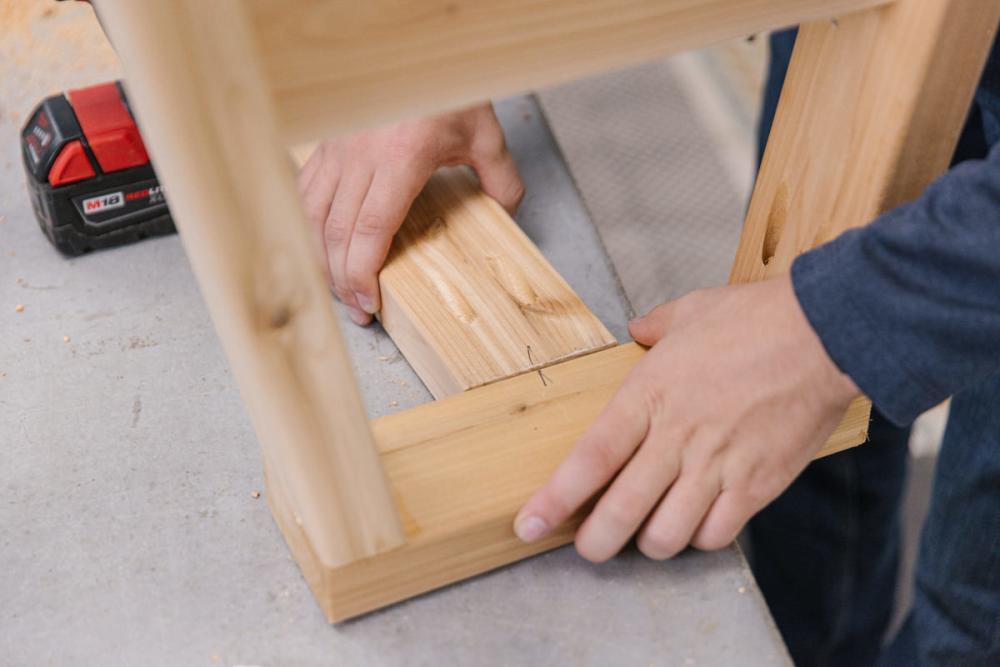
Attach the spreader to the legs using wood glue and pocket hole screws. The spreader should be lined up in the center of the legs. Using scrap wood, make a few 1” spacers to prevent twisting when driving the screws.
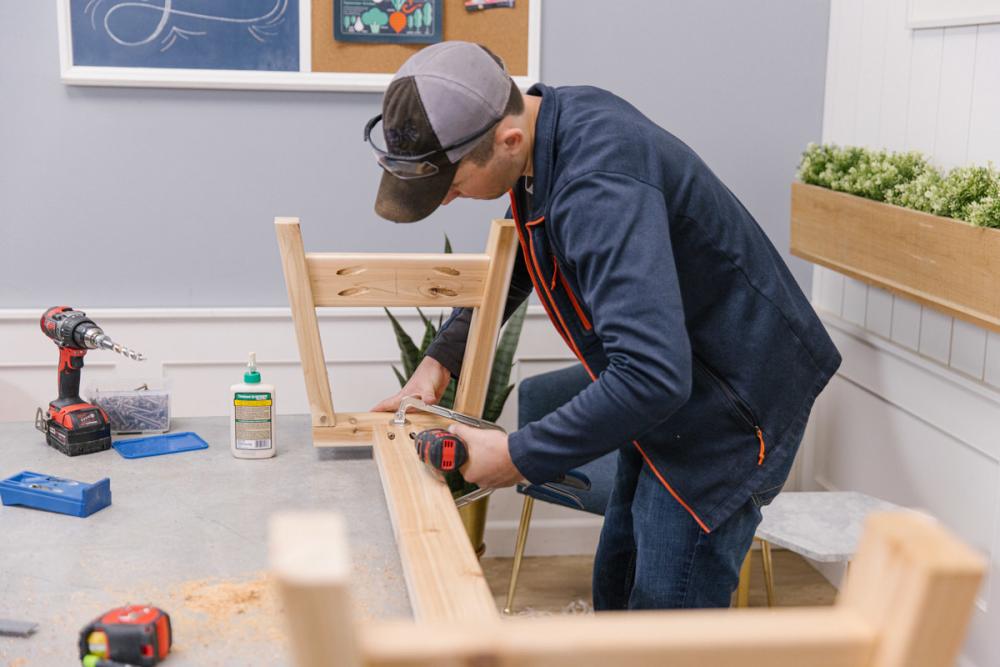
Step 3: Join the leg assemblies
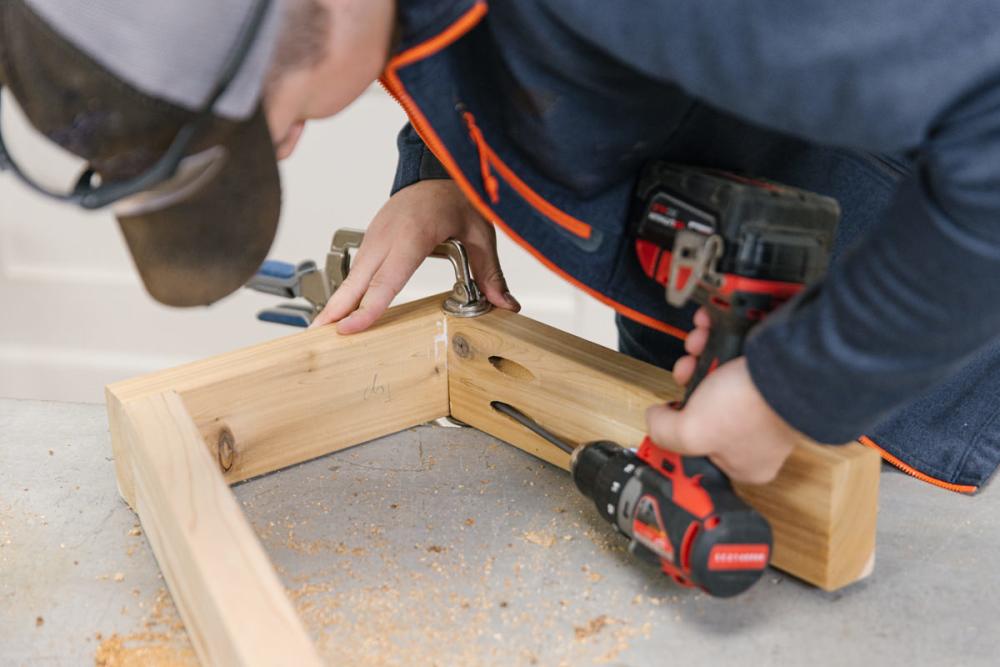
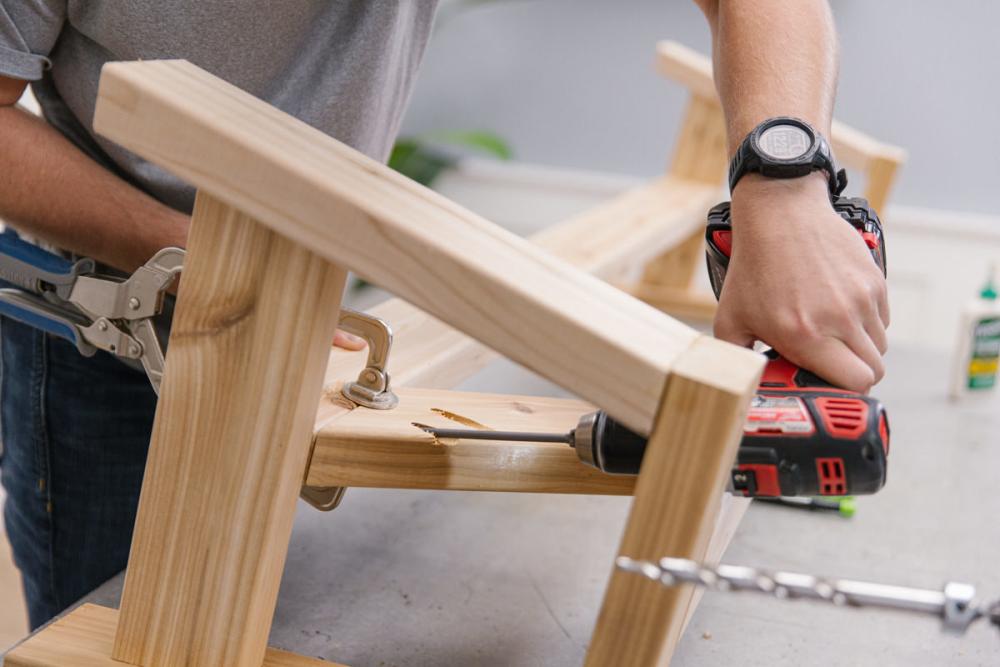
Grab your 54” board. Drill pocket holes in both ends on the same face. Then, attach it to the center of the top plate of each leg assembly using wood glue and pocket hole screws, making sure the pocket holes will face down when upright.
Next, drill pocket holes in both ends of your 56” board. Cole recommends drilling these pocket holes on opposite faces on each end since both faces will be equally visible. Then, attach the board to the center of the leg support with wood glue and pocket hole screws.
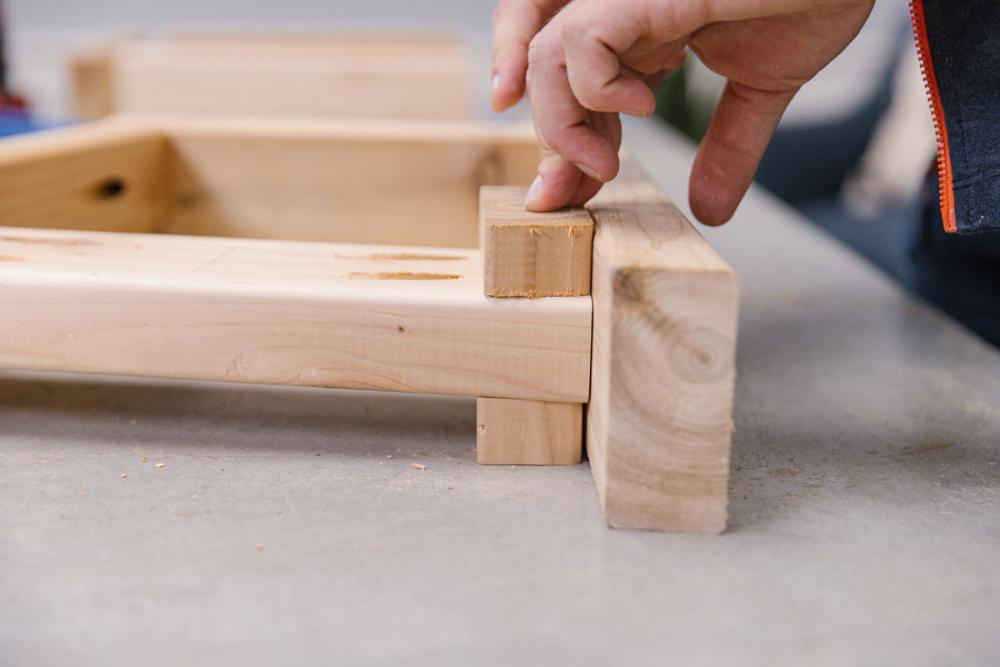
Grab both pieces of 12” board (with parallel 45º miters on each end) and drill pocket holes in both ends. Bias the pocket holes as close to the short edge of the end as possible. Cole recommends drilling the pocket holes on the same side as the pocket holes on the lower stretcher. They will slope outward on the bench so lay them out first to drill them correctly.
Attach the supports between the top and bottom stretchers with wood glue and pocket hole screws. Align the point of the support at the end of the lower stretcher on both ends. When attaching to the upper stretcher, you will need two (2) ½” spacers to clamp it properly.
Step 4: Create bench top
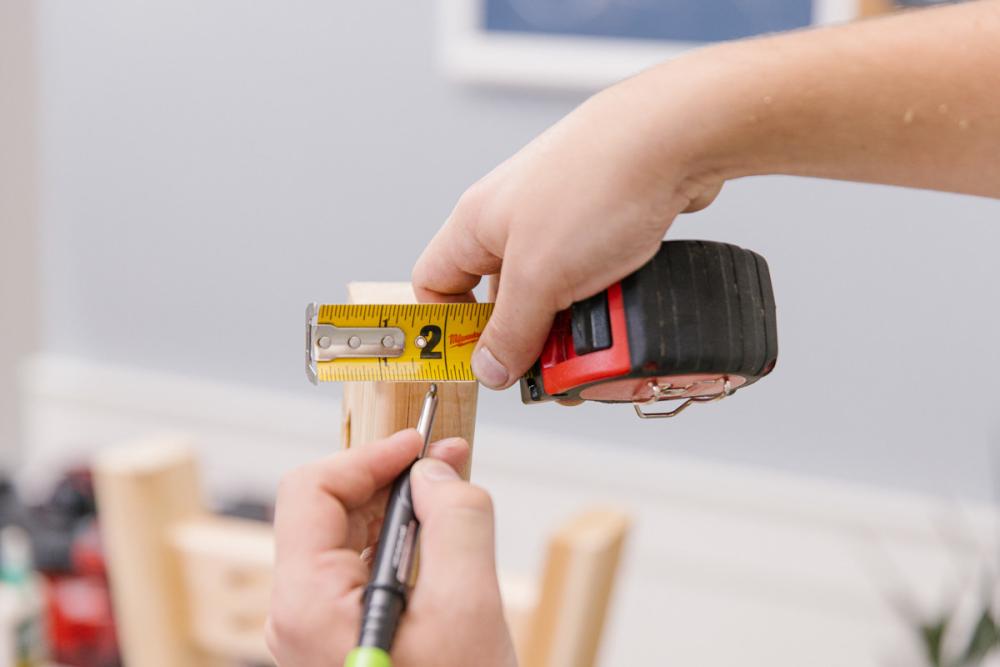
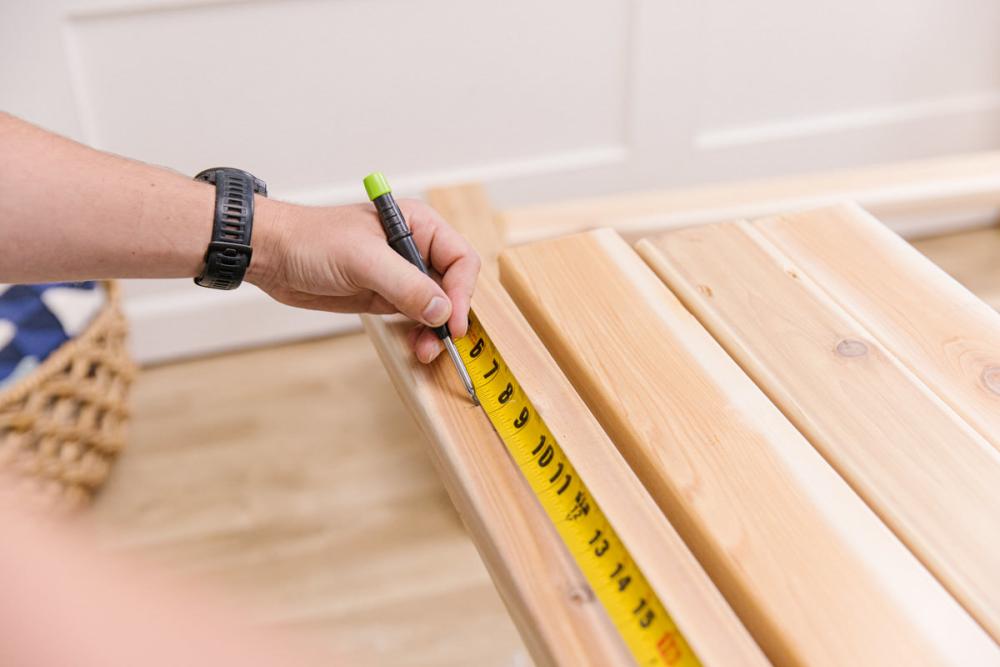
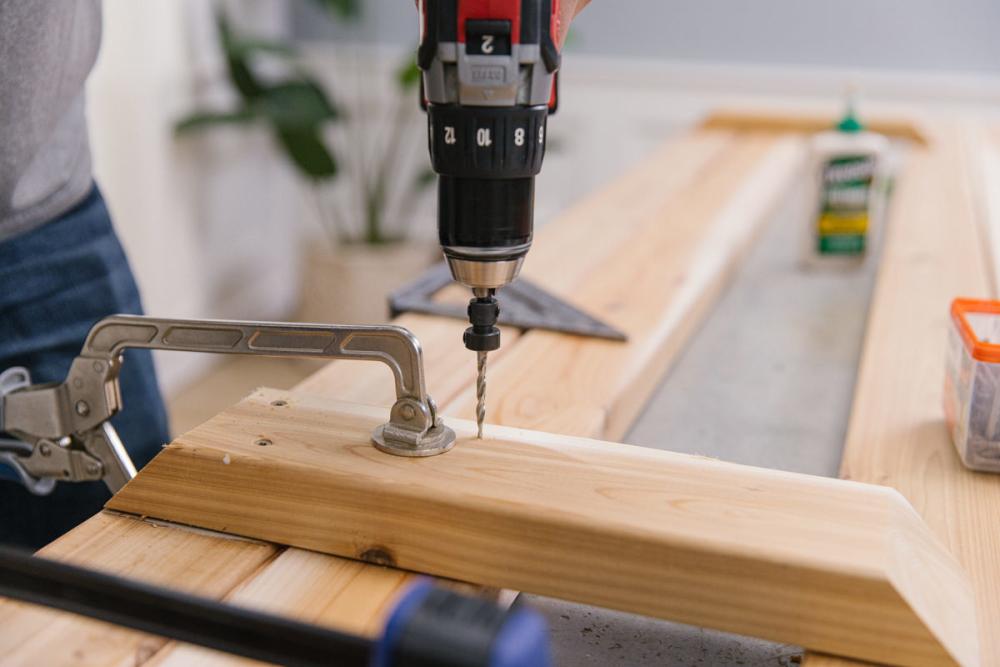
Grab your 76” boards—these will form the bench seat. Take your first bench seat piece and scribe a line 8 ½” from each end. Scribe another line 37 ¼” from each end.
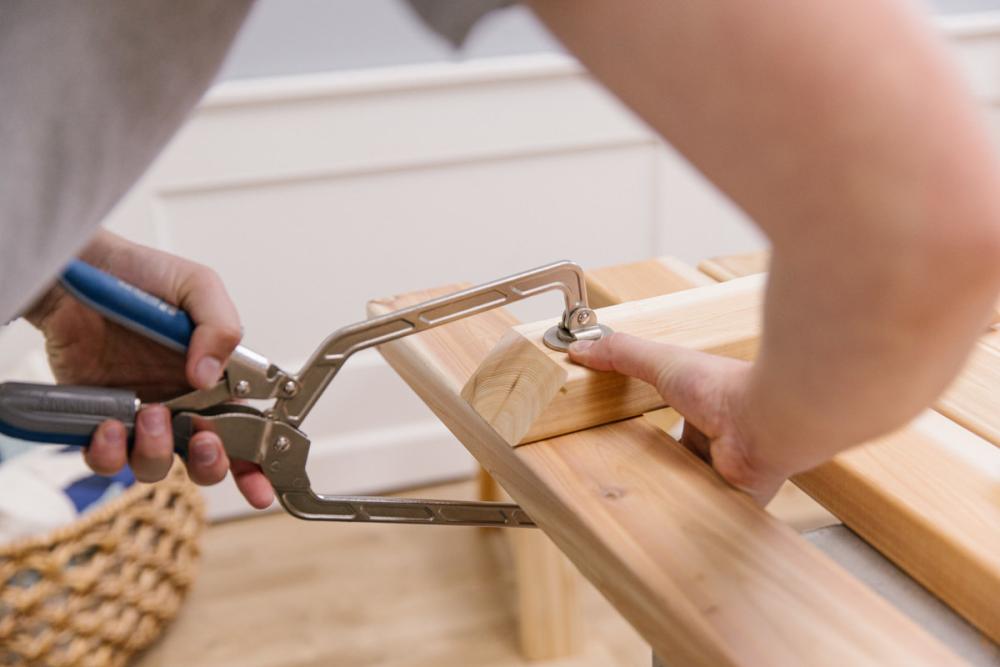
Take the three seat supports and align them on the bench seat with the outside edges lined up to the lines you scribed on your first seat piece. Use your speed square to make sure the pieces are square and clamp them together to prevent them from moving. Flip the assembly over and drill pilot holes for your wood screws on the top.
For hole placement, Cole likes to use two (2) screws per joint arranged diagonally. For the best placement, mark the bench top to place the screws consistently on each piece. If you beveled the top support, be sure not to drive screws through that beveled face. To avoid this, set the screws on the outside pieces back from the edge.
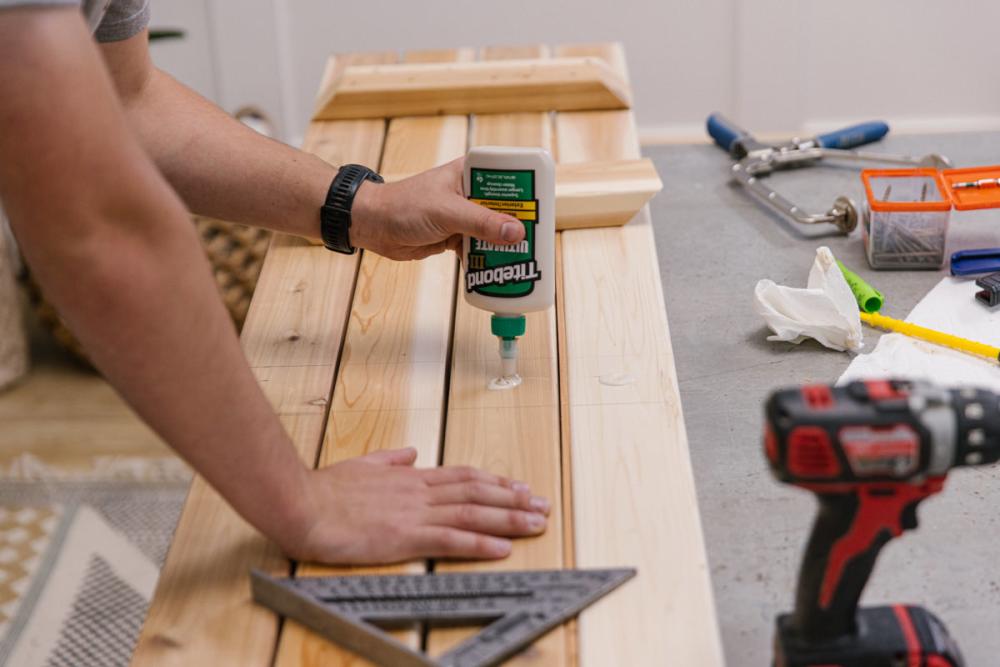
Use your ¼” lath as a spacer and line up your next bench seat piece. If your first piece is square, you won’t need to keep using the square to attach the remaining pieces. Drill pilot holes and attach with wood glue and wood screws. Repeat this process until your bench seat is complete.

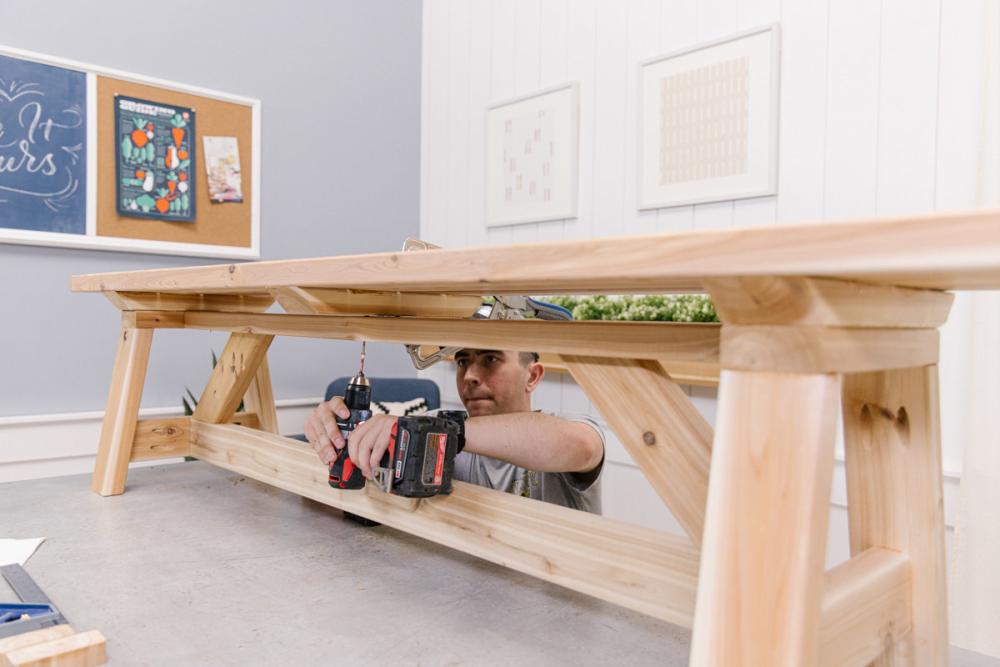
Step 5: Attach base to bench seat
Now that you have both the seat and base assembled, it’s time to attach them. Set the seat on top of the base and line up the outside base supports to the top leg plates. The tips of the pocket hole screws will prevent the top from sitting flat on the base—to fix this, we used a hammer to nudge the top onto the base.
To keep from damaging your bench seat, use a scrap piece as a sacrificial hammering face. Take your time and hammer evenly on each end. If you mess up the alignment, the face won’t be seen at all, so you can pull it off and try again without messing anything up. Attach with wood screws from the bottom.
Note: Cole recommends not gluing this step in case you ever need to take the bench apart for refinishing or transporting.

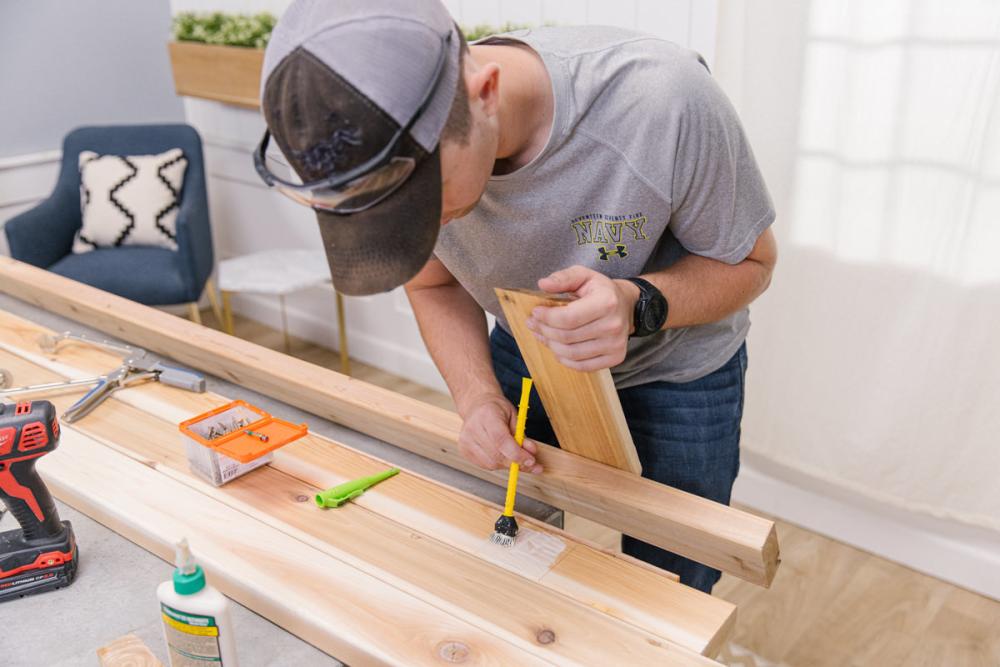
Step 6: Apply finish to dining bench (optional)
If you’d like to apply an exterior finish or coat of paint, now’s the time! You can also use different colors or finishes for the top and base—in which case, wait to attach them until after application. Otherwise, complete the previous step and you are done!
If you want to add Cole's outdoor dining table to this project, check out the project plan here. For more bench inspiration, we recommend our DIY bench cushion or mixed wood bench.