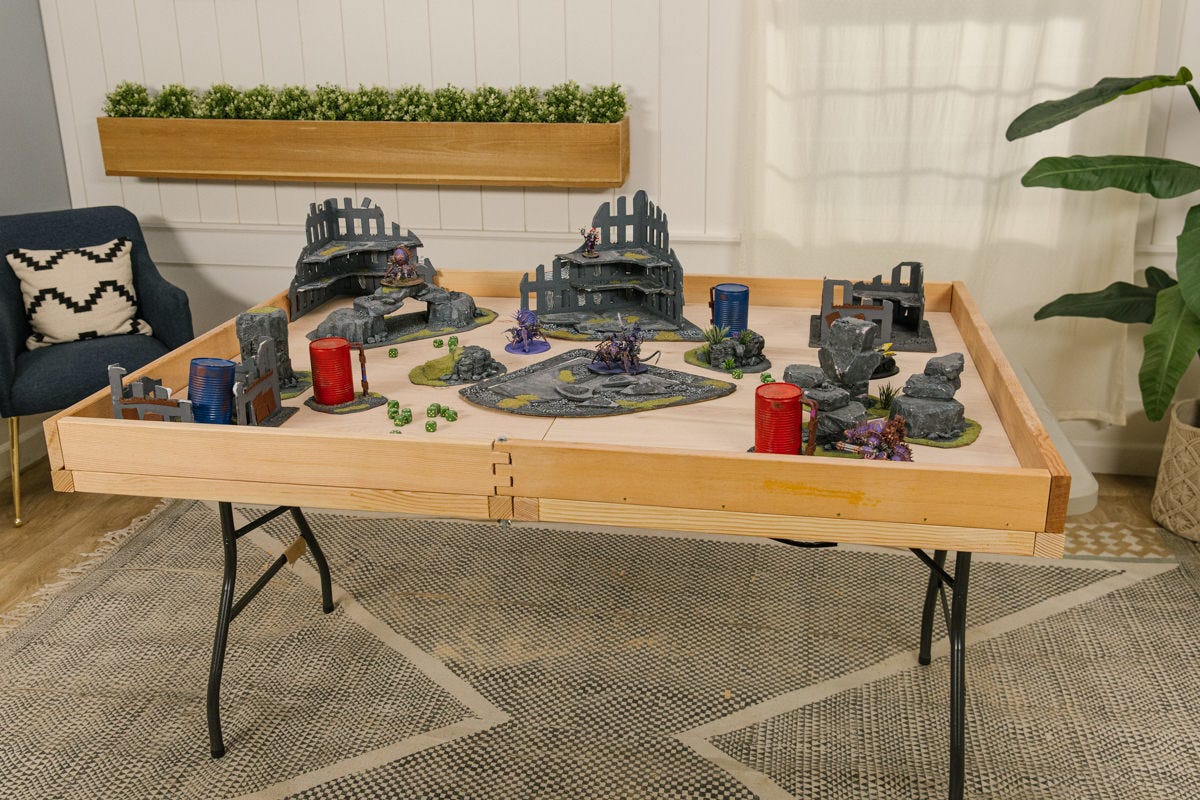

"Frank's DIY game tabletop is a clever alternative to traditional game tables—it can be stashed away under a bed until game night rolls around."
Materials
Today is a special day at Dunn DIY: Frank, friend and Dunn Lumber employee, is joining us to build a DIY design of his very own.
Frank is a self-proclaimed tabletop game enthusiast, and when we asked him to design a DIY project for the blog, the game table was a no-brainer. He designed this table around his favorite game—Dungeons and Dragons—but it's great for any sort of multi-player board or card game.
While you can buy special game tables online, most are as big as a dining room table and require a lot of space—which, as a renter, Frank is short on. His clever design (built to game tournament regulations) has no legs so it can sit atop any table surface, and breaks down into two pieces for easy storage.
Let’s get into it!
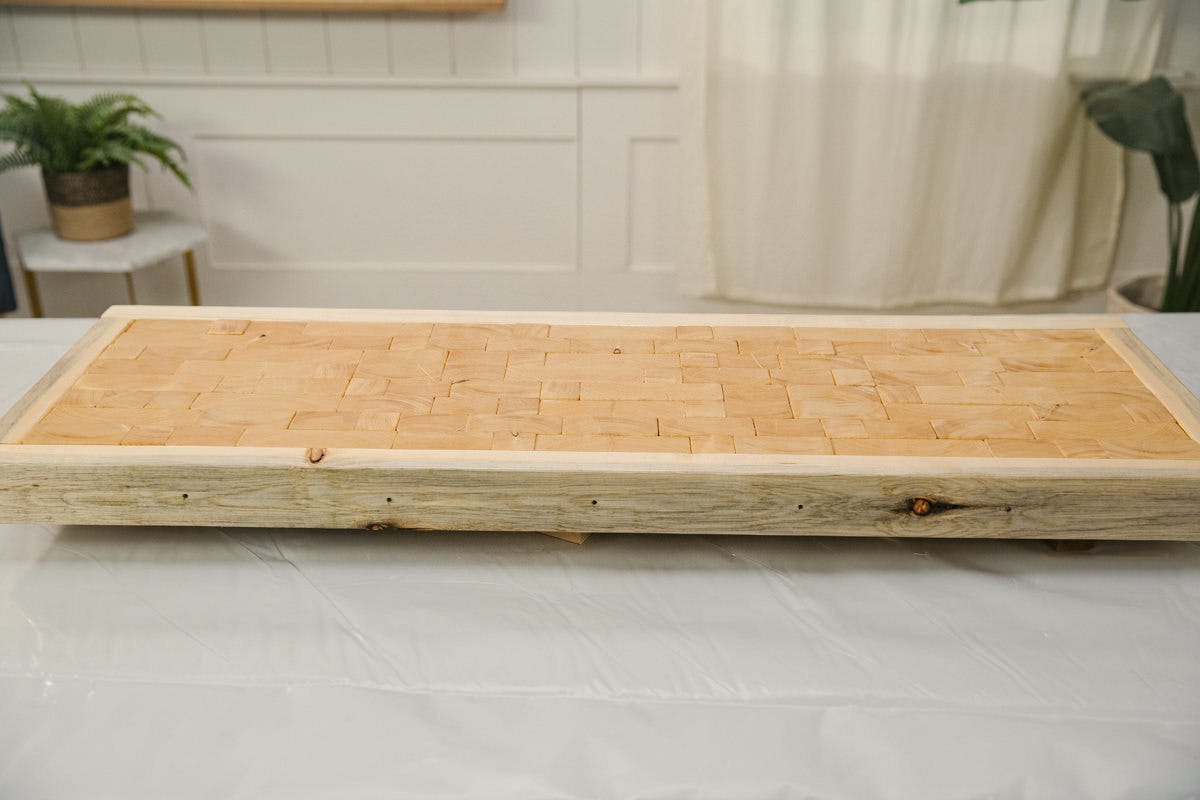
Step 1: Cut table surface
To make the table surface we used ¾”-thick plywood that was smooth on both sides. (Choosing a plywood with only one smooth side will save money and may work for you—you could use a tablecloth or blanket to keep the rough side from scratching anything.)
We had our plywood cut at Dunn Lumber, but if you’d like to cut it yourself, first cut the width to 46” and then cut two pieces 31” wide.
Step 2: Cut wood for table railings
We used five-quarter-by-four lumber for the railings that will run along the table’s edges. We used a circular saw and miter square to make sure our cuts were straight. Using the cutting guide below, cut the following:
- Two (2) pieces 46” long
- Four (4) pieces 31” long
Step 3: Cut wood for table frame
Now it’s time to cut the pieces that will make up the frame of the table, which will support the plywood surface.
Using a circular saw and referring to the cutting guide, cut your two-by-two wood pieces into:
- Six (6) pieces 46” long
- Four (4) pieces 28” long
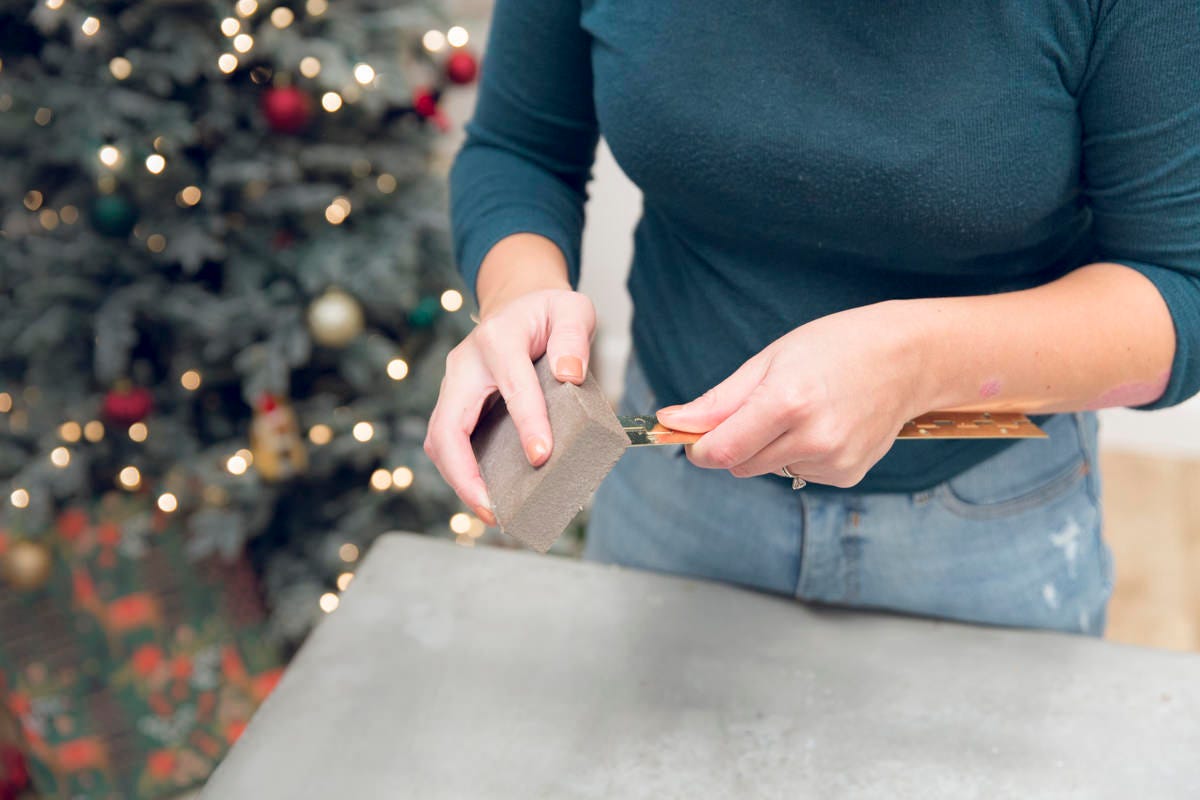
Step 4: Sand
Once you have all of your wood pieces cut to size, use a sanding sponge to smooth out all the cuts and rough spots on all of your pieces. This will be much easier to do now than at the end, so take time to get everything cleaned up.
Step 5: Cut notches in railings
To make this table collapsable, we’re creating two halves that can be taken apart for storage.
Following the guide below, drill two holes to allow the jig saw to rotate at the corners. Cut out your “fingers” according to your pencil marks; then, using the first cut piece to figure out where the opposite fingers should fit, cut the opposite side of the connection point.
Finally, label the pieces that go together: 1A + 1B, 2A + 2B, and so on.
Step 6: Assemble table frame
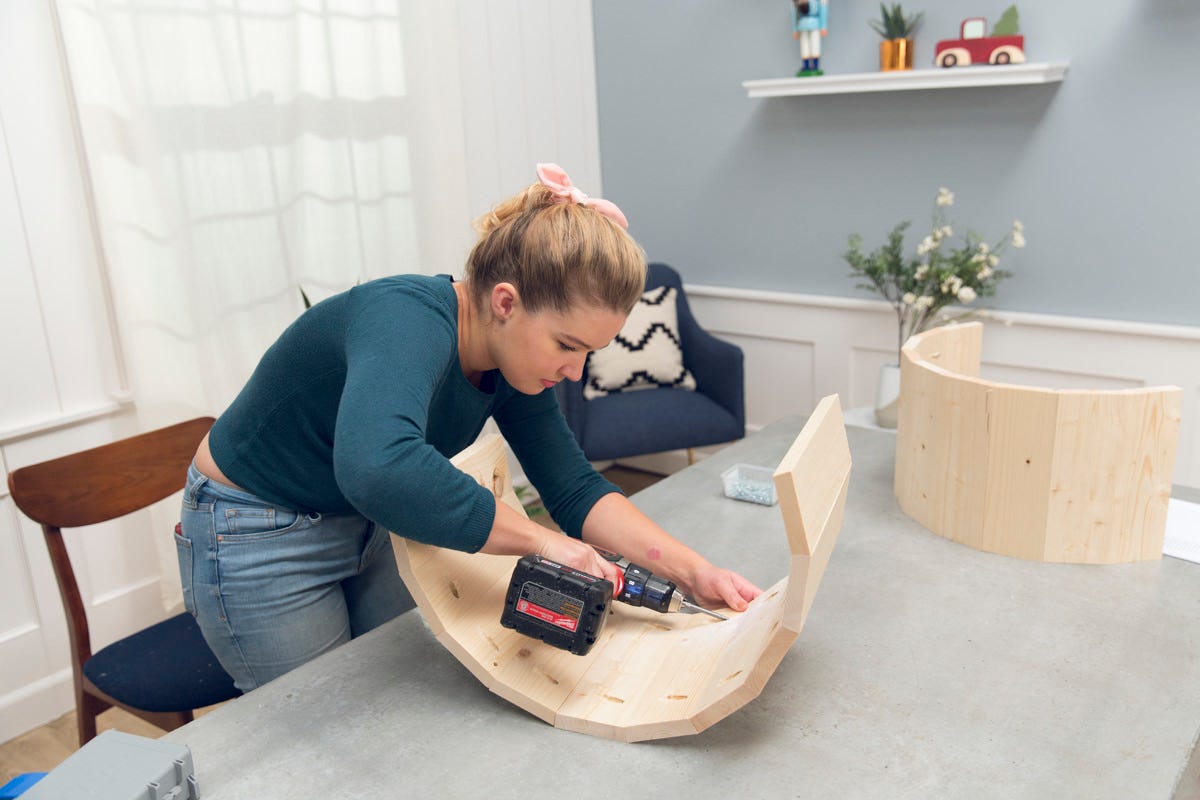
Now, use your two-by-two lumber pieces to assemble your table frame. You’ll want to use a speed square here to make sure all your angles are perfectly 90º, and pre-drill your holes using a 7/64” bit (this helps prevent splitting). When everything’s lined up, apply some glue to each joint and fasten with two #8 x 2” screws (two screws per joint).
Each side of your table should measure 46” by 31” to make a rectangle.
Step 7: Assemble table railings
Next, we’ll add a U-shaped railing around three sides of each half of your tabletop using your five-quarter-by-four lumber pieces.
For the first half, use two pieces of the boards you notched in step five and one 46” non-notched piece of five-quarter-by-four piece.
To pre-drill your holes, square up your corners using a speed square and clamp everything down. Pre-drill using a 7/64” bit. Then, apply glue, fit your pieces back into place, and re-clamp everything before screwing together with #8 x 2” trim head screws.
Step 8: Dry-fit plywood table surface
Now that you have one-half of your table frame and railings, slide one piece of plywood into place to ensure it fits snugly. Make adjustments if needed, then leave the plywood in place once you’re happy with the fit.
Note: The plywood is meant to be a perfect fit, so if you see any gaps, it’s a good idea to fix them now.
Step 9: Attach table surface to railings
Measure ⅜” down from the bottom of your railings and pre-drill holes about every 6” along the bottom edges of the frame and into the edge of the plywood. Then, apply glue and drive #8 x 2” screws into place.
Step 10: Secure railings to frame
Now, to secure it all together, pre-drill up into the notched rail pieces. Be careful to avoid the screws you installed in the previous steps. Then, drive #8 x 2” screws into place.
At this point, you should have one completed half of your table. Now it’s time to make the other half: repeat steps five (5) through nine (9) to complete your second half.
Step 11: Drill connection point holes
Once you’ve completed both sides of your table, slide the two sides together to create the full-size surface. Using a 7/64” bit, pre-drill holes directly down and through the connection points (the “fingers”).
Then, use a 5/16” spade bit to make the holes larger. Drill all the way through the top of the railing to the bottom.
Step 12: Add hardware and accessorize
Slip one of your threaded bolts into the pre-drilled hole at the table connection point and thread a nut on where the bolt pokes through at the bottom of the table frame. Make sure the nut is on tight—this keeps the two sides of the table from detaching if your game gets a little wild!
The final step is to accessorize. Add cup holders, cord managers, lighting—whatever you need to make game night a hit!
Whether it’s Dungeons and Dragons or a simple game of cards, this renter-friendly game table is the perfect place to gather around with friends.
For more DIY game ideas, check out our DIY Plinko game board and giant Jenga set.