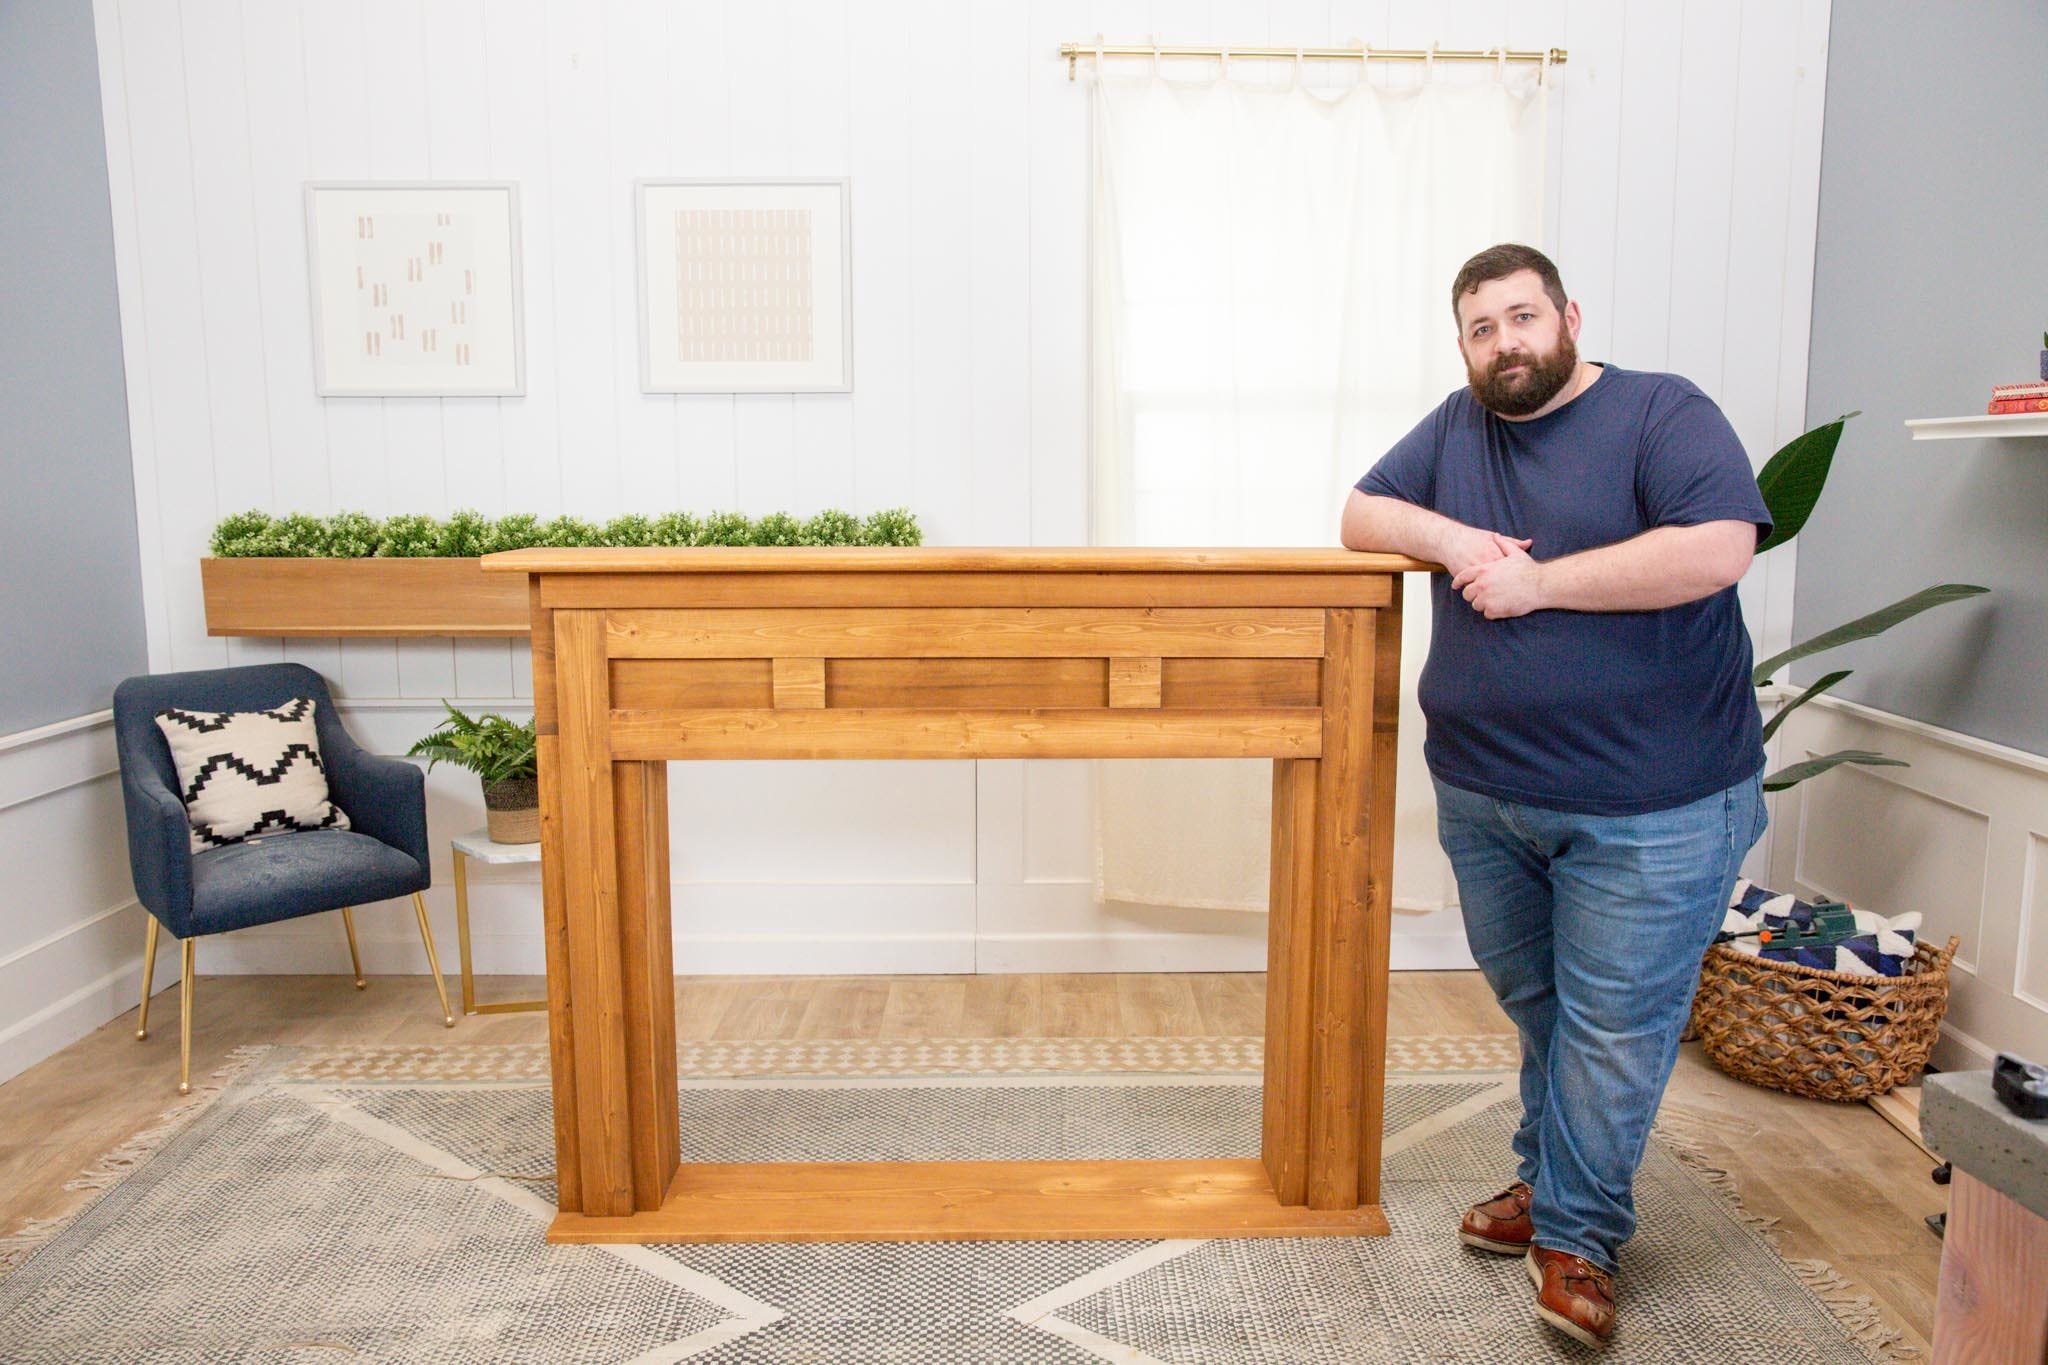

“A faux mantel just might be the missing piece to your living space.”
Materials
Today, we're lucky to have Tyler from our Shoreline Dunn Lumber store location in the DIY studio! Tyler's been drawn to DIY projects since he was a kid, watching his parents work on projects. The first DIY project he tackled on his own? Freestanding cedar planter boxes. Today, he’s excited to walk you through how to make a beautiful DIY wood faux mantle that will add character and elegance to any living space.
Take it away, Tyler!
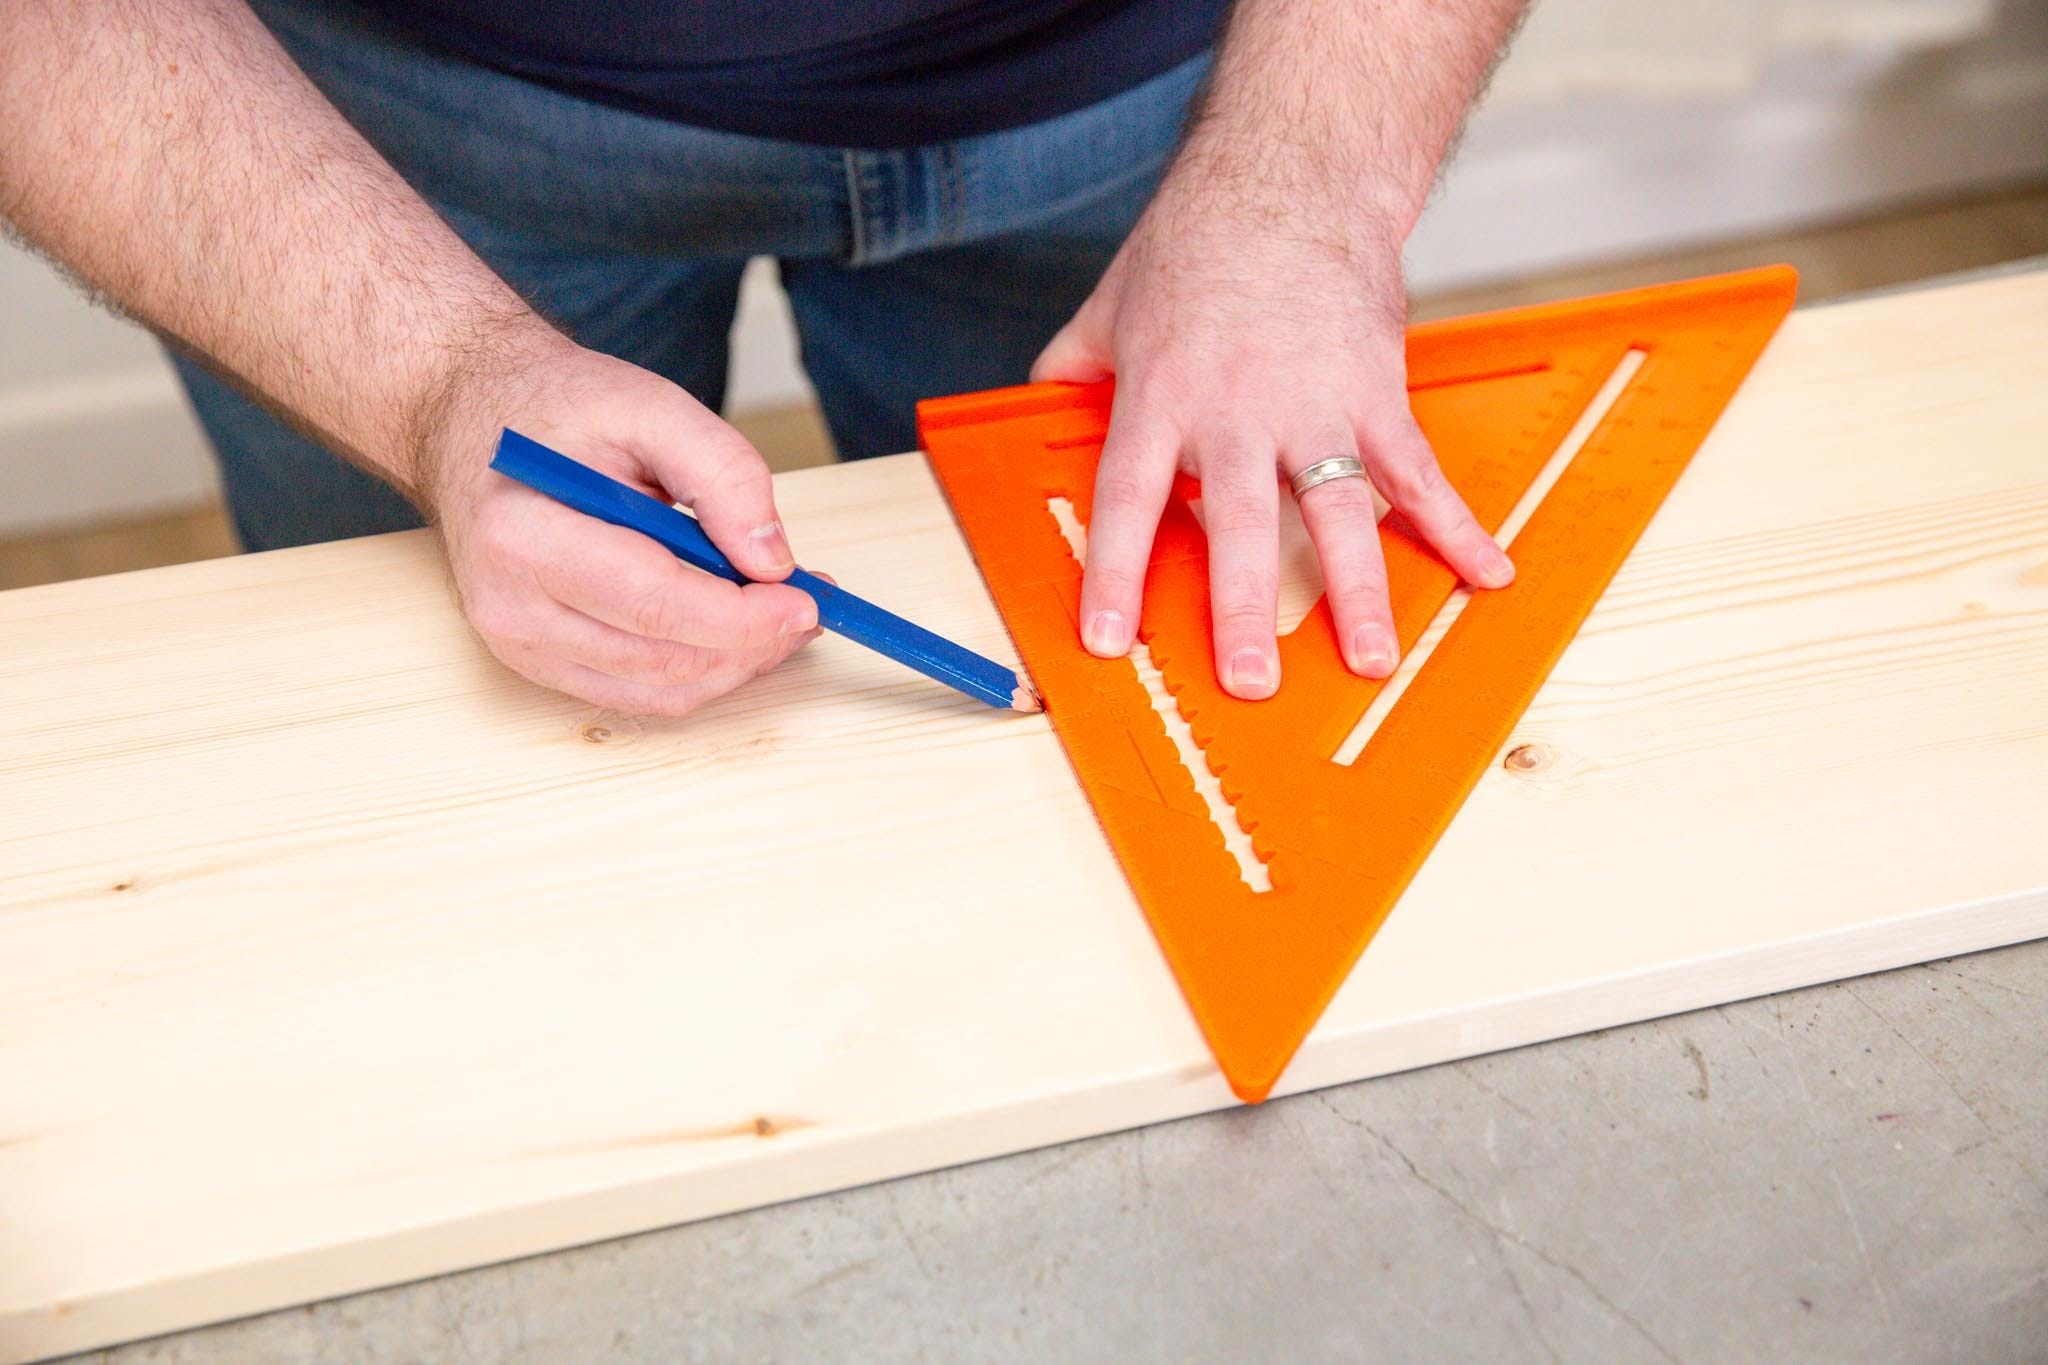
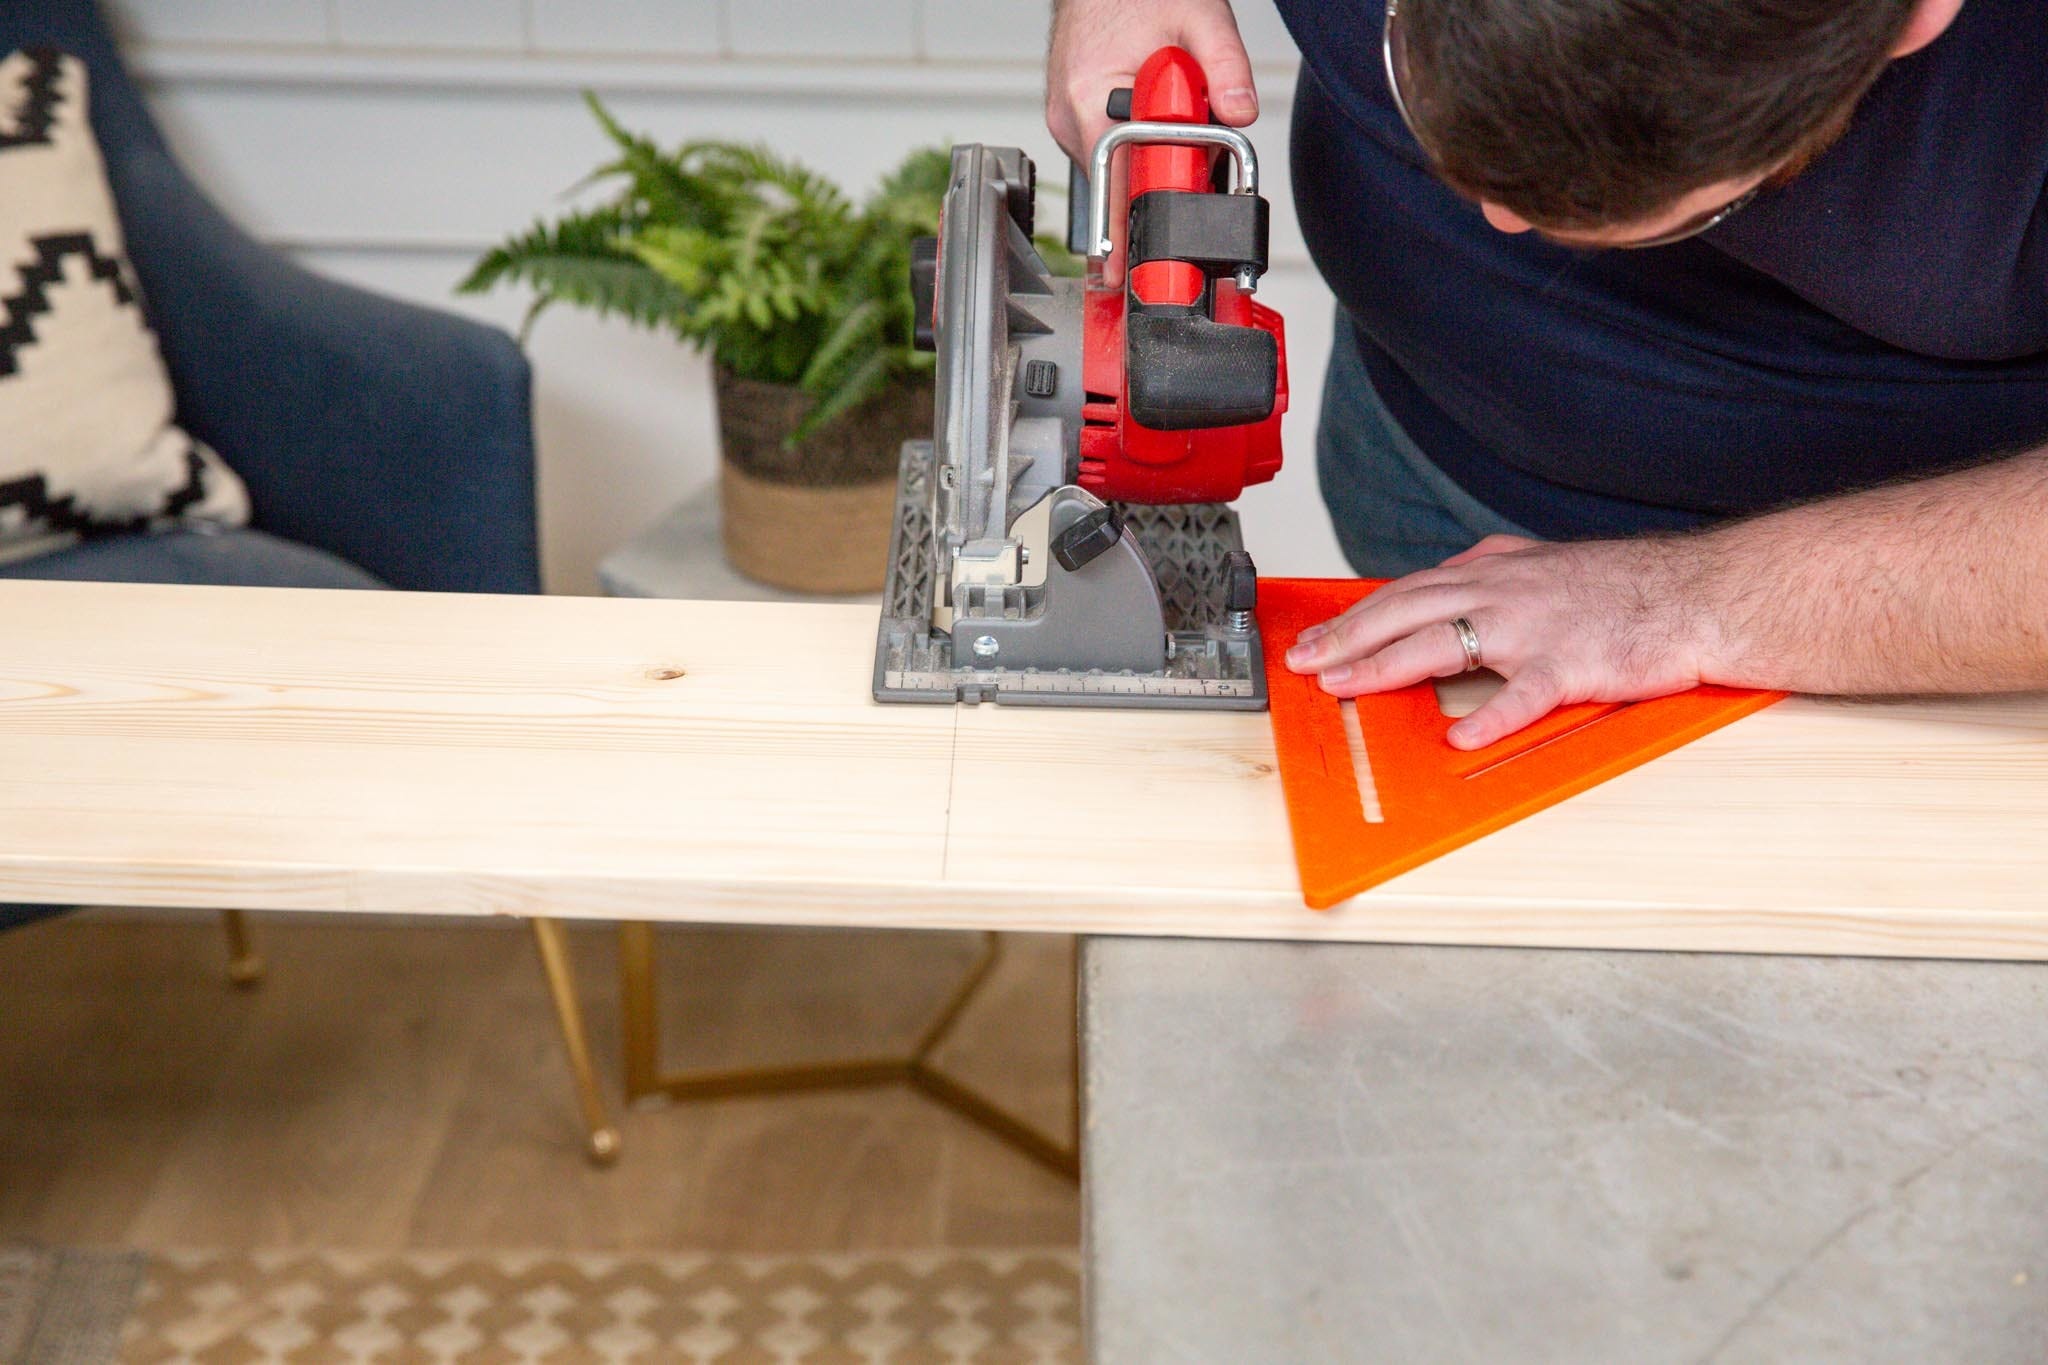
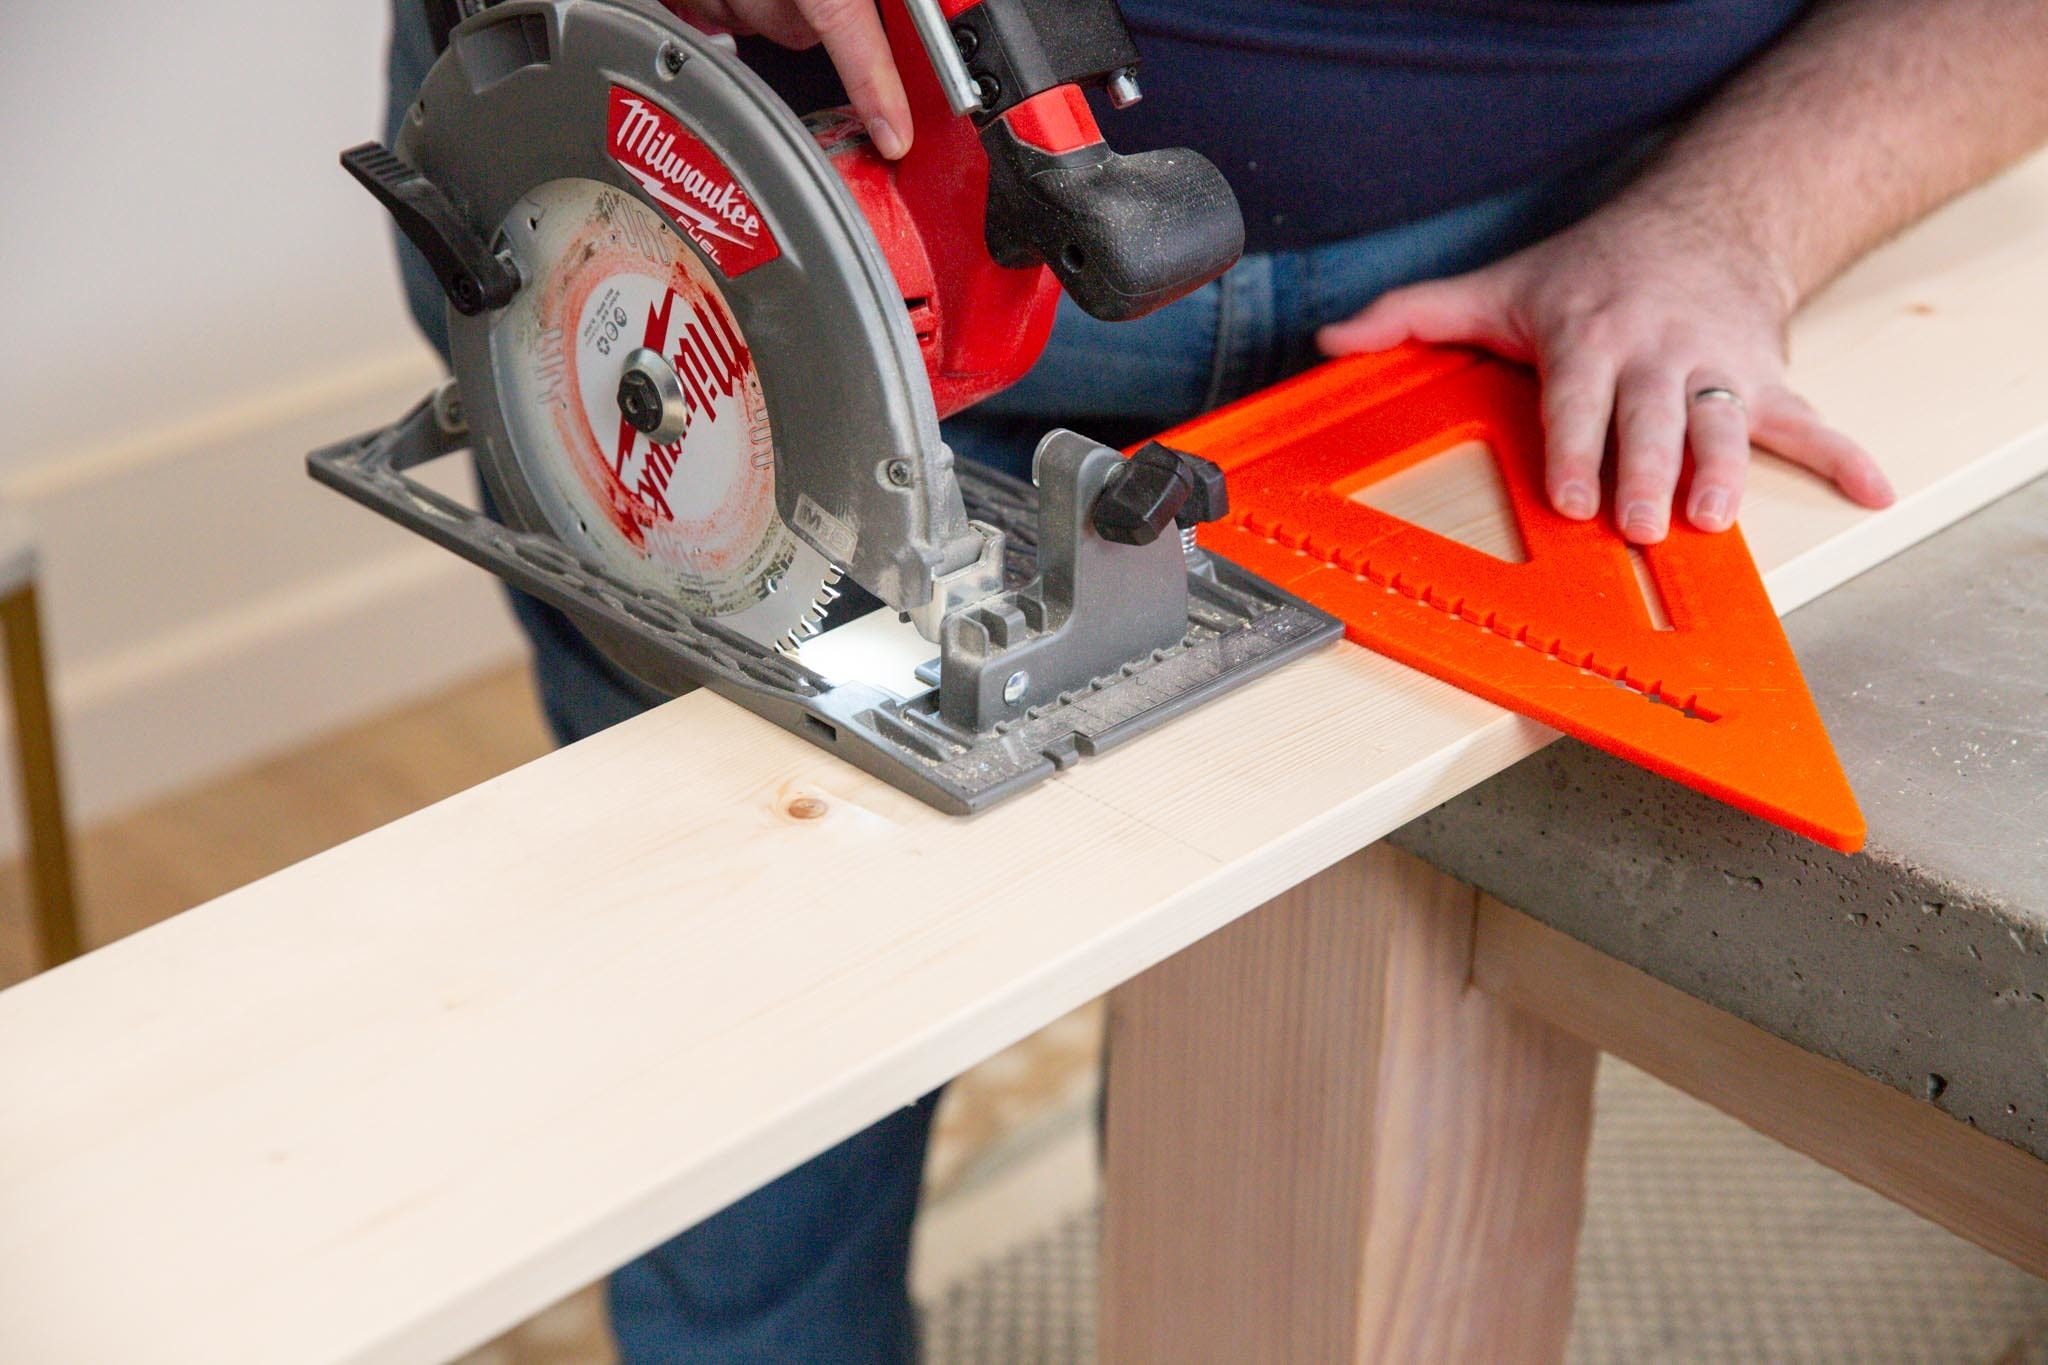
Step 1: Cut lumber for faux mantel
Remember, safety first! Take proper safety precautions by wearing hand and eye protection throughout this DIY project.
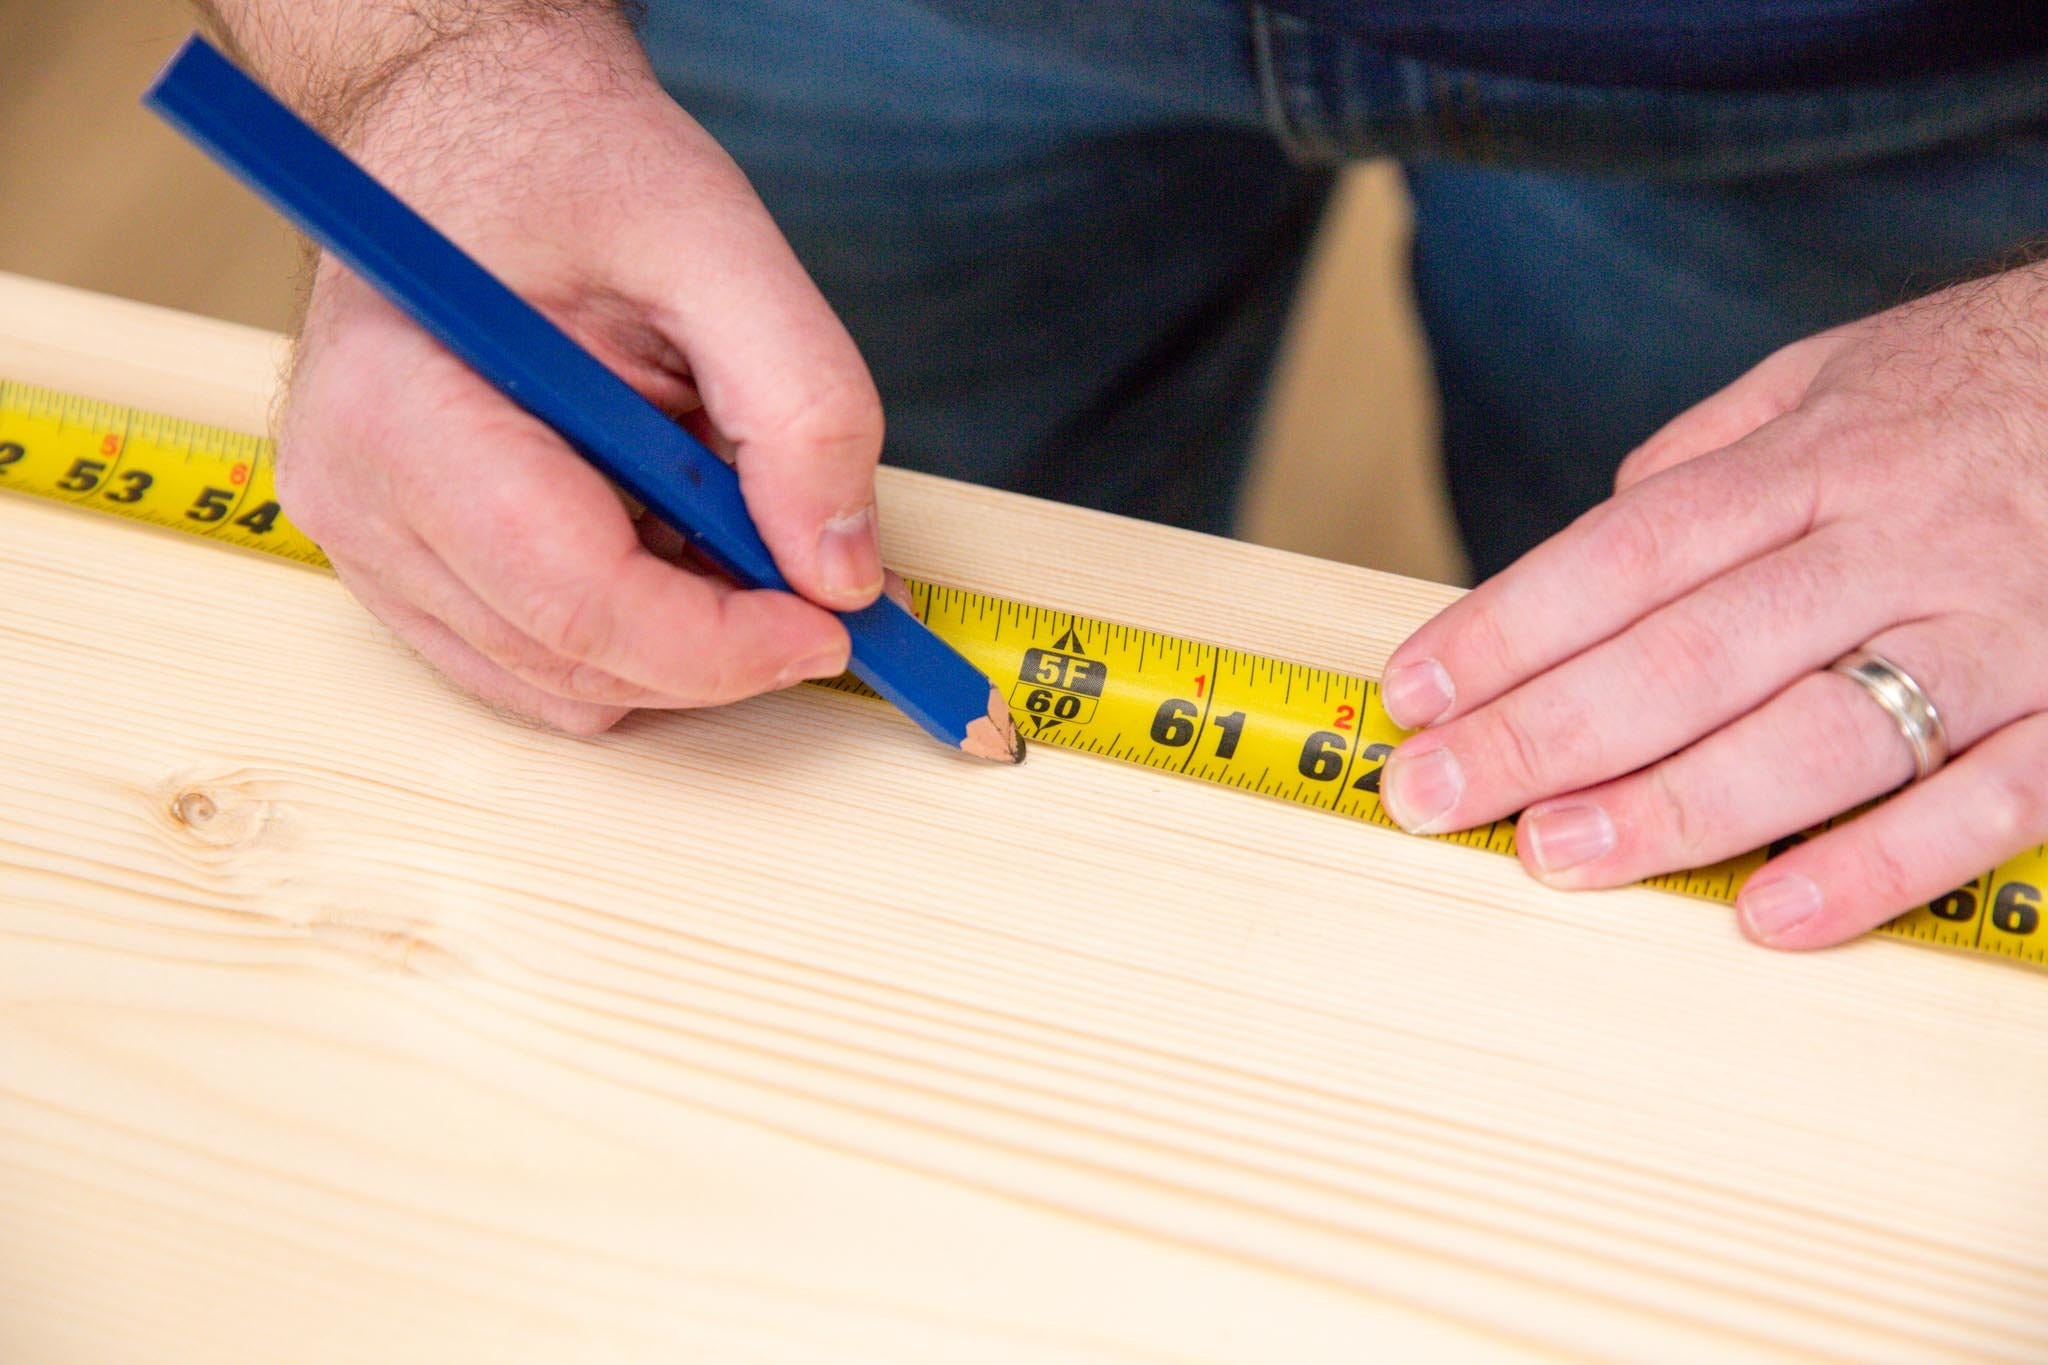
We like to cut all of the lumber into the pieces needed before we start putting things together. (It helps keep your workspace organized.)
Start by organizing your lumber and cut the sizes you will need to assemble the mantel. Use a circular saw to cut the pieces and organize them based on the steps you’ll need them for.
When complete, you should have the following pieces:
5/4 x 12 - 6’ Pine Stepping
- One (1) top of face frame at 60”
- One (1) base piece at 60”
- One (1) mantel top at 64”
1 x 8 - 8’ Spruce
- Two (2) mantel legs at 35”
1 x 4 - 8’ Spruce
- Two (2) pieces at 44”
- Two (2) face frame pieces at 49”
- Two (2) pieces at 3”
1 x 10 - 8’Spruce
- Two (2) outer mantel legs at 46 ½”
- Two (2) inside of mantel legs at 35”
2 x 3 - 8’ White Wood
- One (1) internal support piece at 58 ½”
Tip: If you plan to paint this mantel instead of staining it, you should consider WindsorONE lumber. It’s a little more expensive, but it comes pre-primed and easy to paint.
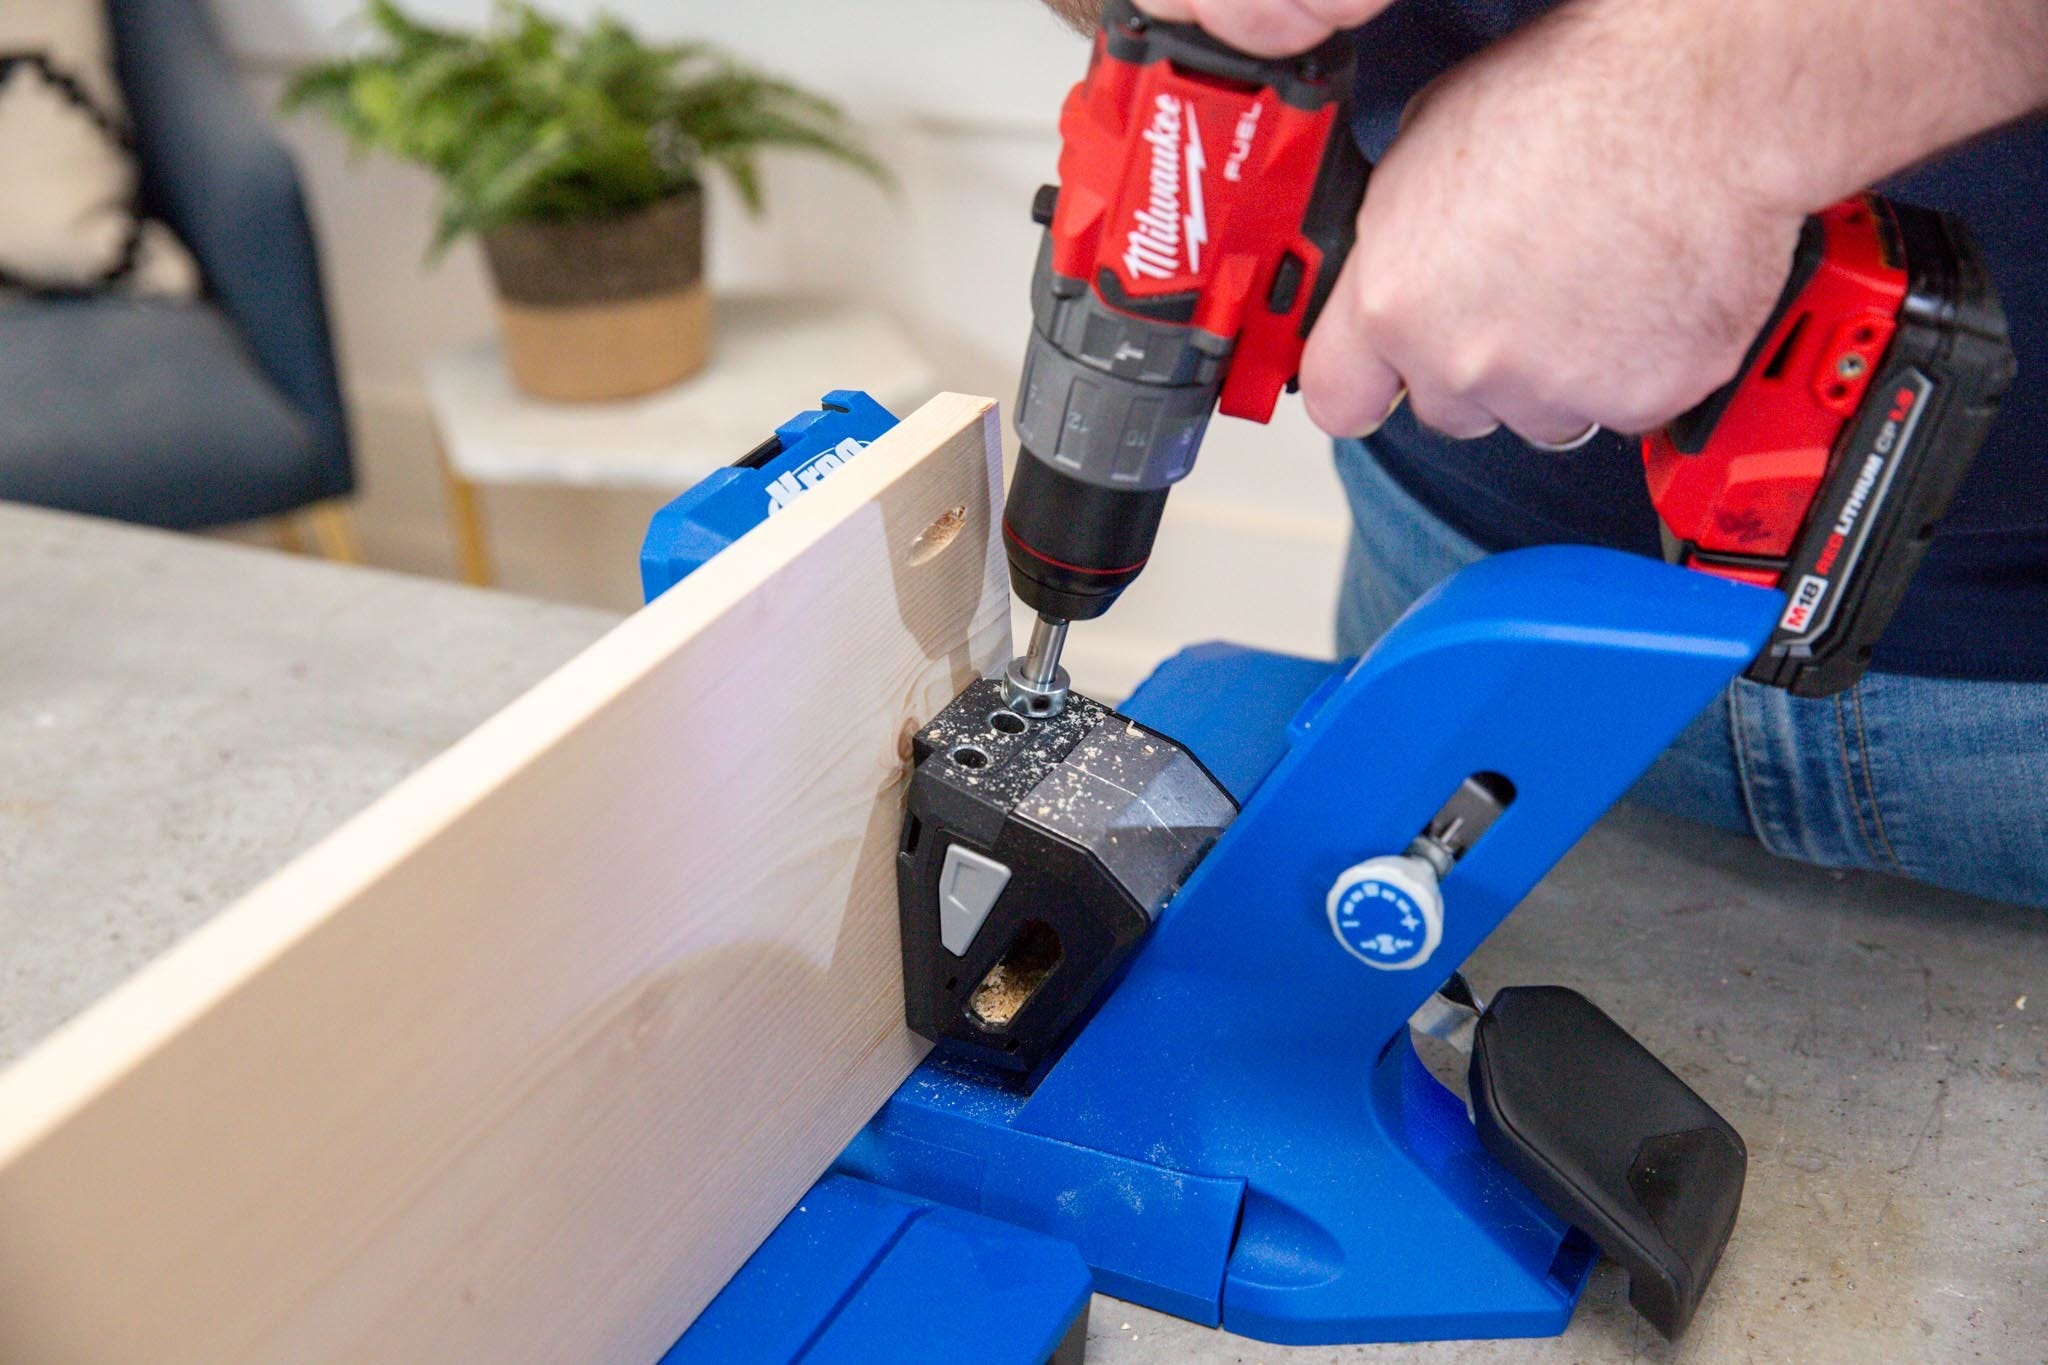
Step 2: Drill pocket holes
Pocket holes are strong joints that are easy to create and make assembly much easier, so this is where you’ll start.
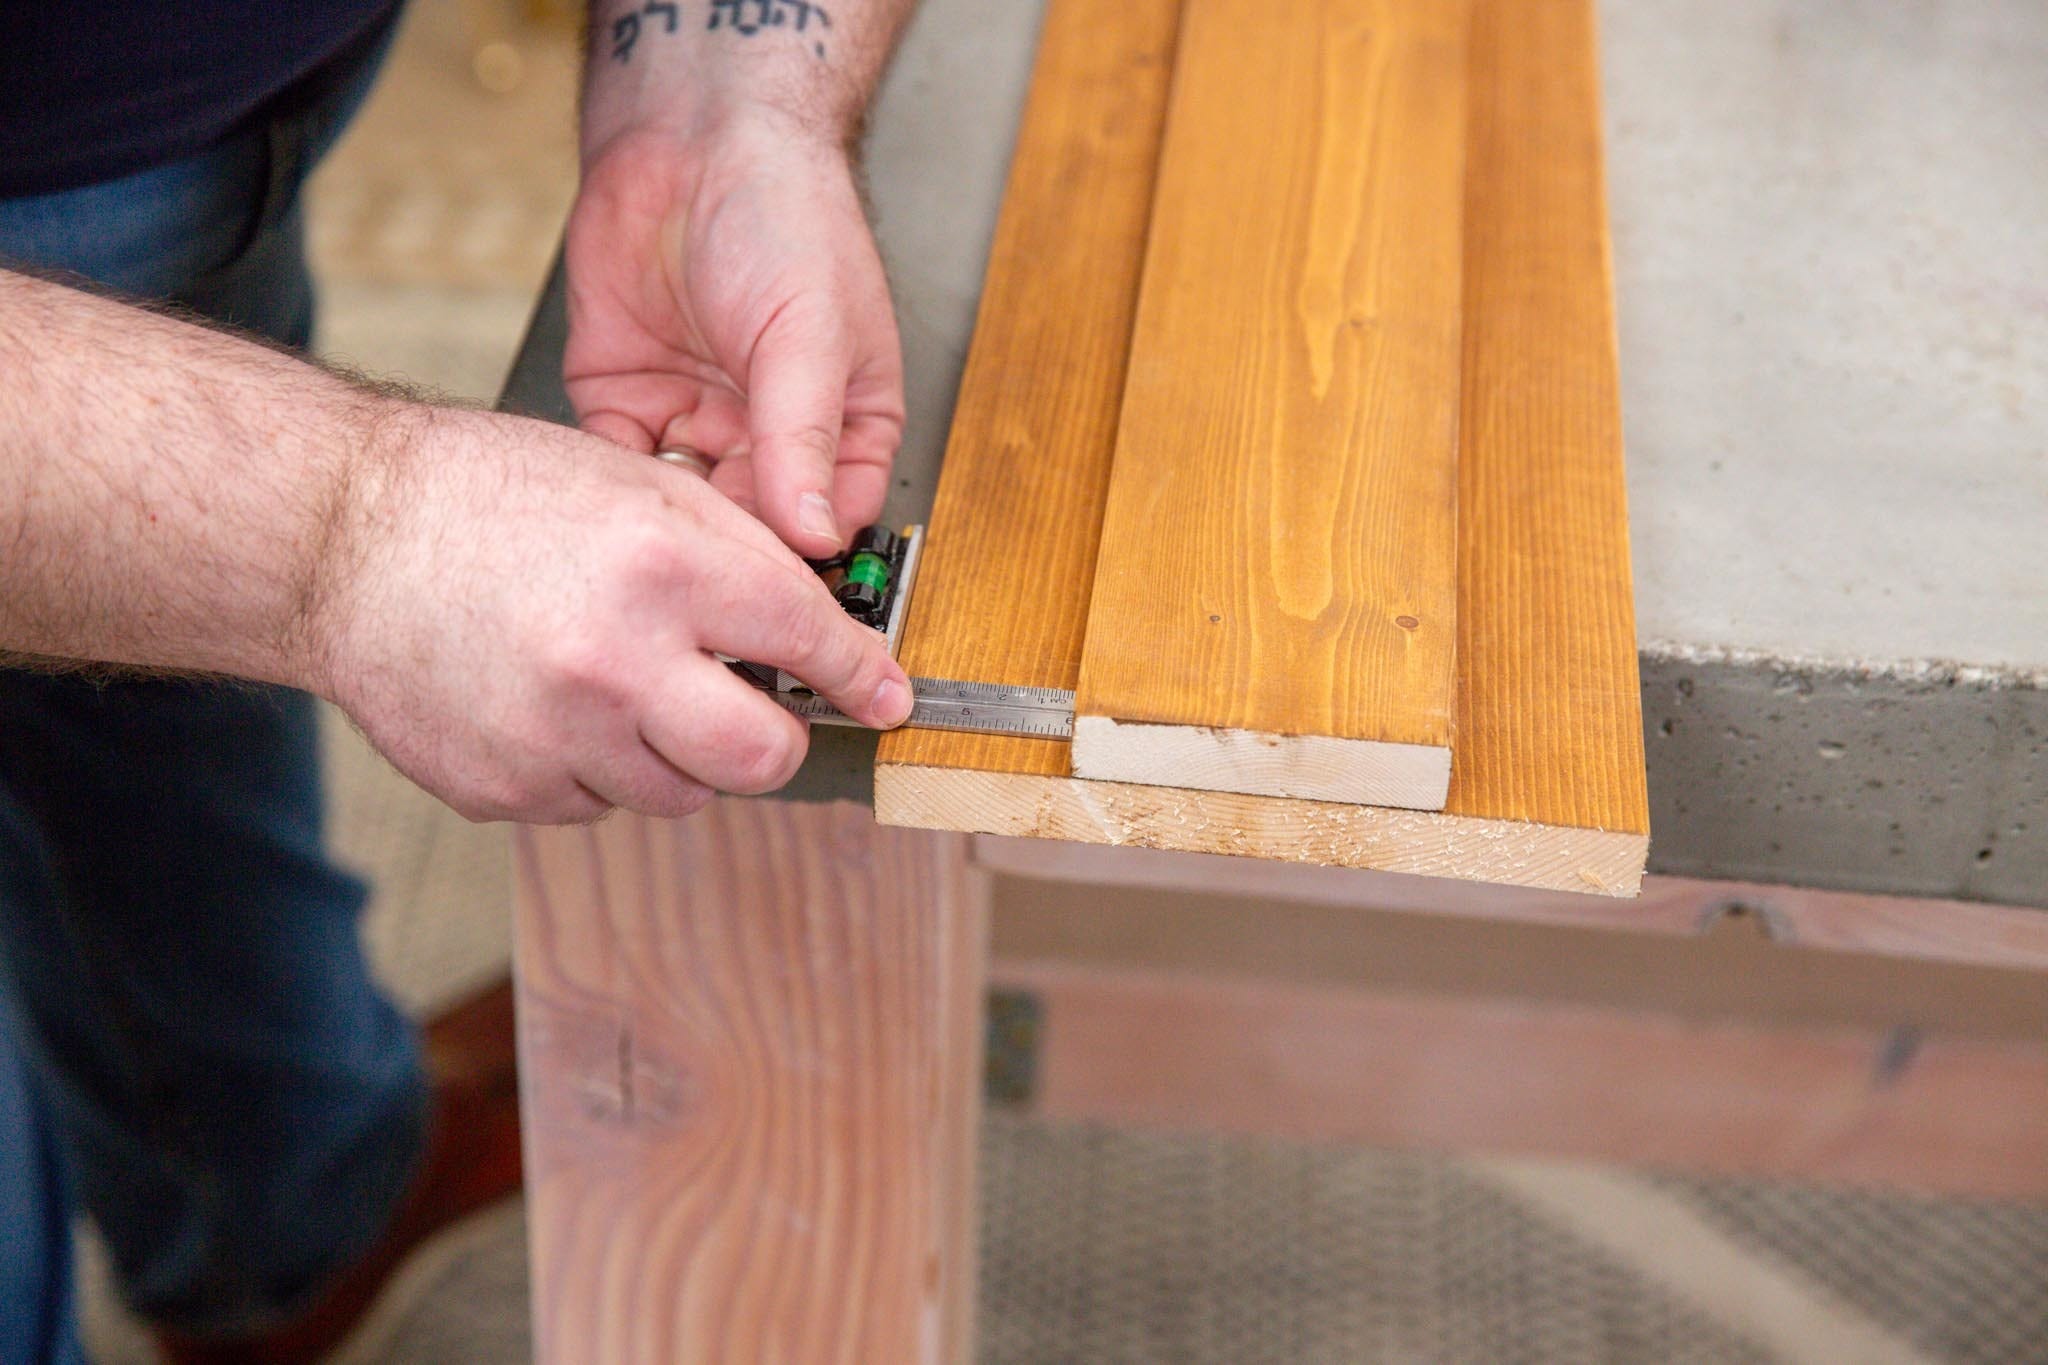
With a drill driver and a pocket hole jig, drill pocket holes into the 60” one-by-twelve spruce pieces. The pocket hole jig should have the required default space from the edges and then another pocket hole every 6” should be enough. These pocket holes will help when securing the mantel top at the very end.
Next, you’ll add two pocket holes to each end of the one-by-eight spruce mantel legs. To help keep things organized, leave the mantel legs next to the top of the face frame piece from above.
For the inner and outer mantel legs, in order to secure them to the mantel base, mantel top, and face frame, you’ll need pocket holes on the long and short sides.
On the inner mantel leg, add two (2) pocket holes to the short sides, then five (5) additional pocket holes spaced out evenly on the long side.
On the outer mantel leg, add two (2) pocket holes to the short sides, then eight (8) spaced out evenly on the long side.
Finally, add two pocket holes to the short side of the 58 ½” internal support piece and four pocket holes to the front-facing side.

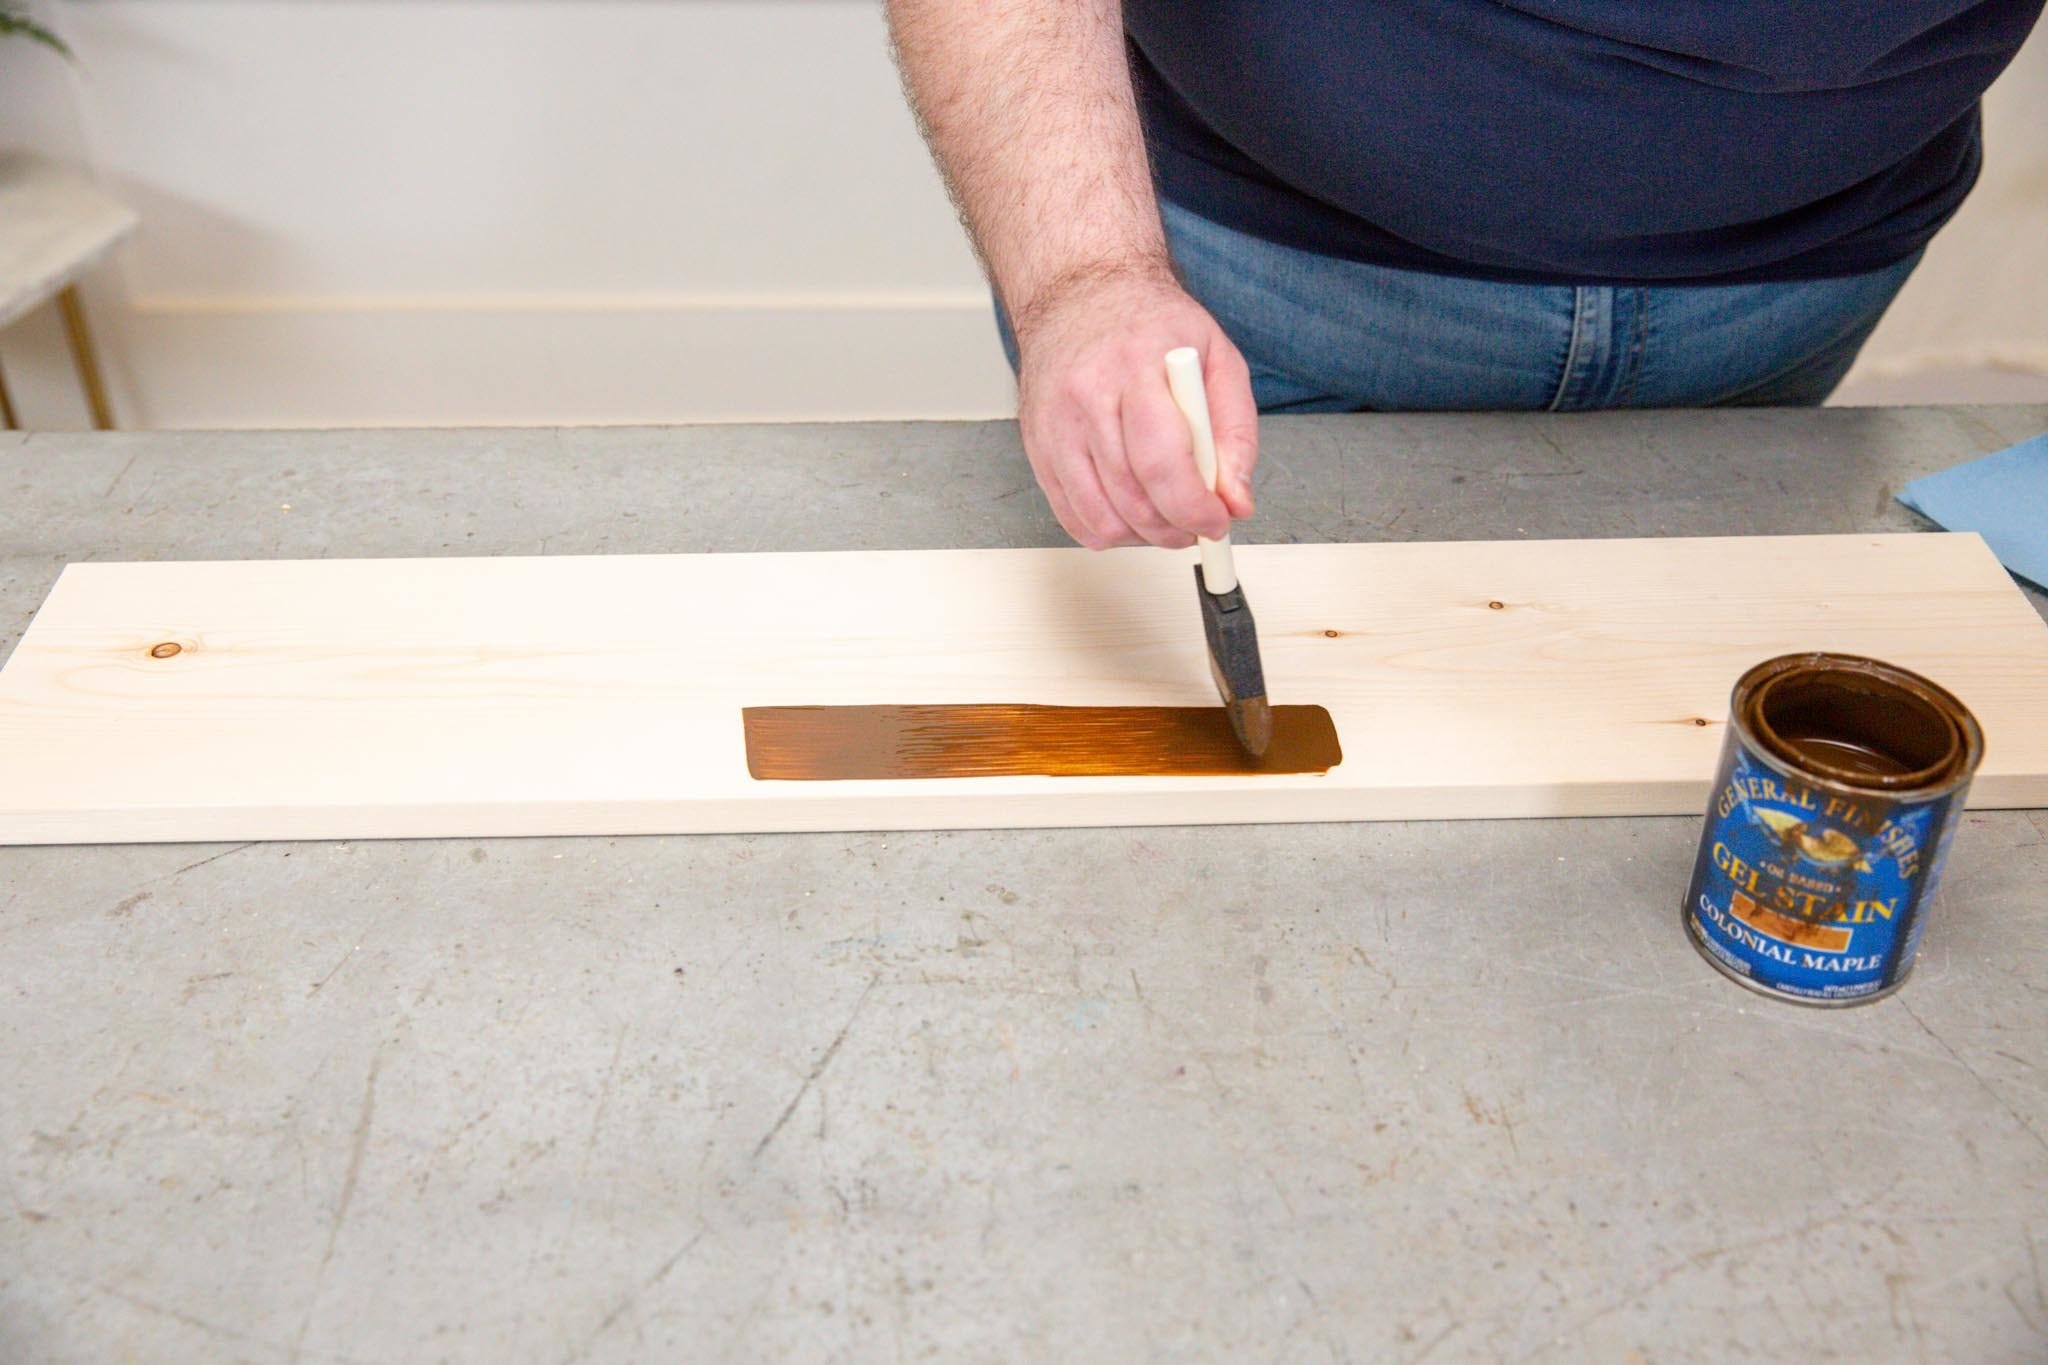
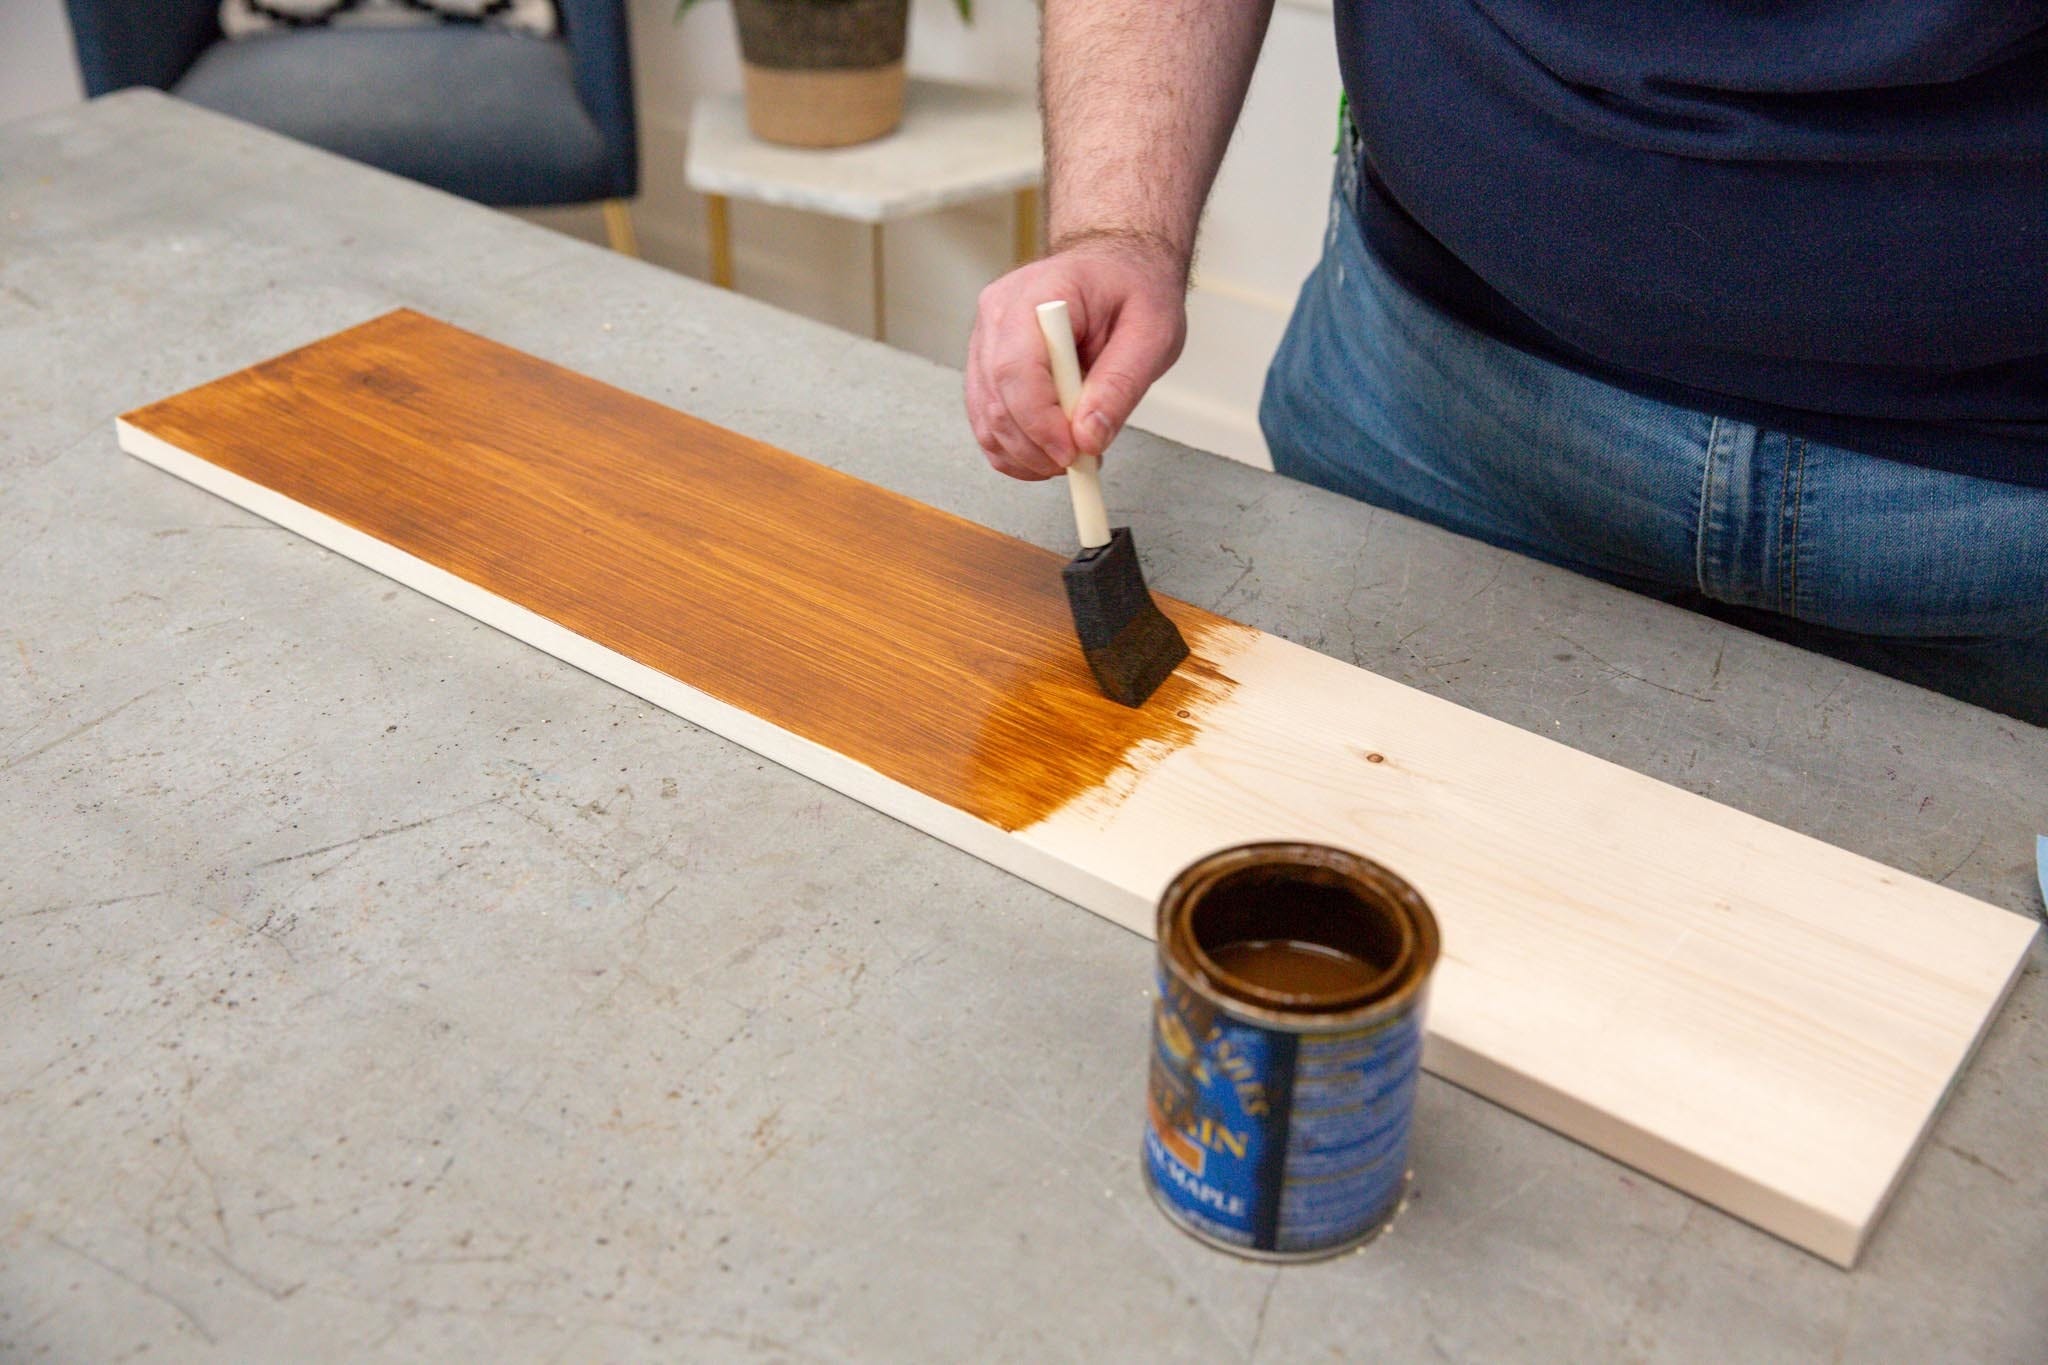
Step 3: Stain lumber
Before we assemble the pieces, now is a good time to stain the lumber. With the stain of your choice, use the various foam brushes to apply the stain to the lumber. For pieces with pocket holes, stain the side opposite the holes.
For this project, we used General Finishes Oil-Based Gel Stain in Colonial Maple. This stain worked great because it’s both easy to apply and forgiving if you apply a little too much stain. It’s simple to remove extra stain without causing a difference in color. Let the stain dry for at least a couple of hours, though we recommend drying overnight.
Note: If you plan to paint the mantel instead of staining, this should be done after assembling all the pieces.
Step 4: Assemble face frame
Now, the fun begins—we get to assemble everything we’ve prepared!
Start by attaching the mantel legs to the one-by-twelve top of the face frame piece. As a reminder, there should already be two pocket holes at the bottom of each mantel leg to attach the base piece in a later step. The face frame is now complete and will be a helpful guide moving forward.
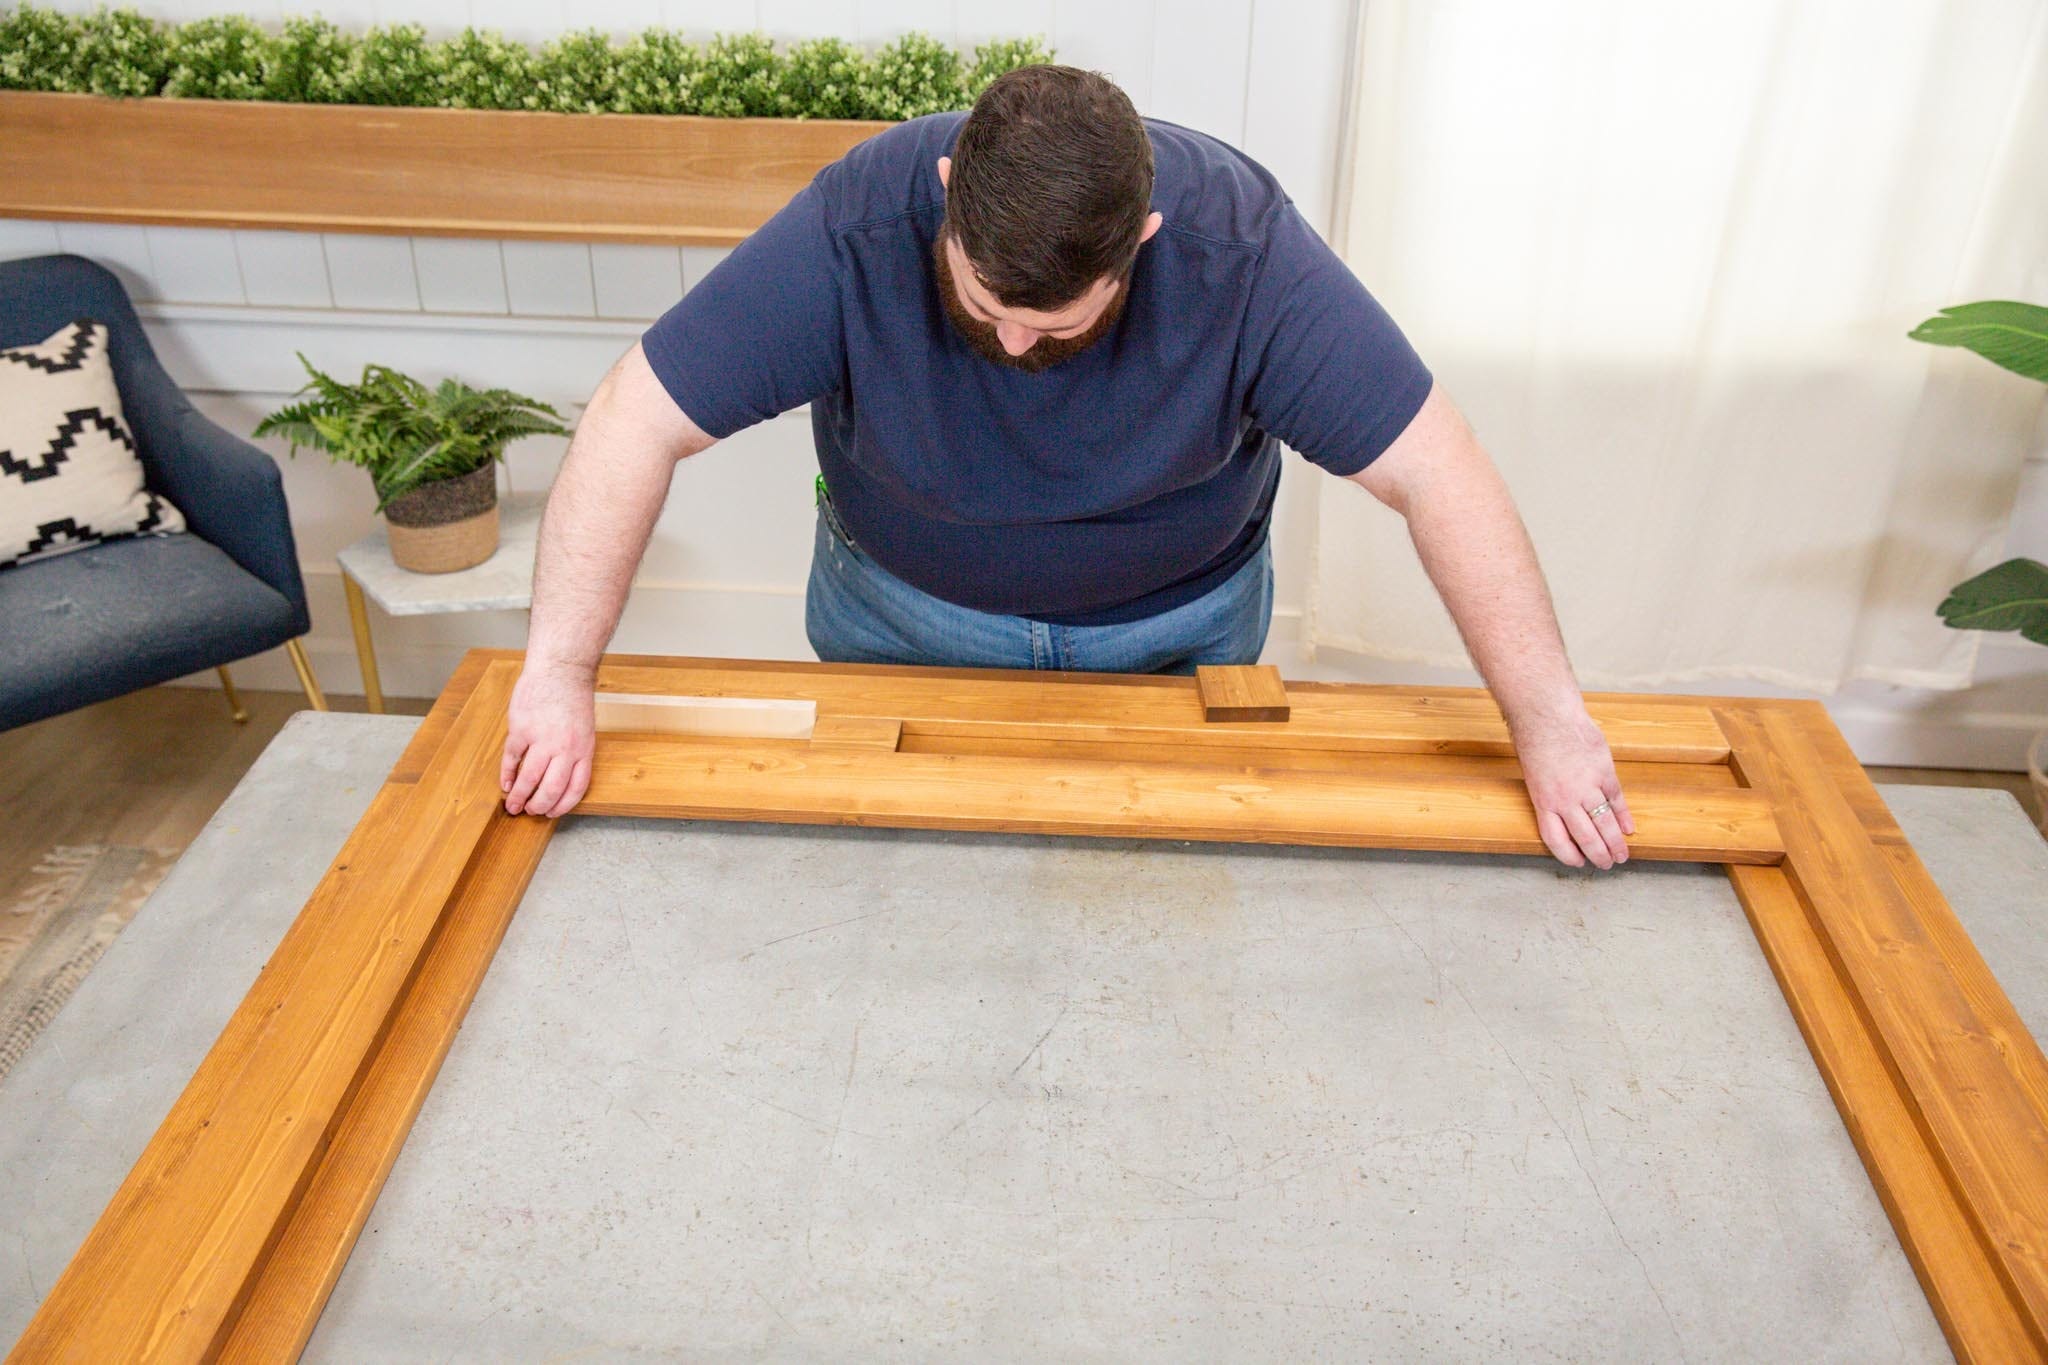
Step 5: Attach decorative pieces
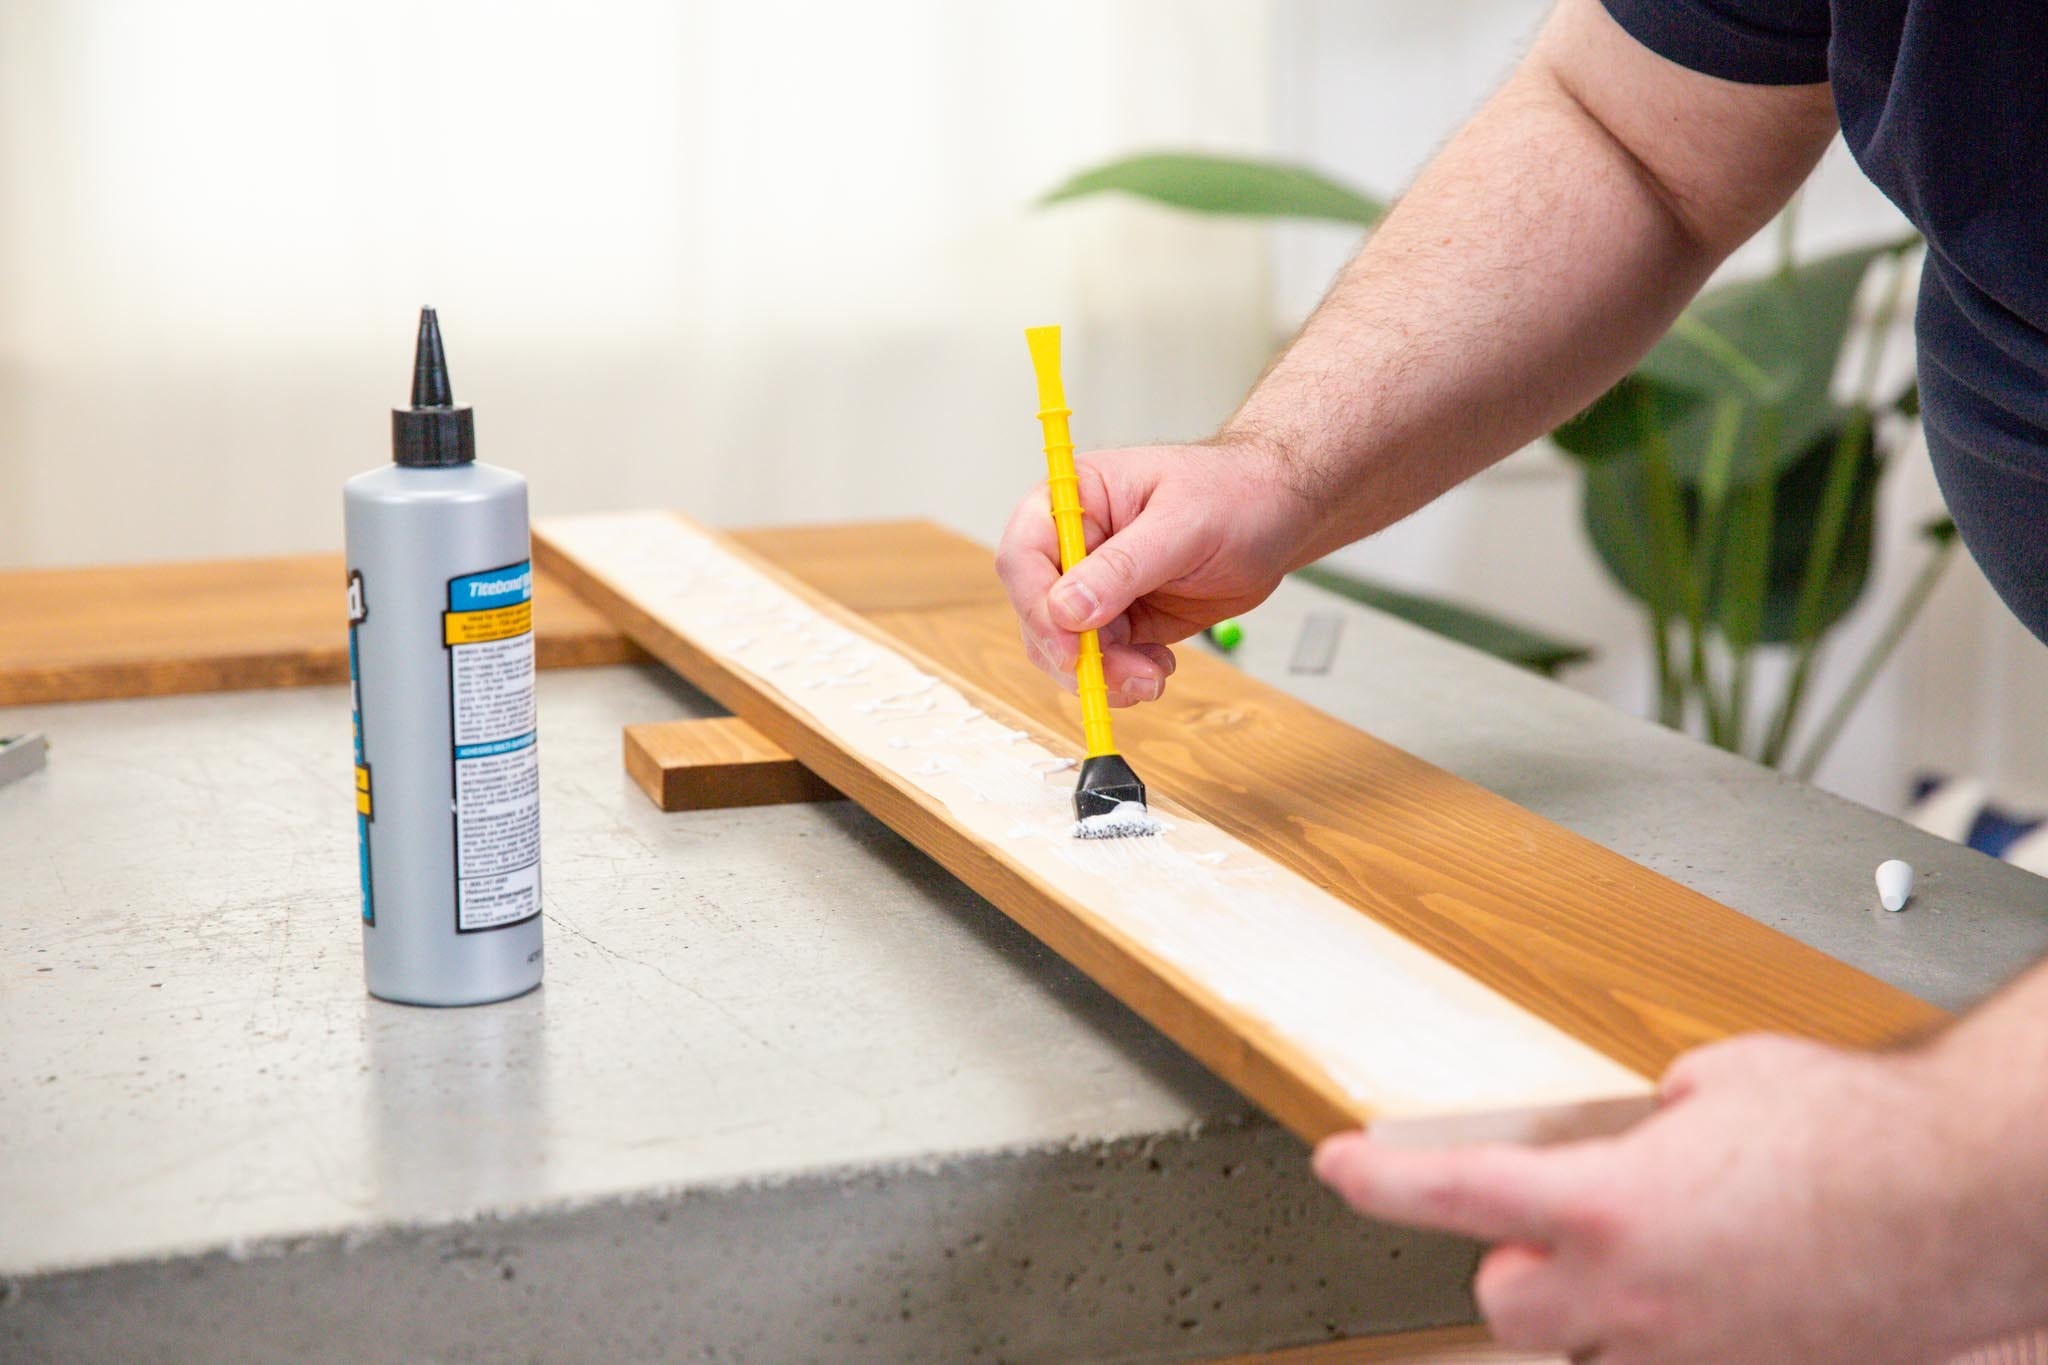
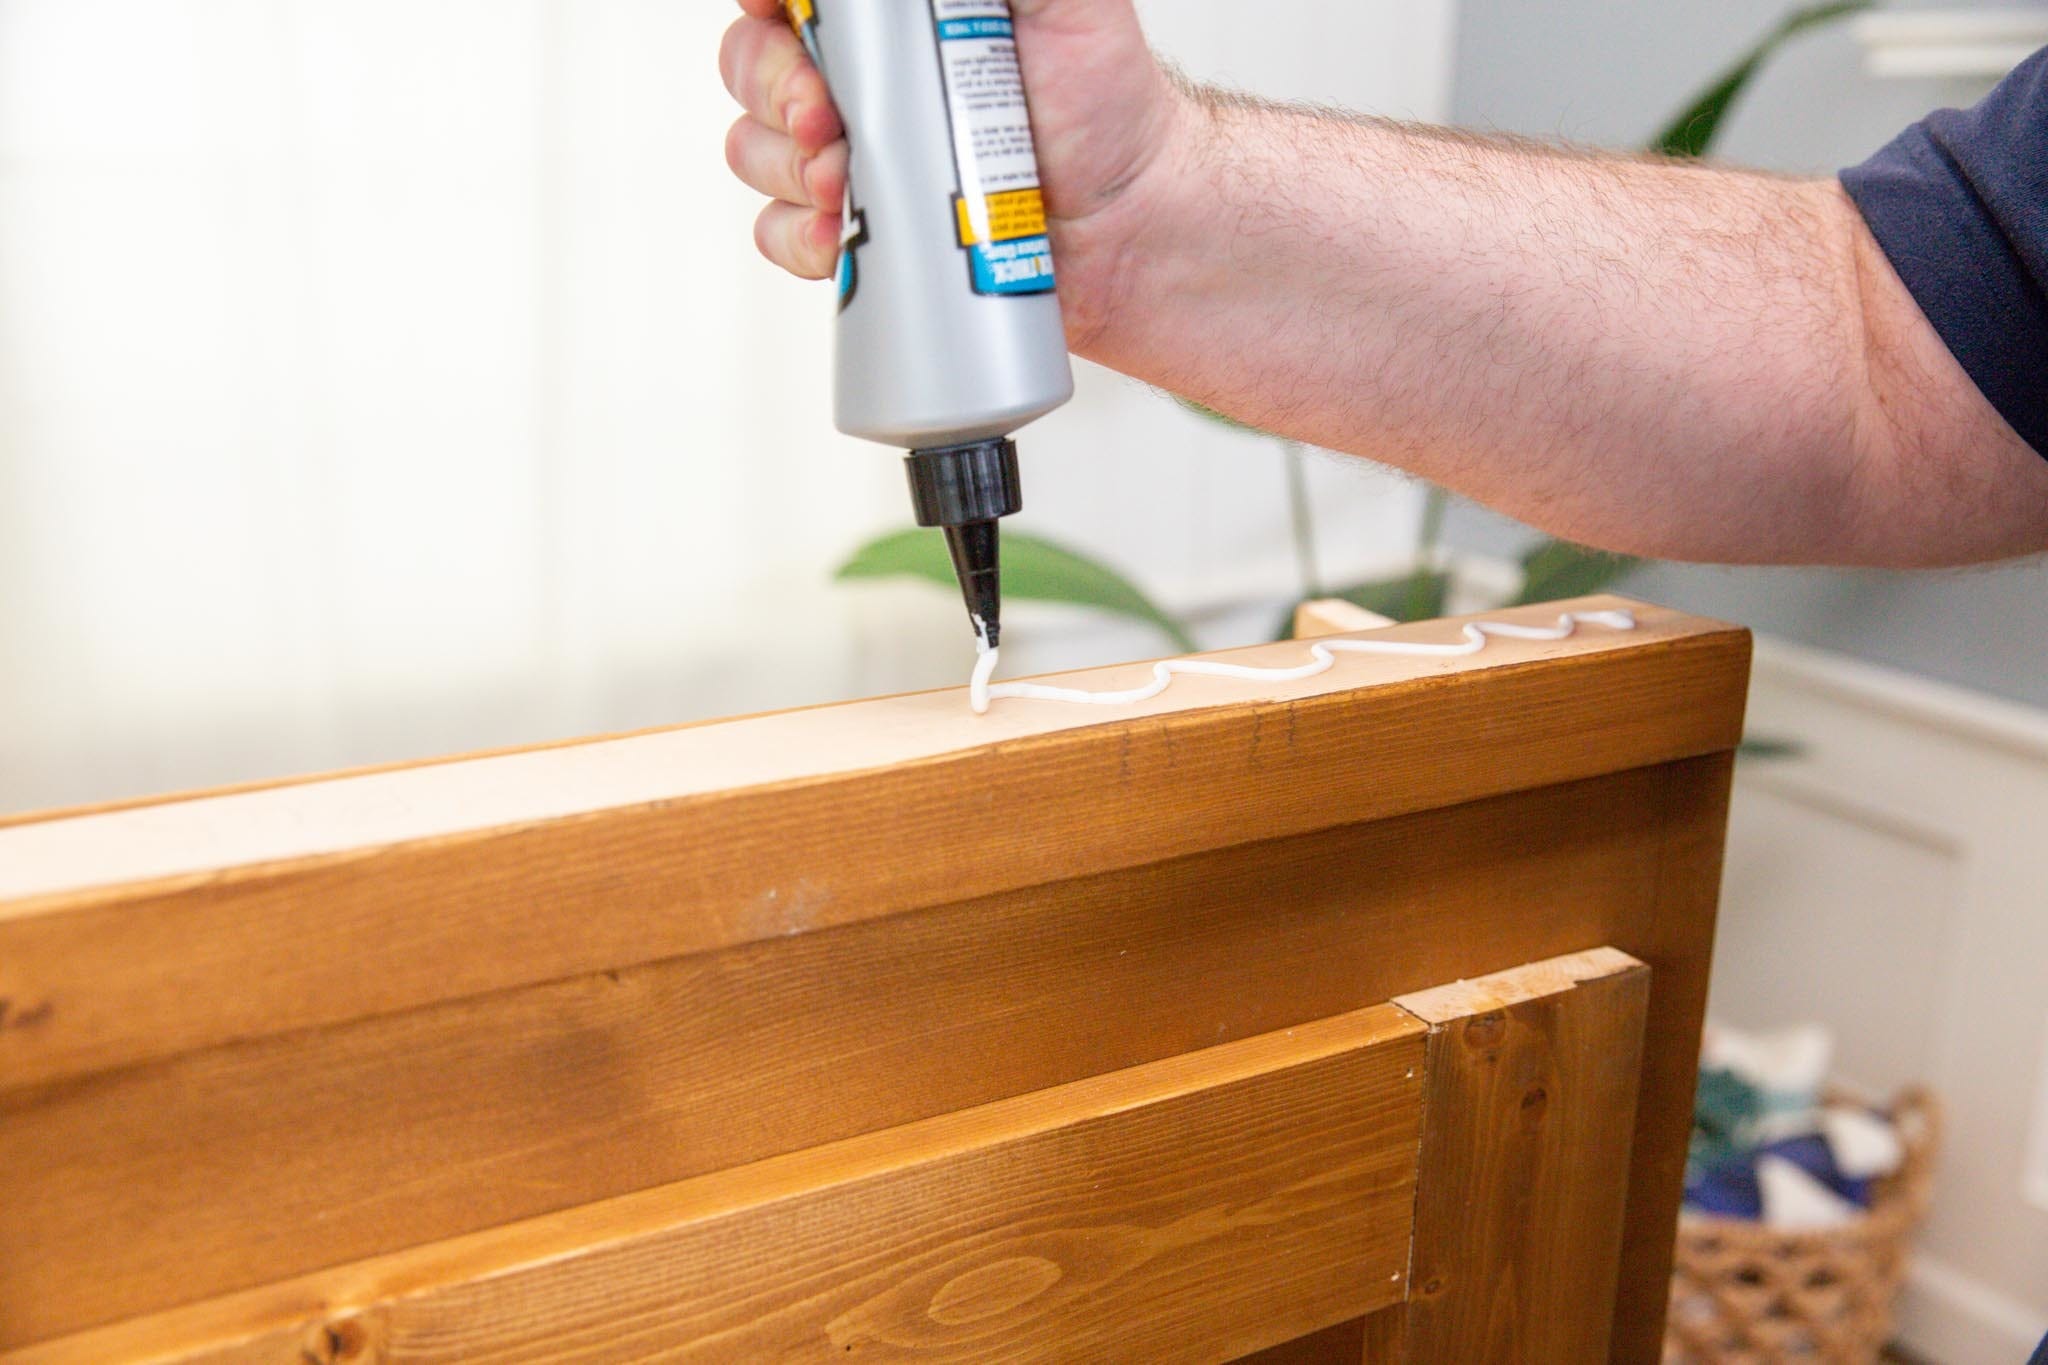
It's time to add some character to the mantel. Locate your two (2) 44” one-by-four vertical faceplates and wood glue. Lay these pieces down so they’re centered on the face frame and aligned with the bottom of each mantel leg, leaving 2” on each side. Be sure to mark where each side is with a marking tool for placement after applying glue.
Flip these pieces over to the non-stained sides and apply the wood glue in a jagged fashion for better application. Use a foam brush to apply evenly along the entire piece of lumber and flip back over to place the pieces onto the face frame.
Next, find the two (2) 49” horizontal faceplates and lay one of them down horizontally between the vertical faceplates. Make sure to confirm that it’s aligned with the top of the vertical faceplates before gluing. Then, apply the wood glue to the non-stained side and secure the horizontal faceplate.
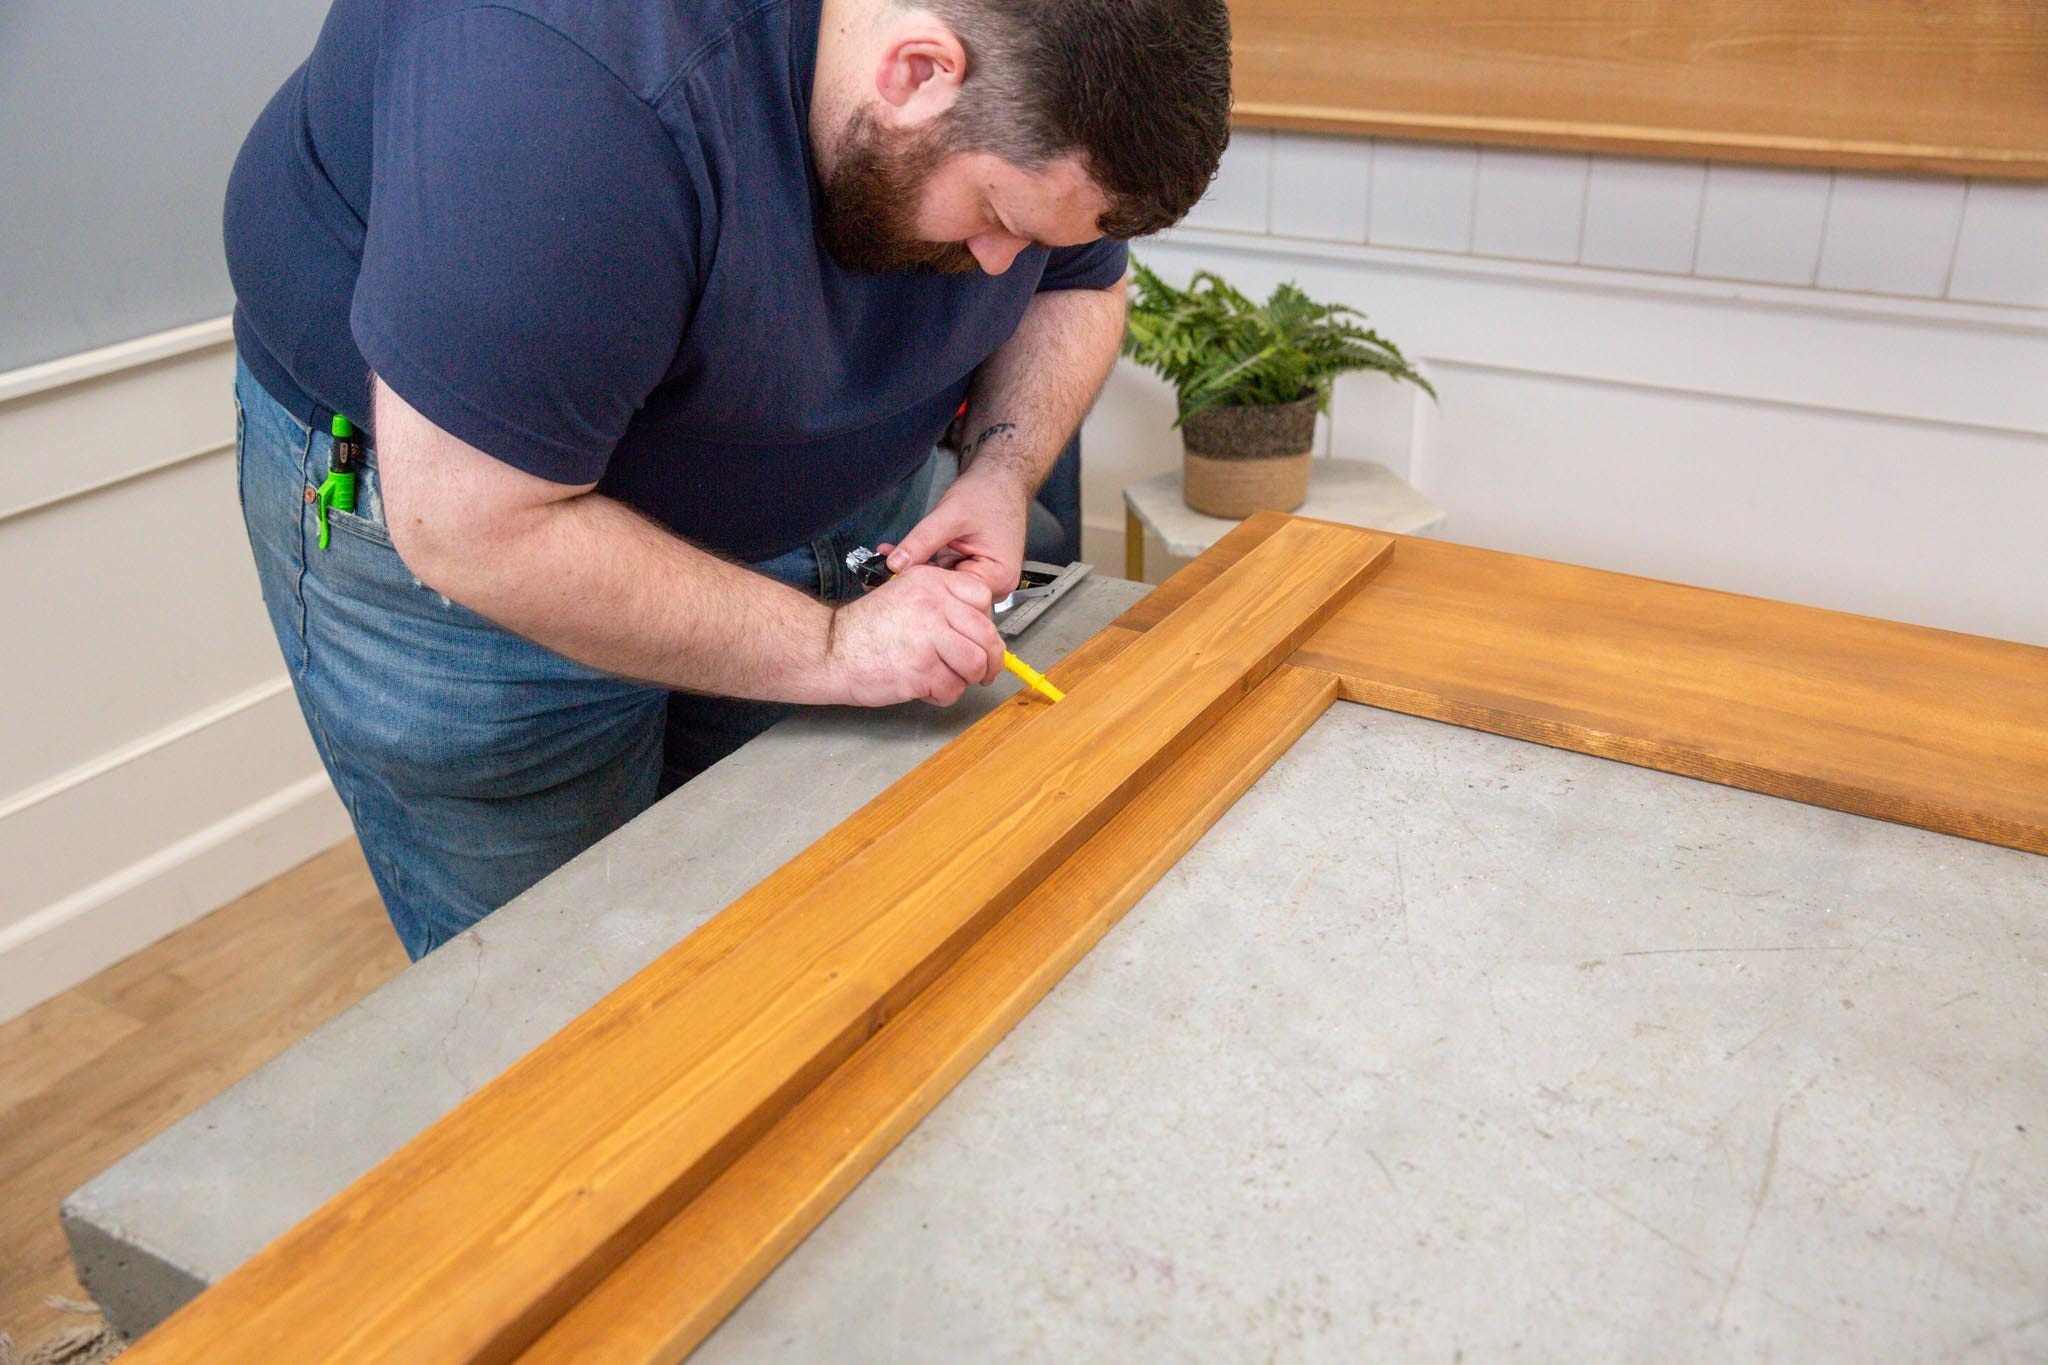
Using a framing square and the two (2) 3” spacers (we used a piece of scrap from the one-by-twelve), measure a 3” gap between the horizontal faceplate. Once you’ve confirmed that it fits properly, add wood glue to the non-stained side and place it on the face frame.
Then, measure to your liking from each vertical faceplate, draw a line, and mark the sides facing the center for the spacer placement. Add glue to the 3” spacers and place them according to the marks.
Tip: A 11.25” measurement from each vertical faceplate mimics a classic craftsman style.
Now, locate the 58” two-by-three horizontal trim and place it above the top horizontal faceplate. It should be aligned with the outer edges of the vertical faceplates, but if it’s not, you can either center it or cut it down to size. Add wood glue, spread with a foam brush, and secure the trim in place.
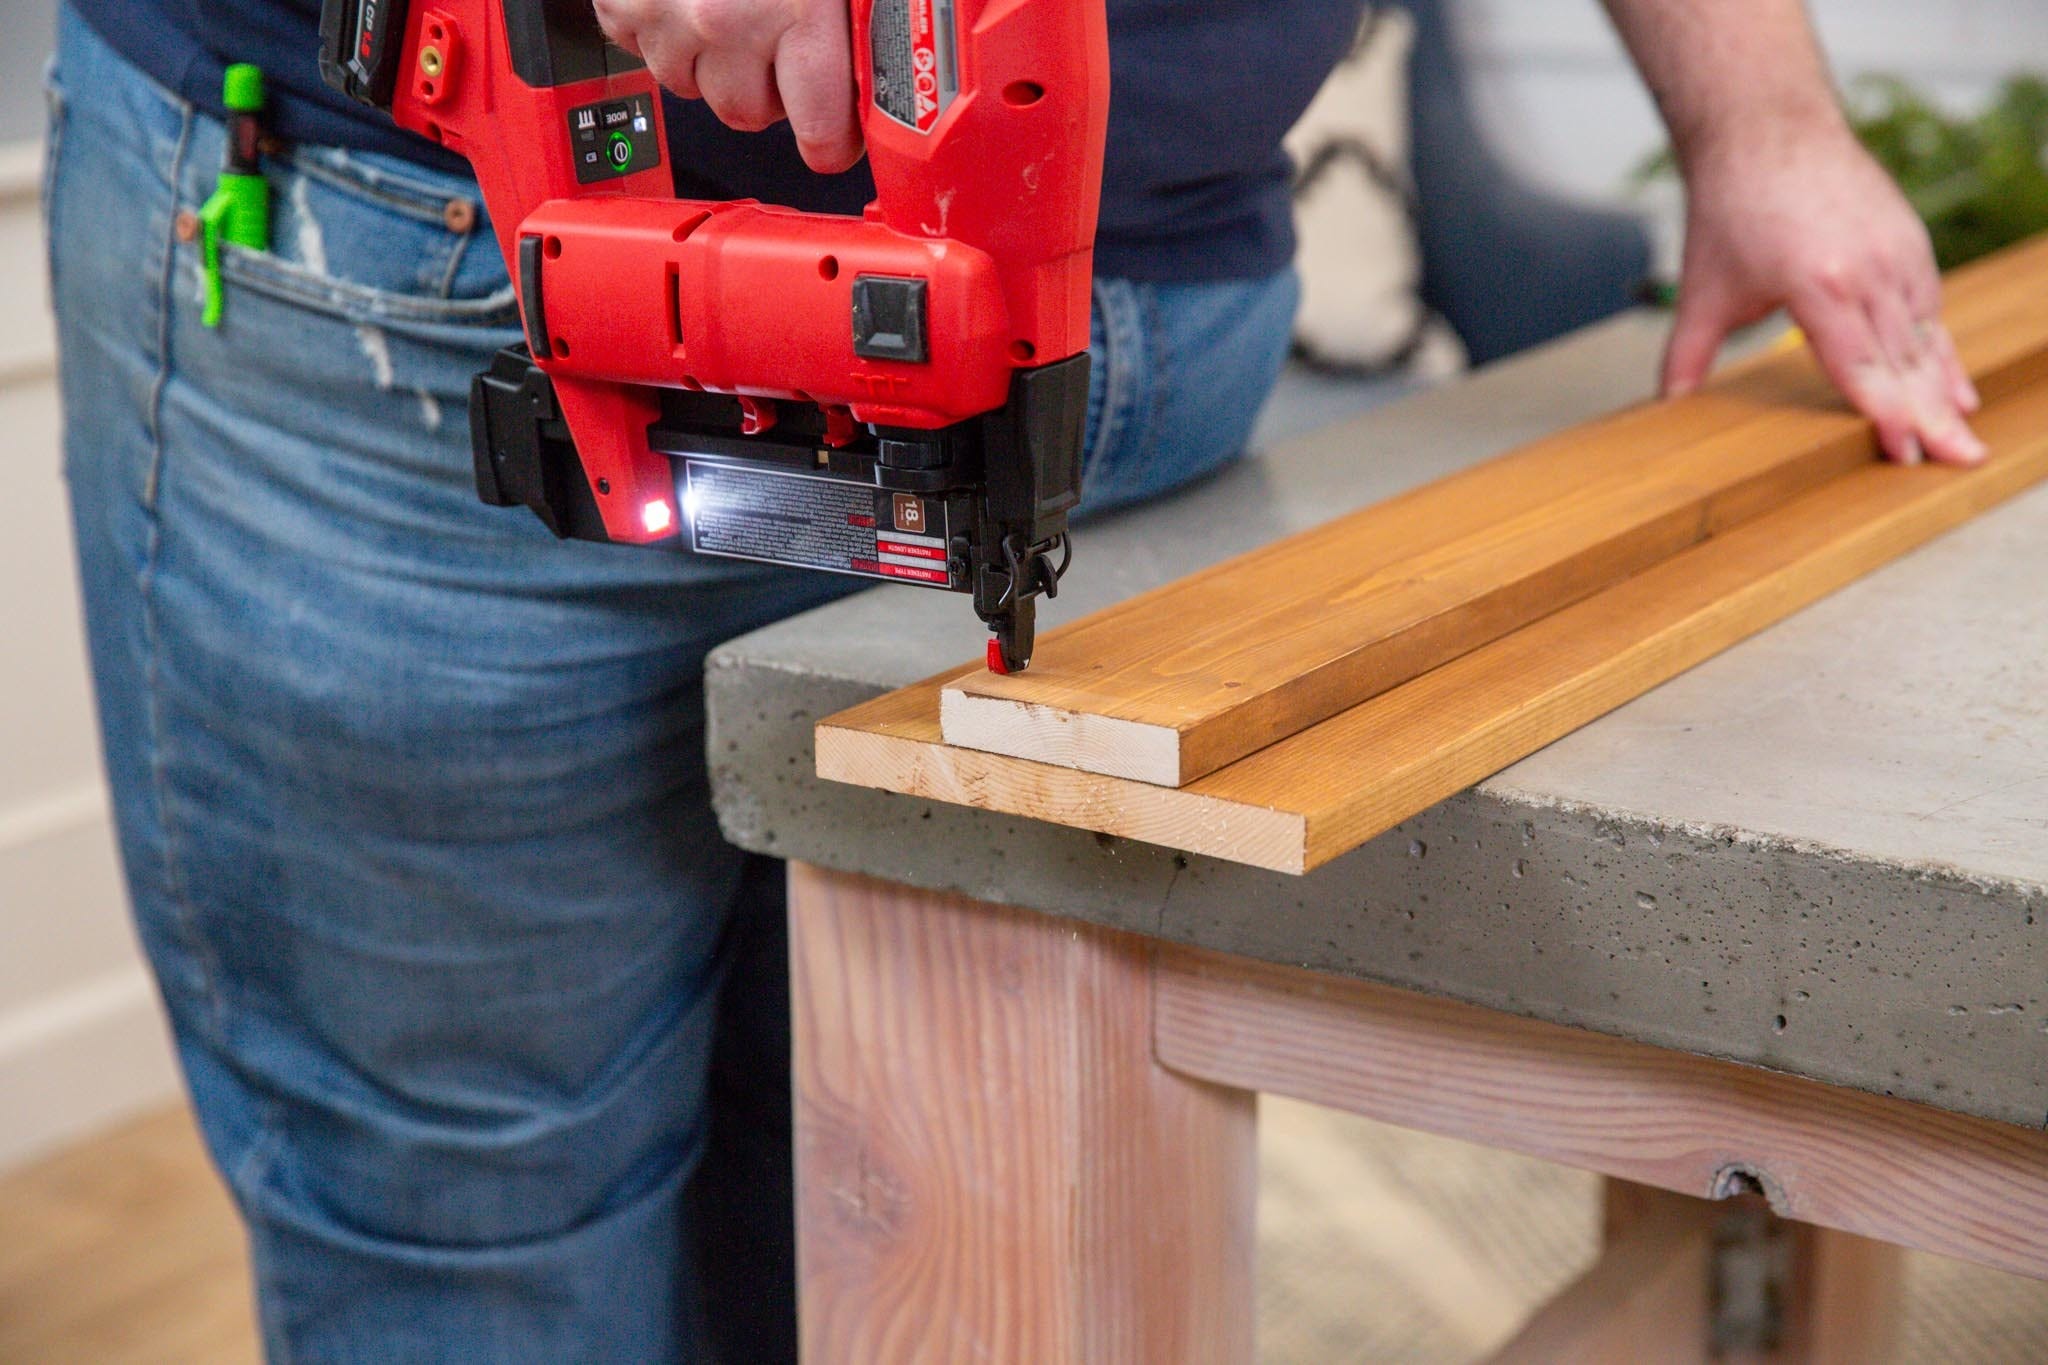
To wrap up this step, use your brad nailer and 1 ¼” brad nails to reinforce these glued pieces. If you don’t have a brad nailer or a similar tool, you can use finished nails.
A note of caution when using finish nails: The heads are much bigger than those of brad nails. Be careful when hammering, as dents could be noticeable.

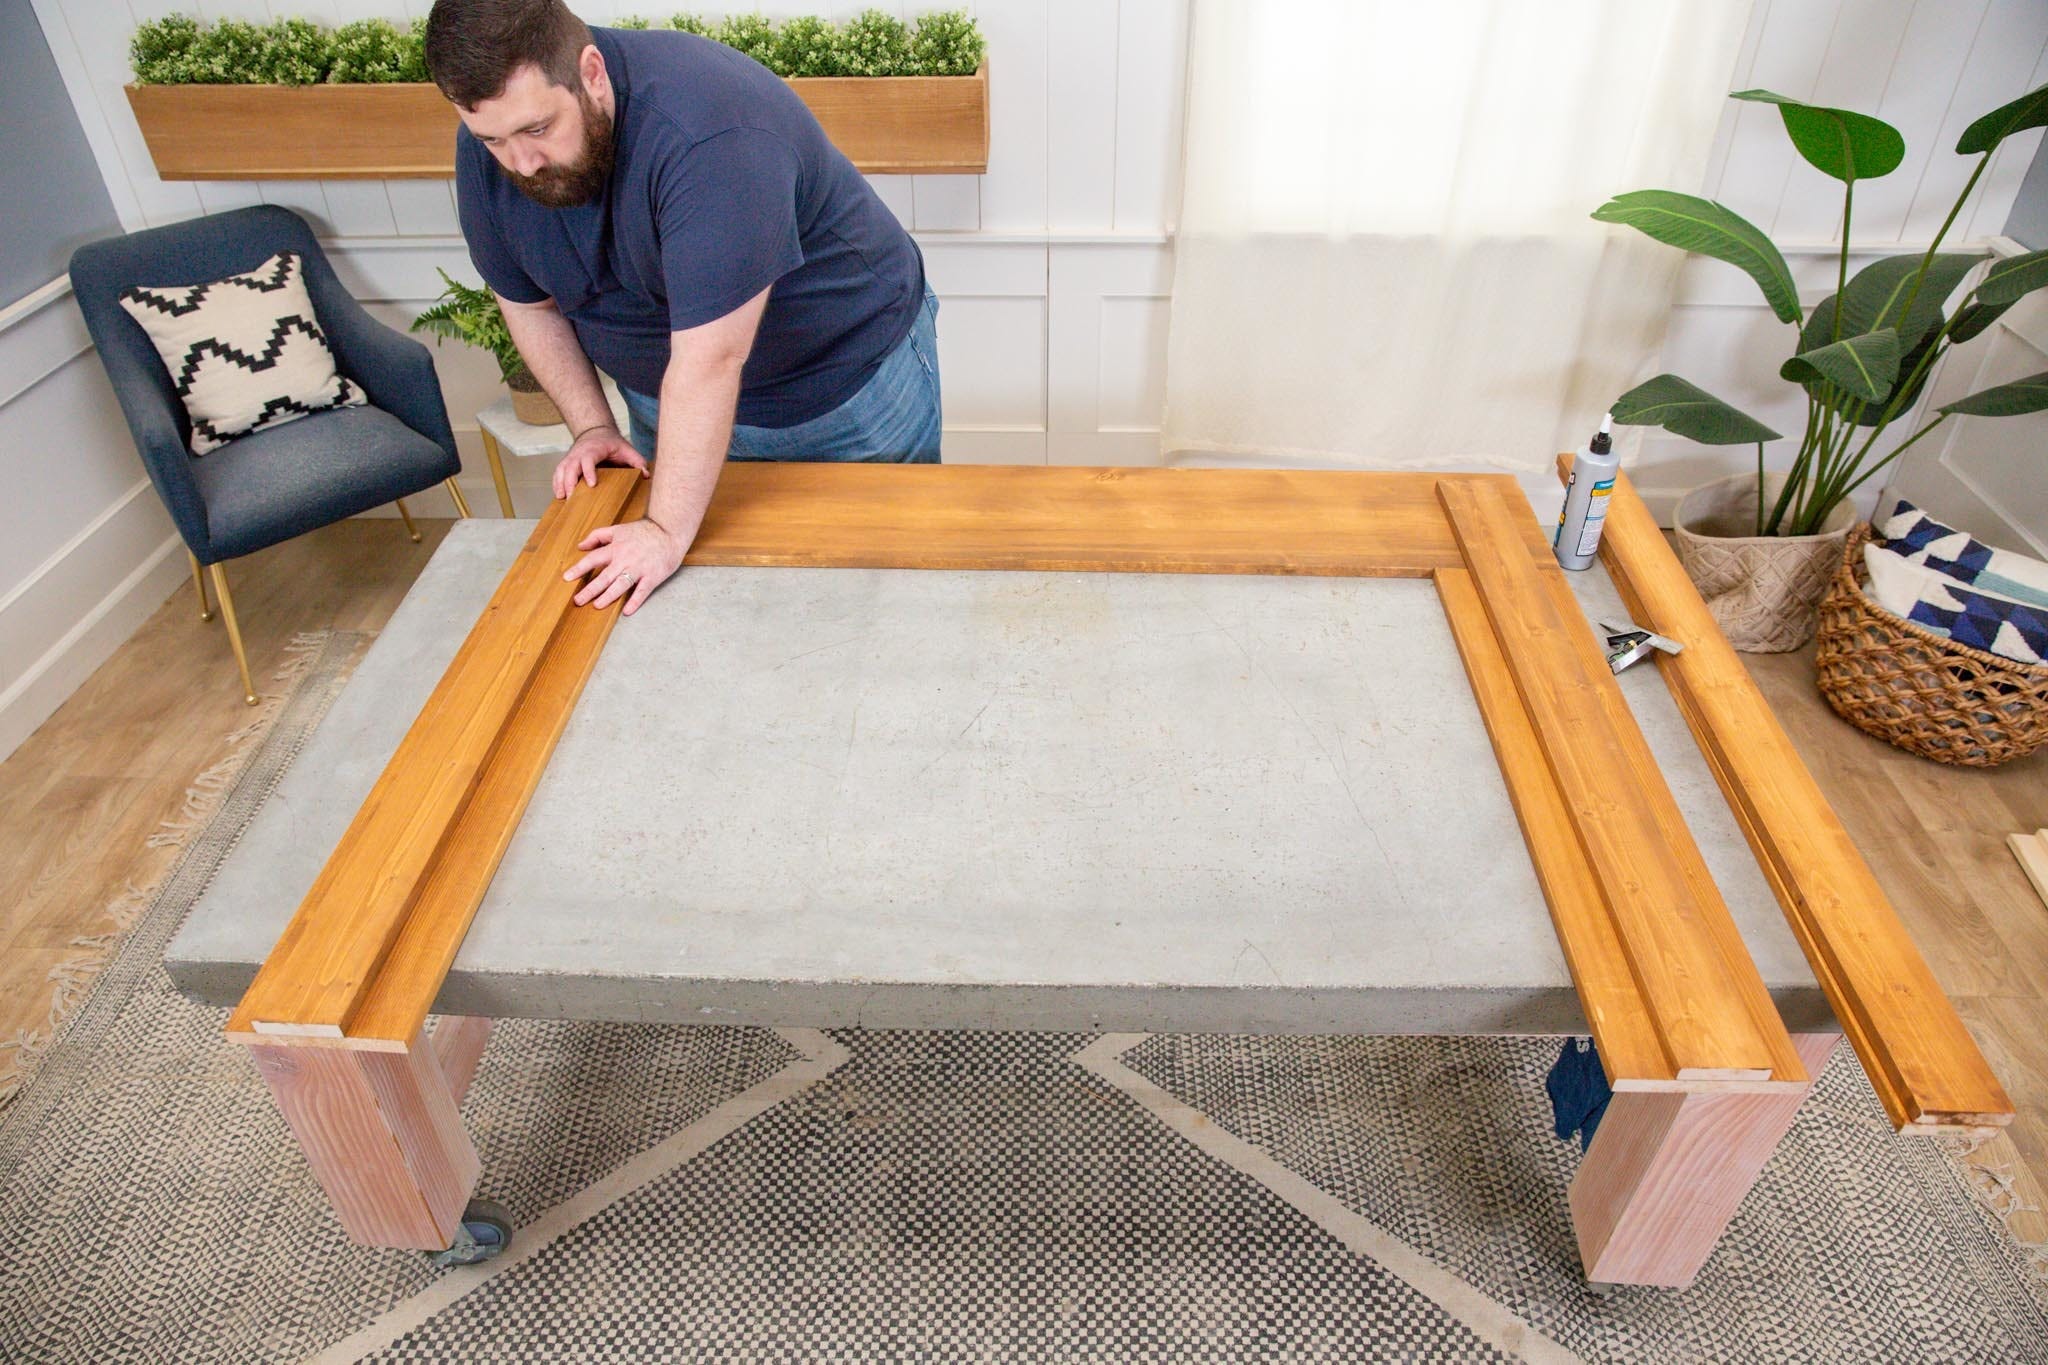
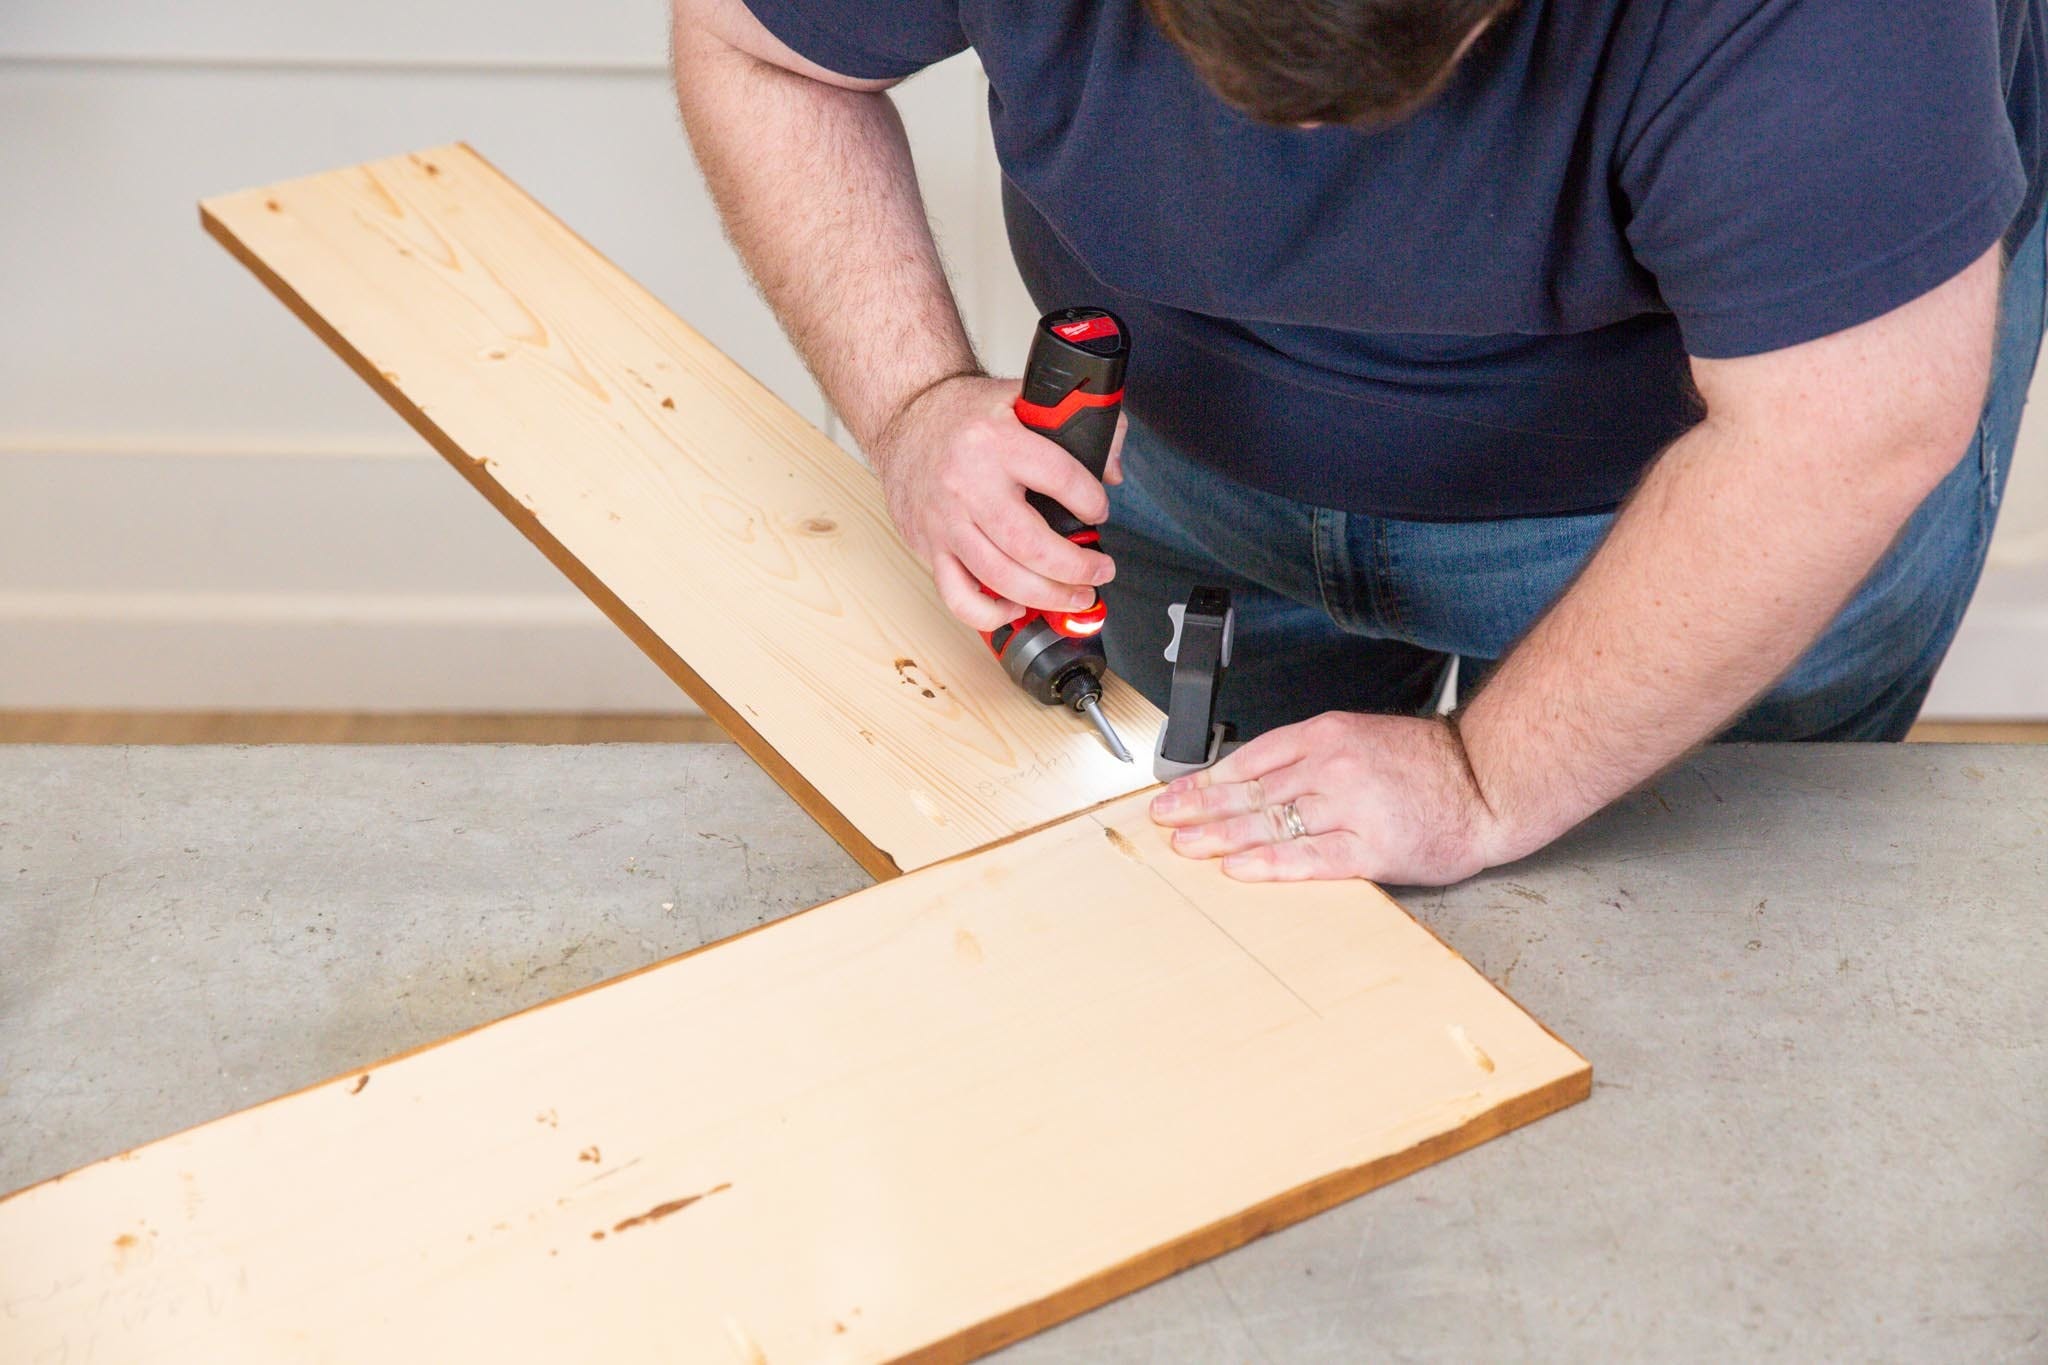
Step 6: Assemble structure
For this next section, it will be helpful to have a corner clamp (refer to pictures) to attach the inner and outer leg pieces. If you don’t have one, ask someone to help you hold the pieces in place as you attach them.
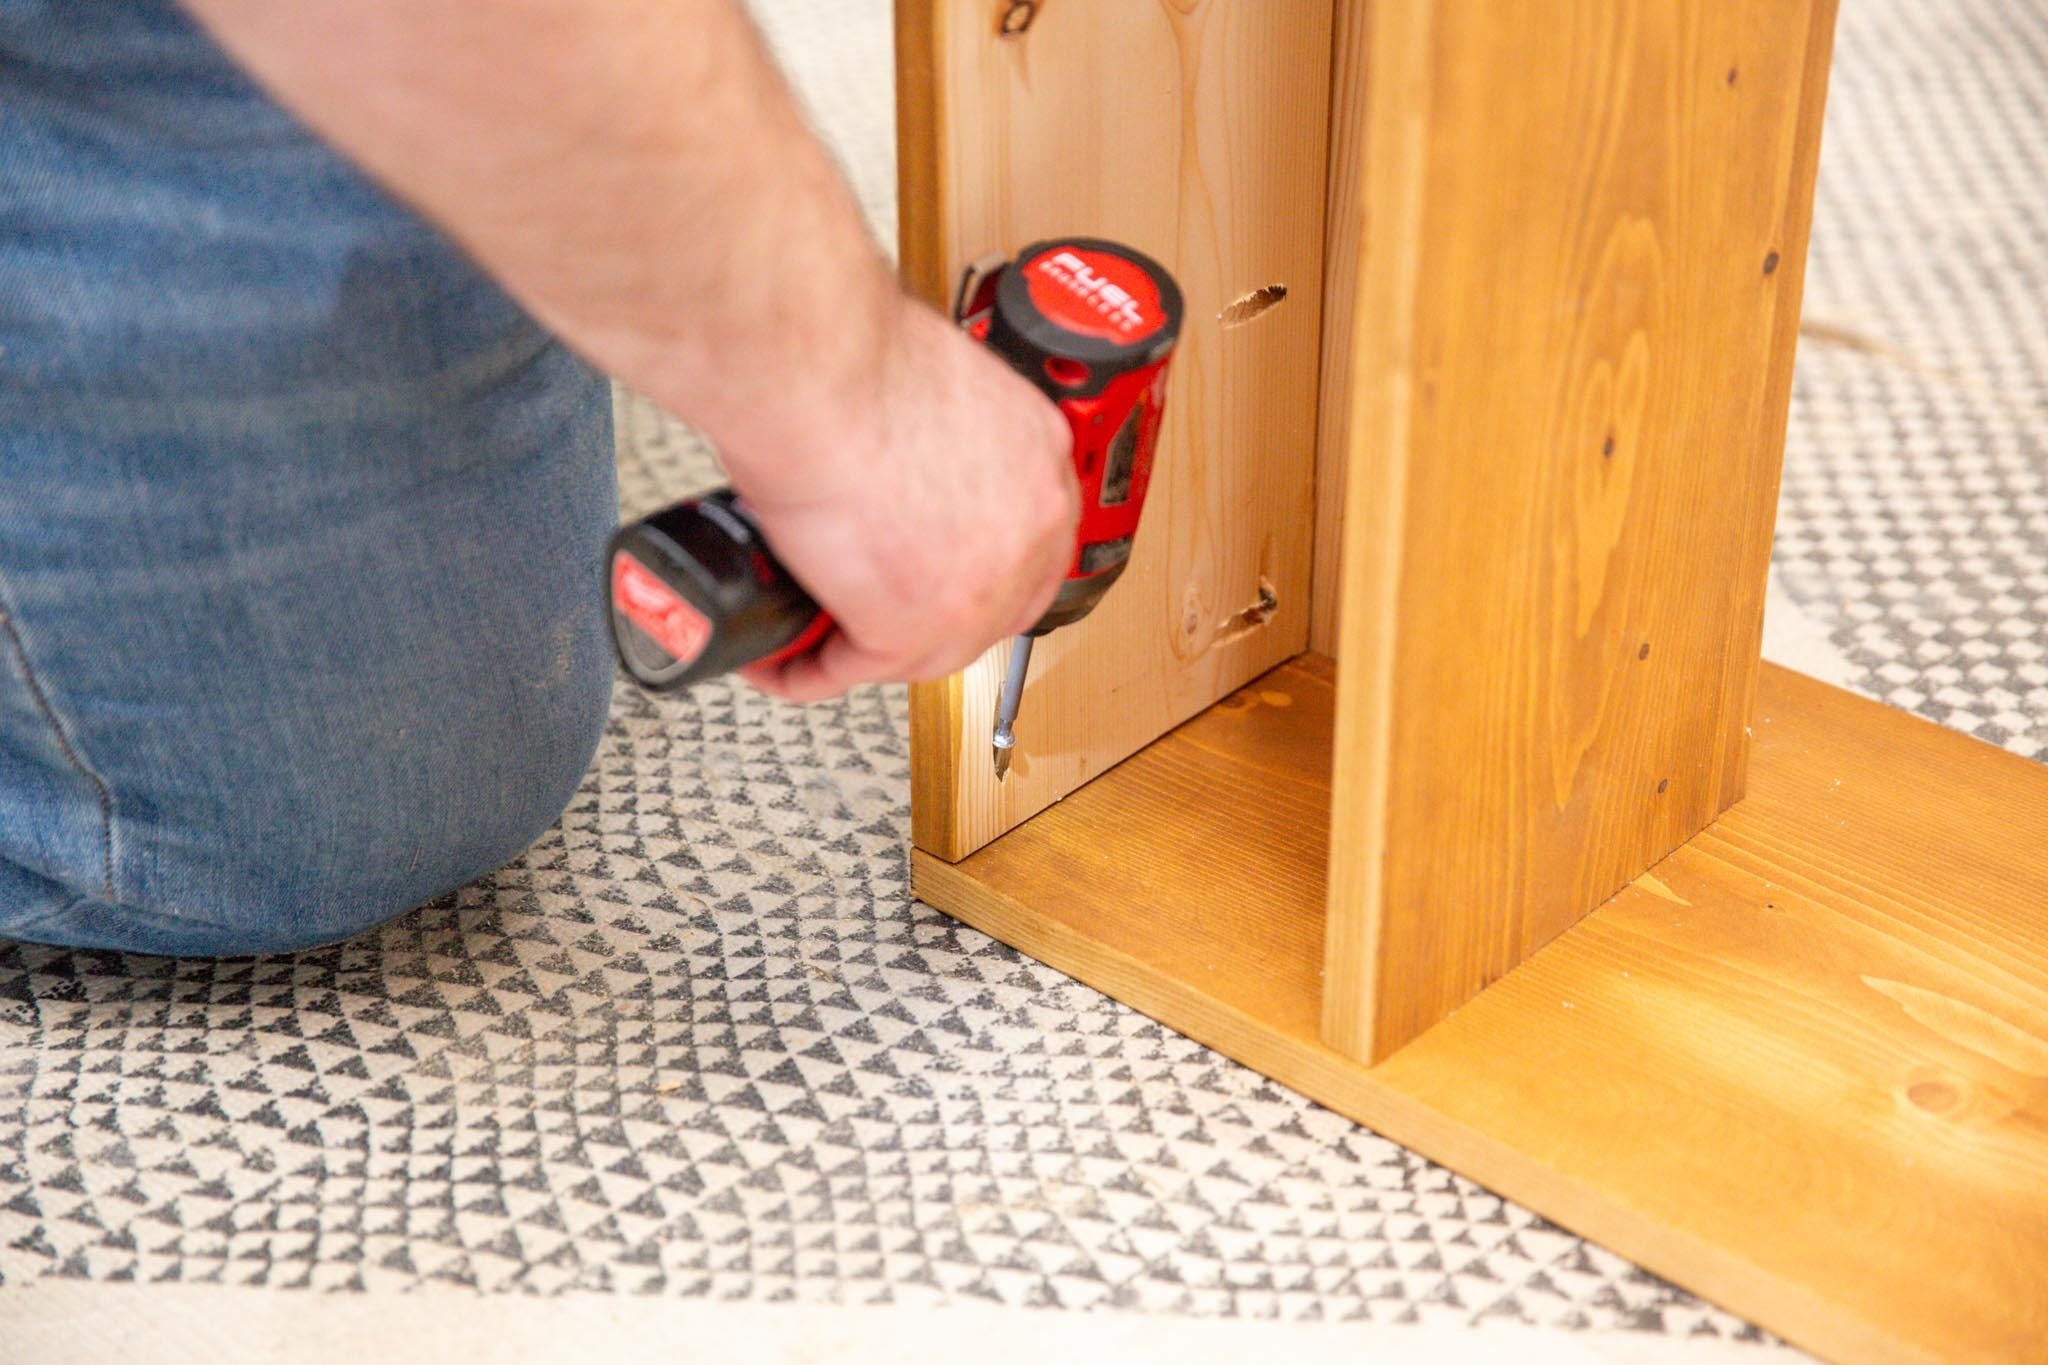
Insert the mantel frame in one side of the corner clamp and add one (1) outer leg piece to the other. You can reference the photos as a visual guide.
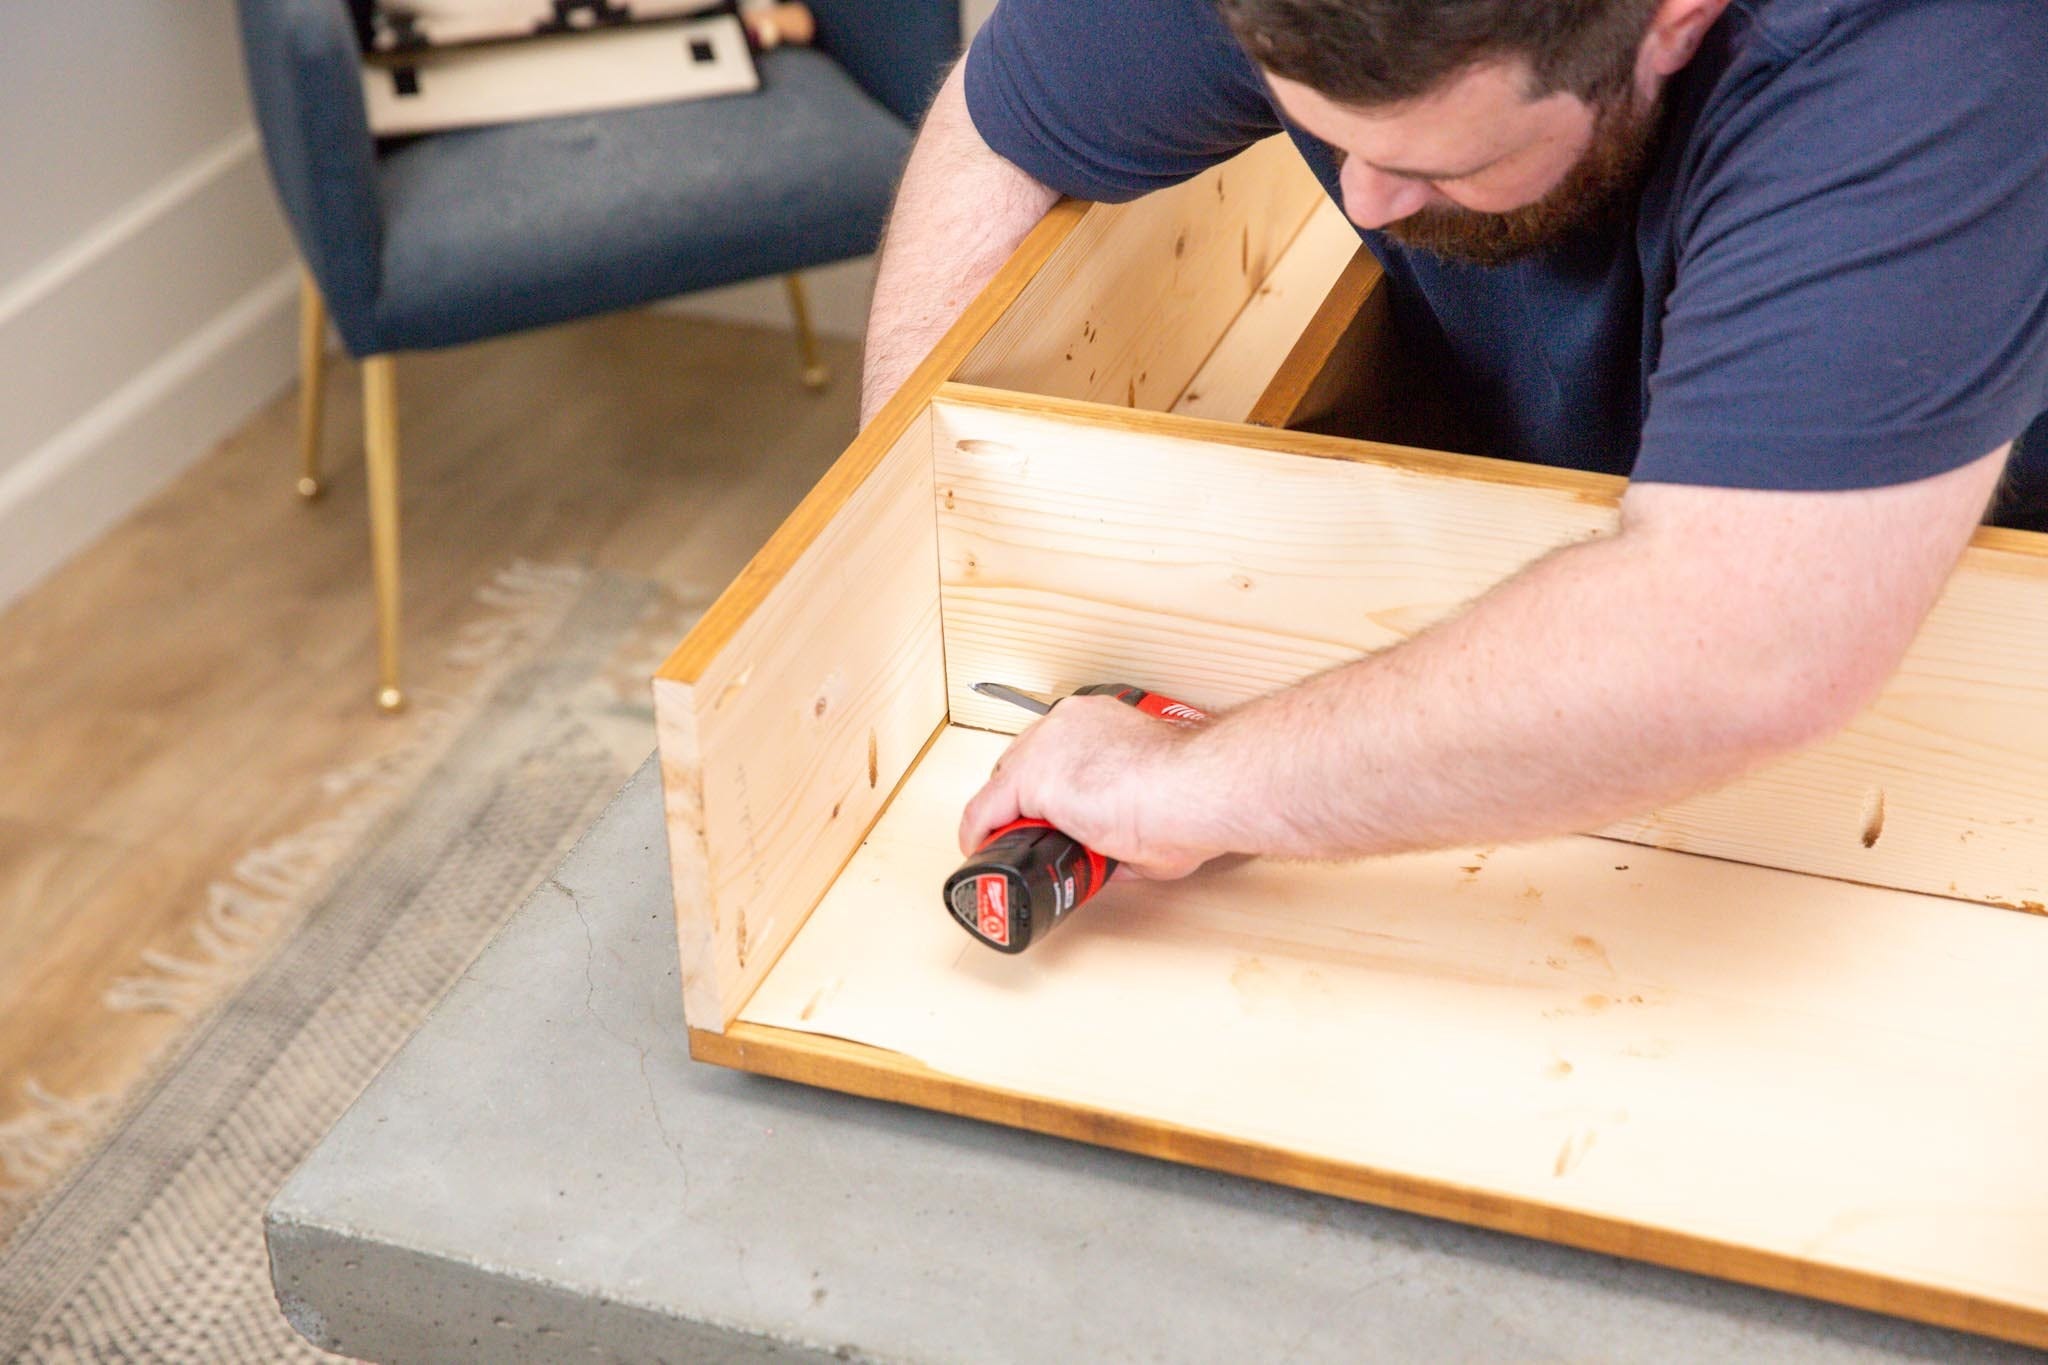
Once these pieces are lined up and secured in place, use your drill driver to add pocket screws. Repeat this step with the remaining outer leg as well as the inner leg pieces.
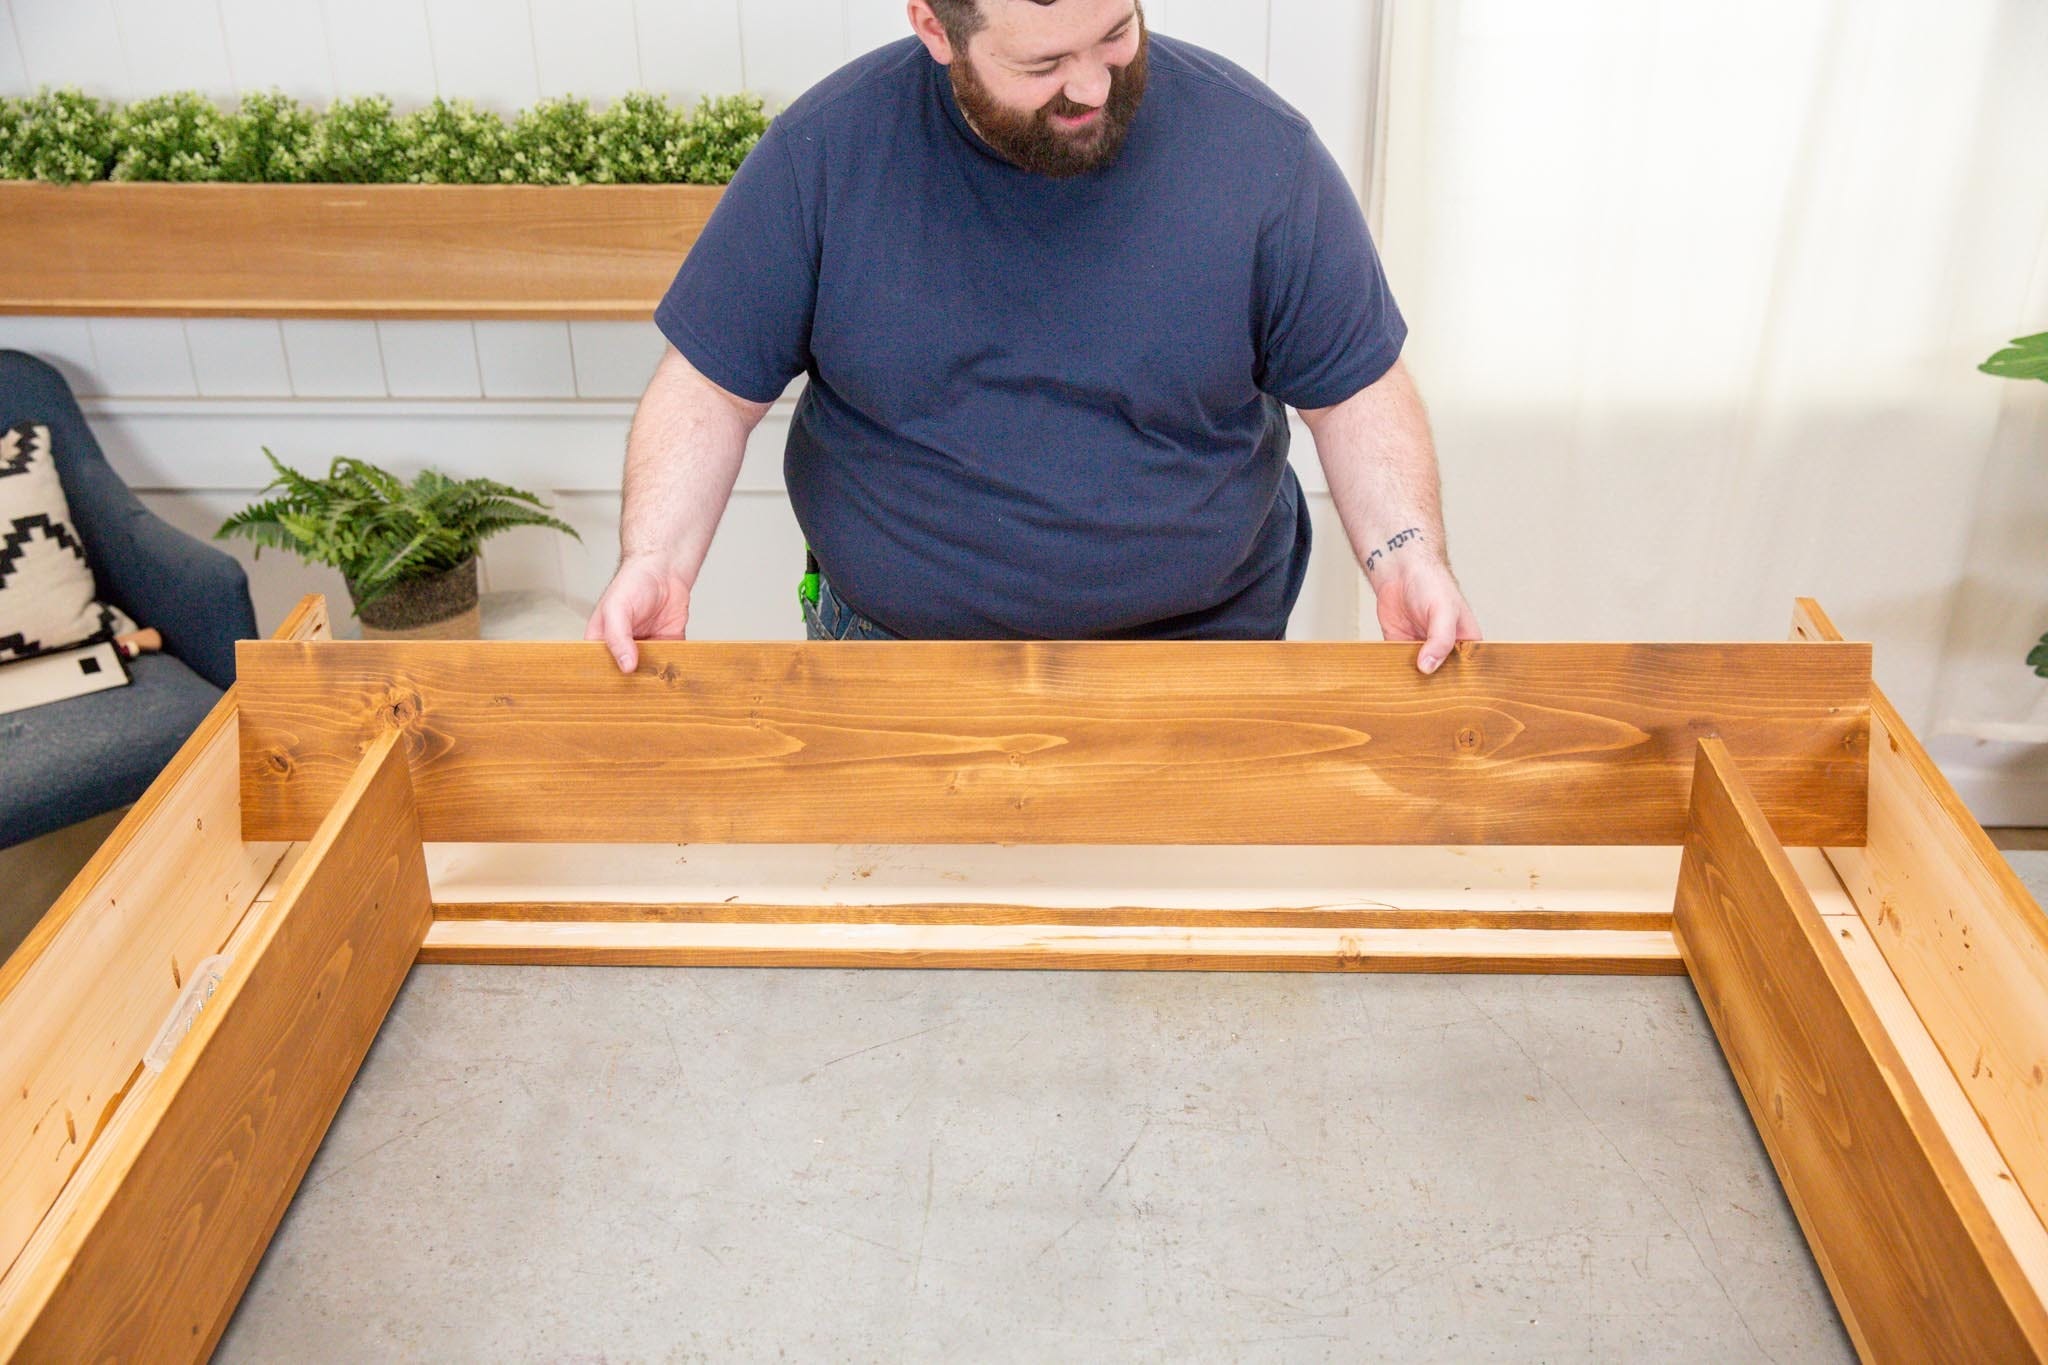
With the inner and outer legs attached, lay the mantel on its face on your workstation to prepare for the internal support piece and the mantel base.
Place the internal support piece flush to the top of the mantel’s inner legs and the sides of the outer legs. With your drill driver and pocket screws, attach the internal support piece to the mantel’s outer legs and the face frame.
Tip: This support piece has a structural purpose, but it can also be used as a hidden shelf for things you’d like to keep out of sight.
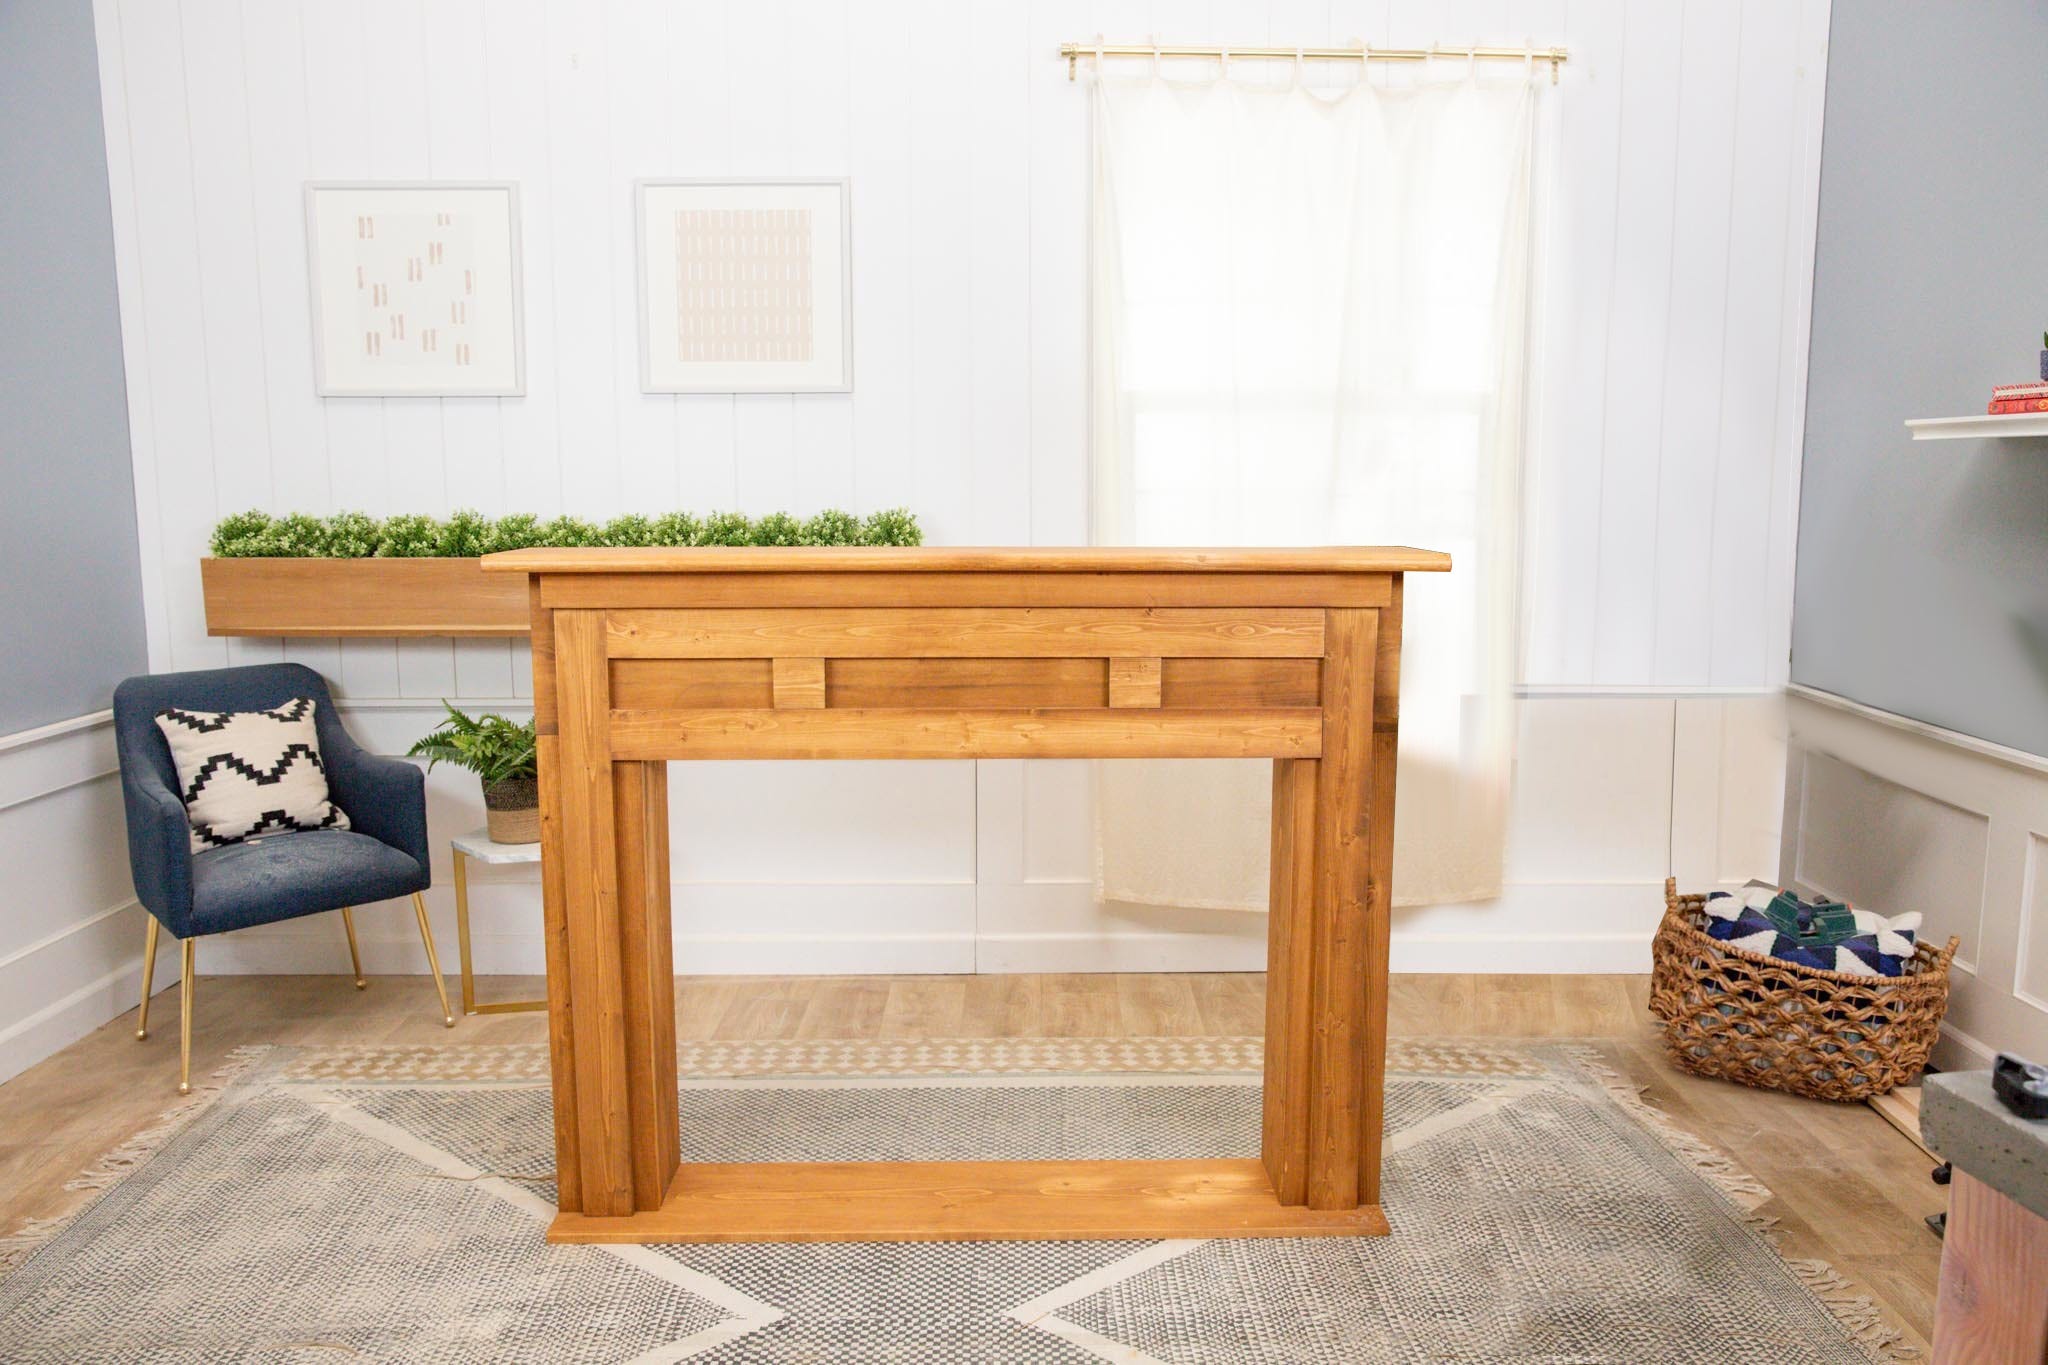
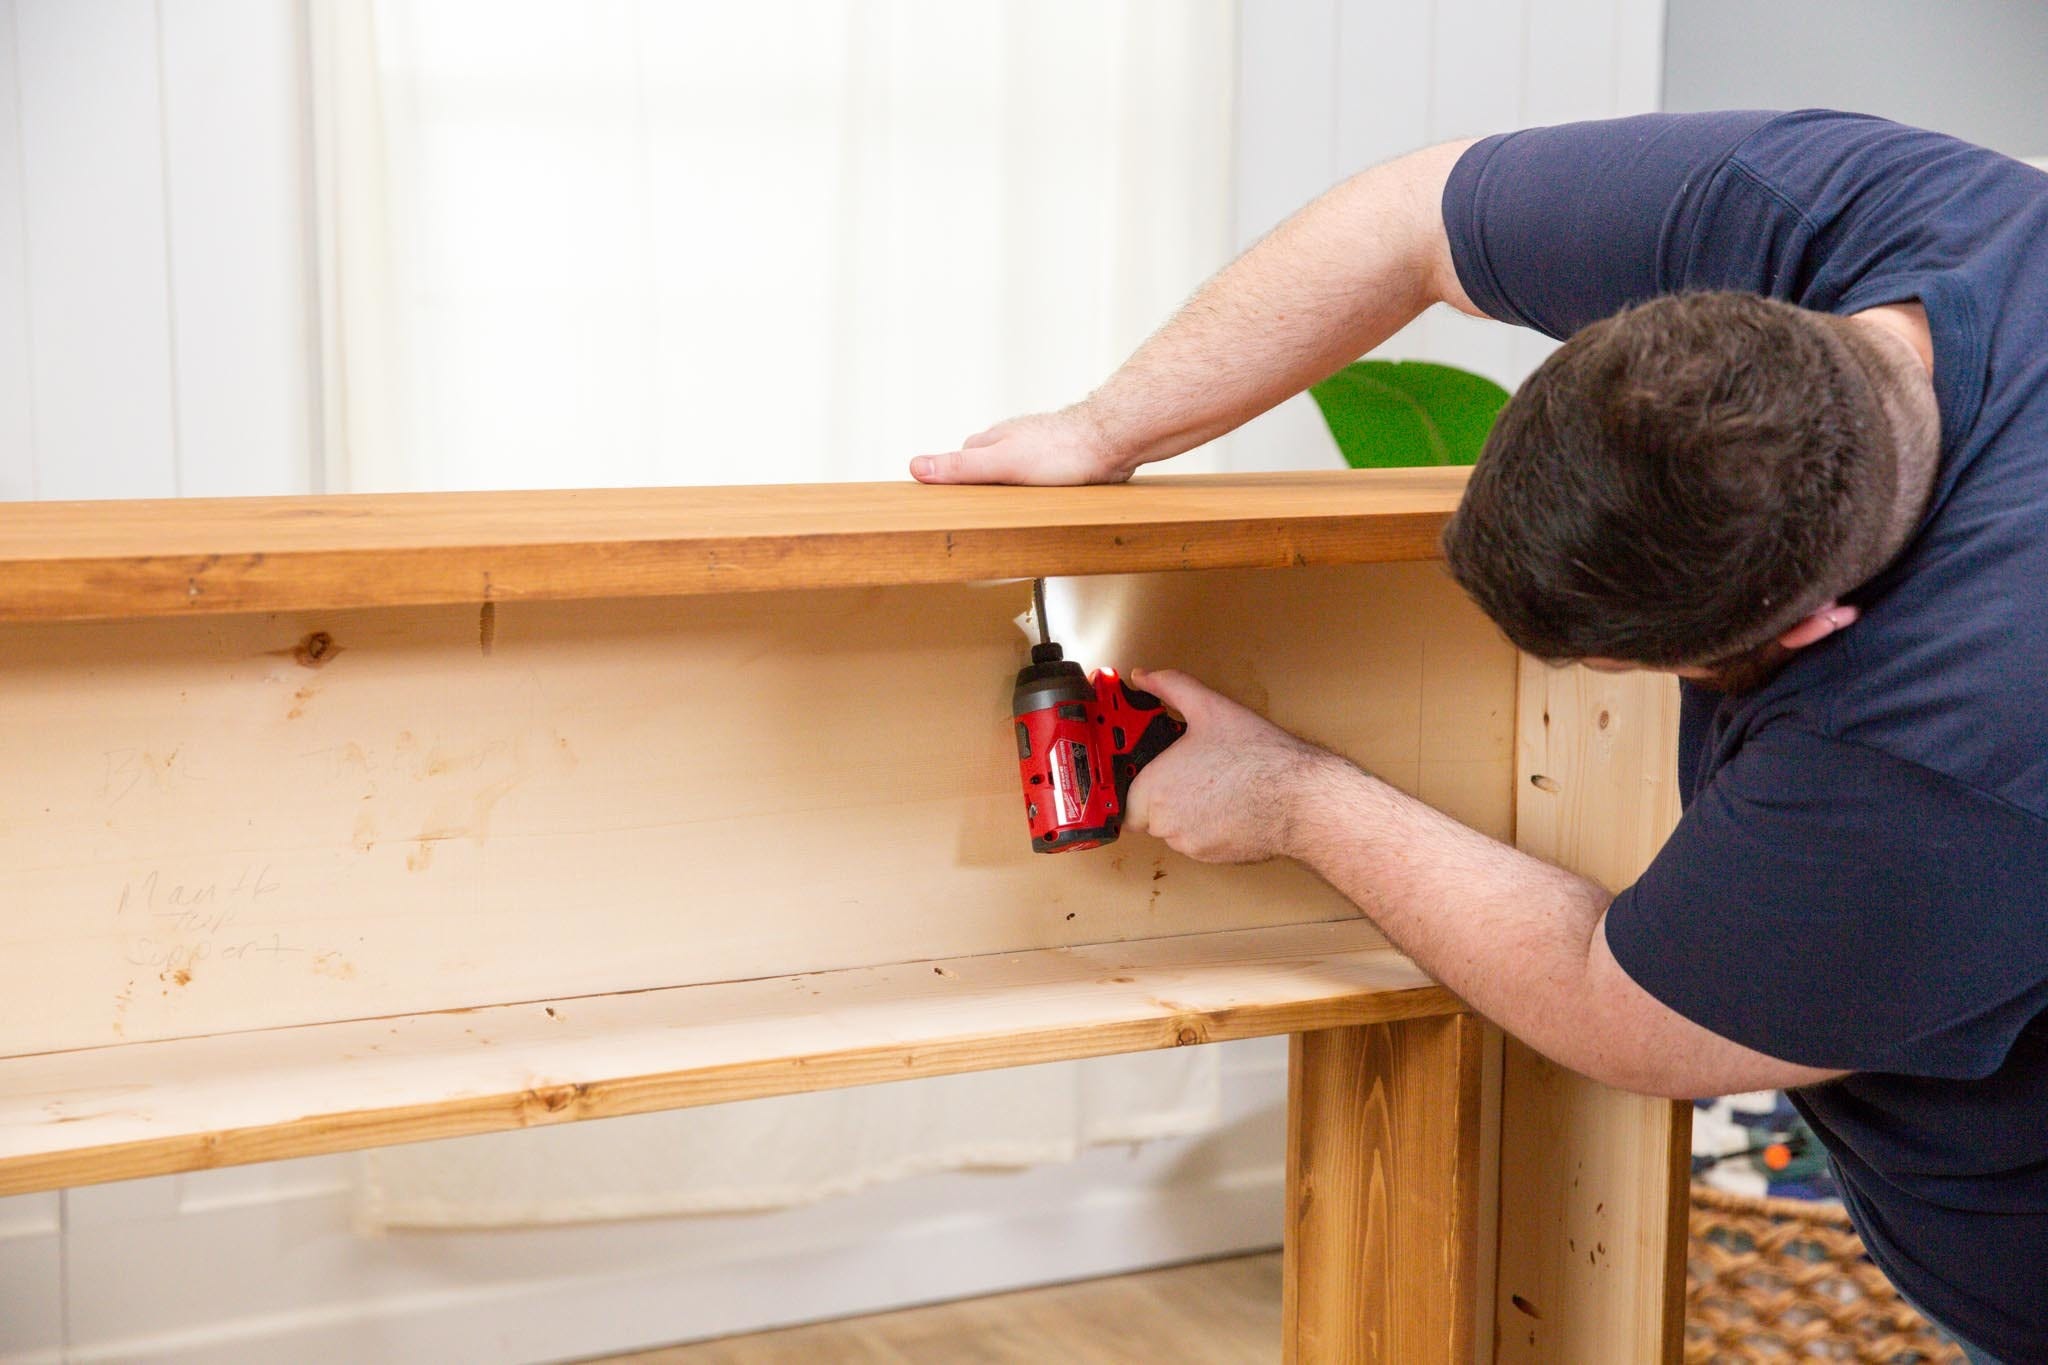
Now, locate the mantel base and secure the mantel structure to the base with the pocket screws. When that’s secure, put the mantel upright and add the mantel top with pocket screws.

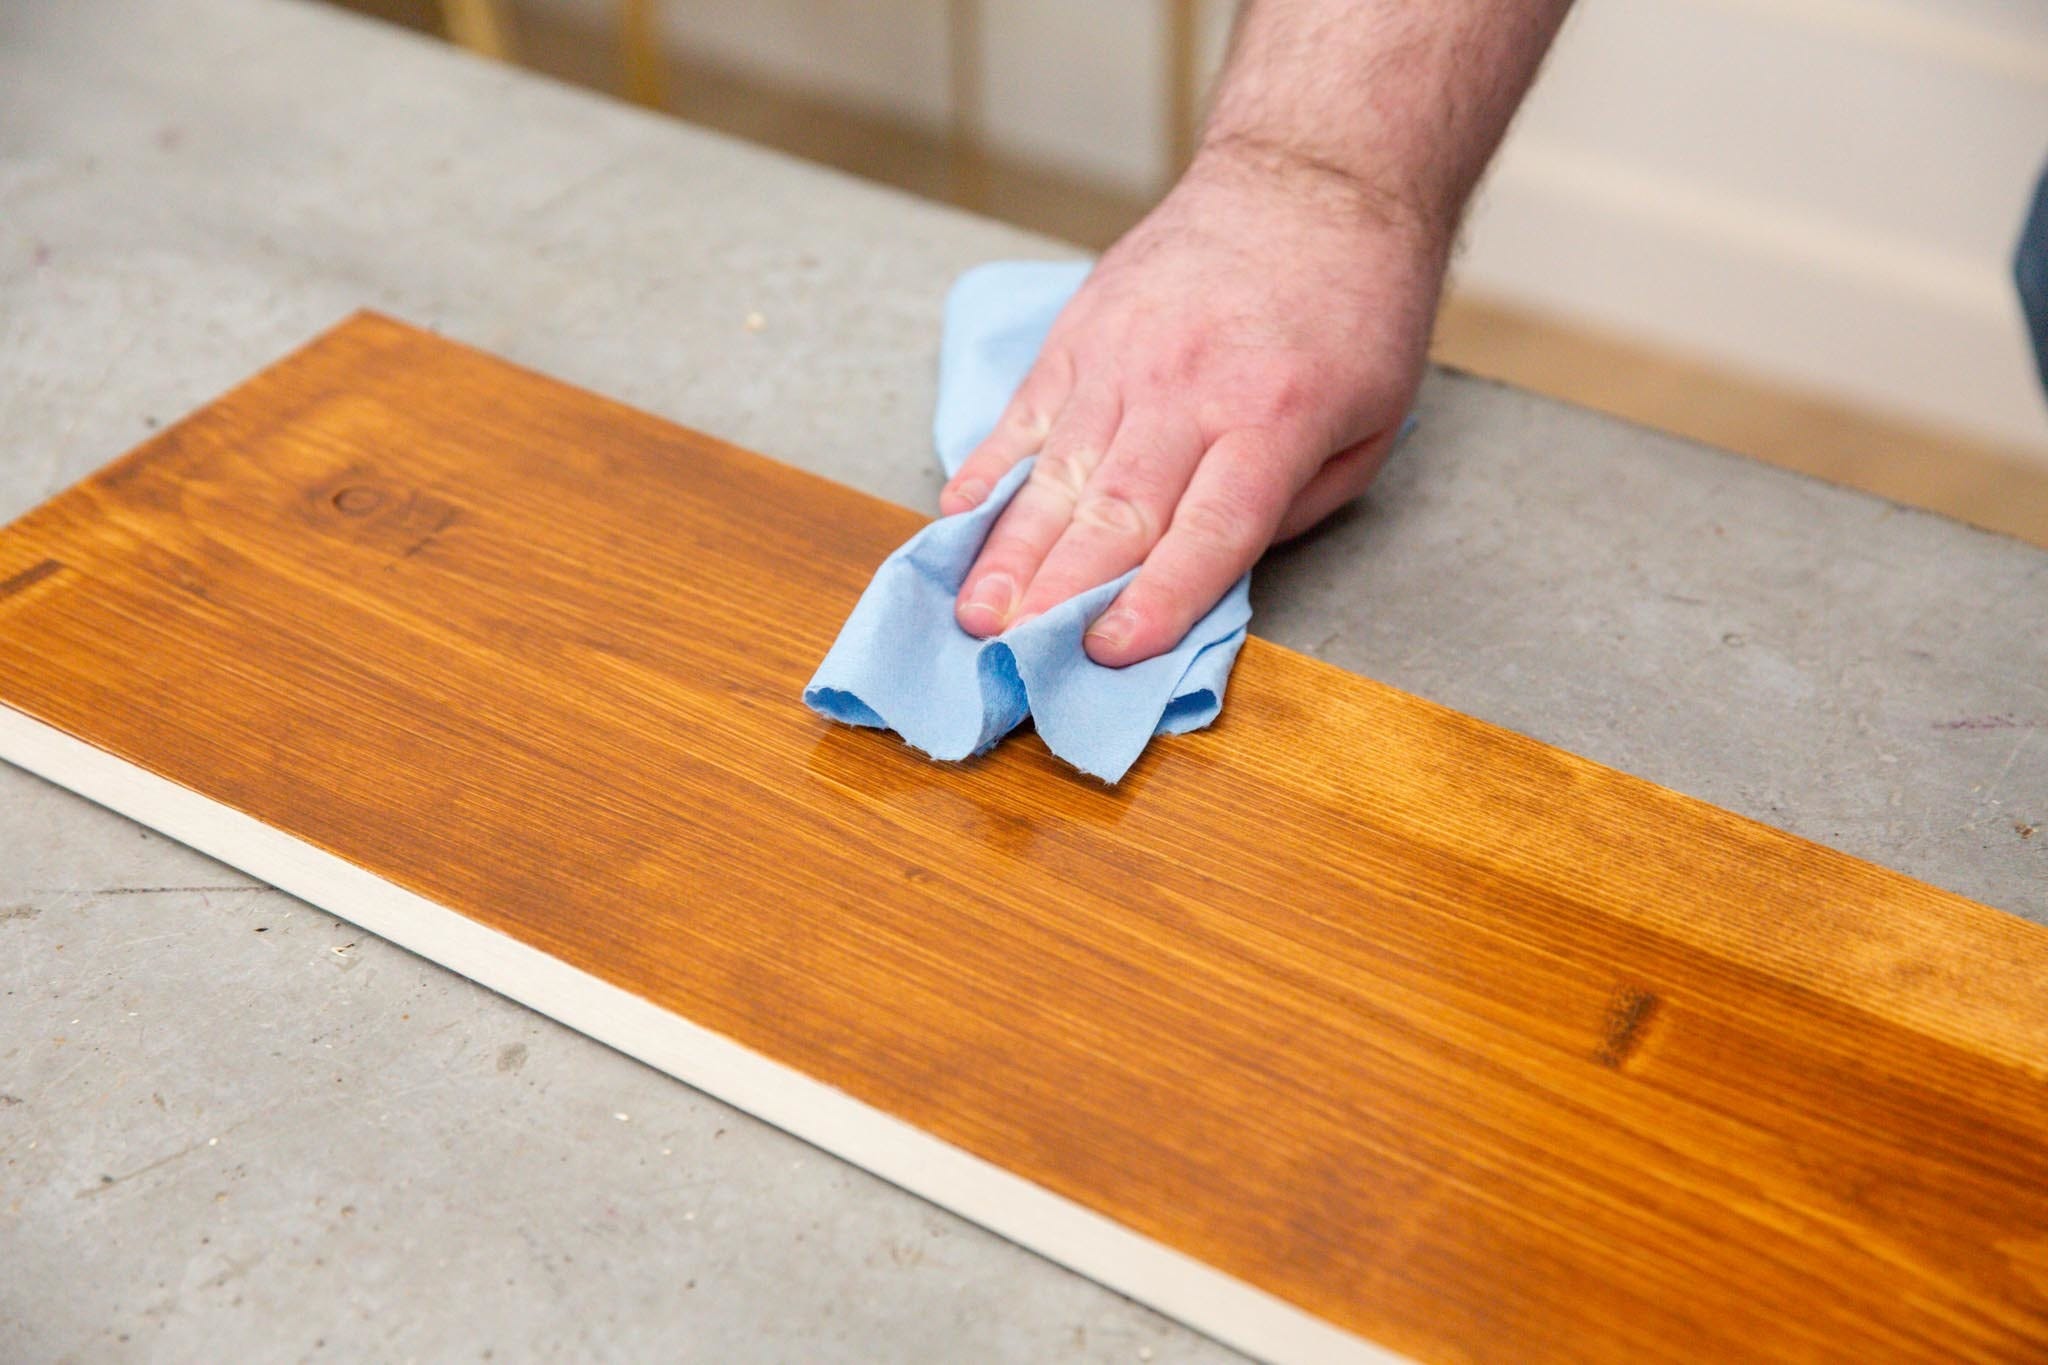
Step 7: Fill and sand
The structure is complete! Now, it’s time to clean it up.
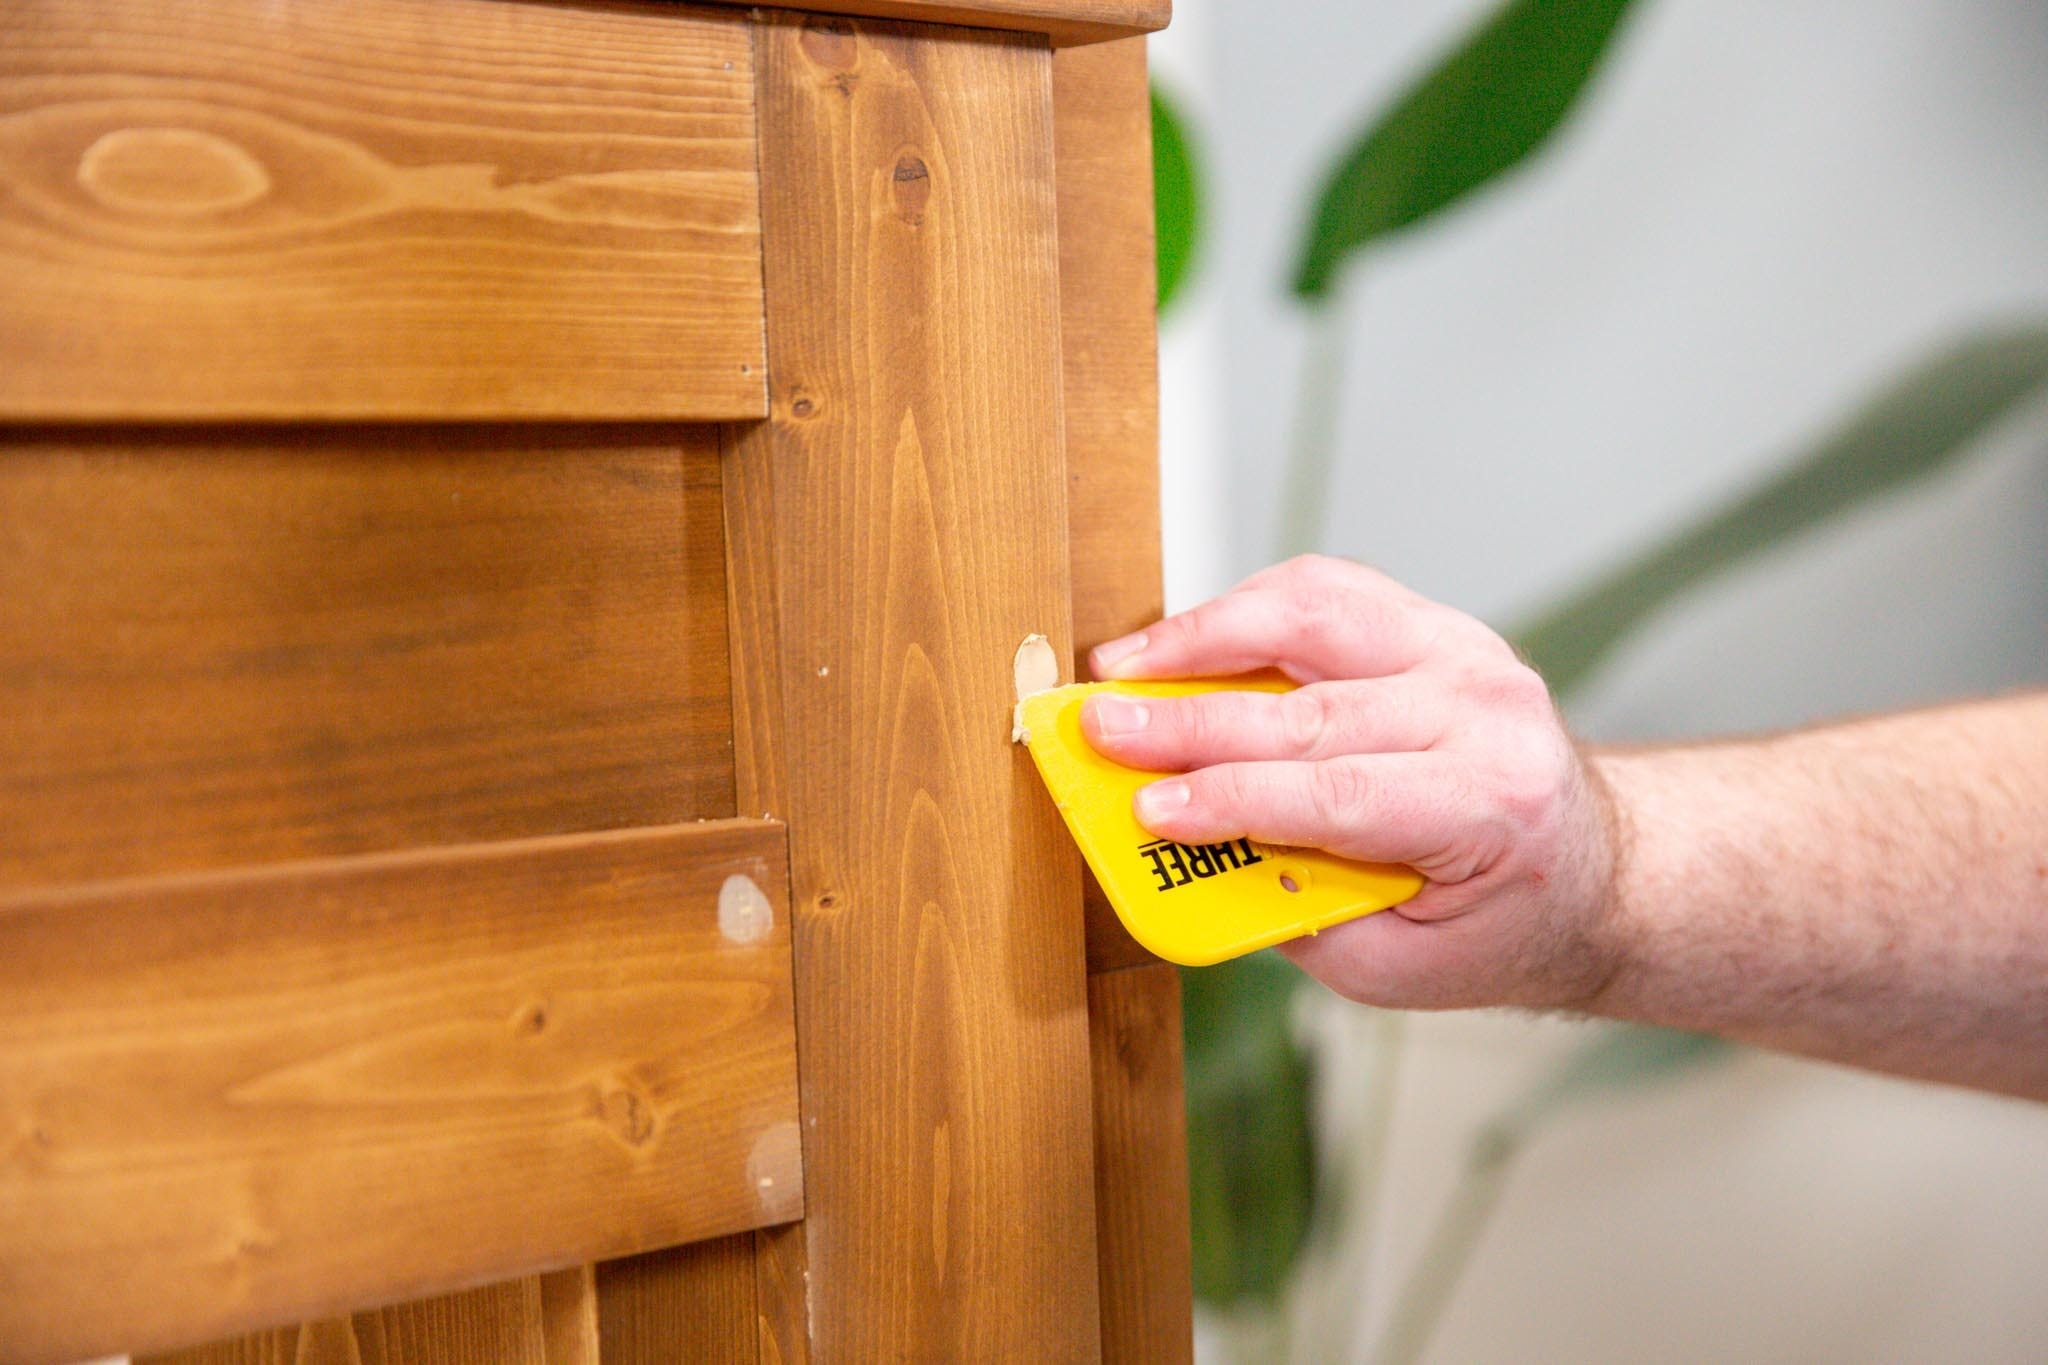
With your choice of wood filler and the provided straightedge tool, add wood filler to the brad nail holes. We’ve found that the Dap Plastic Wood Professional Wood Filler does the job well.
Tip: After applying the wood filler and removing excess, let the remaining filler dry for two to three hours before sanding down.
After the wood filler has had time to dry, take a very fine-grit sponge to sand down the filler for a clean look. Once you’ve completed the sanding, you can gently re-apply the stain with a tiny dip with a dirty rag.