
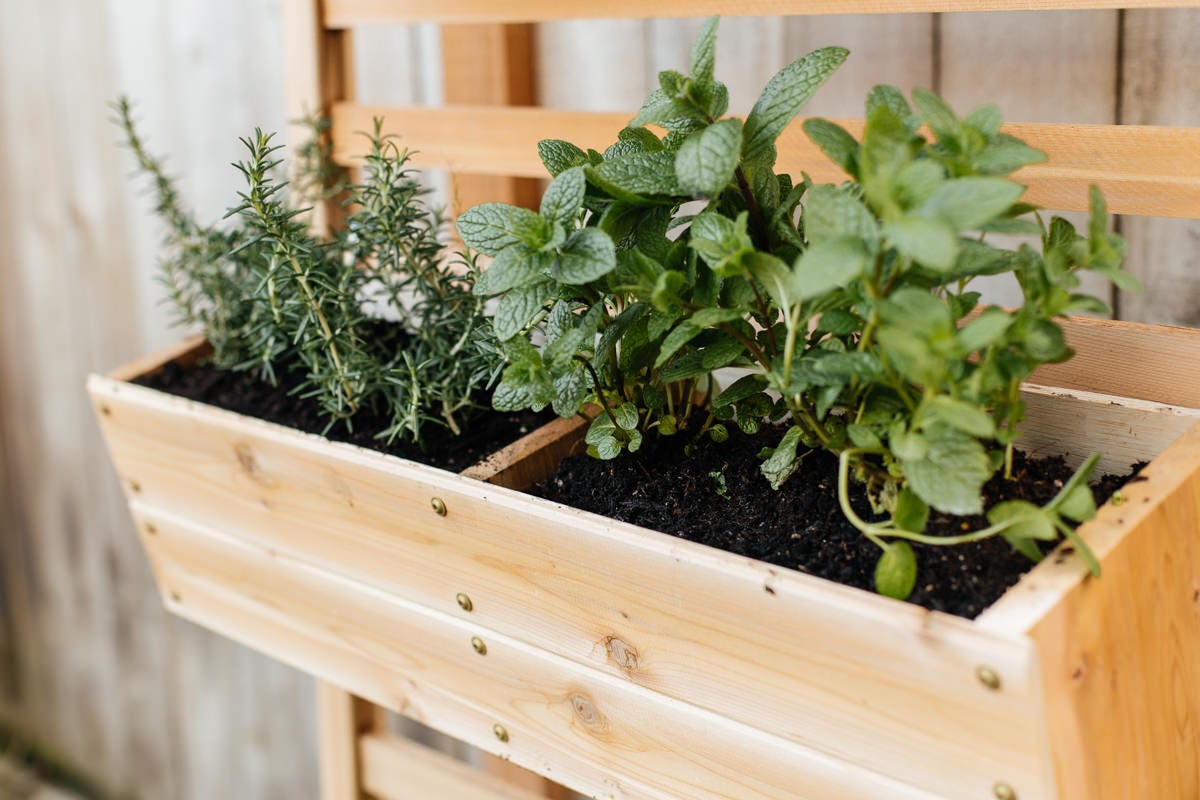
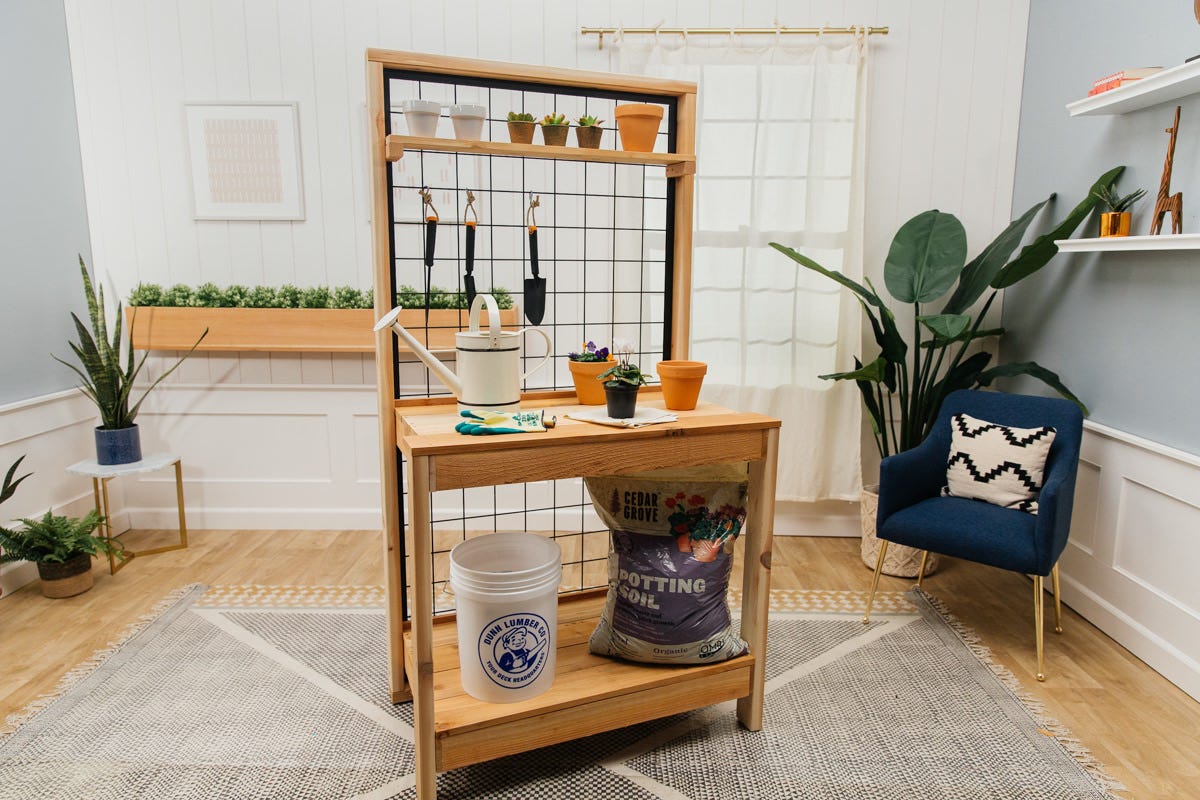
"Feeney's 3-in-1 Trellis Kit comes with instructions for three different trellis designs. Today, we're creating our own design using moulding to make a wood frame."
Materials
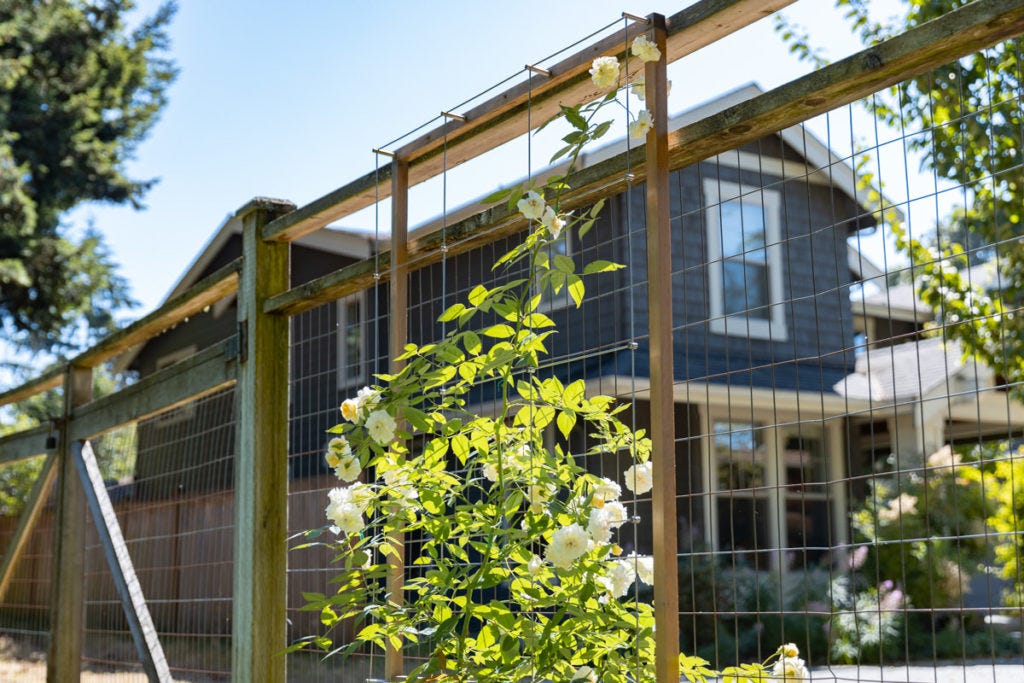
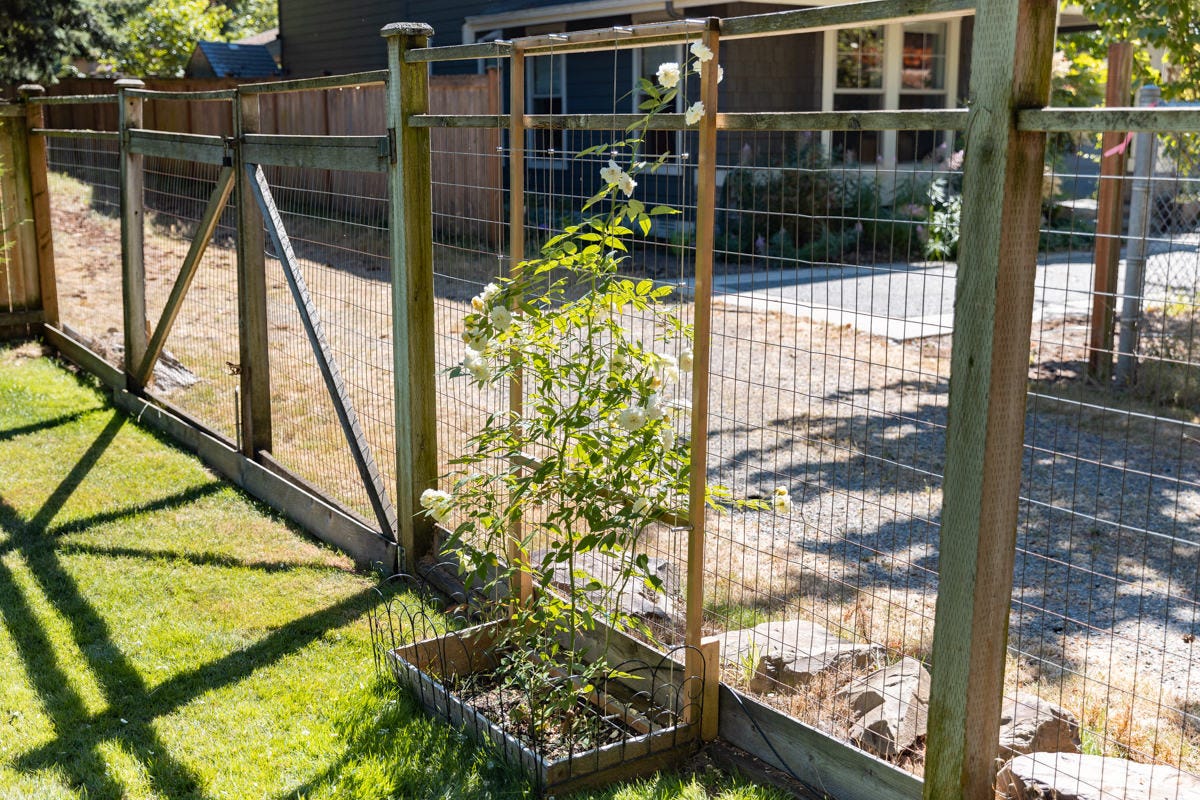
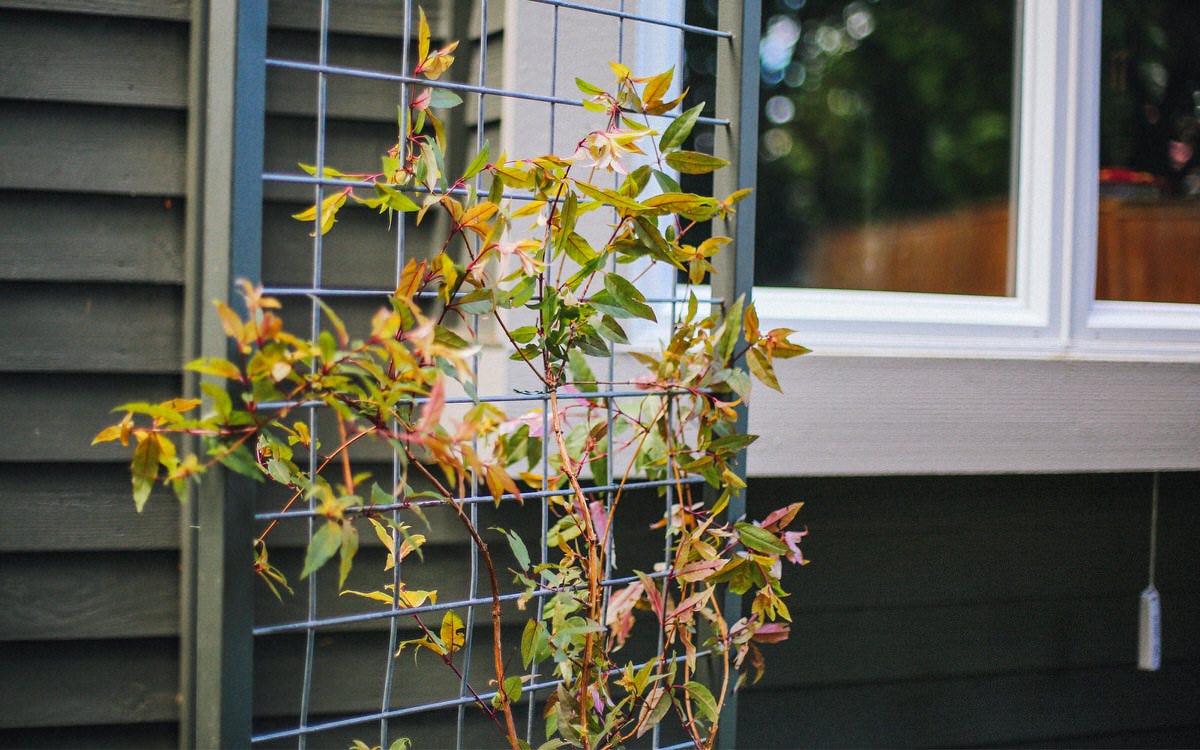
We’ve done several iterations on the garden trellis at Dunn DIY over the years—a classic wire trellis, a wood garden trellis, even a wine rack trellis. But for today’s project, we wanted to create a larger version of this stainless steel trellis we designed using Feeney’s 3-in-1 Trellis Kit.
Today’s design is a bit bigger and swaps wood backing for a wood frame constructed from pieces of moulding. All you need is a few pieces of wood, the kit—which includes everything you need to construct and mount the trellis—and a few tools. Let’s get started!
Step 1: Determine layout for square moulding
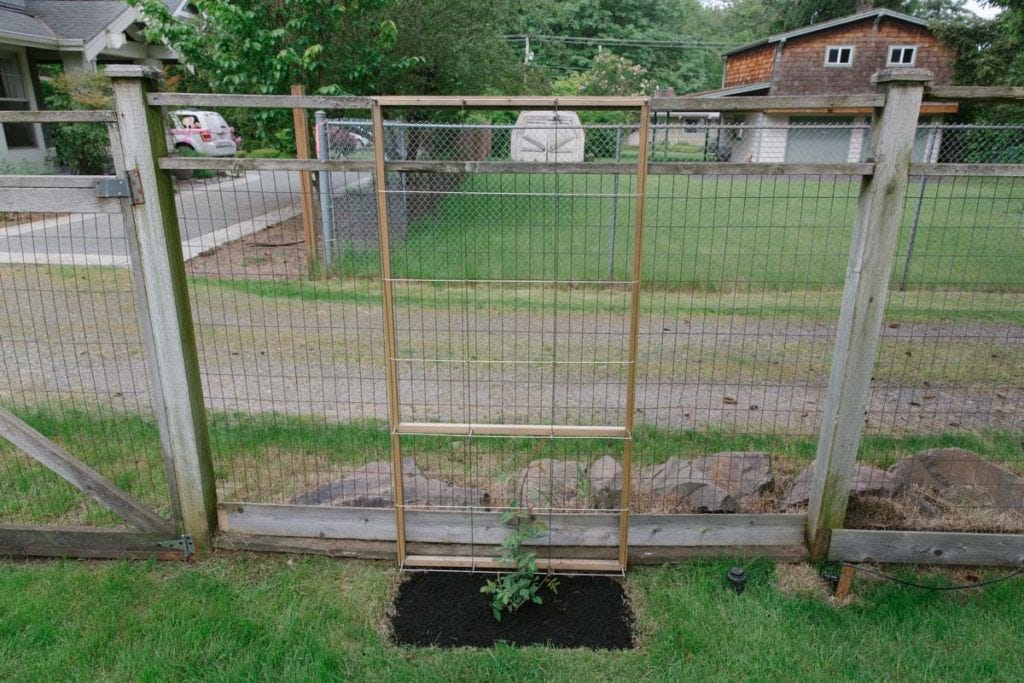
For this project, we’re going to build on the grid pattern for Feeney’s three-in-one kit. We’re using the Grid Design Measurement Diagram (which comes with the kit) to determine a layout for the arbor’s wood frame that the metal stand-off posts could mount to.
Step 2: Cut moulding for frame
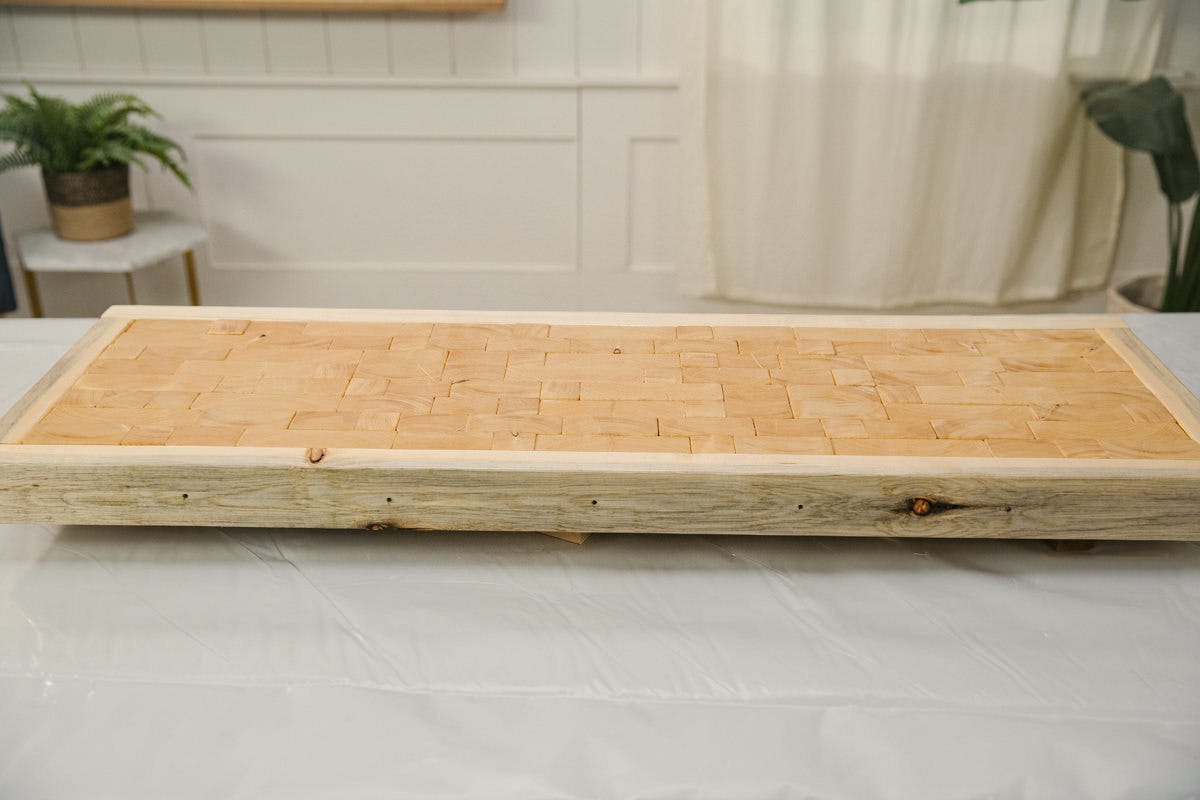
For the frame, we’ll need two pieces of moulding cut to 68” long, two pieces cut to 36” long, and one piece cut to 33 ⅞” long. Mark your measurements first, then use a miter box and handsaw to make straight cuts.
Doublecheck your pieces by laying them out according to your design. The grid we’re going to make should have the intersections of the moulding match just where the 12 stand-off brackets will mount (as shown in the Grid Design Measurement Diagram).
Step 3: Paint or stain wood
It’s much easier to paint or stain wood at this point in the project, rather than waiting until the end and having to work around the metal trellis.
Pick your finish or paint and apply it to all sides and all ends of each piece of wood. Be sure to follow the instructions on the packaging to ensure you mix and apply your finish correctly. For staining tips, check our staining how-to.
We’re using Lifetime Wood Finish, which is easy to apply, has a neutral grey appearance, and lasts…a lifetime!
Step 4: Assemble wood frame
In this step, we’re making a grid/frame of wood moulding.
Let’s start by making the perimeter frame: Join the top and bottom ( 36”) pieces to the two long (68”) sides as shown in the diagram (Todd to provide).
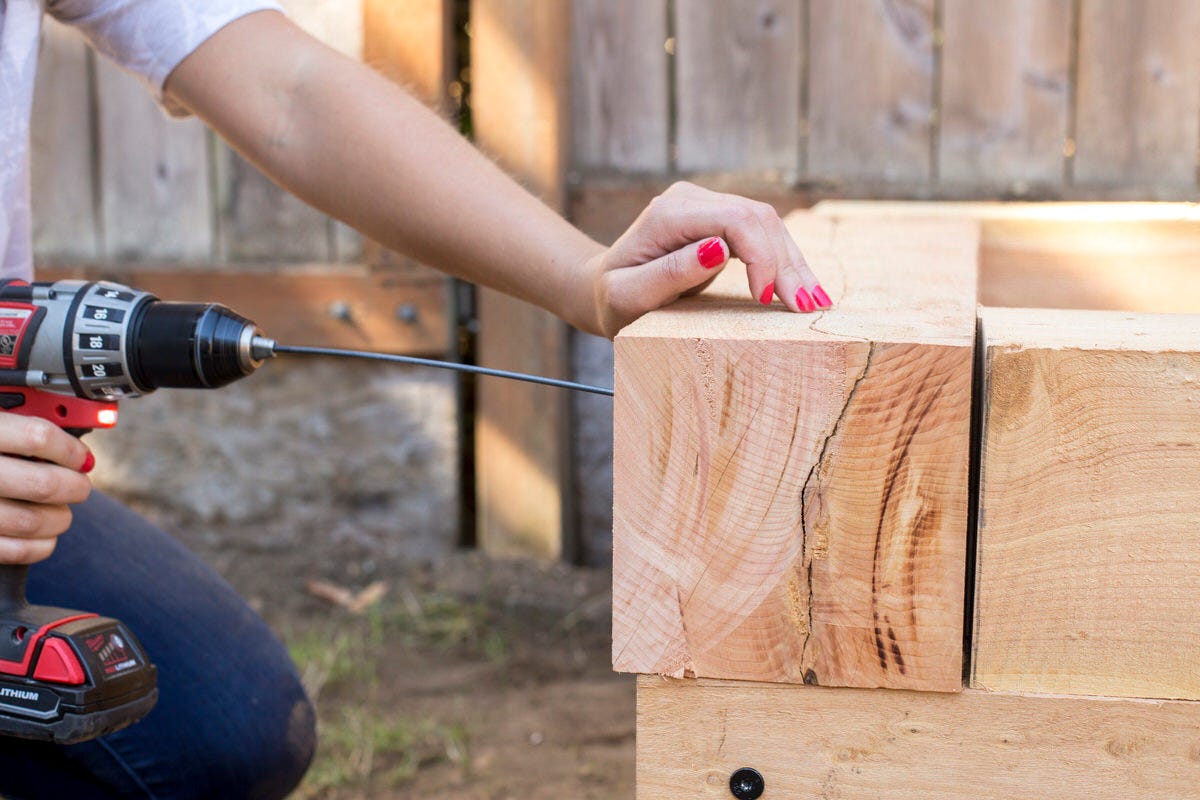
To make the joints secure, we’re going to nail them together and then attach flat braces on the back. Before you start, make marks ⅝” in from the ends of the 36” pieces. These marks show where you’ll later drill holes for the trellis stand-off posts. Leave room for 3/16” holes and metal bolts so nails will flank those spots, so as not to interfere. Pre-drill for 2” through the ends of the top and bottom (36”) pieces, straddling the spots for the stand-of posts.

Step 5: Attach cross brace
Next, we’ll connect the middle 33 ⅞” piece to the rectangle we made in step 4. Measure 23” down the two long sides from the stand-off post marks and make a mark on both sides for additional stand-off posts. Center the cross brace between these marks, pre-drill for two 2” nails on each end. Nail through the long sides into the ends of the shorter piece.

Step 6: Attach flat braces
For extra bracing, install “L” braces at the corners and “T” braces where the cross brace meets the two long sides.
Note: Mount these braces on the back side of the frame, leaving the marks for the stand-off brackets visible.

Step 7: Mark for six additional stand-off posts
Measuring 11 ½” inward from each mark from step 6, make marks for six additional stand-off posts (two more on each short piece of the outside frame and two more on the cross brace).
Step 8: Mount stand-off posts
To mount the stand-off posts, drill twelve 3/16” holes at the spots you marked (and that correspond with the Grid Design Measurement Diagram).
Then, use a ⅜” socket (or the provided bolt installation tool and a power drill) to slowly drive the 12 hanger bolts into the 12 holes.
Step 9: Attach nuts and stand-off fittings
Next, spin a hex nut onto each of the 12 bolts until it meets the wood frame. Then, spin on the stand-off fittings.
Step 10: Install rods
Now we’ll begin threading the trellis rods. Begin with the horizontal post fittings and thread the rod through the high-position holes until the end of the rod is flush with the fitting on the left end of the post. You may find it helpful to use pliers to help thread the rods through the fitting holes.
Use the provided hex key to lightly tighten one of the stand-off set screws to temporarily hold the rod in position. Repeat with the rest of the horizontal rods. (We’ll trim any excess rod later.)
Thread the vertical rods and connector tubes through the low-position holes in the stand-off fittings, being sure to match up each rod (4, 5, 6, and 7) with their corresponding fitting. Repeat to thread all four vertical rods; then, line up the rod ends so they’re flush with the bottom edge of fittings and tighten with a hex key (securely this time!).
Next measure and mark where the connector pieces will be. Measure 11 ½” down on each vertical rod and mark with a pen. Lace the horizontal rod through the high-position holes in the supporting cross-clamp fittings and lift the entire rod into position. Make sure the rod ends are flush with the cross-clamp fitting before tightening with the hex key. Repeat this process with each vertical rod.
Once you’ve installed all trellis rods and are happy with their placement, it’s time to lock them into place and trim any excess rod material. To lock the stand-off fittings, tighten the hex nut at the bottom of each fitting. You can fine-tune the placement of the cross-clamp fittings at this point; then, using a wire or bolt cutter, trim off any excess rod.
You can also refer to the kit’s installation guide, which includes a visual installation guide in addition to detailed instructions.
Now, your trellis is ready to mount! For more summertime DIY projects, check out our top eight DIY yard games, or head to our exterior project archive.