

"Those wet winter boots don’t stand a chance with this easy DIY boot tray!"
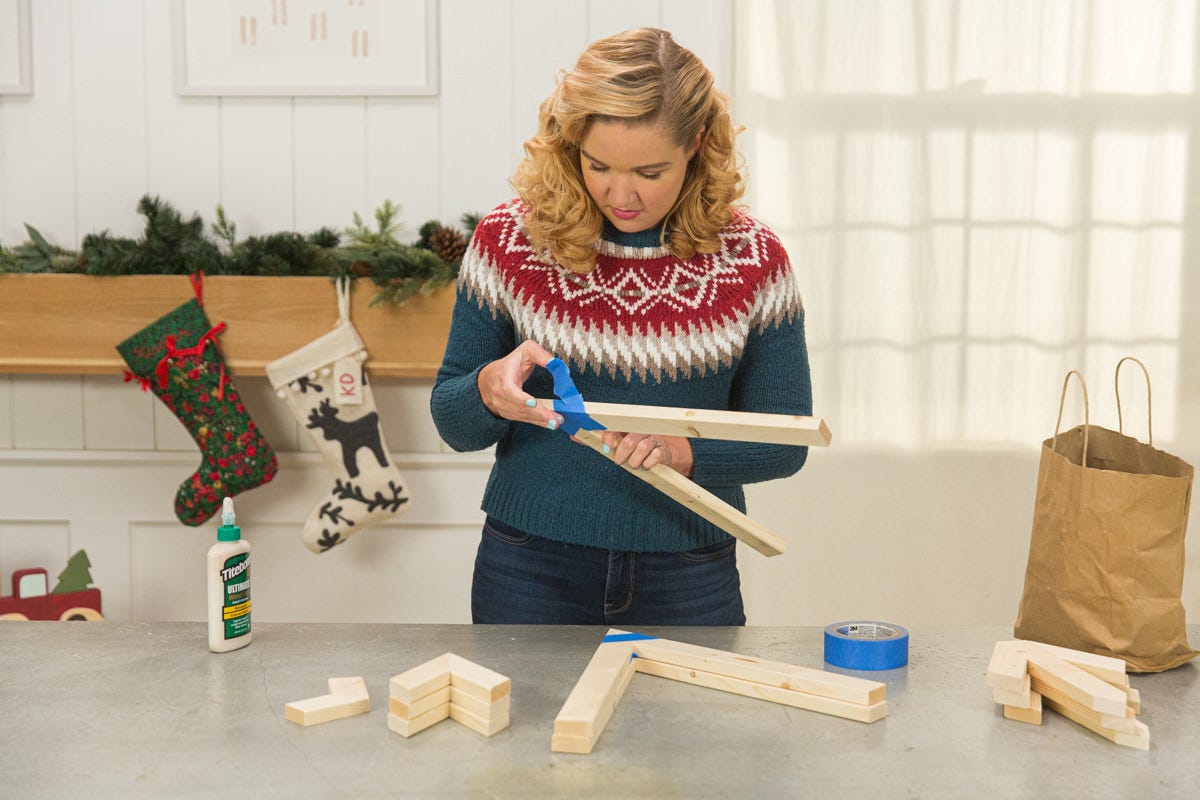
Materials
We love a project that gives you a lot of bang for your buck, and today’s project does just that. We’re in the thick of winter, which means our foyers are fielding mud, slush, snow—you name it. Shoe racks and entryway organization are always pricey pieces at furniture stores, so we wanted to create something that will keep wet shoes and boots contained without breaking the bank.
For this DIY boot tray, we combined a few pieces of lumber with an accessory normally used in the kitchen—a dish-drying rack. The rack makes the perfect shelf for shoes, and a silicone mat underneath catches leaks and can be removed for easy cleaning. We kept ours small, but you could easily adjust the size of your tray by using a bigger or smaller dish rack or doubling them up to create an extra-long tray.
Follow the steps below to make it yours!
Step 1: Measure drying rack
To create the base of our boot tray we’ll build a wooden frame around a roll-up dish-drying rack. Since you might have a different type of rack, you’ll want to start by taking measurements. Ours measured 20 ½” by 13”.
Step 2: Assemble inside frame
Measure
Using the measurements of your drying rack, measure and cut four pieces from your one-by-two to create a frame the same size as the rack. Since our drying rack measured 20 ½” by 13”, we’re cutting two pieces at 20 ½” and two pieces at 11 ½”.
If your rack is a different size, you can calculate the length to cut the short sides of the frame by subtracting 1 ½” from the short side of the rack itself—in our case, we subtracted 1 ½” from 13” to get 11 ½”.
Cut and sand
Cut one of each length, then use those pieces as templates to cut the remaining long and short pieces. Sand the ends of each piece after cutting to make the ends smooth.
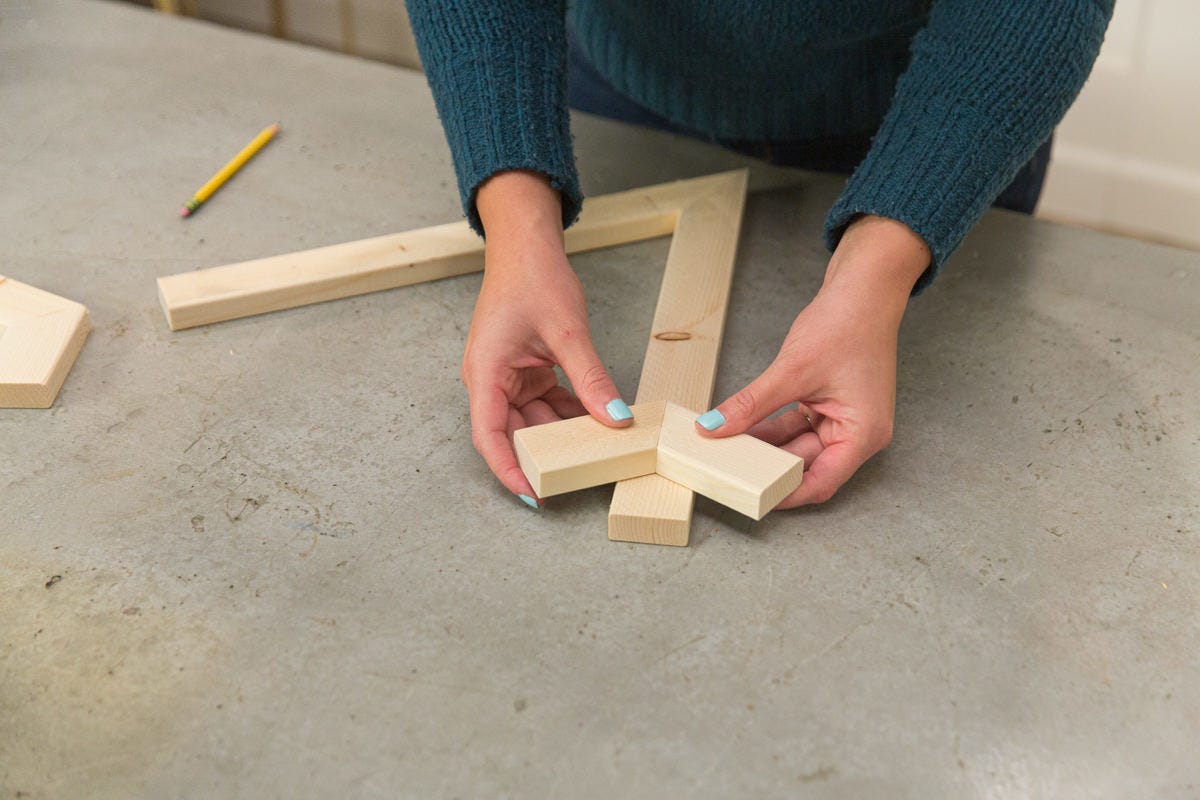
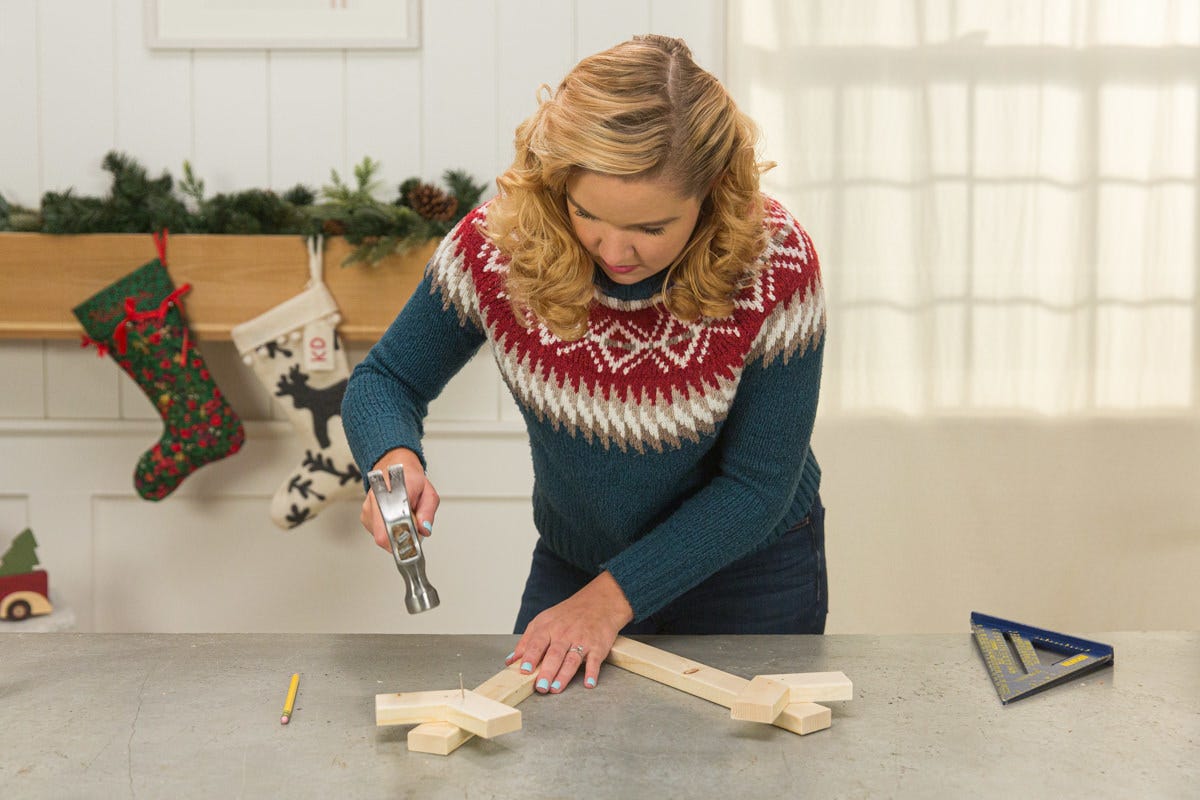
Assemble
Use finish nails to fasten the corners together, creating a rectangle shape that matches your rack. First, lay out your pieces in a rectangle shape with the ends of the long pieces exposed (as shown in the picture below). Before hammering in the nails, pre-drill two holes at each corner, drilling through the end of the long piece into the short piece (this minimizes the risk of splitting the board when you put the nails in). Finally, drive ⅝” finish nails into each hole using your hammer.

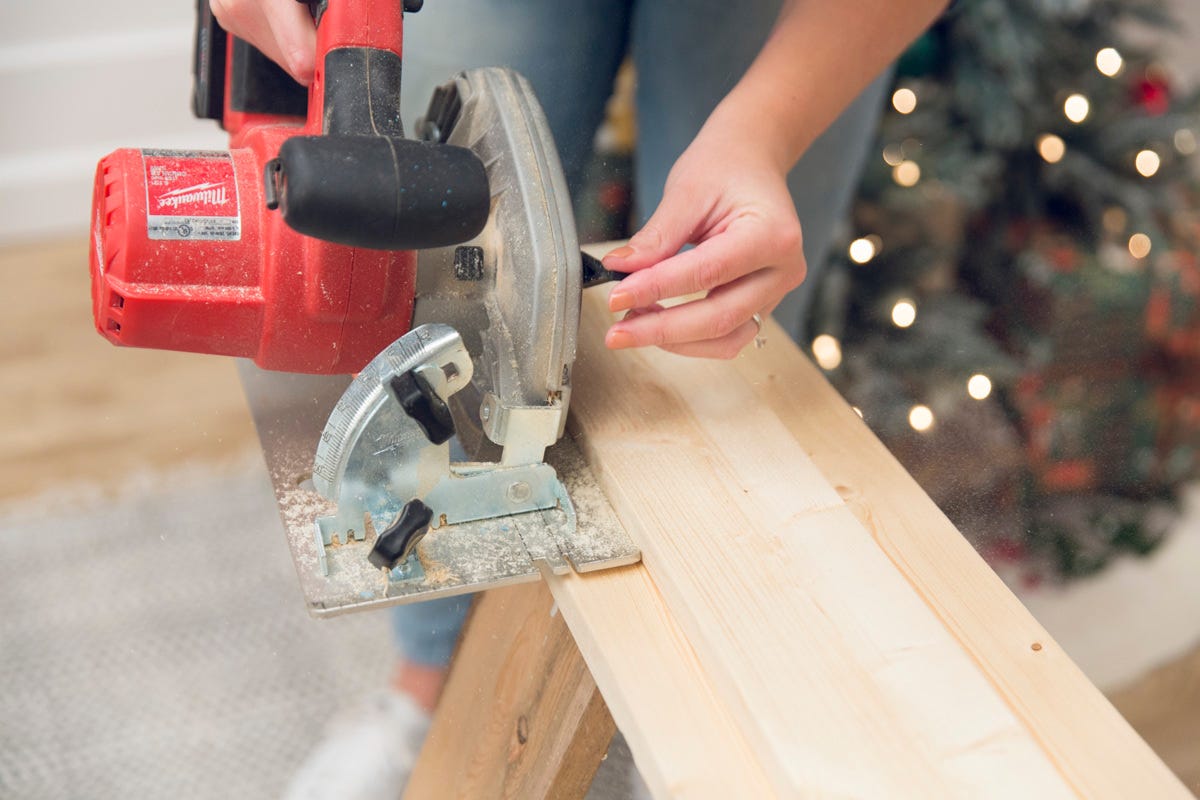
Step 3: Measure and cut floor
Now we’ll cut the floor piece for our tray, which will sit inside the inner frame. First, measure the length and width of your frame from the inside edges. Then, mark the measurements on your piece of one-by-twelve with a pencil and use a hand saw to cut it to size.
Fit the floor piece inside the frame and fasten it into place using finish nails and a hammer.
Step 4: Measure outside frame
Next up is the outer frame of the tray. The drying rack will sit on top of what we’ve built so far. The outer frame will act as a curb and keep the rack in place. Instead of using more one-by-two for this frame, we opted to use 7/16”-thick lengths of bullnose stop, a simple moulding with a rounded edge.
The rectangle shape of this frame will need to measure slightly larger than our inside frame since it will be mounted to the outside. Our moulding is 7/16” thick, which means we need to double 7/16” and add that number to the length and width measurements of the rack.
For example:
7/16” x 2 = ⅞” Outside frame length = 20 ½” + ⅞” = 21 ⅜” Outside frame width = 13” + ⅞” = 13 ⅞”
Measure and mark where your cuts will need to be. Wrapping the area of the cut with masking tape will help keep the moulding from splintering when you cut it (the tape is easy to mark your measurements on, too).
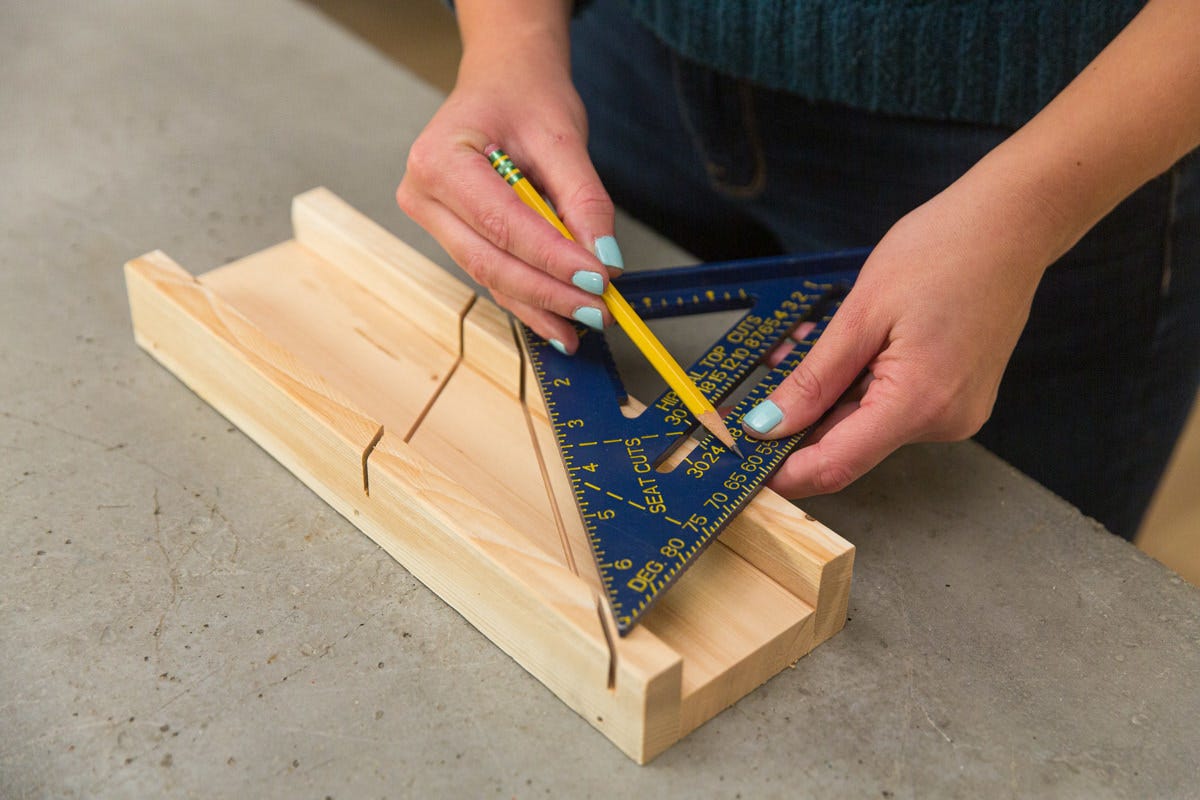
Step 5: Miter outside frame
Since the outer frame is decorative, we decided to bevel the corners at a 45º angle (like the corners of a picture frame). This requires a bit more thought than the corner joints we used for the inner frame, and you’ll need a miter box to make angled cuts where the corners will join together. Take this step slow and triple-check yourself—cutting angles can get confusing, but if you take your time, you’ll find success!
Clamp a piece into the miter box and line up the 45º slot with your marked tape. You want to end up with the rounded edge of the moulding on the outside of this frame, so make a cut that angles backward and inward to the other side of the moulding. The two ends of each length of the frame should have angles opposite to each other, not parallel.
After you’ve cut the pieces, do a dry fit to see if things are on track. Hopefully everything fits, but you can recut or shorten the pieces as needed. Once you’re happy with your dry fit, label each outer piece to its inner frame section—this will help you keep things straight when you’re attaching the outer frame in the next step.
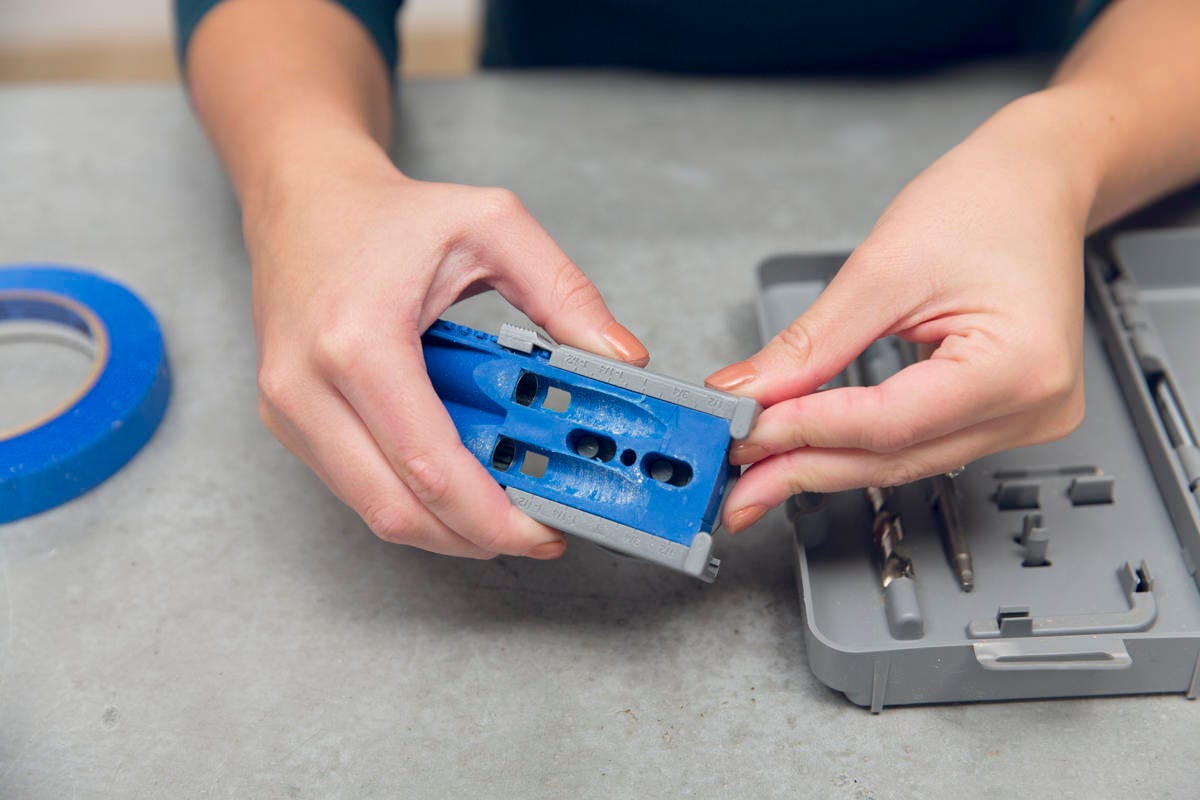
Step 6: Attach outside frame
The four pieces of moulding we cut in the last step will create a raised lip above the inner frame (sort of like a thin wall raised slightly above a wall inside). In order to raise the moulding, we set it on a ¼” piece of scrap material (a carpenter’s pencil makes an excellent spacer, too).
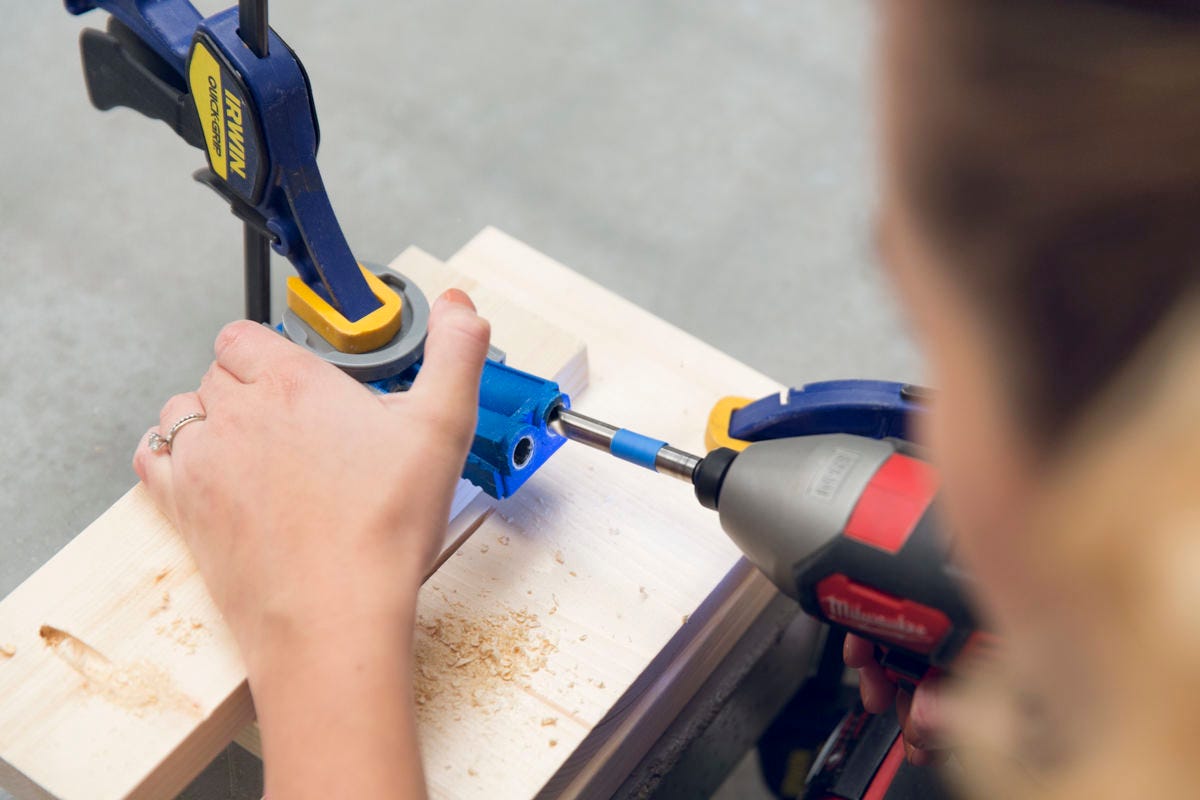
Center a piece of the outer frame to its matching inner frame side; then, pre-drill holes before tacking in place with 1 ¼” finish nails and glue so that it sticks up ¼” above the inner frame. Do the same for the next side to create a corner; this time, add wood glue to the mitered edge to keep the corners tight. Using the same process, attach the remaining two sides.
Step 7: Add silicone mat and rack
We opted to keep our wood frame natural, so we finished it off with a final sand. However, if you’d like to stain or finish your boot tray frame, now’s the time! Check out our staining tutorial for tips and tricks.
The final step is assembly! Simply lay the silicone mat on the bottom and suspend the rack above it by placing it on top of the inner frame.
Now those wet winter boots have a home that will keep your entryway spick and span. For more indoor DIY ideas to keep you organized this winter, we recommend this pegboard storage solution and vertical shoe rack.