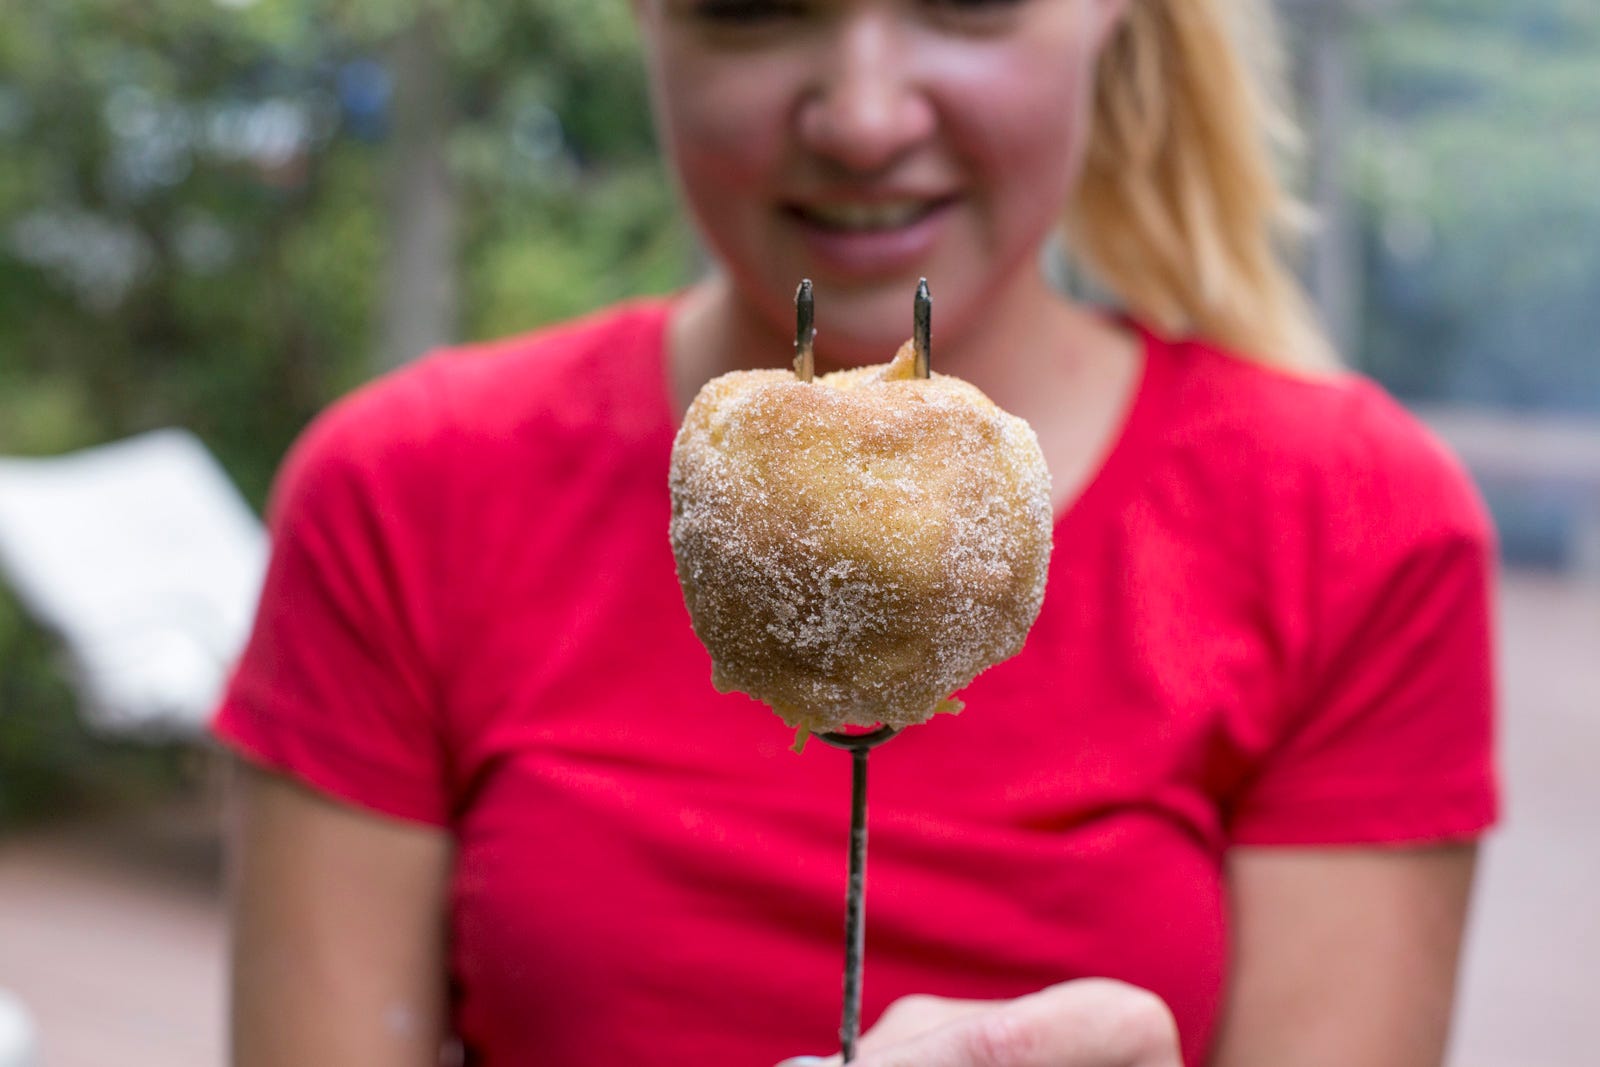
"We've been making these fun camping recipes over a fire in our backyard for years."
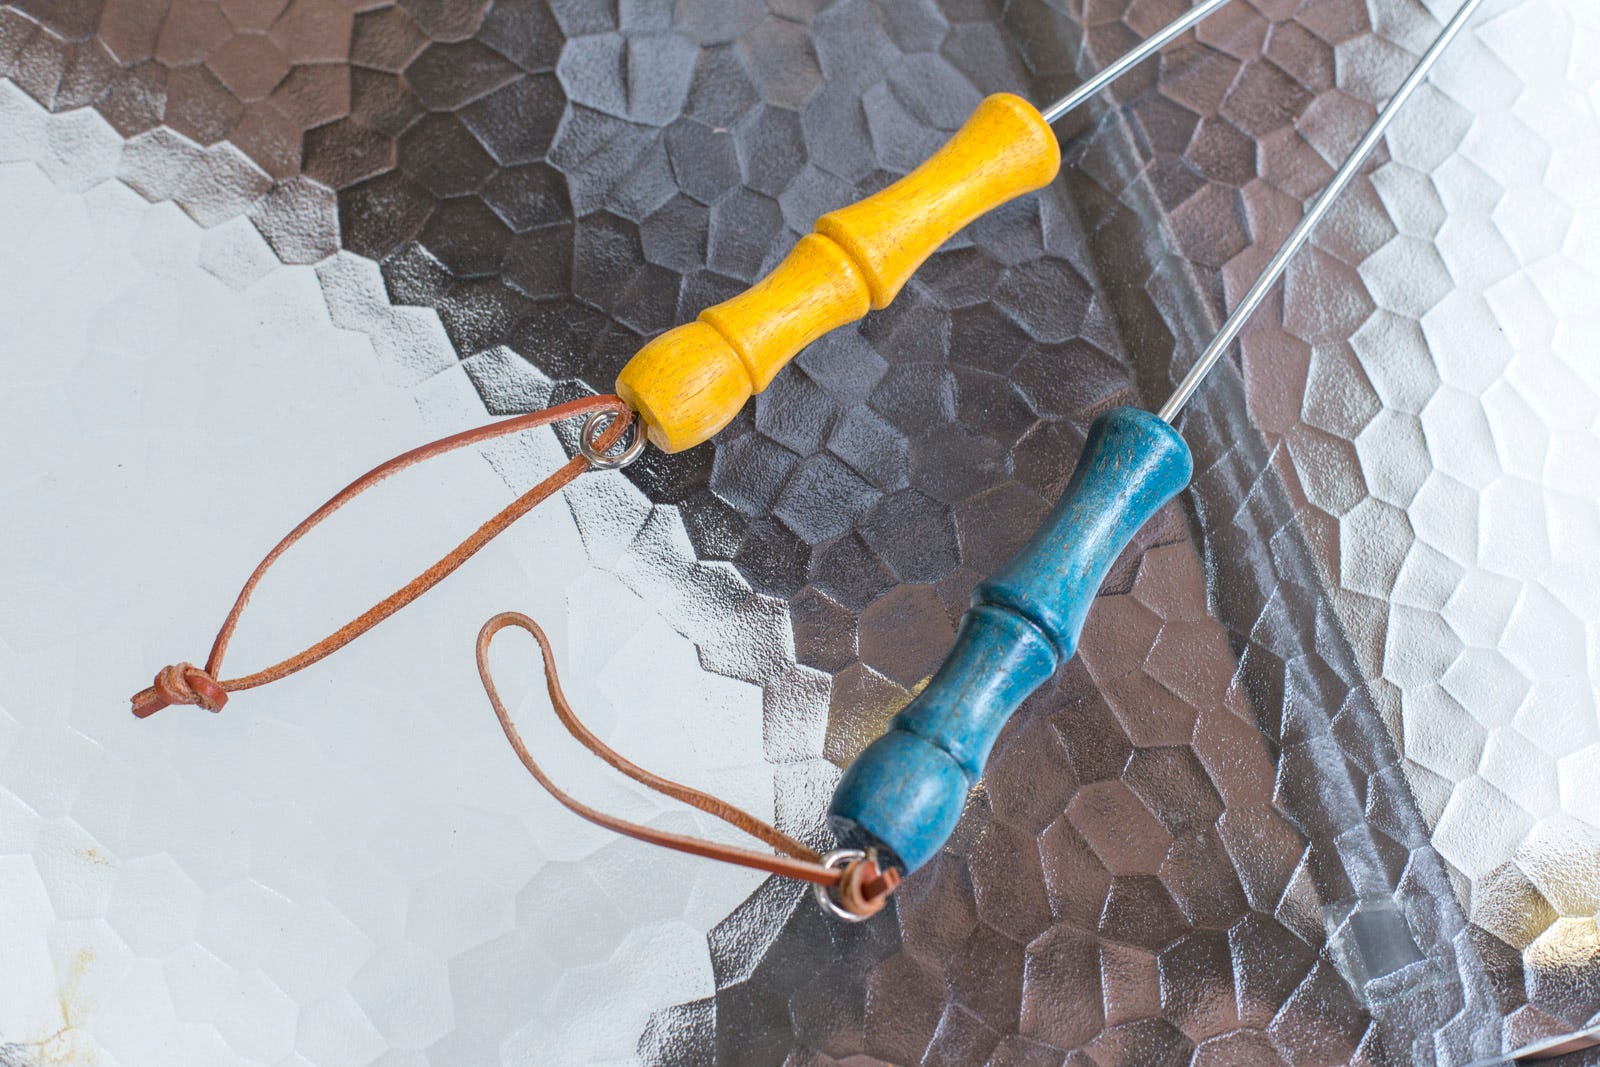
Materials
The Pacific Northwest is a destination for many campers. Lucky for us—we live here! Today I'll be sharing some campfire recipes from my family. We've been making these recipes over a fire in our backyard for years.
Roasting hot dogs is a fairly straightforward, quintessential part of camping. With this recipe we're making an upgrade to the store-bought hot dog buns by adding dough and cooking it around the hot dog. This is a great, simple recipe that kids will love, or if you want to get creative—it's easy to swap out the beef frank for something a little more sophisticated like apple chicken sausage. Add cheese, onions, mushrooms, or any other favorite toppings inside the dough to be heated with the hot dog. In other words—have fun with it. And yes, make it your own!
If hot dog roasting is associated with old-school American campfires, I'm pretty sure apple roasting is associated with old-school British gatherings. Or at least it is to me, thanks to the books I grew up reading. In my eyes, apple roasting is everything that is simple and charming about an era long since past—not to mention super easy and delicious! Seriously, it's like apple pie on a stick (minus the crust). So if you like that kind of thing, you are in for a treat! Let's get started:
Step 1: Let Dough Rise
You'll need to let the dough rise for a couple hours at least (following the directions for the specific dough you're using). We used frozen white bread dough from the grocery store, but you can also use frozen dinner roll dough, or make your own. For easy clean up—stretch some plastic wrap on a baking sheet or cutting board, and spray it with cooking spray to keep the dough from sticking.
Step 2: Start the Fire
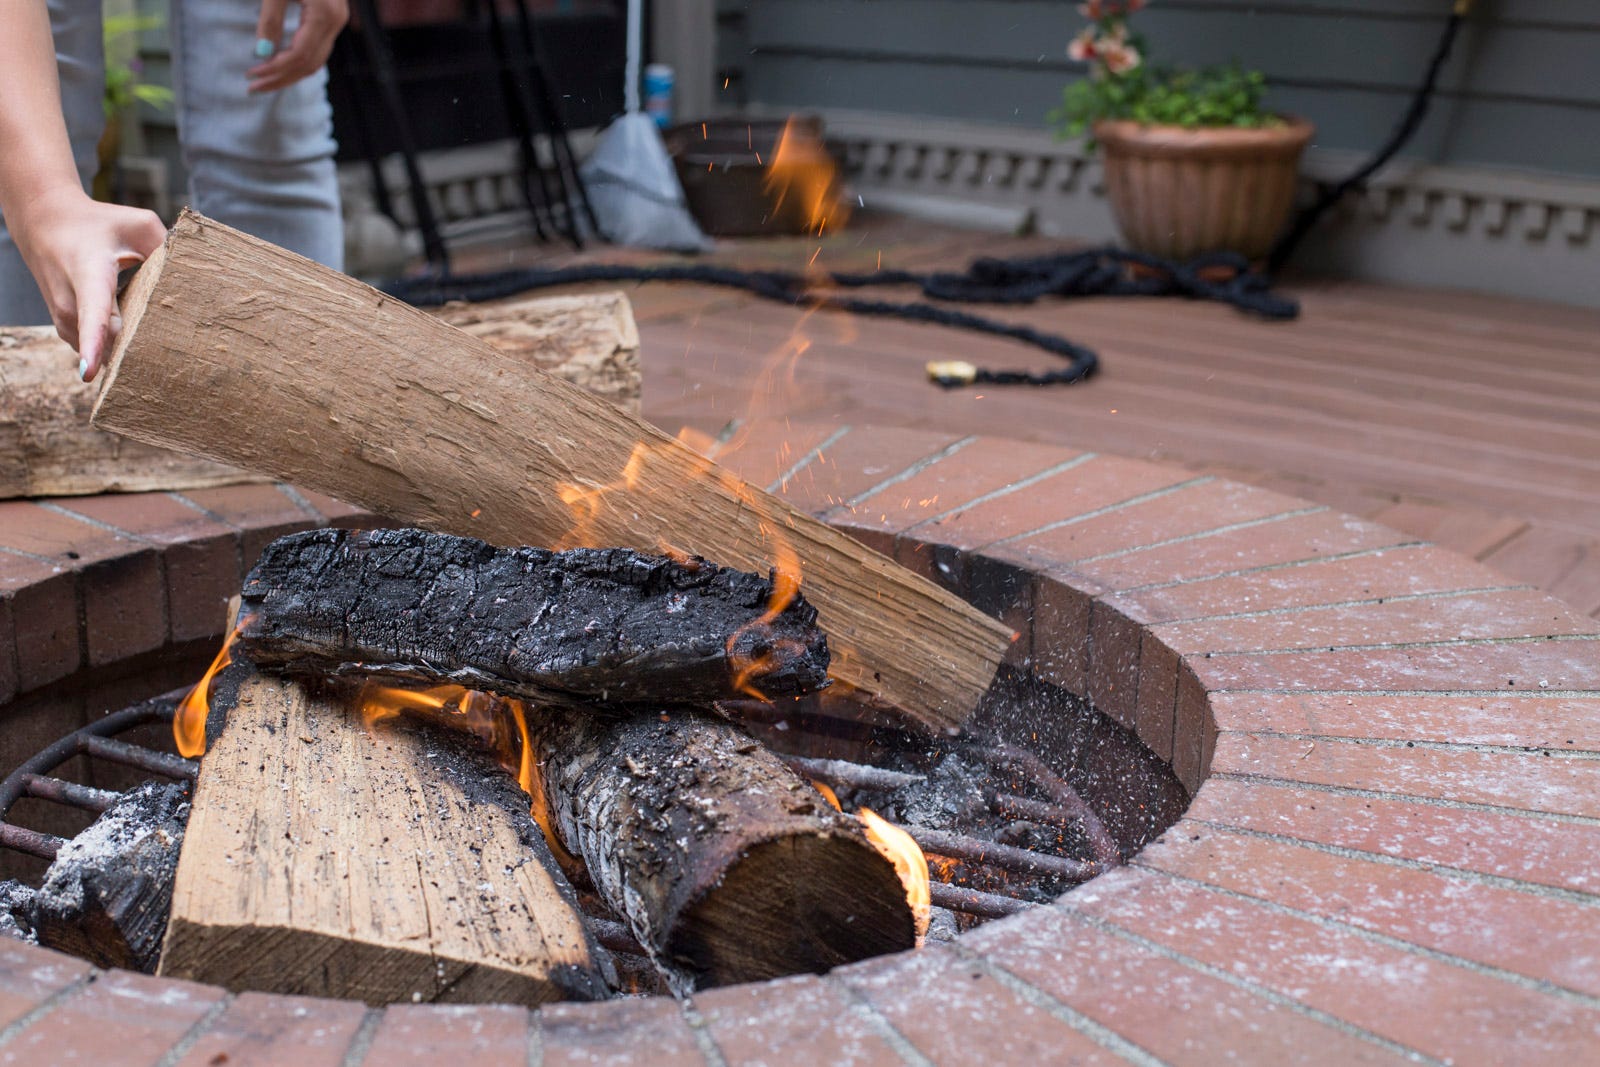
To get started, light up that campfire. You don't have to be camping to make these delicious treats. We happened to be at home, so we stepped into the back yard to get the fire going. You'll need embers to cook (not burn) both the dinner and dessert portions of this amazing camping meal, so let the wood burn down before you start cooking.
Step 3: Prep the Hot Dogs
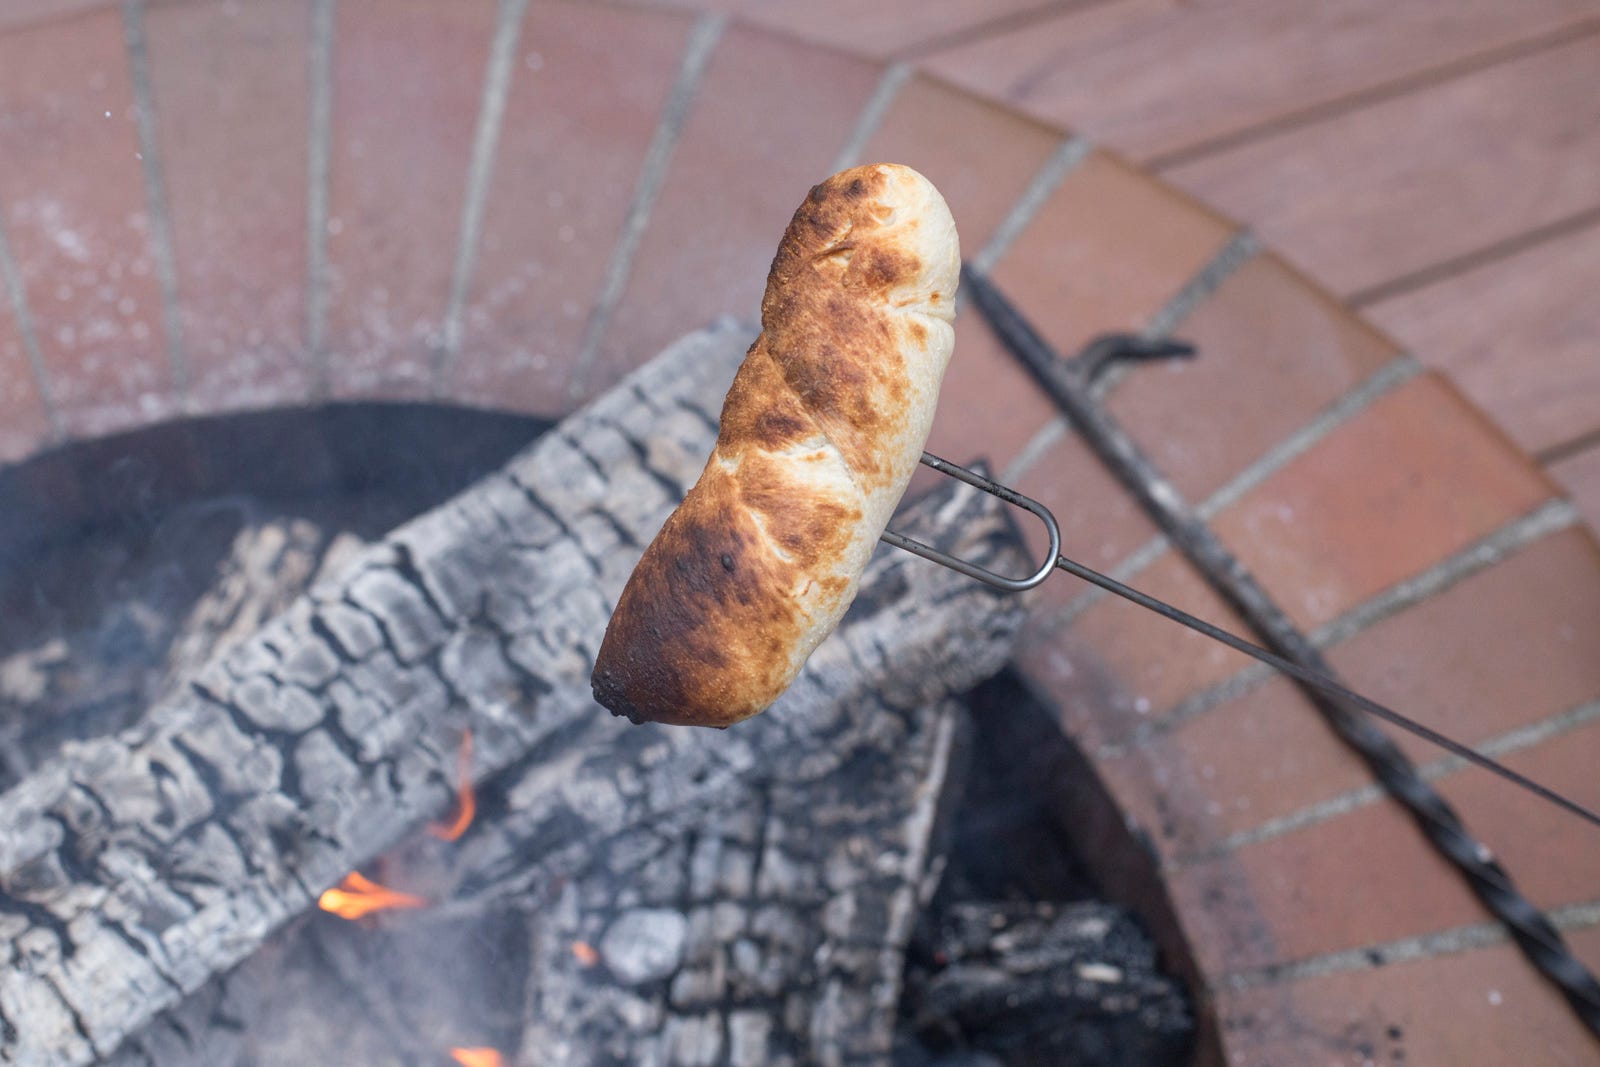
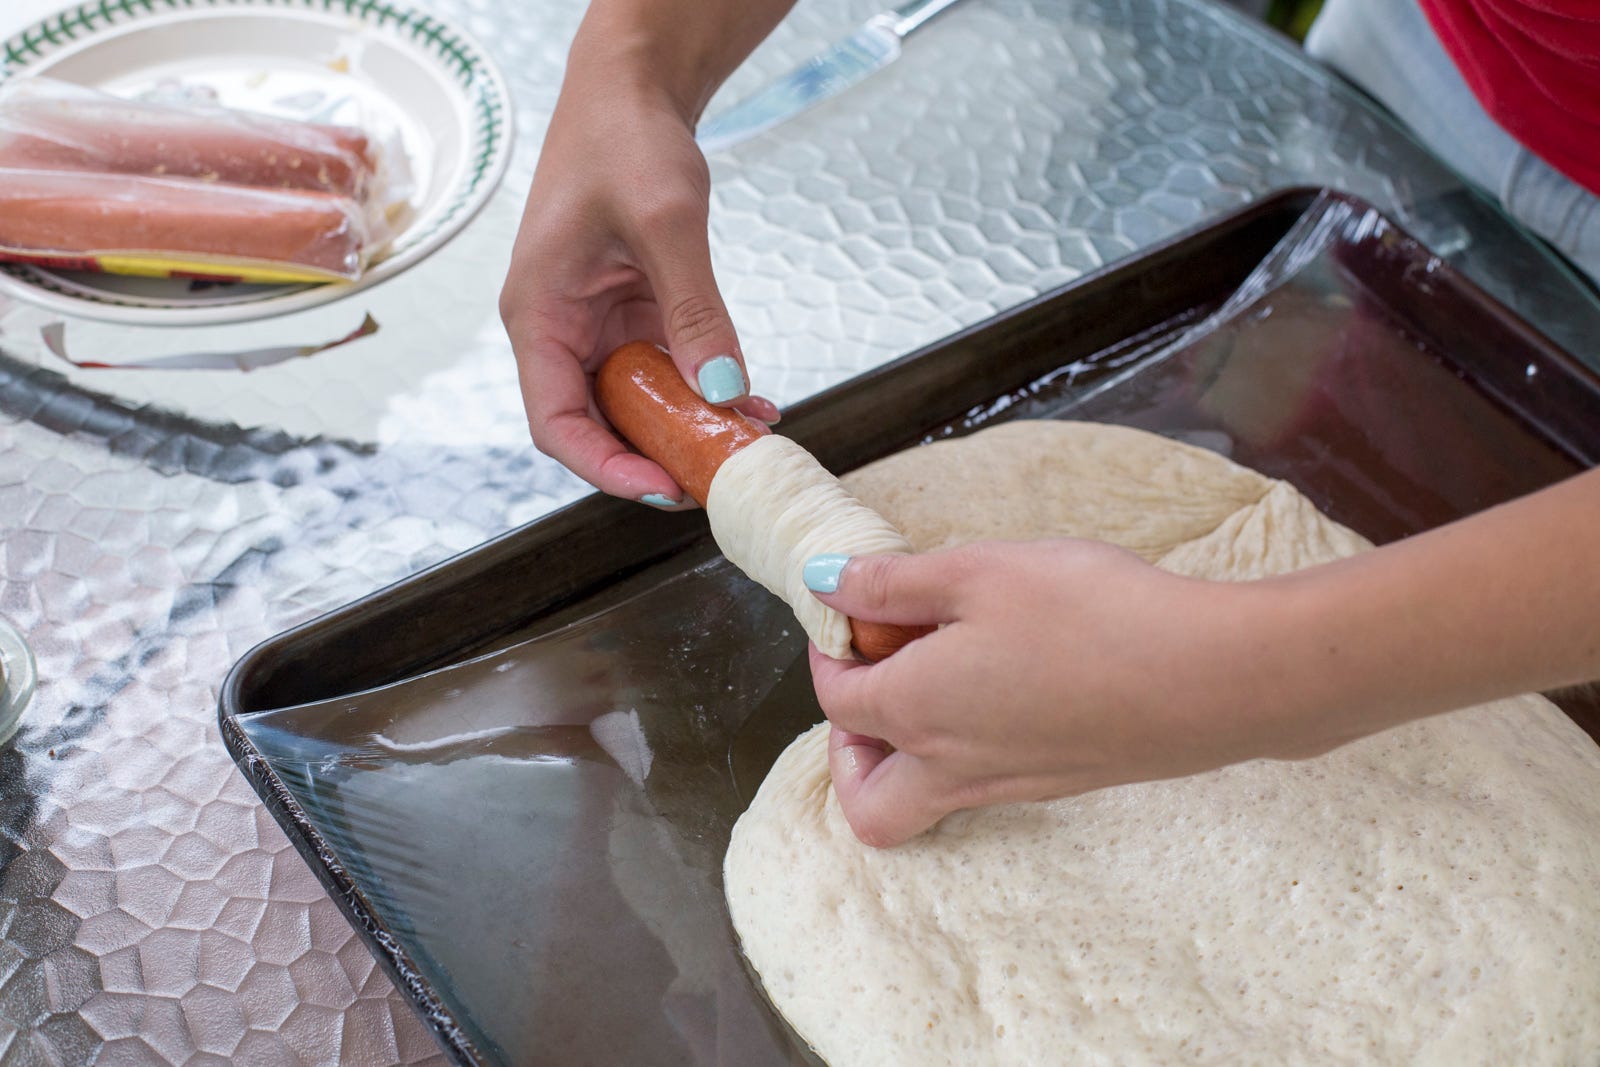
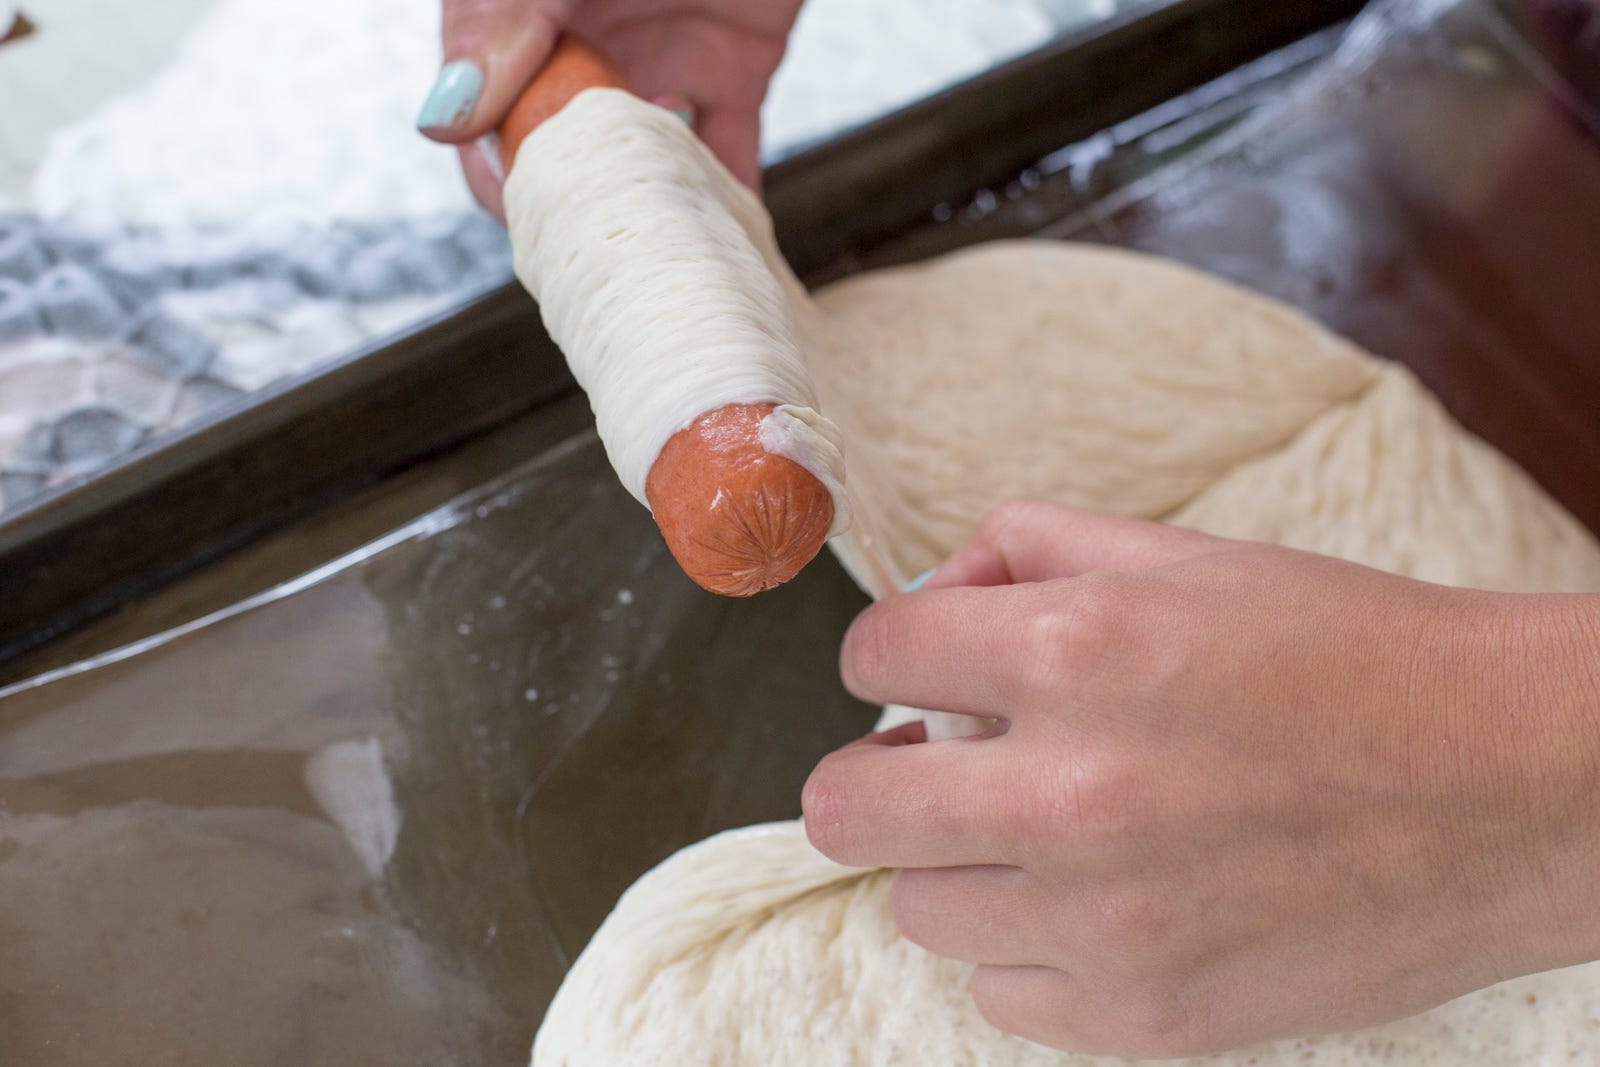
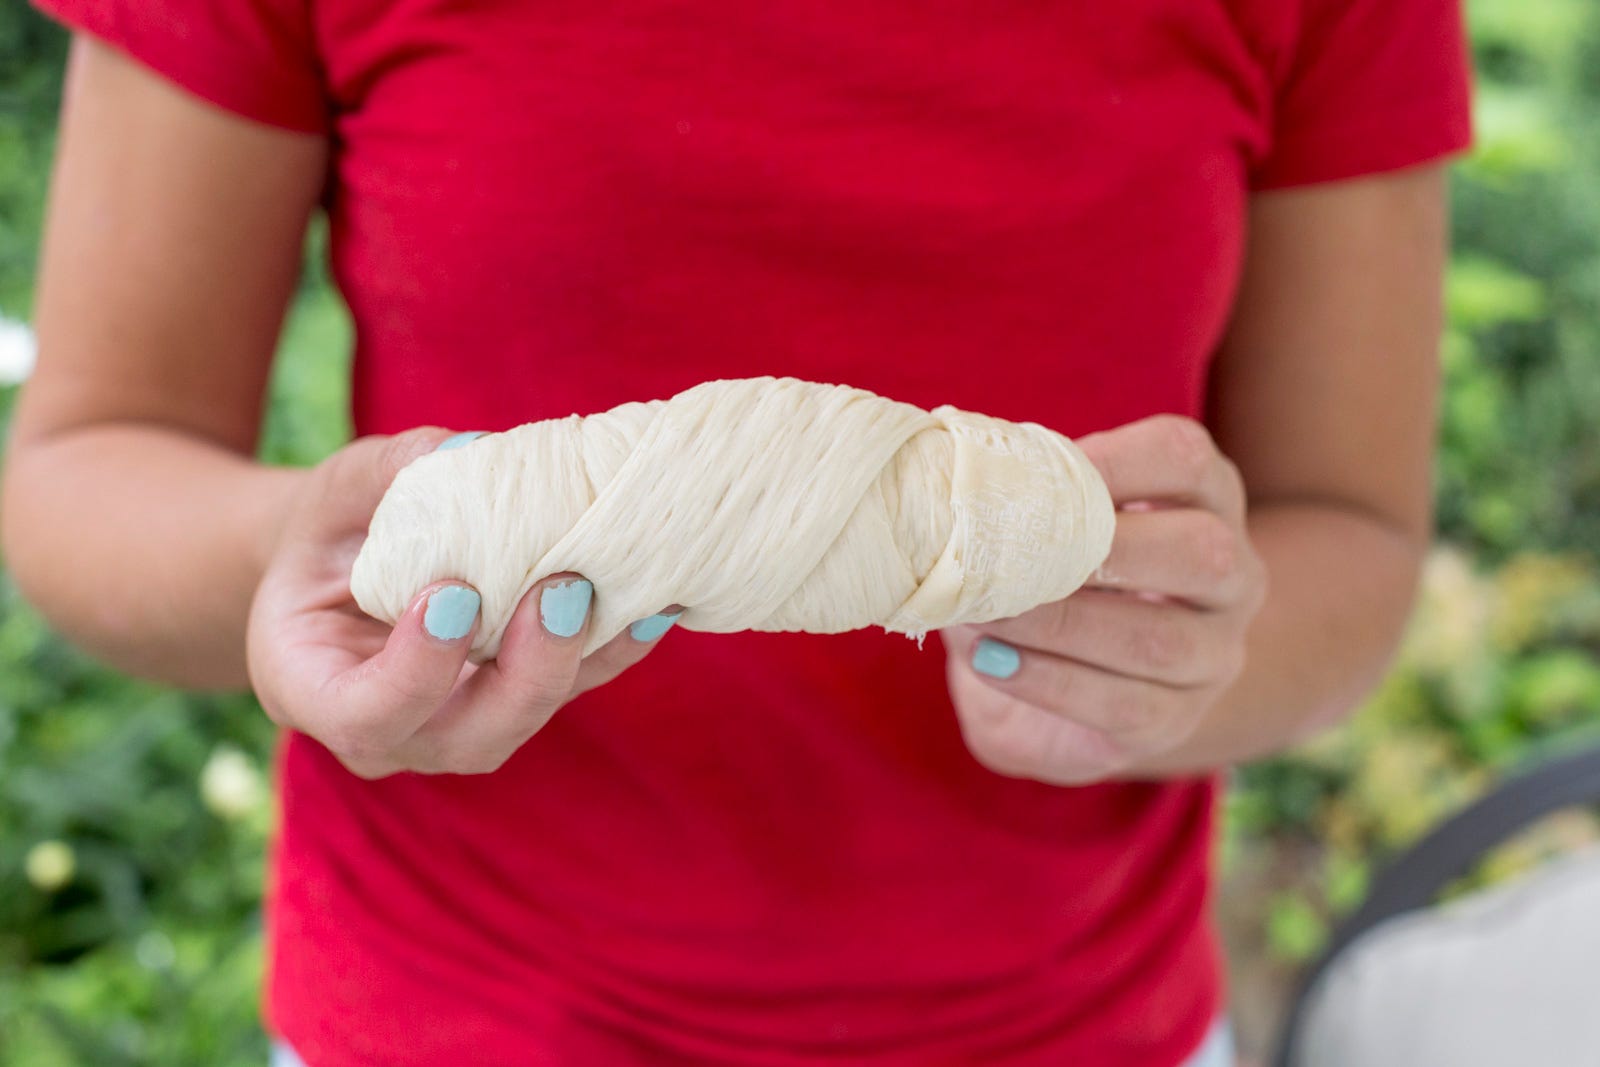
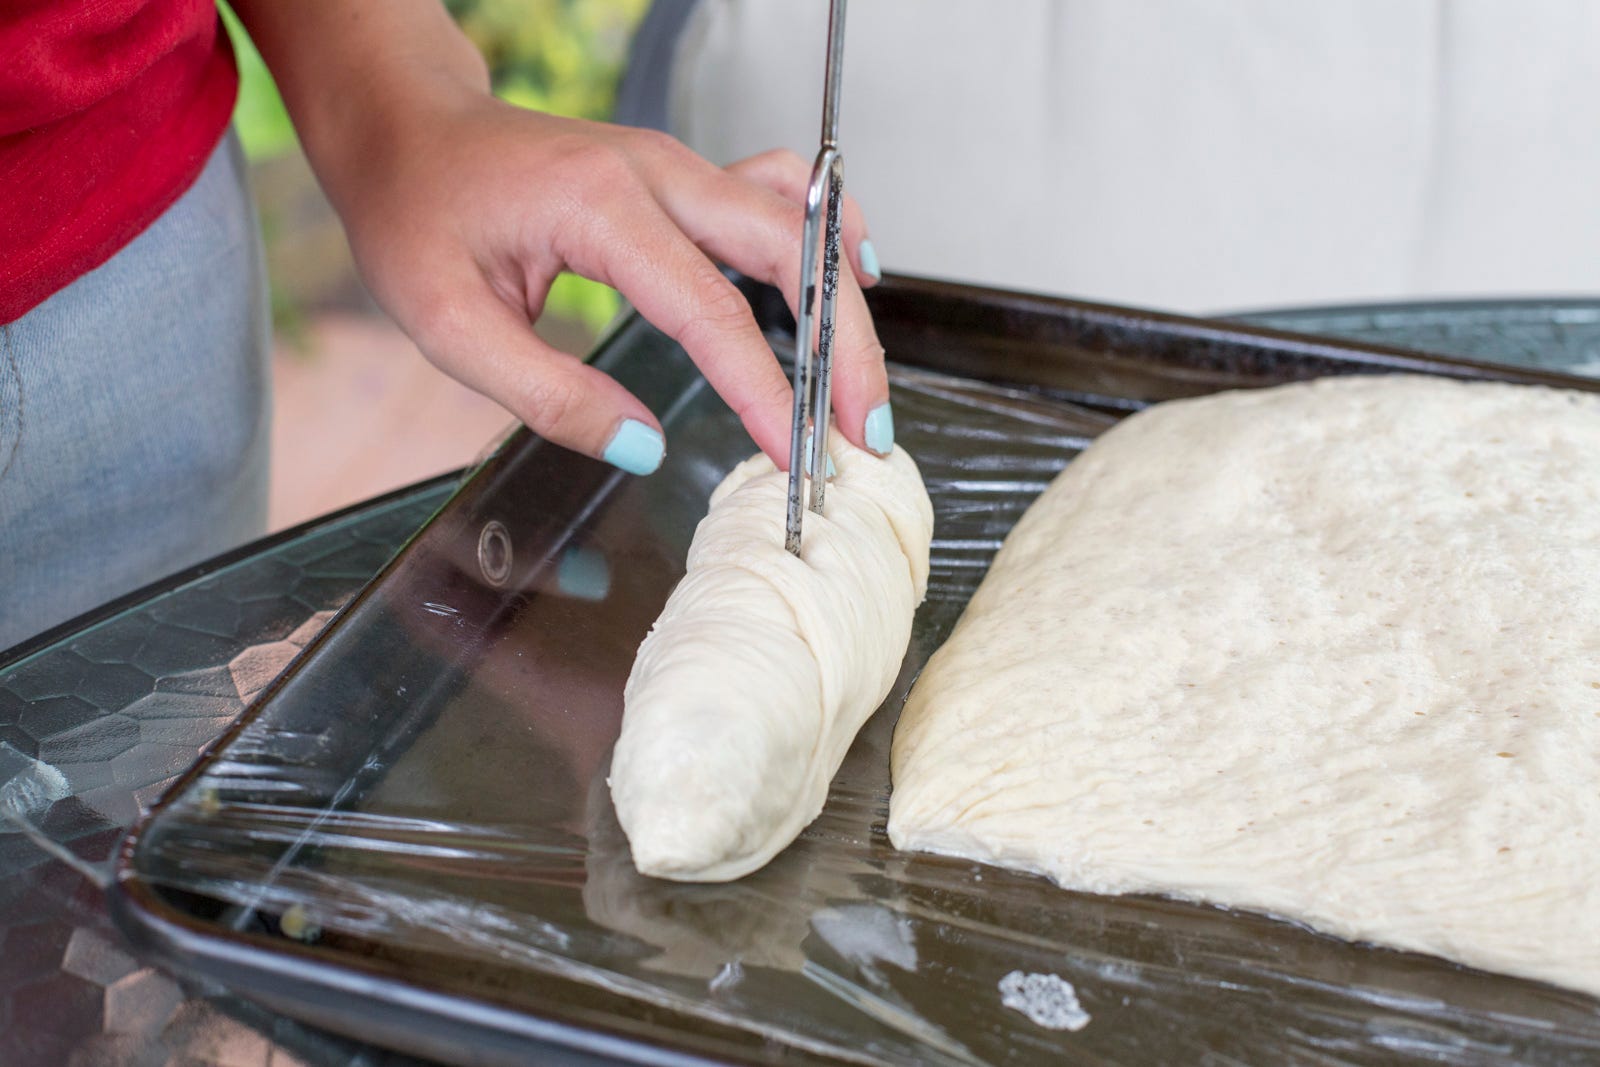
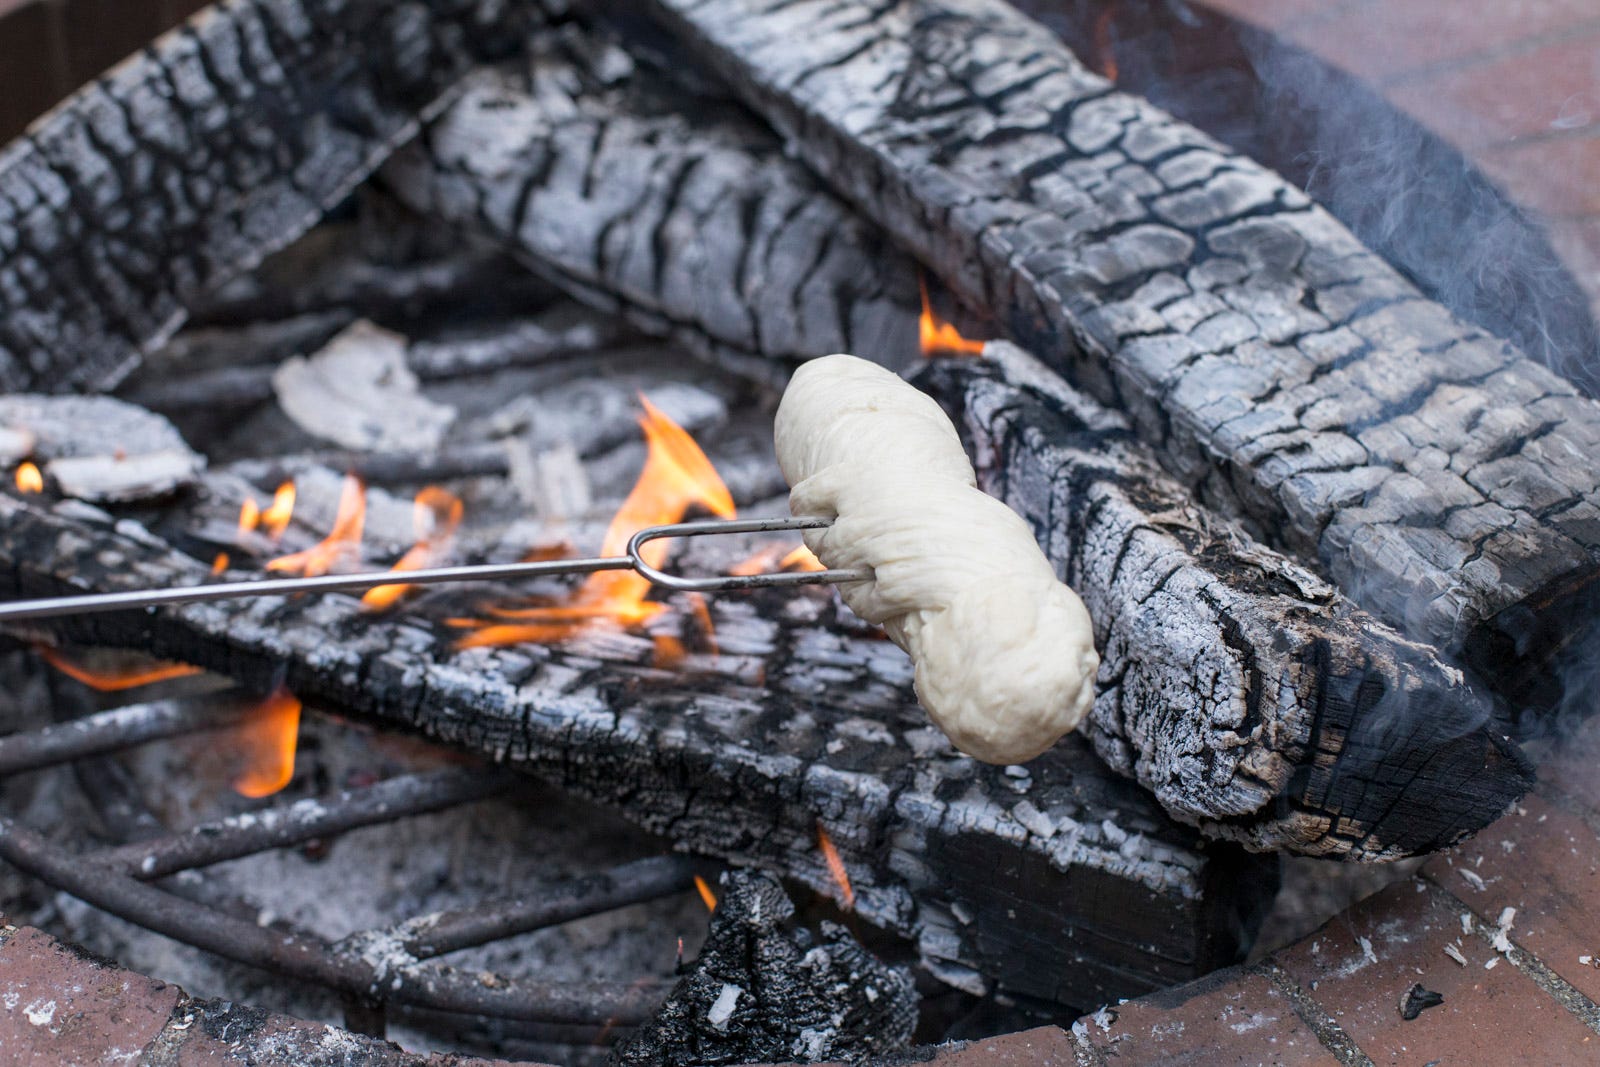
While the fire is heating up and your coals are getting ready, wrap your hot dogs in dough. Cut the dough into strips a couple inches wide, and then wrap your hot dog so it is completely covered. Secure the hot dog to the end of your roasting fork.
Step 4: Roast the Hot Dog
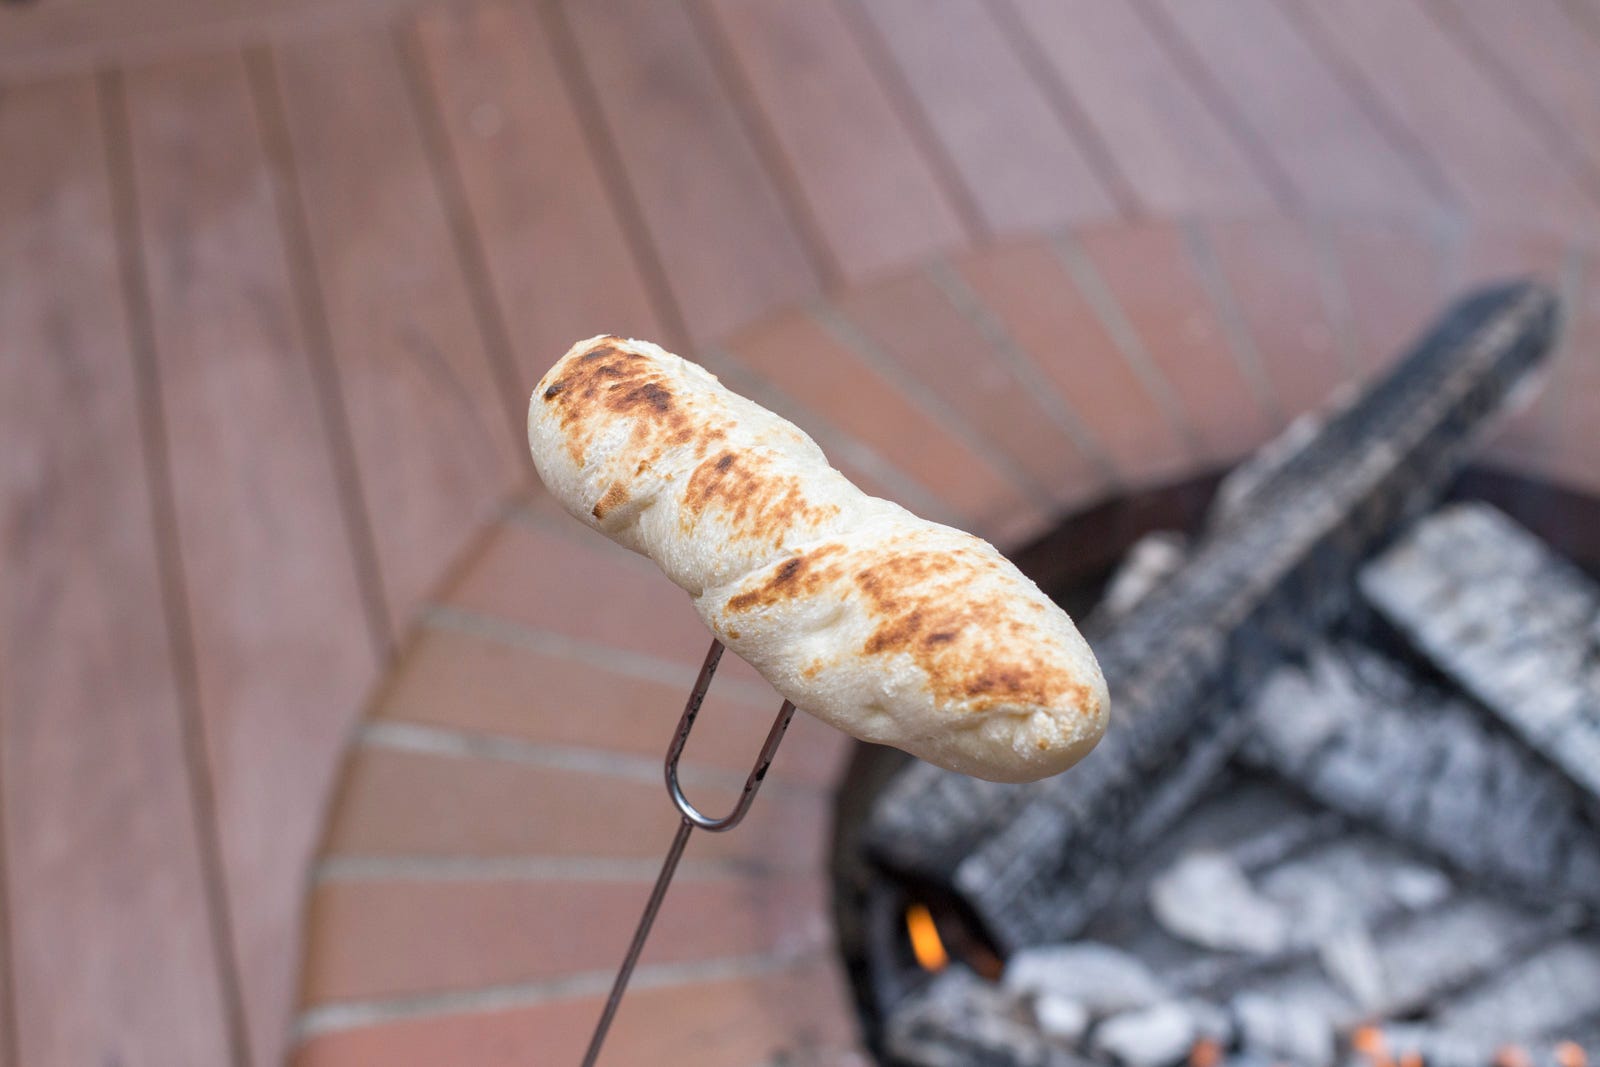
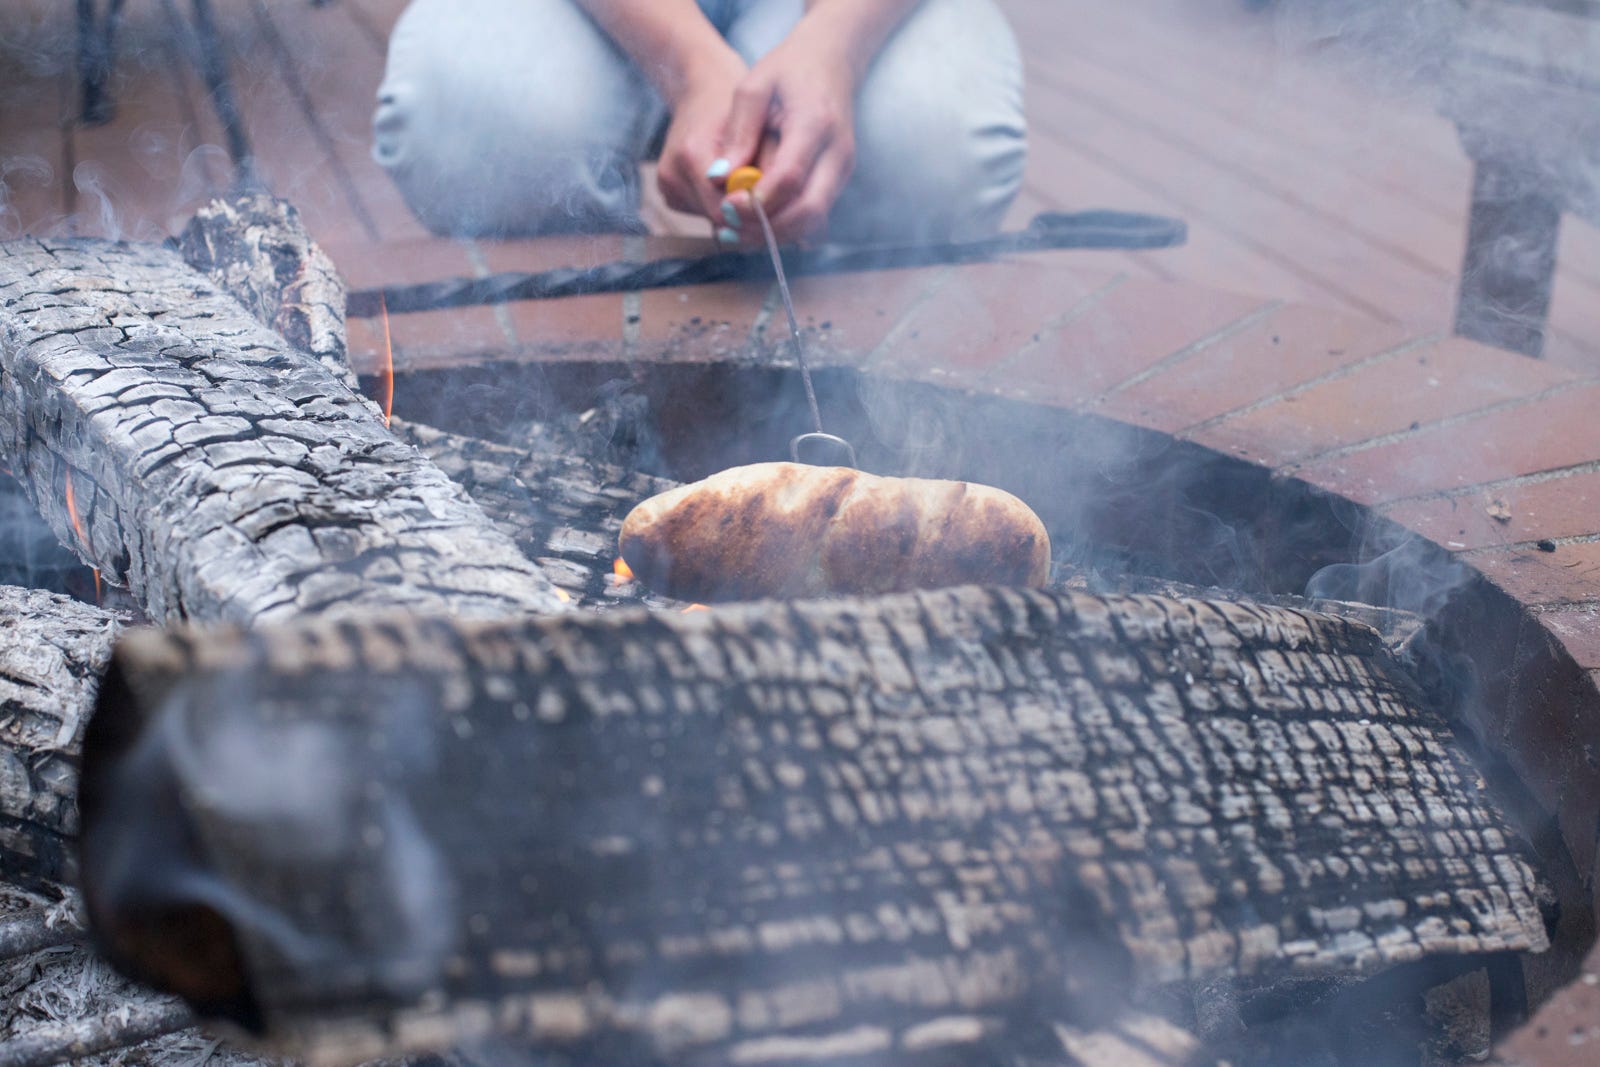
The key to cooking these hot dogs well is to take your time without getting too close to the embers. This way it gets cooked all the way through, and you won't end up with raw dough or cold meat in the middle. Once you reach the end of the roasting process, move the hot dog closer to the heat for a nice browned top to the dough.
Step 5: Enjoy your Hot Dog
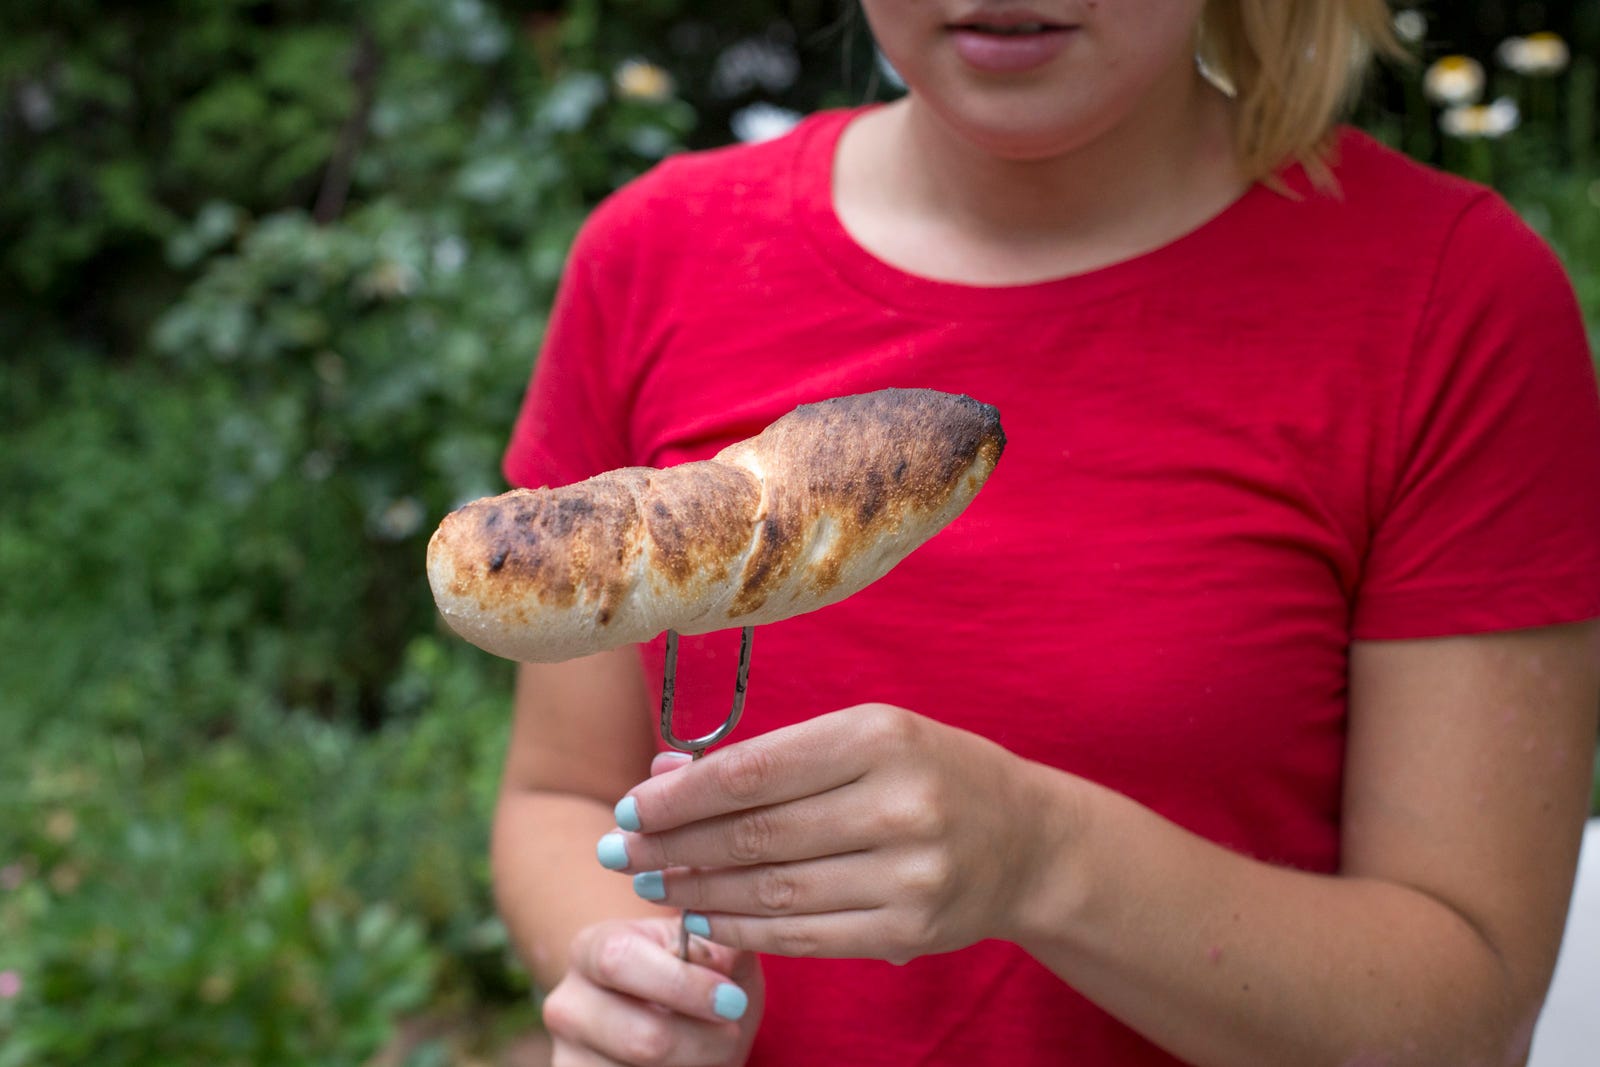
Once the hot dog is cooked to your liking, enjoy! You can pair it with your favorite condiments like ketchup and mustard, or go plain!
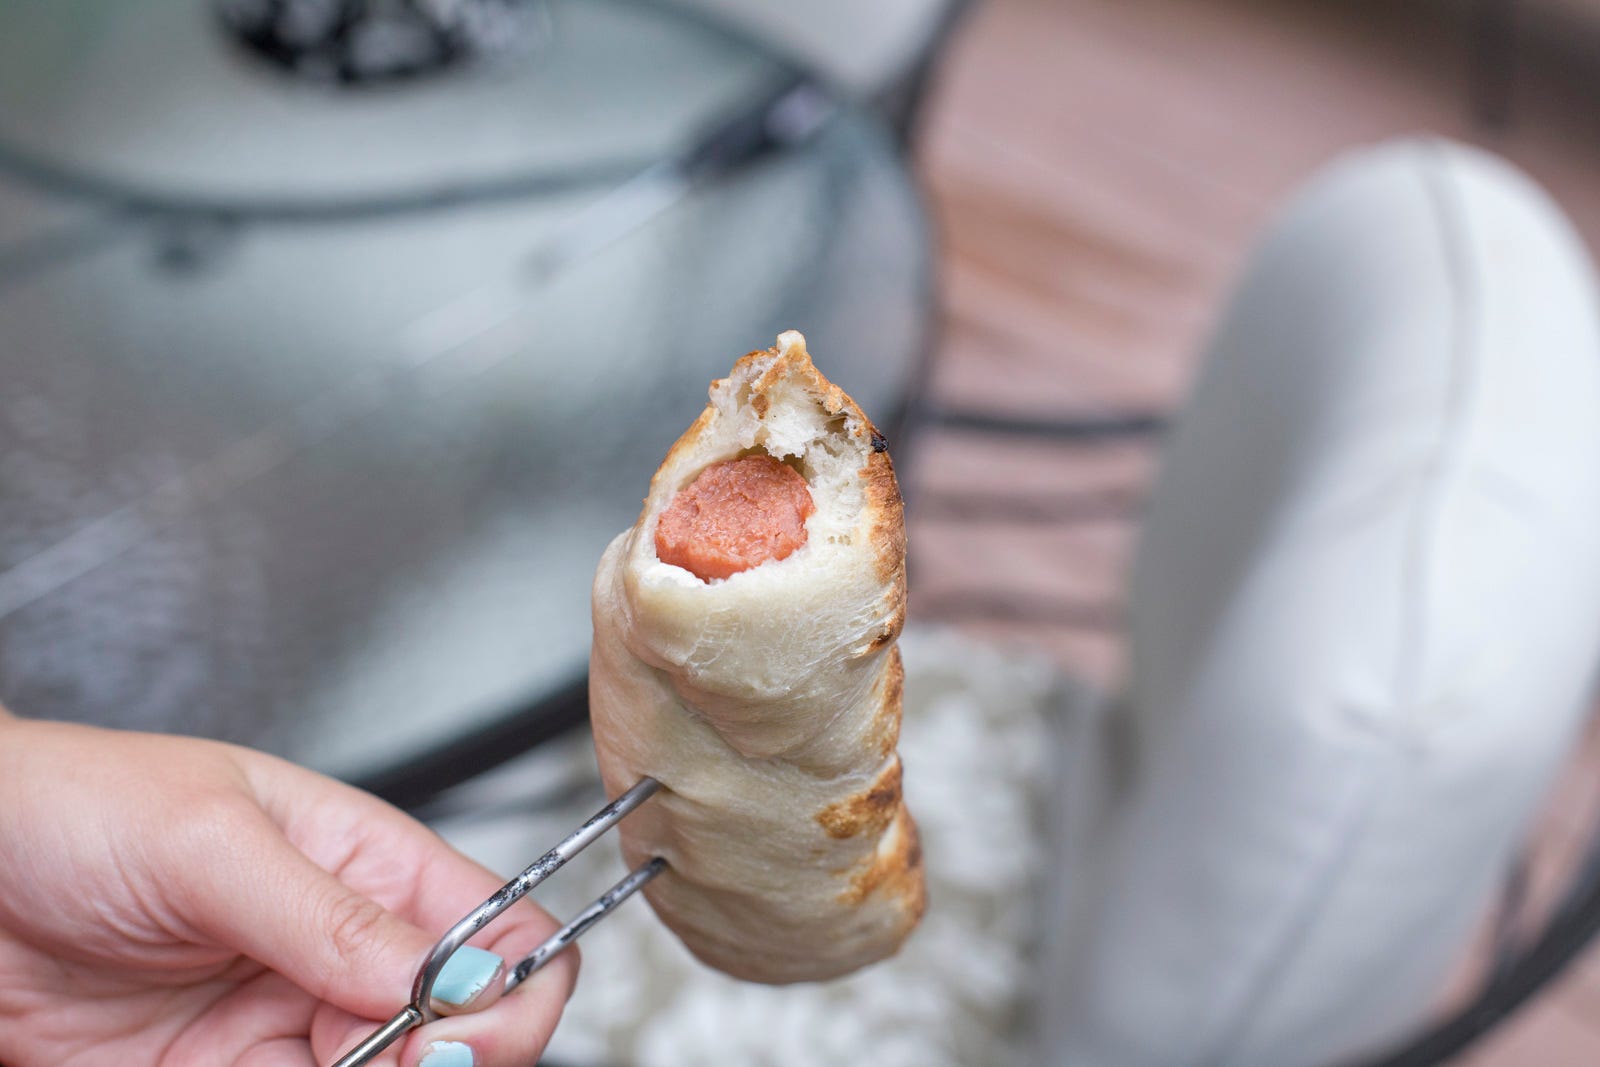
Step 6: Dessert Time!
It's time to prep the apples for roasting. The most important thing you need to know is that Granny Smith apples offer the best apple roasting experience. Any type of apple can be roasted, but the Granny Smith has a skin that practically lifts off the apple when cooked— eliminating a lot of work and mess. Mix the sugar and cinnamon on a plate or a shallow dish, and set aside. Plunge your skewer through the top of the apple and make sure that it's secure and won't slide off. There's nothing fun about trying to re-skewer a hot apple!
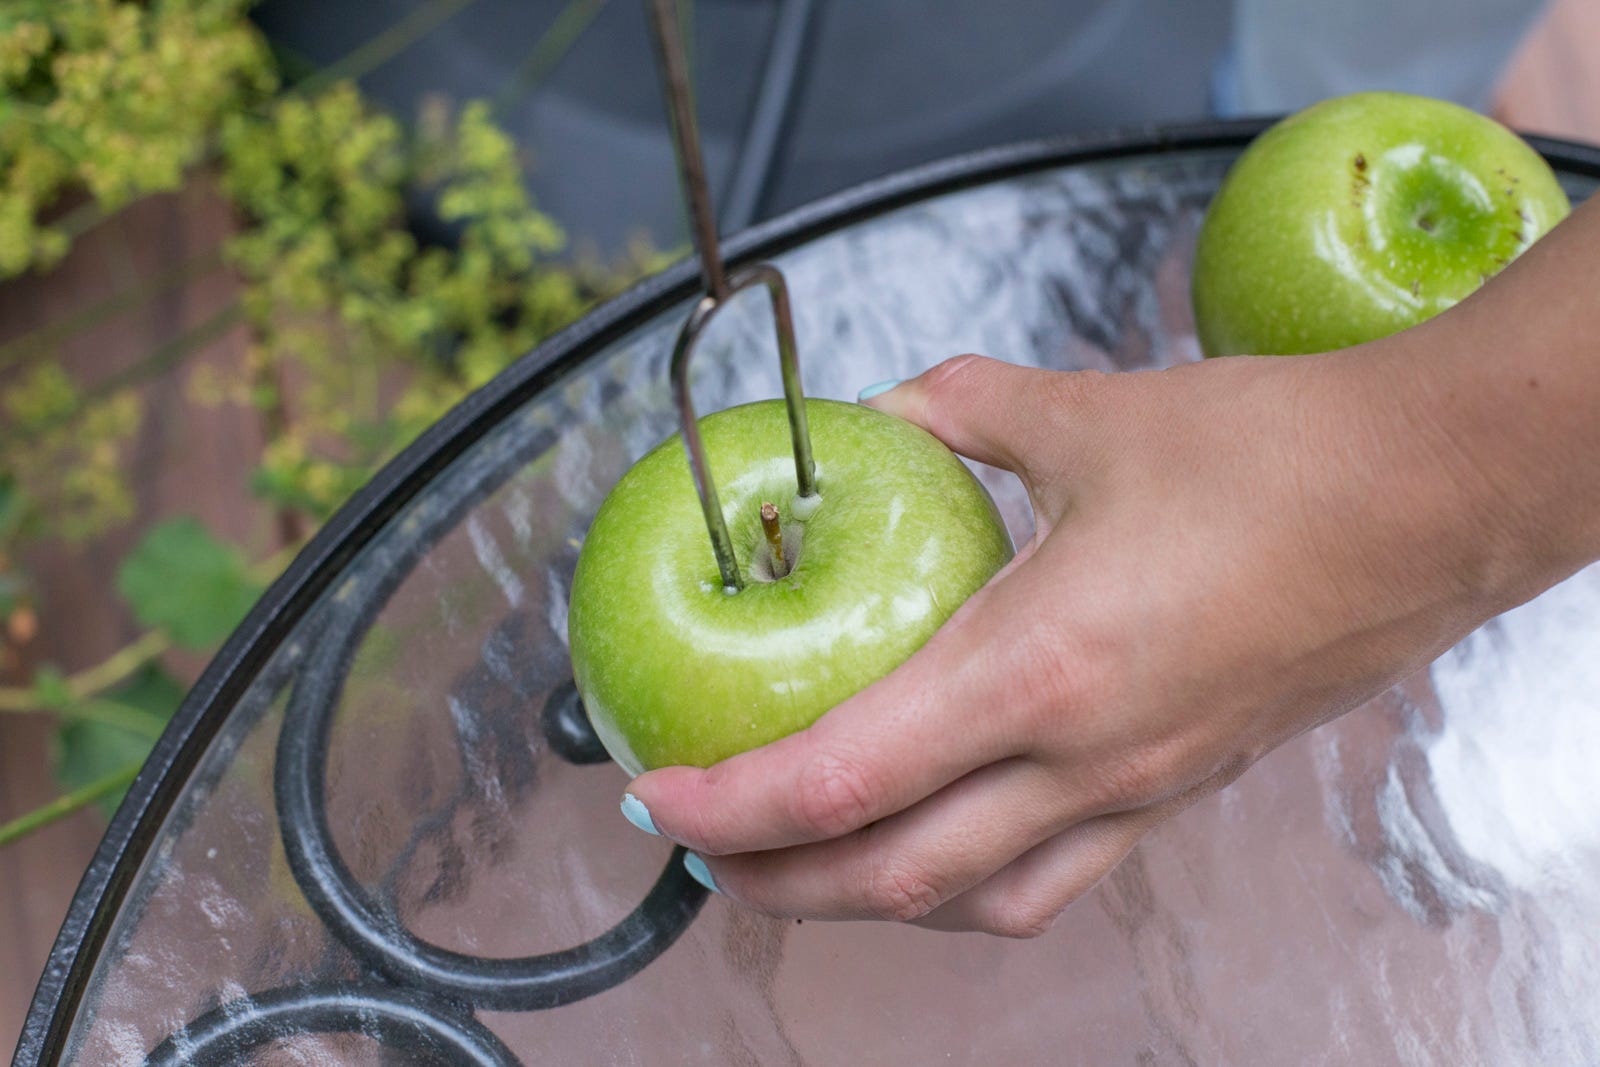
Step 7: Roast the Apple
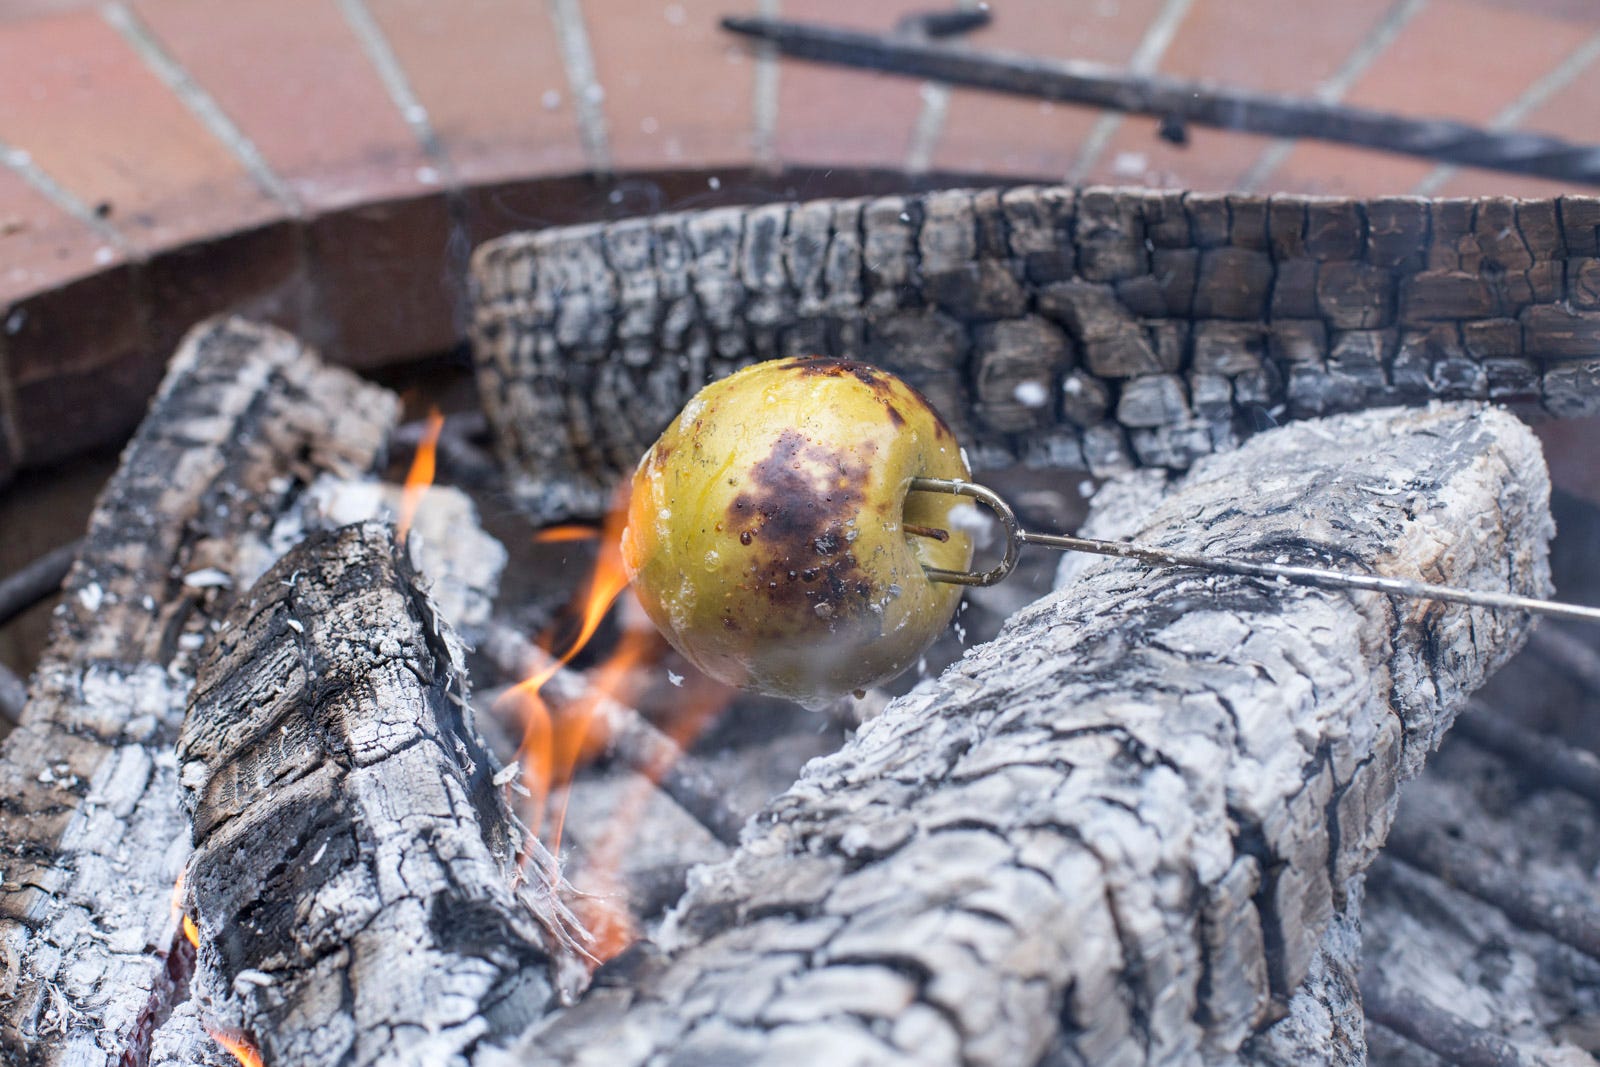
Start roasting the apple. Get it as close to the embers and as hot as possible; that's the trick. This is a great recipe for including the kids! Even though the apple can be a little heavy and awkward to maneuver on the stick—it doesn't matter if you burn it or drop it in the ashes. All the skins are coming off at the end anyway!
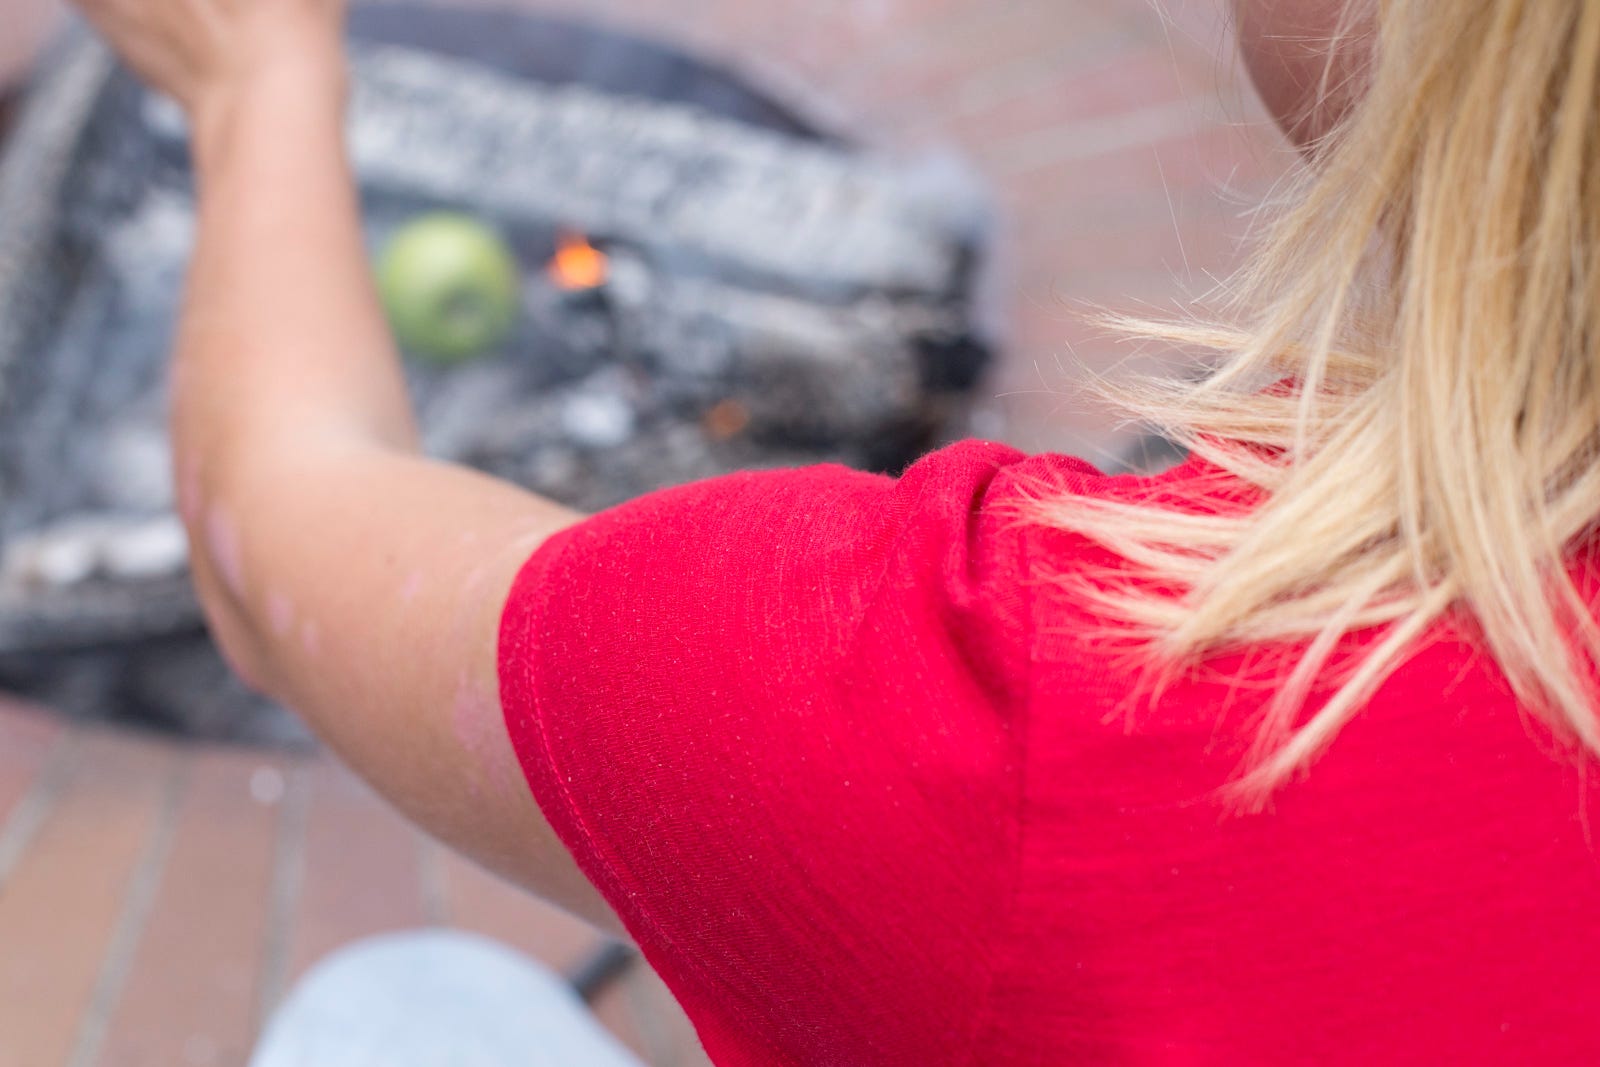
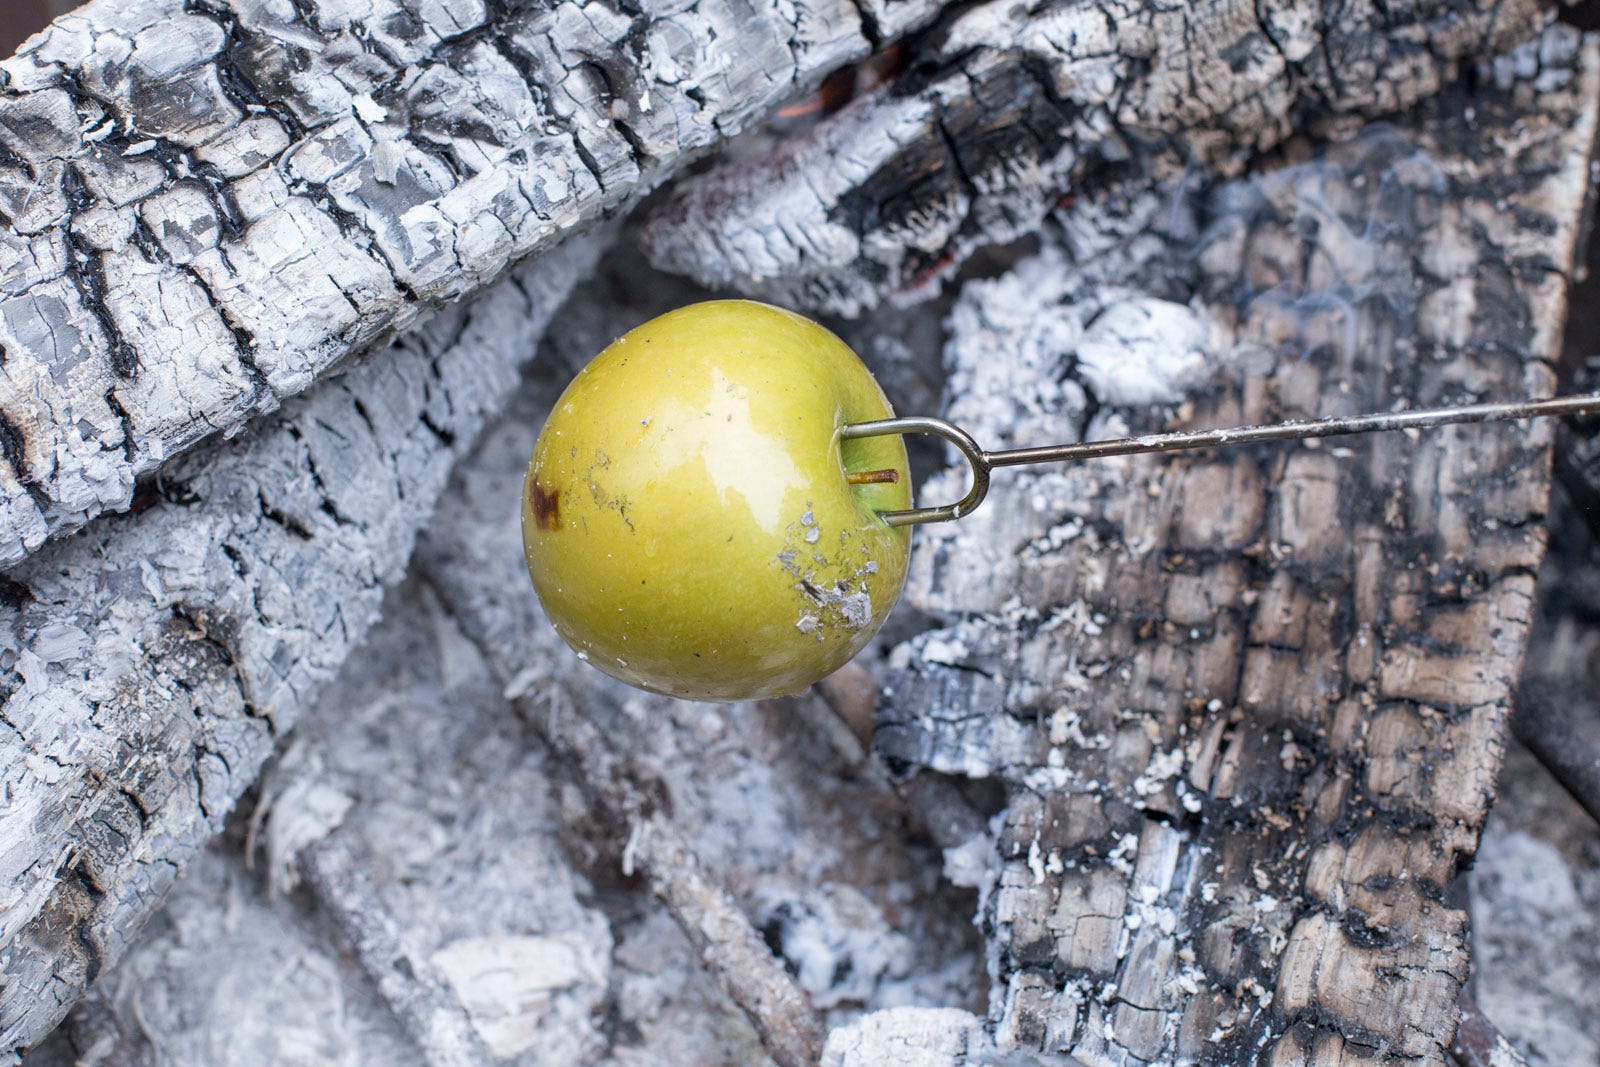
Step 8: Think You're Done? Keep Roasting
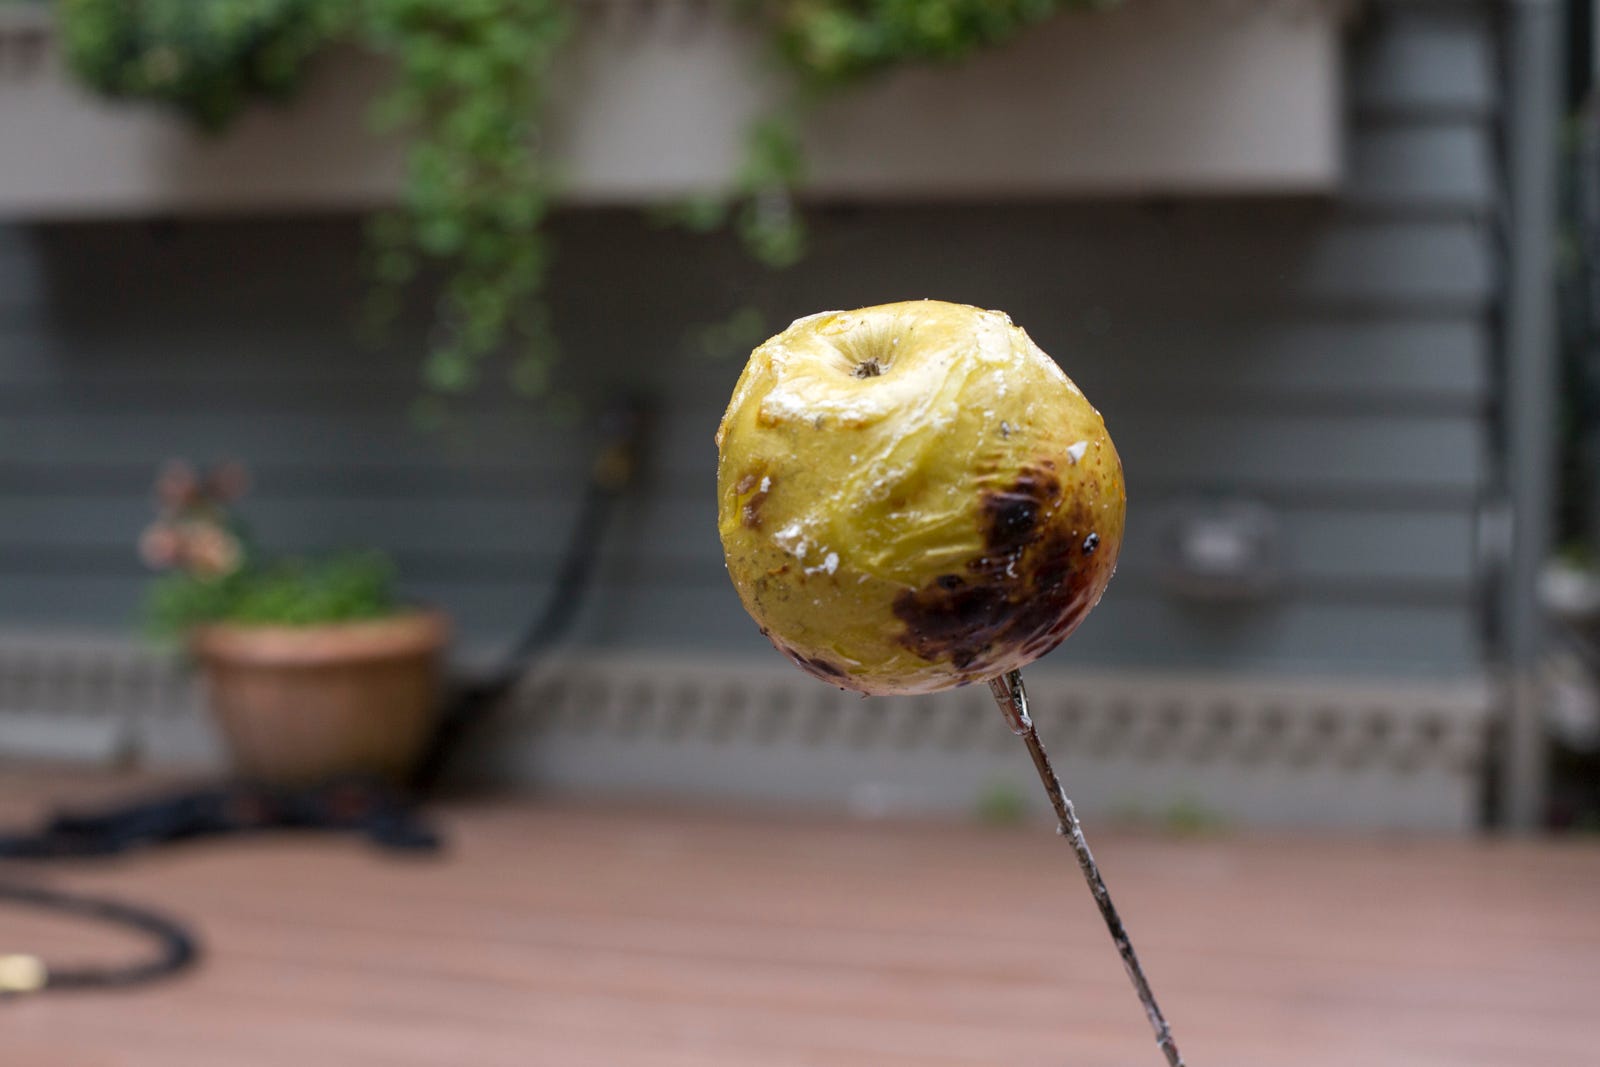
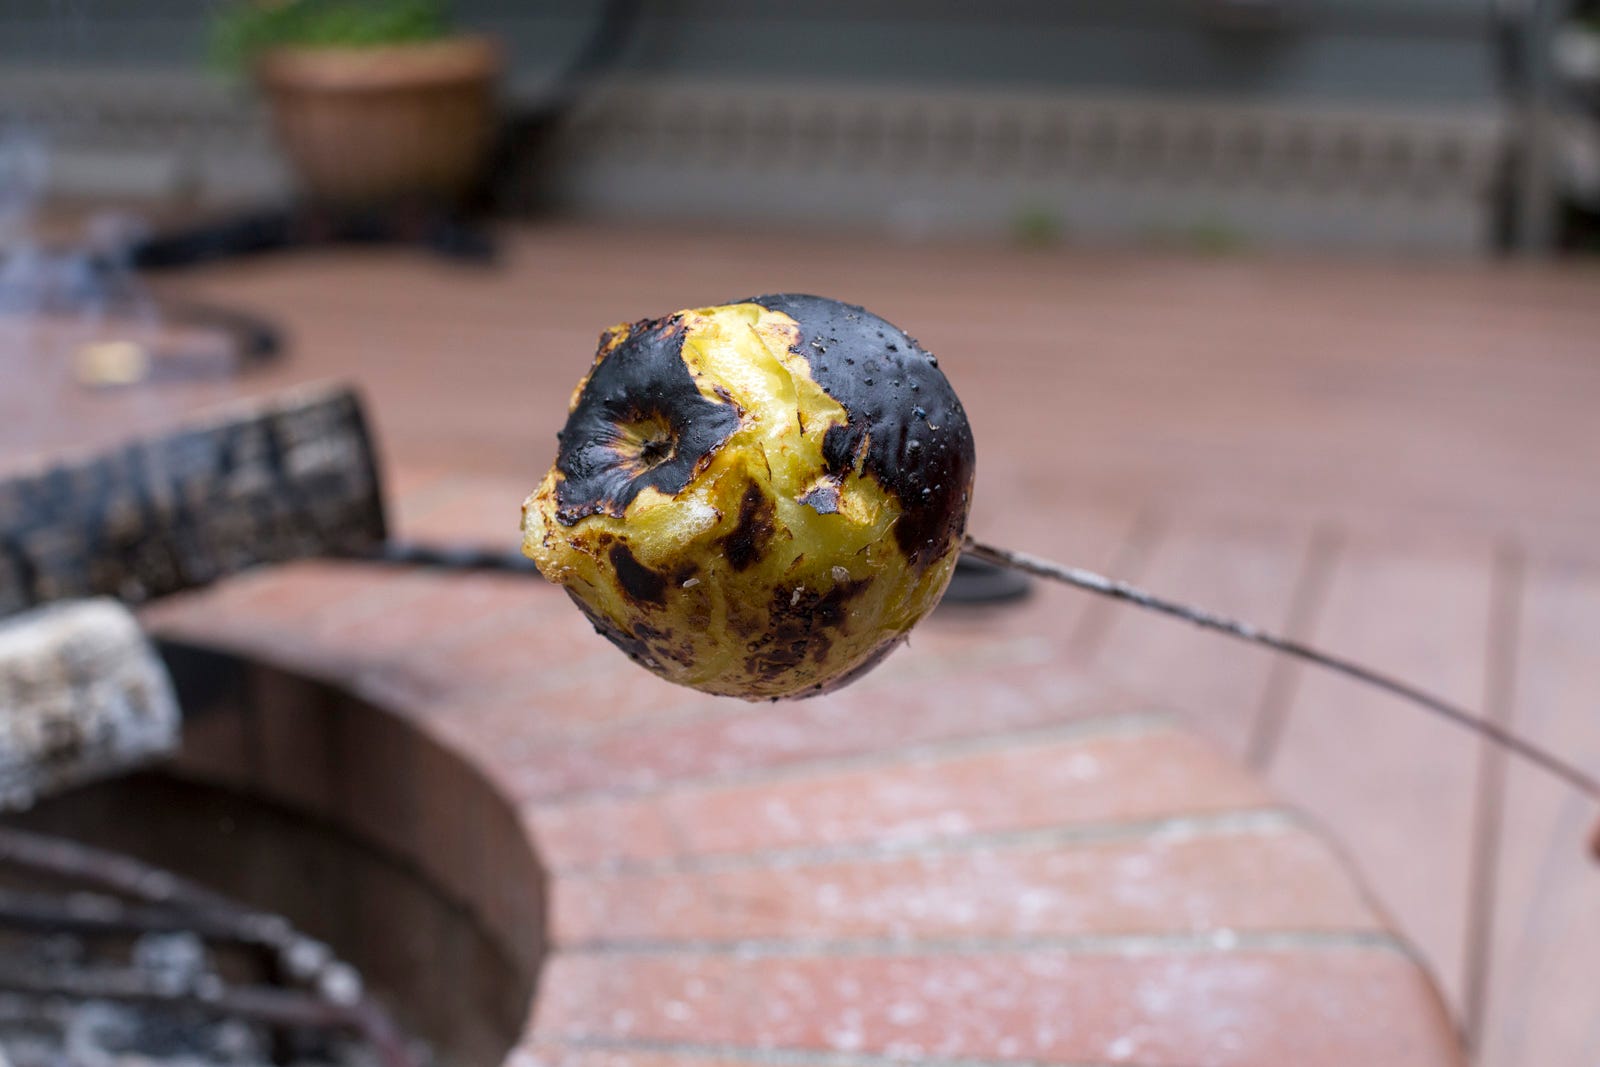
I love this recipe because you really can't mess it up. If you think you have, it's probably because you haven't waited long enough. Keep at it! The skin of the apple will bubble, wrinkle, blacken, and crack. These are all good signs! If you're patient enough (we could have been a little more patient ourselves, but we were in a rush), the skin of the apple will get to a point where it practically falls off. You'll be able to tell because it all cracks apart and begins to lift off the apple. This process takes approximately 10-15 minutes. But it really depends on the apple and the heat of the fire.
Step 9: Remove the Skin
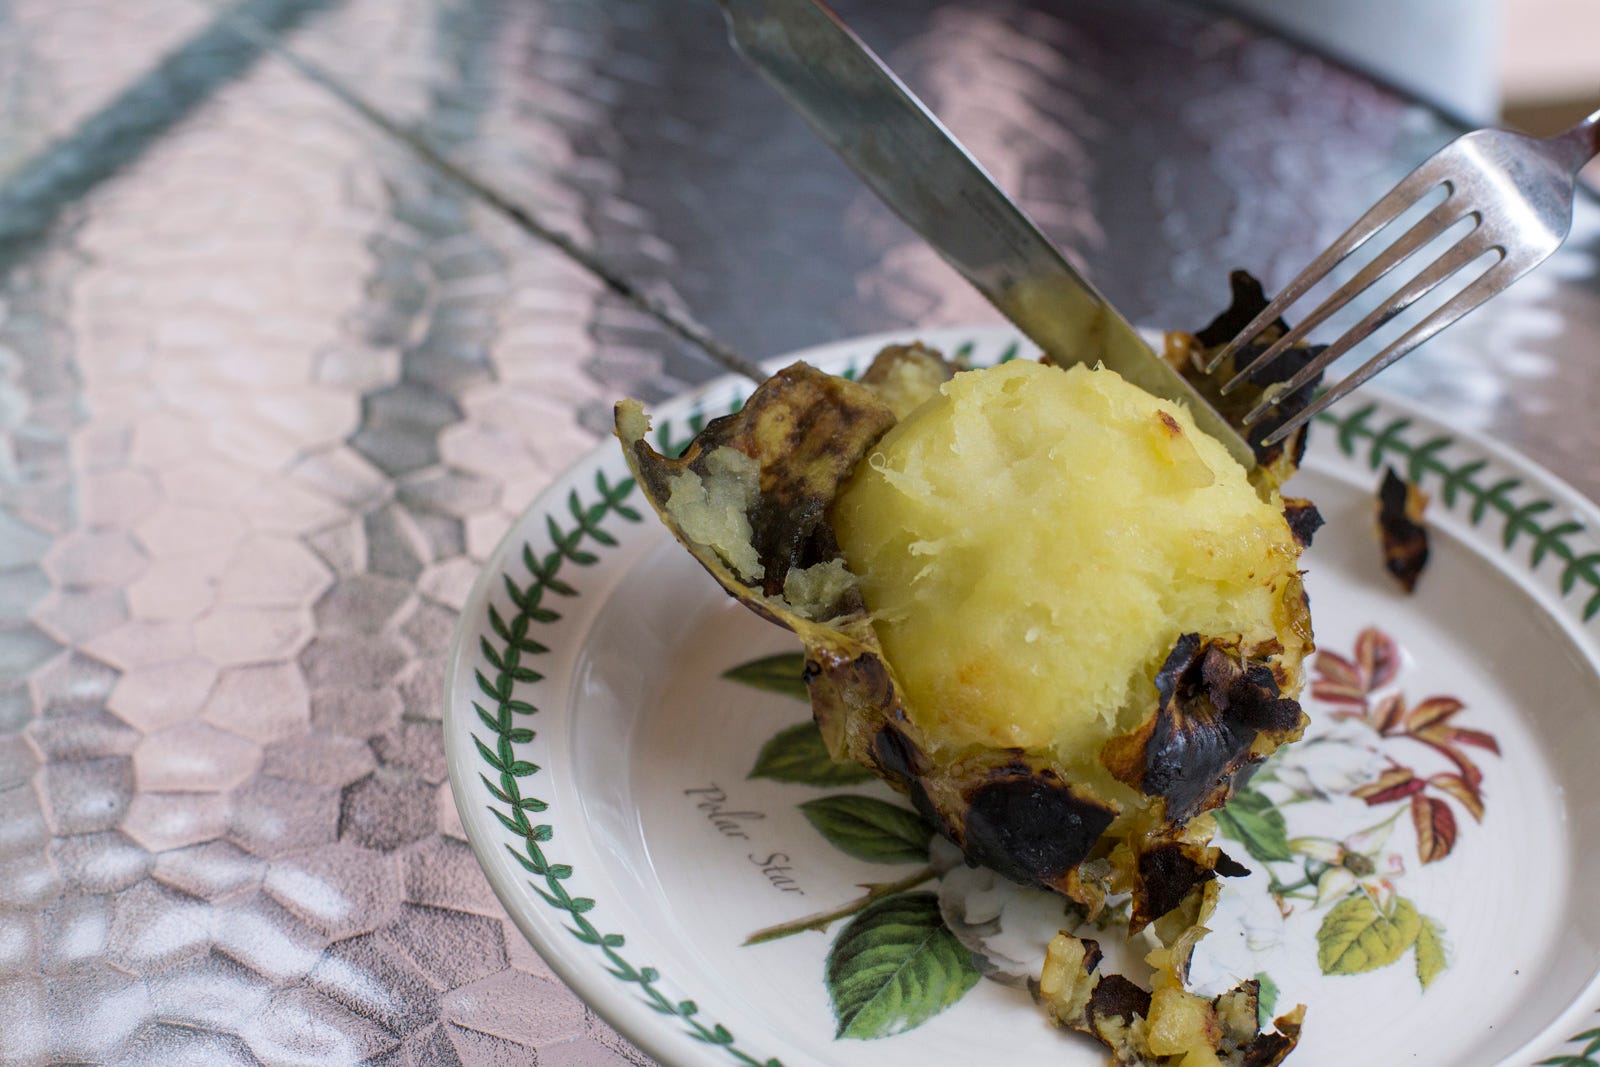
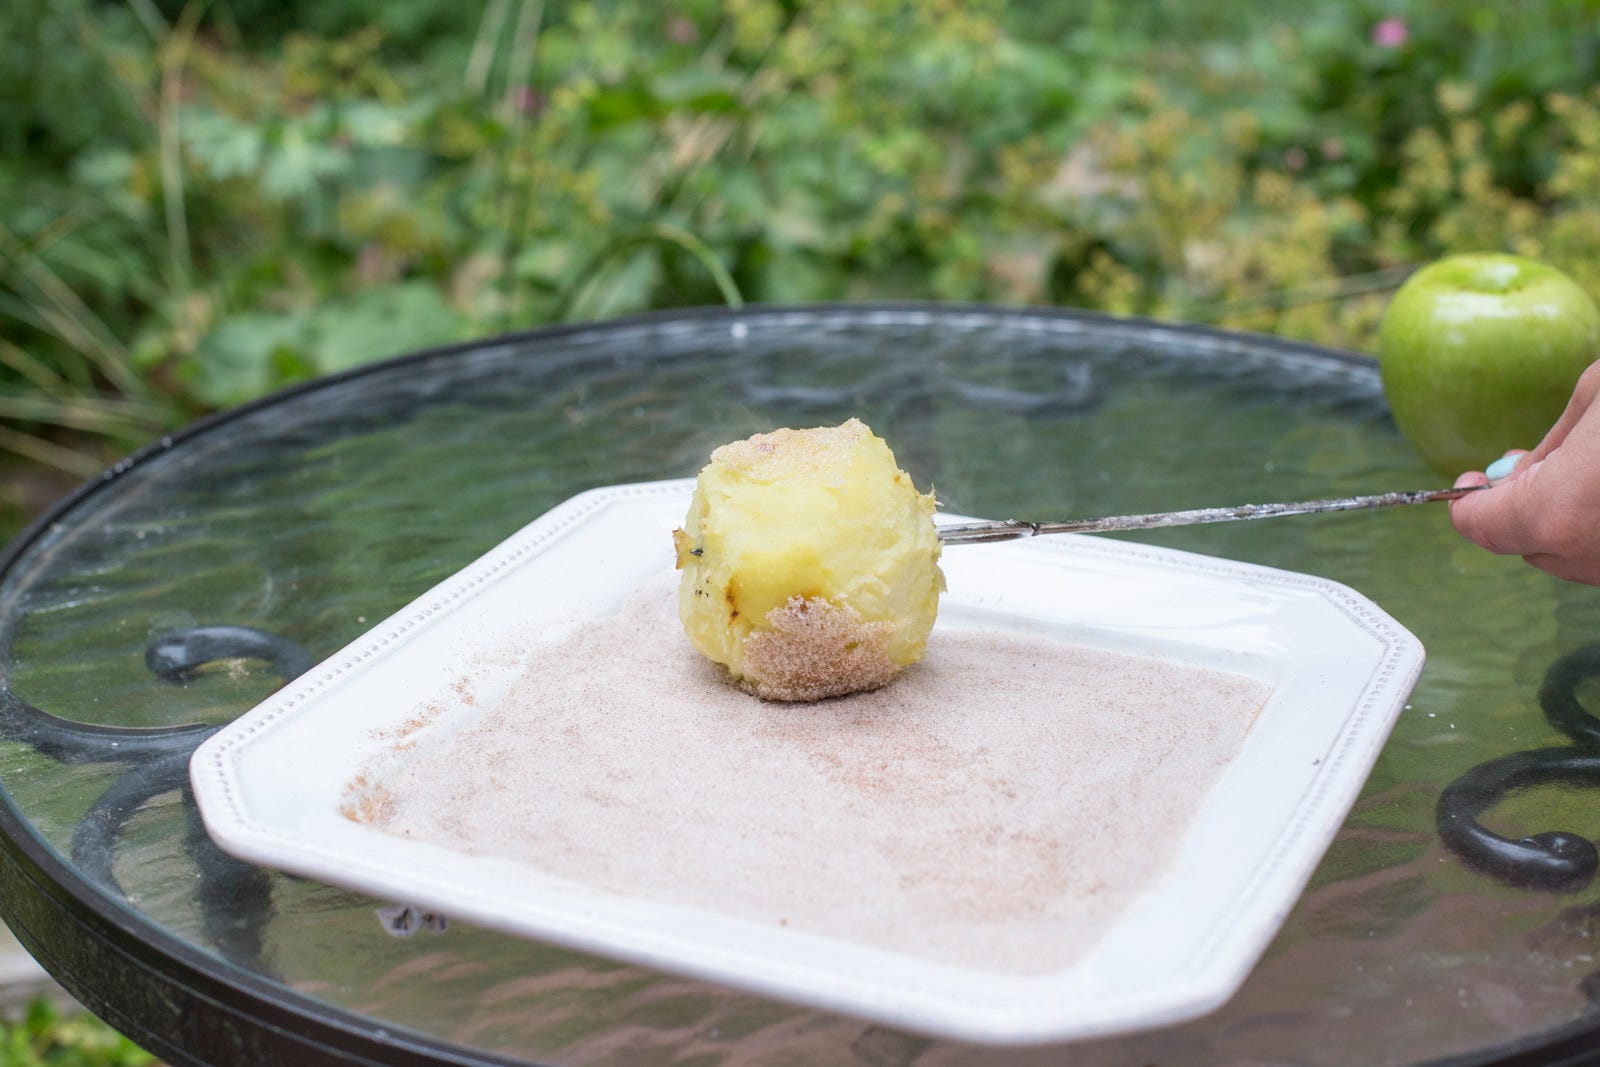
At this point, lay your apple on a plate (but keep it on the roasting fork). If it's well-cooked you should be able to use your fingers on corners of the apple skin and lift it right off. But be careful—the apple is extremely hot. For more difficult parts, or to save fingers from getting burned, use a fork and knife to coax it off.
Step 10: Coat with Cinnamon and Sugar
You can eat your apple plain, but to make it that much more like apple pie, go ahead and roll your apple in the cinnamon and sugar mix.
Caution: Before taking that first bite, allow the apple to cool for a few minutes. This is especially true for kids!
Step 11: Enjoy your Dessert
Whether you're camping in the forest or sitting in your backyard, kick back, relax, and enjoy your roasted apple!
