
"Candles and bottles of wine are excellent gifts for holiday dinner party hosts, but this 6-pack holder with your favorite seasonal cider or beer will really wow your friends."
Materials
Note: Because you have to buy at least a 3’ piece of the fir, you end up with left over. If you increase the ½x6 to a 4’ length, then you’ll have enough for two carriers.
Step 1: Make your Cuts
Start by cutting 9 ½” off of the 1x6 piece of fir. This will be the bottom of the carrier. Cut the ½x6 fir into two 10 ½” lengths; these will make up the two ends. Cut the 1x3 fir into two 9 ½” lengths. These pieces will create a “T” at the top of the carrier. Fit the pieces together and make sure that everything fits nicely. I think that it’s better to have the 1x3 pieces a hair longer than the bottom piece, rather than a hair shorter. Next cut the lattice into 4-6 10 ½” strips. Lastly, we’re going to make the angled cuts on the two end pieces. At the top of the board, measure the center where the 1x3 is going to sit. These measurements are approximately 1 1/2"; however for a more precise placement you’ll have measure your own pieces. Set your miter saw and cut at 22 ½°. This is exactly half of 45°, so it has a really nice look to it.
Step 2: Stain
Time to stain. Follow the directions on the can, and make sure to wipe off any excess. We used Varathane stain in Provincial. I absolutely love the color that it turned out!


Step 3: Drill and Pre-Drill
Once everything’s stained, start marking for pre-drilling. Measure 3/8” up from the bottom of the ½x6 pieces. At this height mark every 1- 3/32”. Yes, I was very exact about these measurements. At the top of the piece measure down 5/16” and then mark ¾” out from both sides. Make another mark in the middle of these two. Measure down from the center mark three points 3/4" apart. Drill all these marks through with a 1/8” bit.


Step 4: Apply Glue and Assemble
Apply a little glue to end of the bottom piece. Fit together with the end piece. I grabbed some of the finish nails and hammered partway through two of the holes to keep things from shifting. You can also lightly drill through the hole and make an indent in the end of the wood so your screw knows just where to go. Now you can put in your trim screws. I found that bracing the bottom piece against the wall was the only way that I could get a tight seam between the two pieces. Remove the nails and put in the rest of the screws. Turn around, and repeat with the other end.


Step 5: Continue Assembly
Now fit the 1x3 pieces into place. Measure in from the sides, and find the center where the vertical piece is going to sit. Make sure that both pieces fit well; make any additional cuts or sanding necessary at this point. Now spread a very thin layer of glue on either end of the vertical piece, and push it into place. Wipe off the excess glue. Using the horizontal 1x3 as a guide, lay it on top to get the exact height for the vertical. Again bracing the other end against the wall and put the screws into the vertical piece. Apply glue to the ends of the other 1x3 and screw in place.


Step 6: Assemble Lattice Pieces
Next line up the lattice pieces. Decide whether you want two or three on both sides, and how you want to space them. We used two per side, and measured the bottom of each lattice strip at 1 1/8 and 3 ¾ inches. With a 1/16” drill, pre-drill two holes on either end of the lattice. Glue and nail in place. Wipe off excess glue.


Step 7: Attach the Handle and Bottle Opener
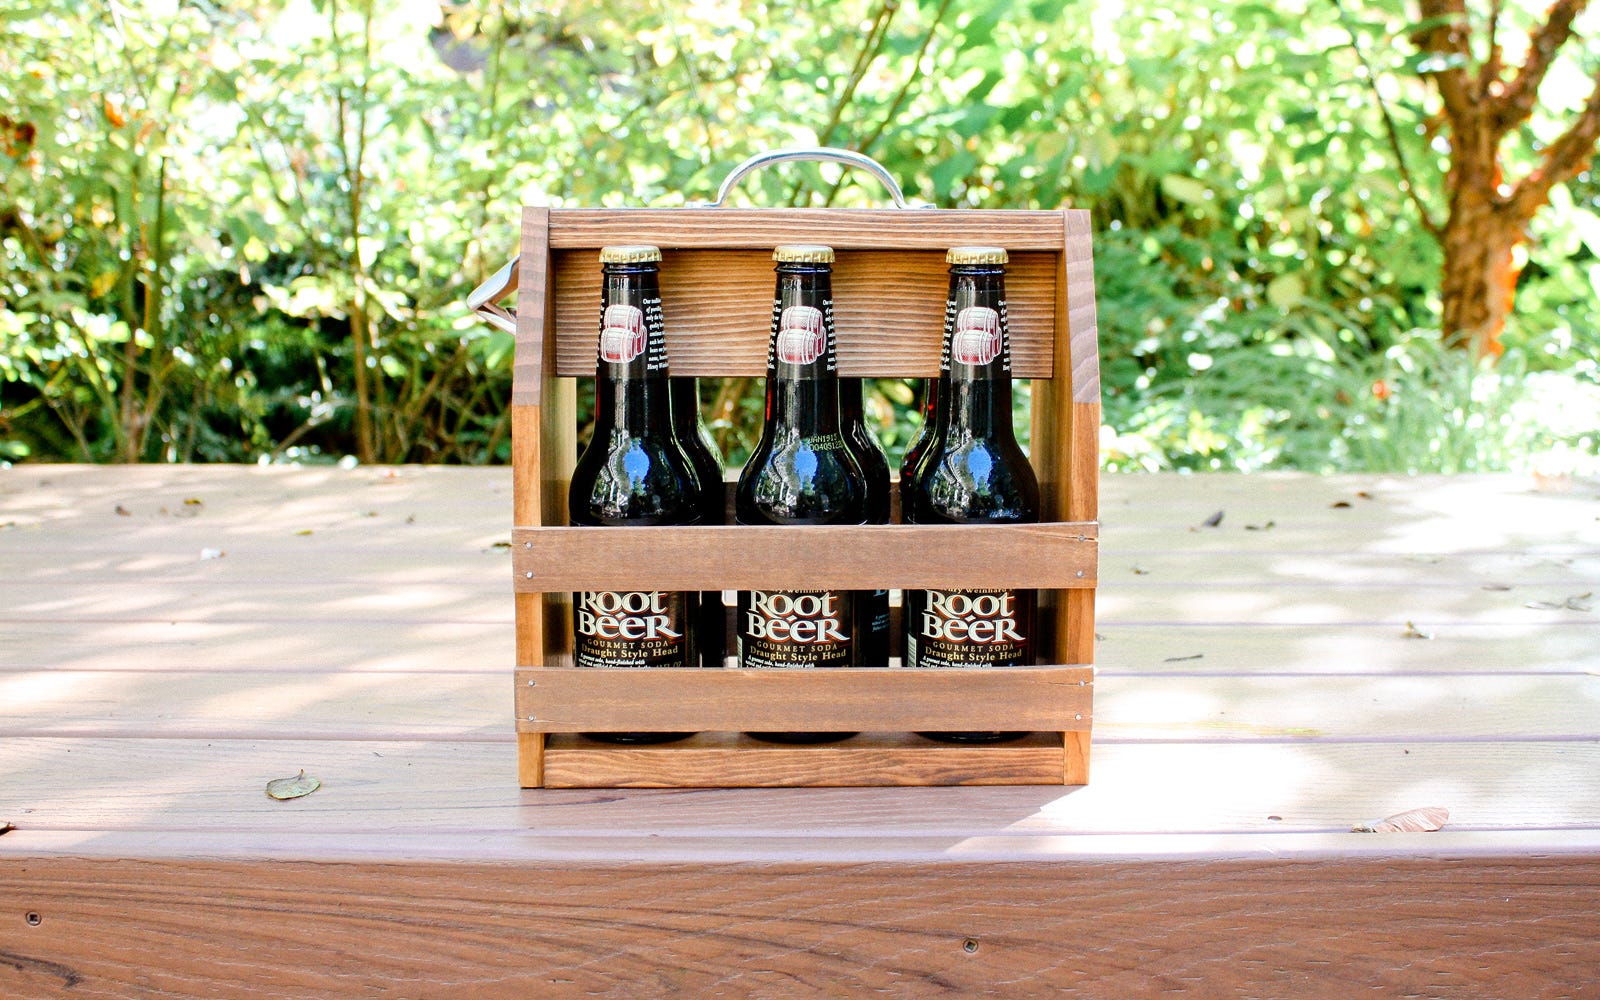
Finish up by pre-drilling and attaching the handle and bottle opener. Make sure that the bottle opener is screwed into the end of the 1x3s; otherwise the screws will breakthrough the ½” fir. And you’re done! You have your very own wooden six pack carrier. It’s beautiful, and oh so Seattle!

