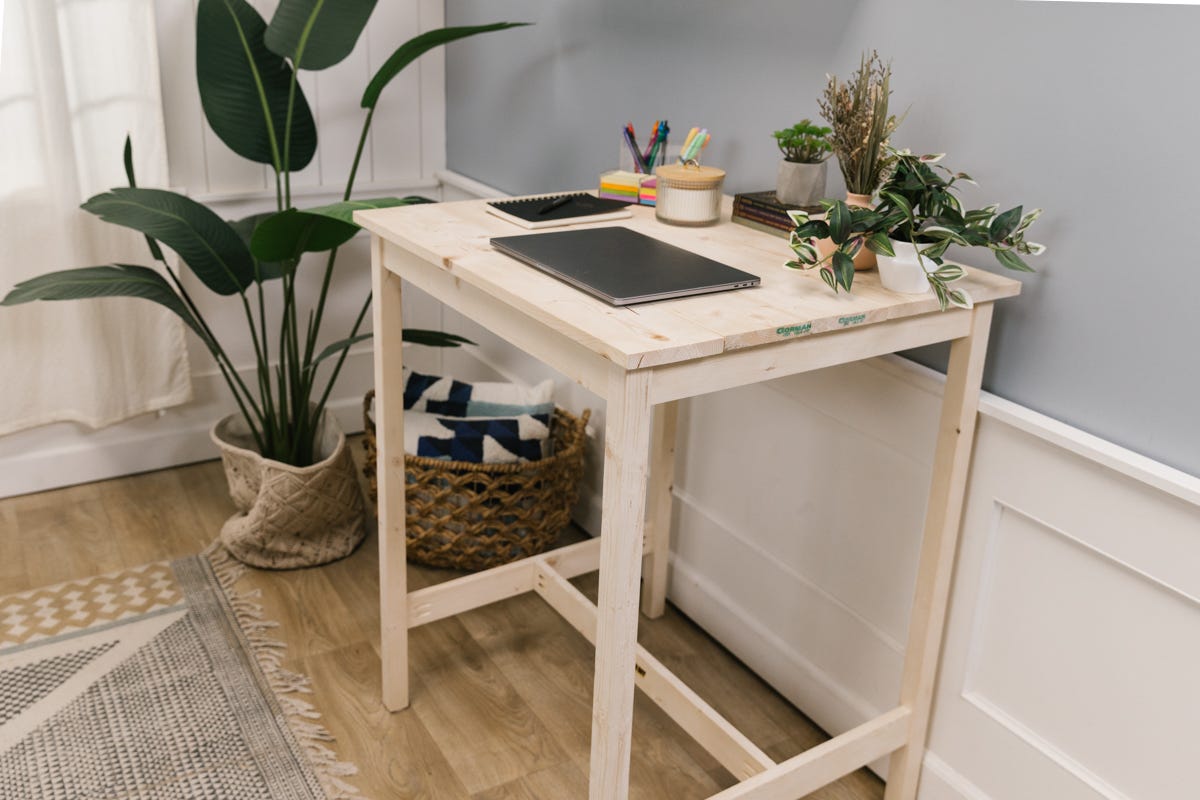
"With so many of us working from home these days, having a standing desk option that fits your aesthetic and budget can bring big improvements to health and productivity."
Materials
We’ve tackled DIY wooden desks and tabletops here on Dunn DIY, but we’re kicking it up a notch with today’s project (literally).
If you work an office job, you probably know the long list of health benefits that come with using a standing desk (as opposed to sitting all day)—reduced back pain, better cardiovascular health, improved posture, the list goes on.
A handful of years ago, you’d be hard-pressed to find an office building that didn’t have at least one standing desk, or sit-stand desk. But these days, with so many of us working from home, standing desks aren’t as easy to get your hands on. They can be awfully expensive, and you’re beholden to the designs and sizes offered by the manufacturer.
Today, we’re showing you a more cost-effective, customizable DIY standing desk alternative so you can reap the benefits of working on two feet.
Our standing desk design is comprised of a base and a desktop: The base uses two-by-twos for legs and one-by-threes for a series of braces that mount to the inside corners and across the base of the legs to make it sturdier. The desktop is made from five one-by-six boards connected together to make a larger surface.
The instructions below will build a desk that measures 32” wide and 27 ½” deep, and the height is sized for someone about 5’4” tall. You can adjust the measurements for any of the above-mentioned pieces to better suit your stature or space.
Follow the steps below and make it yours!
Step 1: Cut wood for standing desk
Cut list:
- Two-by-two
- Four (4) desk legs at desired height (we cut ours to 38”)
- One-by-three
- Two (2) side braces at 23”
- One (1) cross-brace at 28”
- Two (2) apron pieces at 23”
- Two (2) apron pieces at 27”
- Four (4) corner braces at 4” long with opposing 45º bevels
- Four (4) desktop braces: two (2) at 24” and two (2) at 4 ½” (you’ll cut these in Step 6)
- One-by-six
- Five (5) desktop boards at 32”
Begin by cutting all of the pieces you’ll need to construct your desk.
Using a tape measure and pencil, measure and mark your two-by-twos for the four (4) legs. Do the same with your one-by-sixes for the five (5) desktop pieces.
Next, measure and mark your cross-brace, side braces, and apron pieces from the one-by-threes.
For the corner braces, use a speed square and pencil to measure and mark four (4) lengths at 4” each. These pieces will need to be cut with opposing 45º bevels at each end to fit inside the desk corners. You can either use a miter box to do this, or a circular saw set at a 45º angle.
Once you’ve marked all of your pieces, clamp the wood down and cut each length using a miter box and handsaw. Follow with a sanding sponge to smooth out the cut ends and any other rough spots—then move on to Step 2, where things really start coming together.
Note: We cut our legs at 38”, which works well for a person about 5’5” tall, but you’ll want to adjust this measurement for your height. (For instance, you’d cut the legs at about 43” long for someone 6 feet tall.)
Step 2: Assemble desk legs
Our design for this standing desk uses two leg assemblies that consist of two leg pieces (these are the 38” pieces (or whatever measurement you chose in Step 1), and one cross-brace.
Lay out two of the leg pieces so they're horizontal to you and parallel to each other, and one of the side-brace pieces so that it spans between them. Use your measuring tape to mark the position for the cross-brace, so it’s 9” up from the ends of the leg pieces.
Next, center and clamp your Kreg jig to one end of the brace. Set the jig for ¾” material, and use a power drill to drill two (2) pocket holes. Drill two (2) more pocket holes in the other end of the one-by-three brace.
Then swap out your drill bit for a driver bit and use 1 ¼” pocket hole screws to fasten each end of the brace to a leg so the top of the brace is 9” from the leg bottom.
Repeat this step to create the second leg assembly.
Note: We stuck a pencil under the brace to raise it slightly off the work surface. This is optional, but we think having the braces inset toward the center of the leg looks better than if they were flush.
Step 3: Fasten apron to desk legs
Next up is attaching the apron pieces at the top of the legs. Use a speed square to ensure each corner is square before drilling any holes.
Start with your 23”-long apron pieces and join the tops of the leg assemblies together. Just as you did in Step 2, use your Kreg jig to drill two (2) holes at each end of a shorter (23”) one-by-three apron piece. Use 1 ¼” pocket hole screws to fasten the apron to the legs, so the top of the apron is level with the top of the leg.
Use the same pencil or piece of scrap wood you did in Step 2 to “float” the brace off the work surface and have it join the leg more toward the middle of the leg’s width.
Repeat this process to attach a side apron piece to the second leg assembly.
Then, connect the two leg assemblies using the longer (27”) apron pieces using the same method you used for the shorter apron pieces. A speed square will keep your joints at a right angle, and a pencil will inset the apron a bit from the edge of the leg.
Drill pocket holes at the ends of the aprons, position them flush with the top of the legs, and fasten them with 1 ¼” pocket hole screws.
Step 4: Attach cross-brace
The cross-brace on this desk spans the distance between the lower side braces to keep the legs from wobbling apart under weight.
Working with the base on its side, center the single cross-brace (the 28” one-by-three) between the two side braces.
Once you’ve found the correct placement, mark it, drill pocket holes in the ends of the cross brace, and screw it into place.
Step 5: Attach corner braces
Your standing desk base is nearly complete! To make it even sturdier, our design uses diagonal braces at each corner of the base.
Grab your 4” one-by-threes (with the 45º opposite bevels) and drill four (4) holes in each corner brace: Mark 1” toward the center from each short side and ¾” from the wider side of the brace. (You should end up with four marks in a rectangular formation).
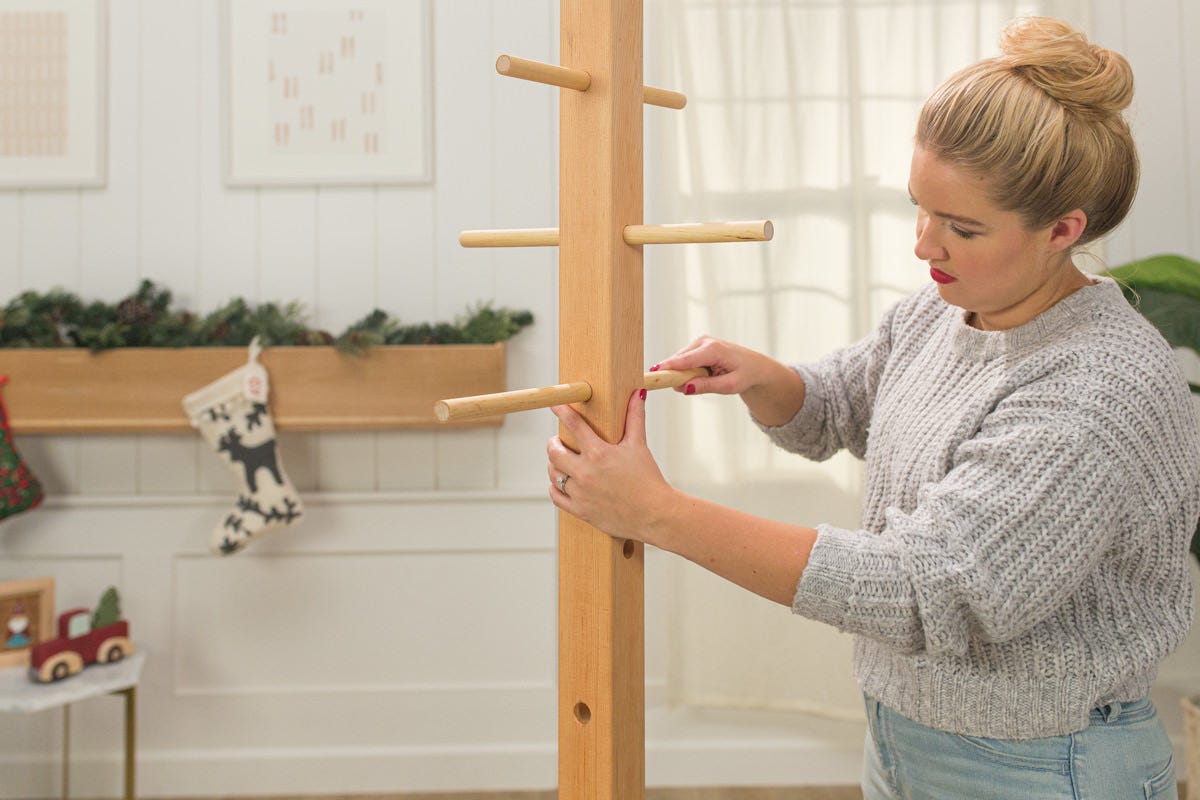
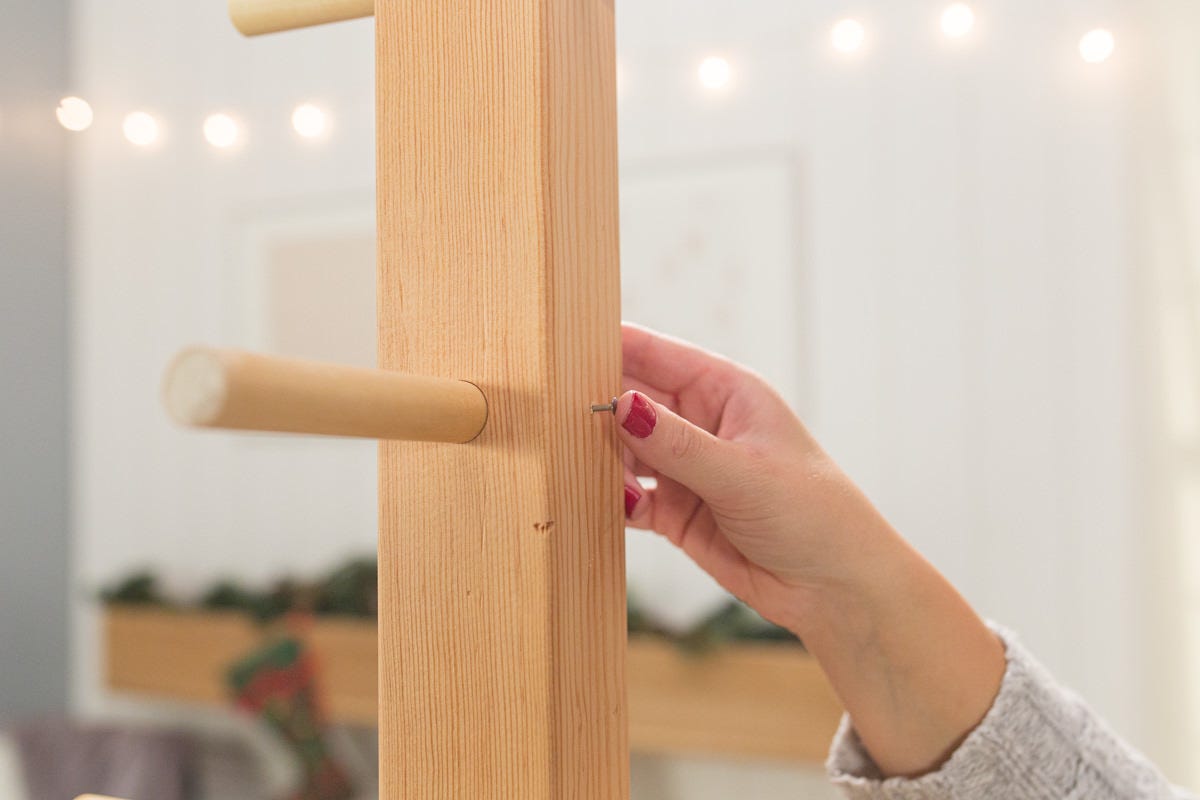
Lastly, fasten the corner braces into place: Hold the brace on the inside of the desk apron and screw into place using 1 ½” wood screws. Repeat to attach all four corner braces.
Step 6: Build and attach desktop
Now it’s time to screw together the five desktop boards.
Lay out your five (5) 32” one-by-sixes on your work surface and determine which side of each board you want facing up. Label them if it helps you to keep them straight. When the boards are pushed close together, they should stretch out about 27 ½”.
Now turn the boards over, so the good face is down. Starting 2” from each end, drill five (5) pocket holes at 7” intervals on the edge of four (4) of the boards.
Align the ends of two boards, clamp together, and screw together with 1 ¼” pocket hole screws. Unclamp, add a third board, align the ends, re-clamp, and secure with more 1 ¼” pocket hole screws. Repeat for the fourth and fifth boards.
Note: Because our clamps weren’t large enough to fit the fifth board, we temporarily attached a scrap piece of wood so the clamp would be able to fit. Remove the scrap piece when all boards have been screwed together.
To keep the desk boards from shifting on the base, attach some boards to the underside of the desktop. These will sit just inside the apron. Measure between the inside of the front apron and back apron piece (24” on our desk). Cut two (2) pieces of one-by-three to that measurement (24” in our case).
Place the one-by-three braces 6” from either side of the desktop boards, centered front to back (1 ¾” from front and back).
Attach using five (5) 1 ¼” wood screws in each one-by-three—that is, one into each tabletop board. (Be sure to use a screw shorter than 1 ½” here, or the screw will poke through your desk surface.)
Those boards will restrict the movement of the desktop fore and aft. To restrict side movement, we are attaching two blocks directly inside the side aprons. Mark their placement and use two (2) 1 ¼” wood screws to fasten each to the underside of the desktop. We used 4 ½” long pieces of one-by-three for the side braces.
Note: After we placed our desktop, we noticed that it lifted on two opposite corners. To solve this, we removed the desktop and drilled two pocket holes on the inside of the front and rear aprons to secure and level the desktop, being careful to avoid pre-existing screws. We were able to drill right next to the corner braces. Replace the tabletop, clamp it down, and sink screws into these four new pocket holes. 

Step 7: Sand and apply finish
Sand any remaining rough spots and then finish to your liking, or leave unfinished. For tips on durable, clear, protective finishes, check out this guide.
We added felt pads to the bottoms of the legs. You can do the same, add rubber feet, or leave it as-is.
Looking for more DIY inspiration? Get organized with a DIY pencil holder or desktop organizer!


